How can I close registration for my event?
Once the registration period for your event has concluded, you may want to know how to close registration to prevent further ticket purchases. PheedLoop offers three major ways to close registration.
Method 1: Disabling the Enable Registration Setting
The most straightforward method is to toggle off the Enable Registration checkbox. This prevents attendees from proceeding with further registrations. All contents in the Register page will be replaced with the "Registration has been closed for this event" error message.

Follow the steps below to disable registration:
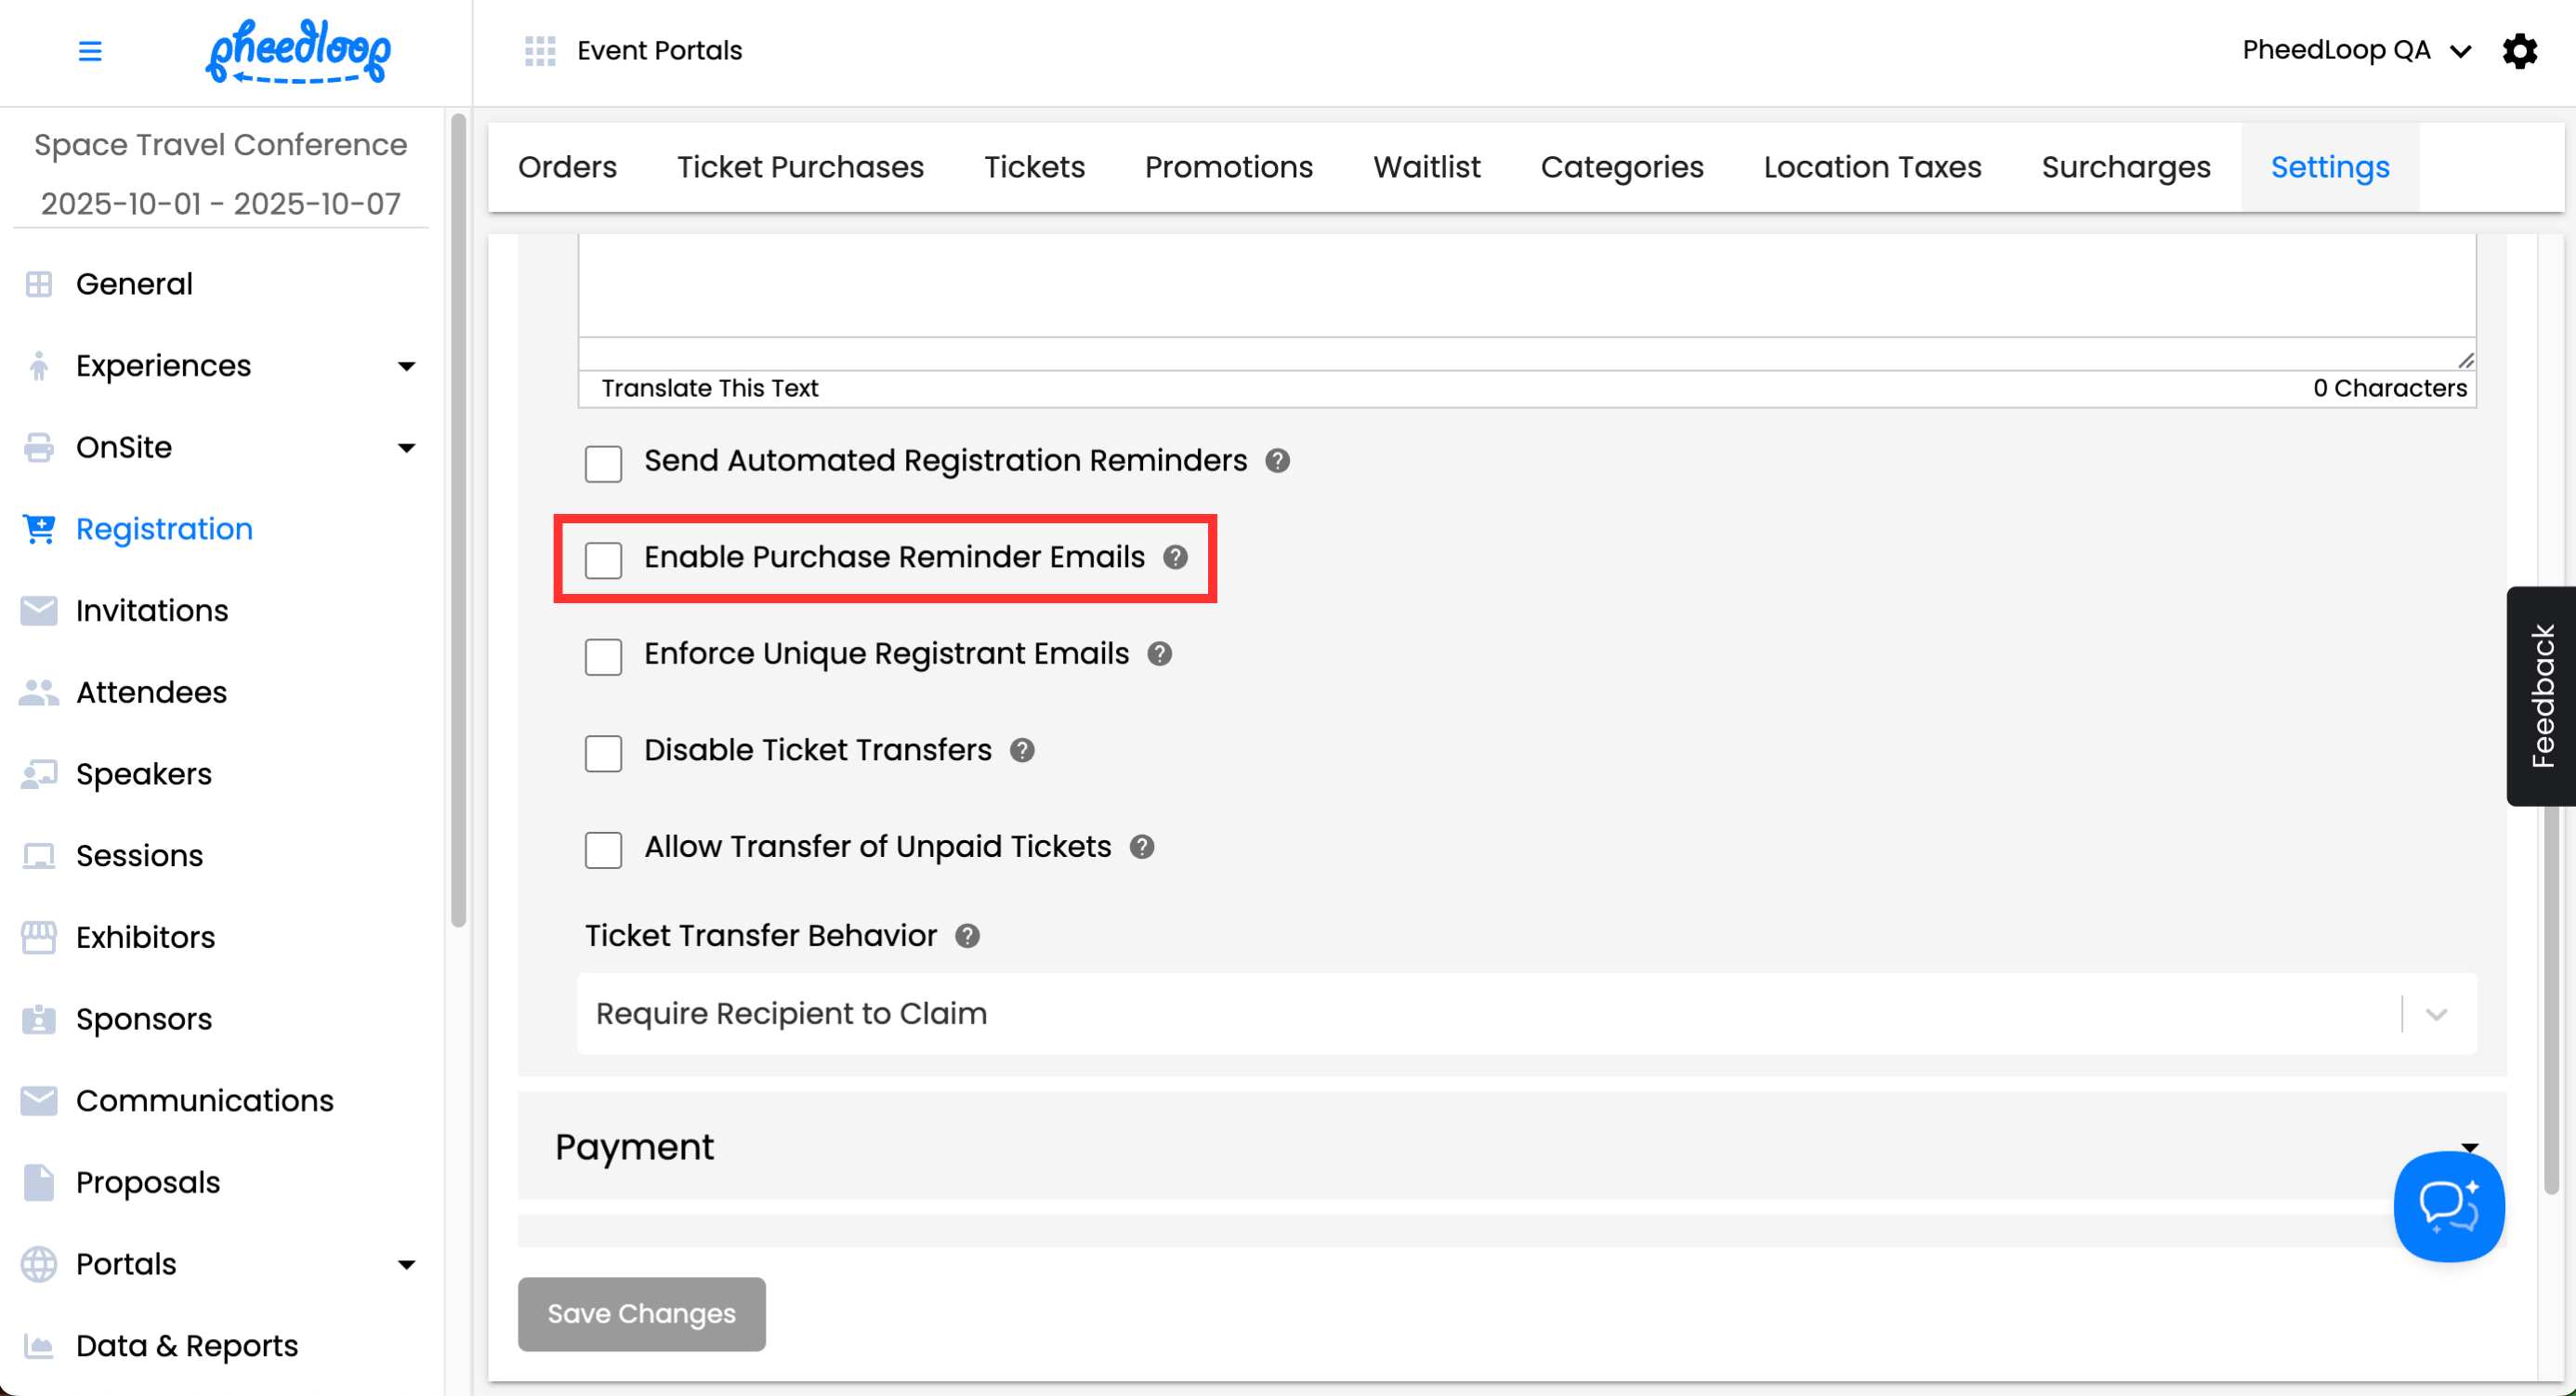
- From the Event Dashboard, navigate to Registration > Settings
- Scroll down to General
- Toggle off the Enable Registration checkbox
-
Select Save Changes

This method is best for Event Planners who wish to indicate that registration has concluded for their event clearly.
Method 2: Hide the "Register" page
If you would like to hide the Register Now button, you can do so by hiding the Register page from the Event Website. This method is best when you want to remove registration visibility entirely from your event website while still keeping certain categories or content active behind the scenes.
- From the Event Dashboard, navigate to Experiences > Website > Pages
- Select Register from the list
- Toggle on the Hide Page checkbox
-
Select Save Changes


Please note, registrations can still be accessed and completed if someone has the registration URL. This can be prevented by toggling off the Enable Registration checkbox as mentioned in Method 1.
Method 3: Automatically Close Registration Using Ticket Settings
This option is perfect if you want to control when registration closes based on ticket availability or timing without manual intervention. Once either limit is reached, the ticket will be automatically hidden from registration, stopping future purchases.
- From the Event Dashboard, navigate to Registration > Tickets
- Select the ticket you wish to adjust from the list
- Scroll down to Other Details
-
Under the Quantity Available field, enter the number of tickets that can be sold to registrants

- Under the Ticket Sale Start Date field, enter the date for the ticket to become available
- Under the Ticket Sale End Date field, enter the date for the ticket to be no longer available
- Under the Start Time field, enter the time for the ticket to be become available
- Under the End Time field, enter the time for the ticket to be no longer available
- Please note, the times inputted under the Start Time and End Time fields will follow the event time zone set under General > Details > Dates and Location > Timezone.
-
Select Save Changes


Summary
To better explain the difference between methods, we have prepared the following table for your reference.
| Closing Method | Visibility of Register Button | Public Message | Use Case Example |
|---|---|---|---|
| Disable Registration (toggle off) | Visible | "Registration has been closed for this event" | Stop all registrations while clearly showing that registration has closed to registrants. |
| Hide Register Page & Sections | Hidden | [The Register Now button will not be visible] | Hide registration entirely, the page can still be accessed and completed from its URL. |
| Auto Close via Ticket Settings | Visible | [Tickets will be hidden and unavailable for purchase] | Automatic closure by date or capacity |