Displaying Sponsors on the Virtual Portal
Please note, this article is written with the assumption that you have already added your sponsors to the Event Dashboard. If you have not, please refer to our Adding Sponsors to the Virtual Portal article for instructions.
Sponsors play a crucial role in enhancing your event’s experience, and showcasing them effectively in the Virtual Portal ensures they receive the visibility they deserve. The Virtual Portal holds many opportunities to display your sponsors throughout the event. In this guide, we’ll walk you through the steps to set up and customize sponsor displays, ensuring maximum exposure and engagement.
Contents
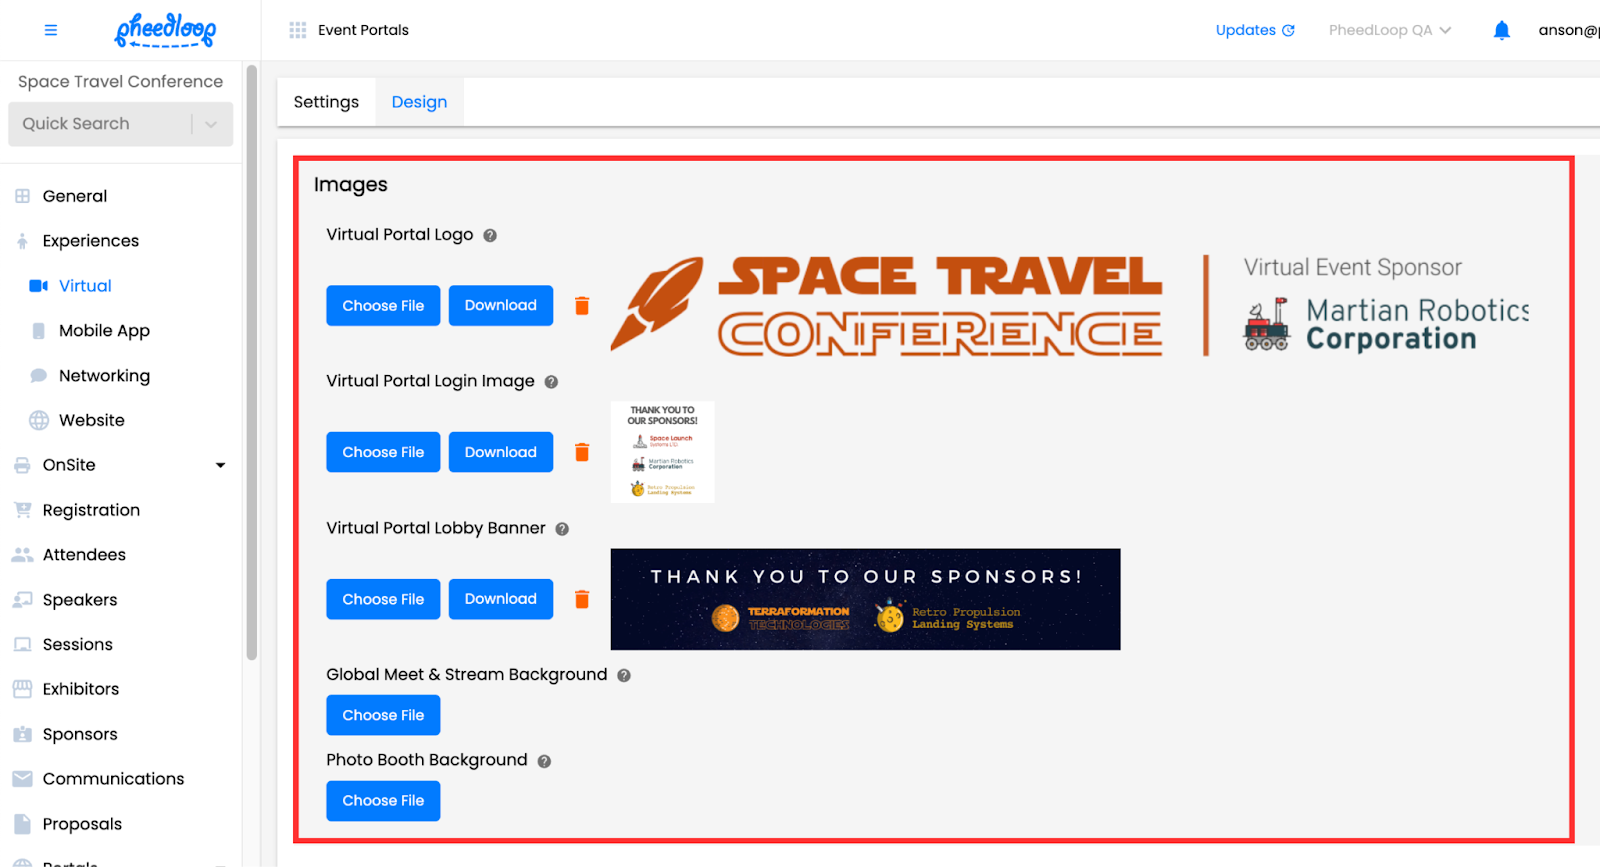
Images and Videos
Most images and videos within the Virtual Portal can be configured to showcase one or more sponsors, depending on your use case. Sponsor logos or mentions must be embedded directly into the graphics you upload.
- From the Event Dashboard, navigate to Experiences > Virtual > Design
- Upload your sponsored graphic under the Virtual Portal Logo, Virtual Portal Login Image, Virtual Portal Lobby Banner, Global Meet & Stream Background, and Photo Booth Background fields, respectively
If you would like to see examples of where these images will appear, please refer to our Adding Images, Logos, and Colors for the Virtual Portal article.
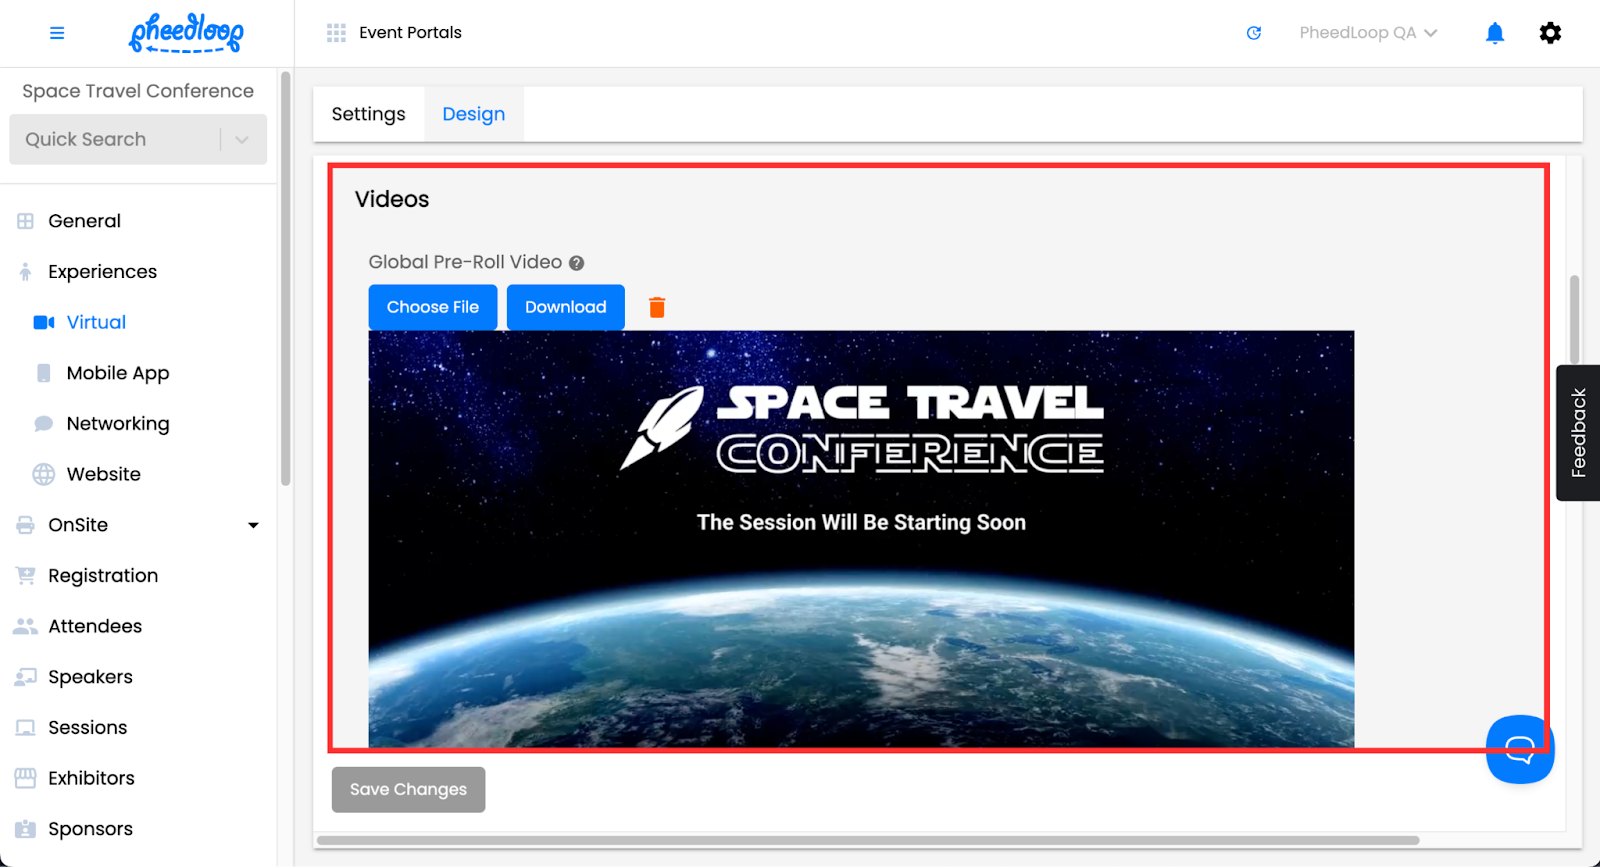
- Scroll down to Videos
- Upload your sponsored video under the Virtual Portal Logo, Virtual Portal Login Image, Virtual Portal Lobby Banner, Global Meet & Stream Background, and Virtual Photo Booth Background fields, respectively
- If you would like to see examples of where these videos will appear, please refer to our Adding Images, Logos, and Colors for the Virtual Portal article.
Select Save Changes
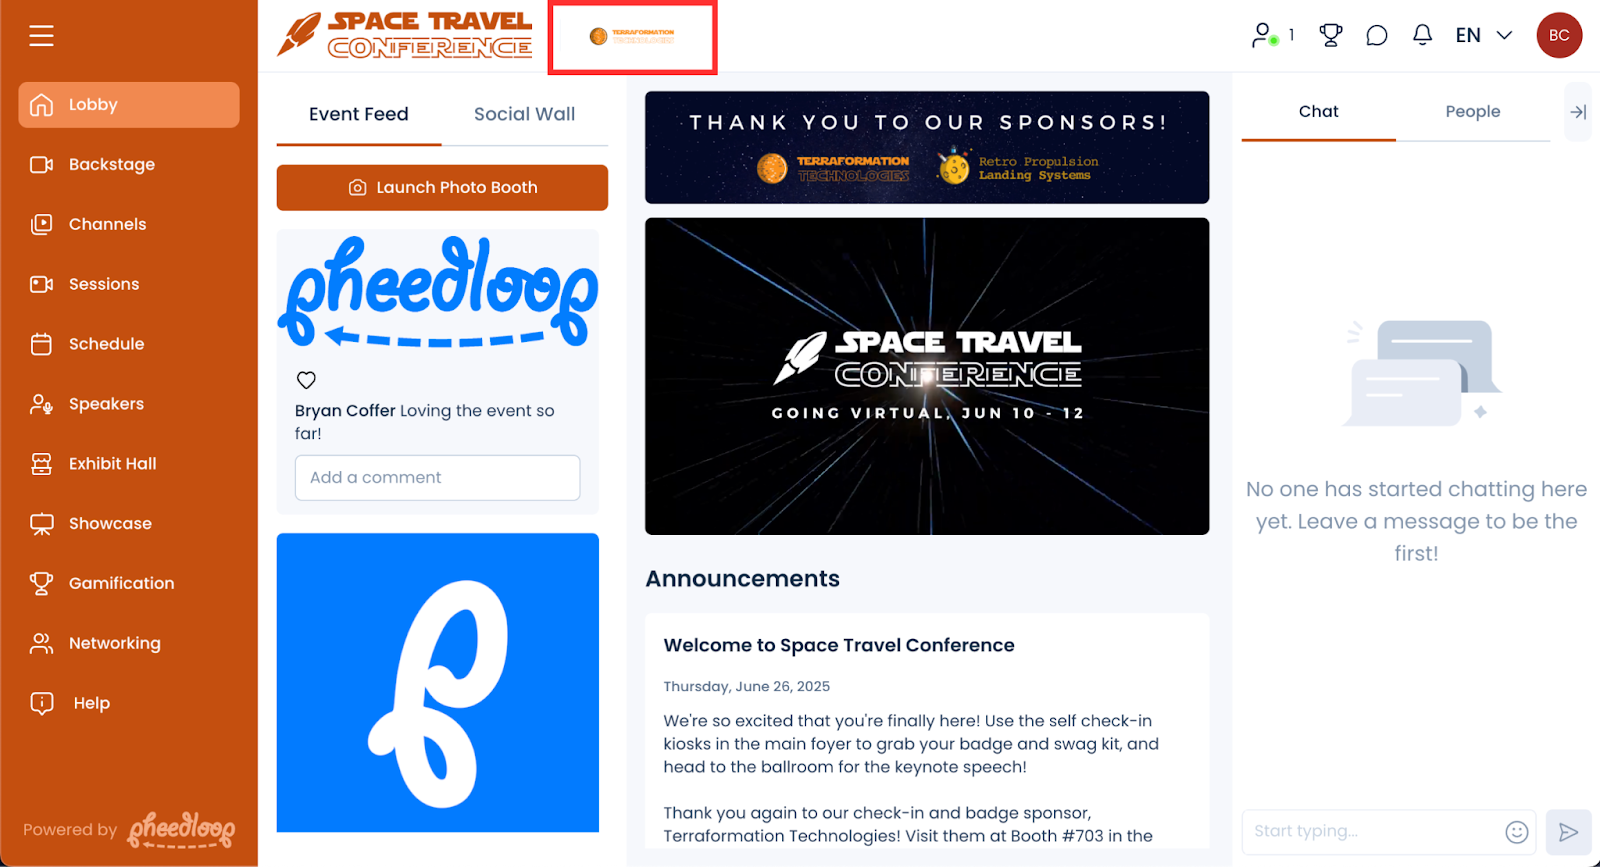
“Show in Event Carousels” setting for sponsors
Another option is to display sponsors on the top left corner of the screen in a rotating carousel. The sponsor shown will automatically update every few seconds.
- From the Event Dashboard, navigate to Sponsors > Sponsors
- Select the sponsor you wish to adjust from the list
- Toggle on the Show in Event Carousels checkbox
Select Save Changes


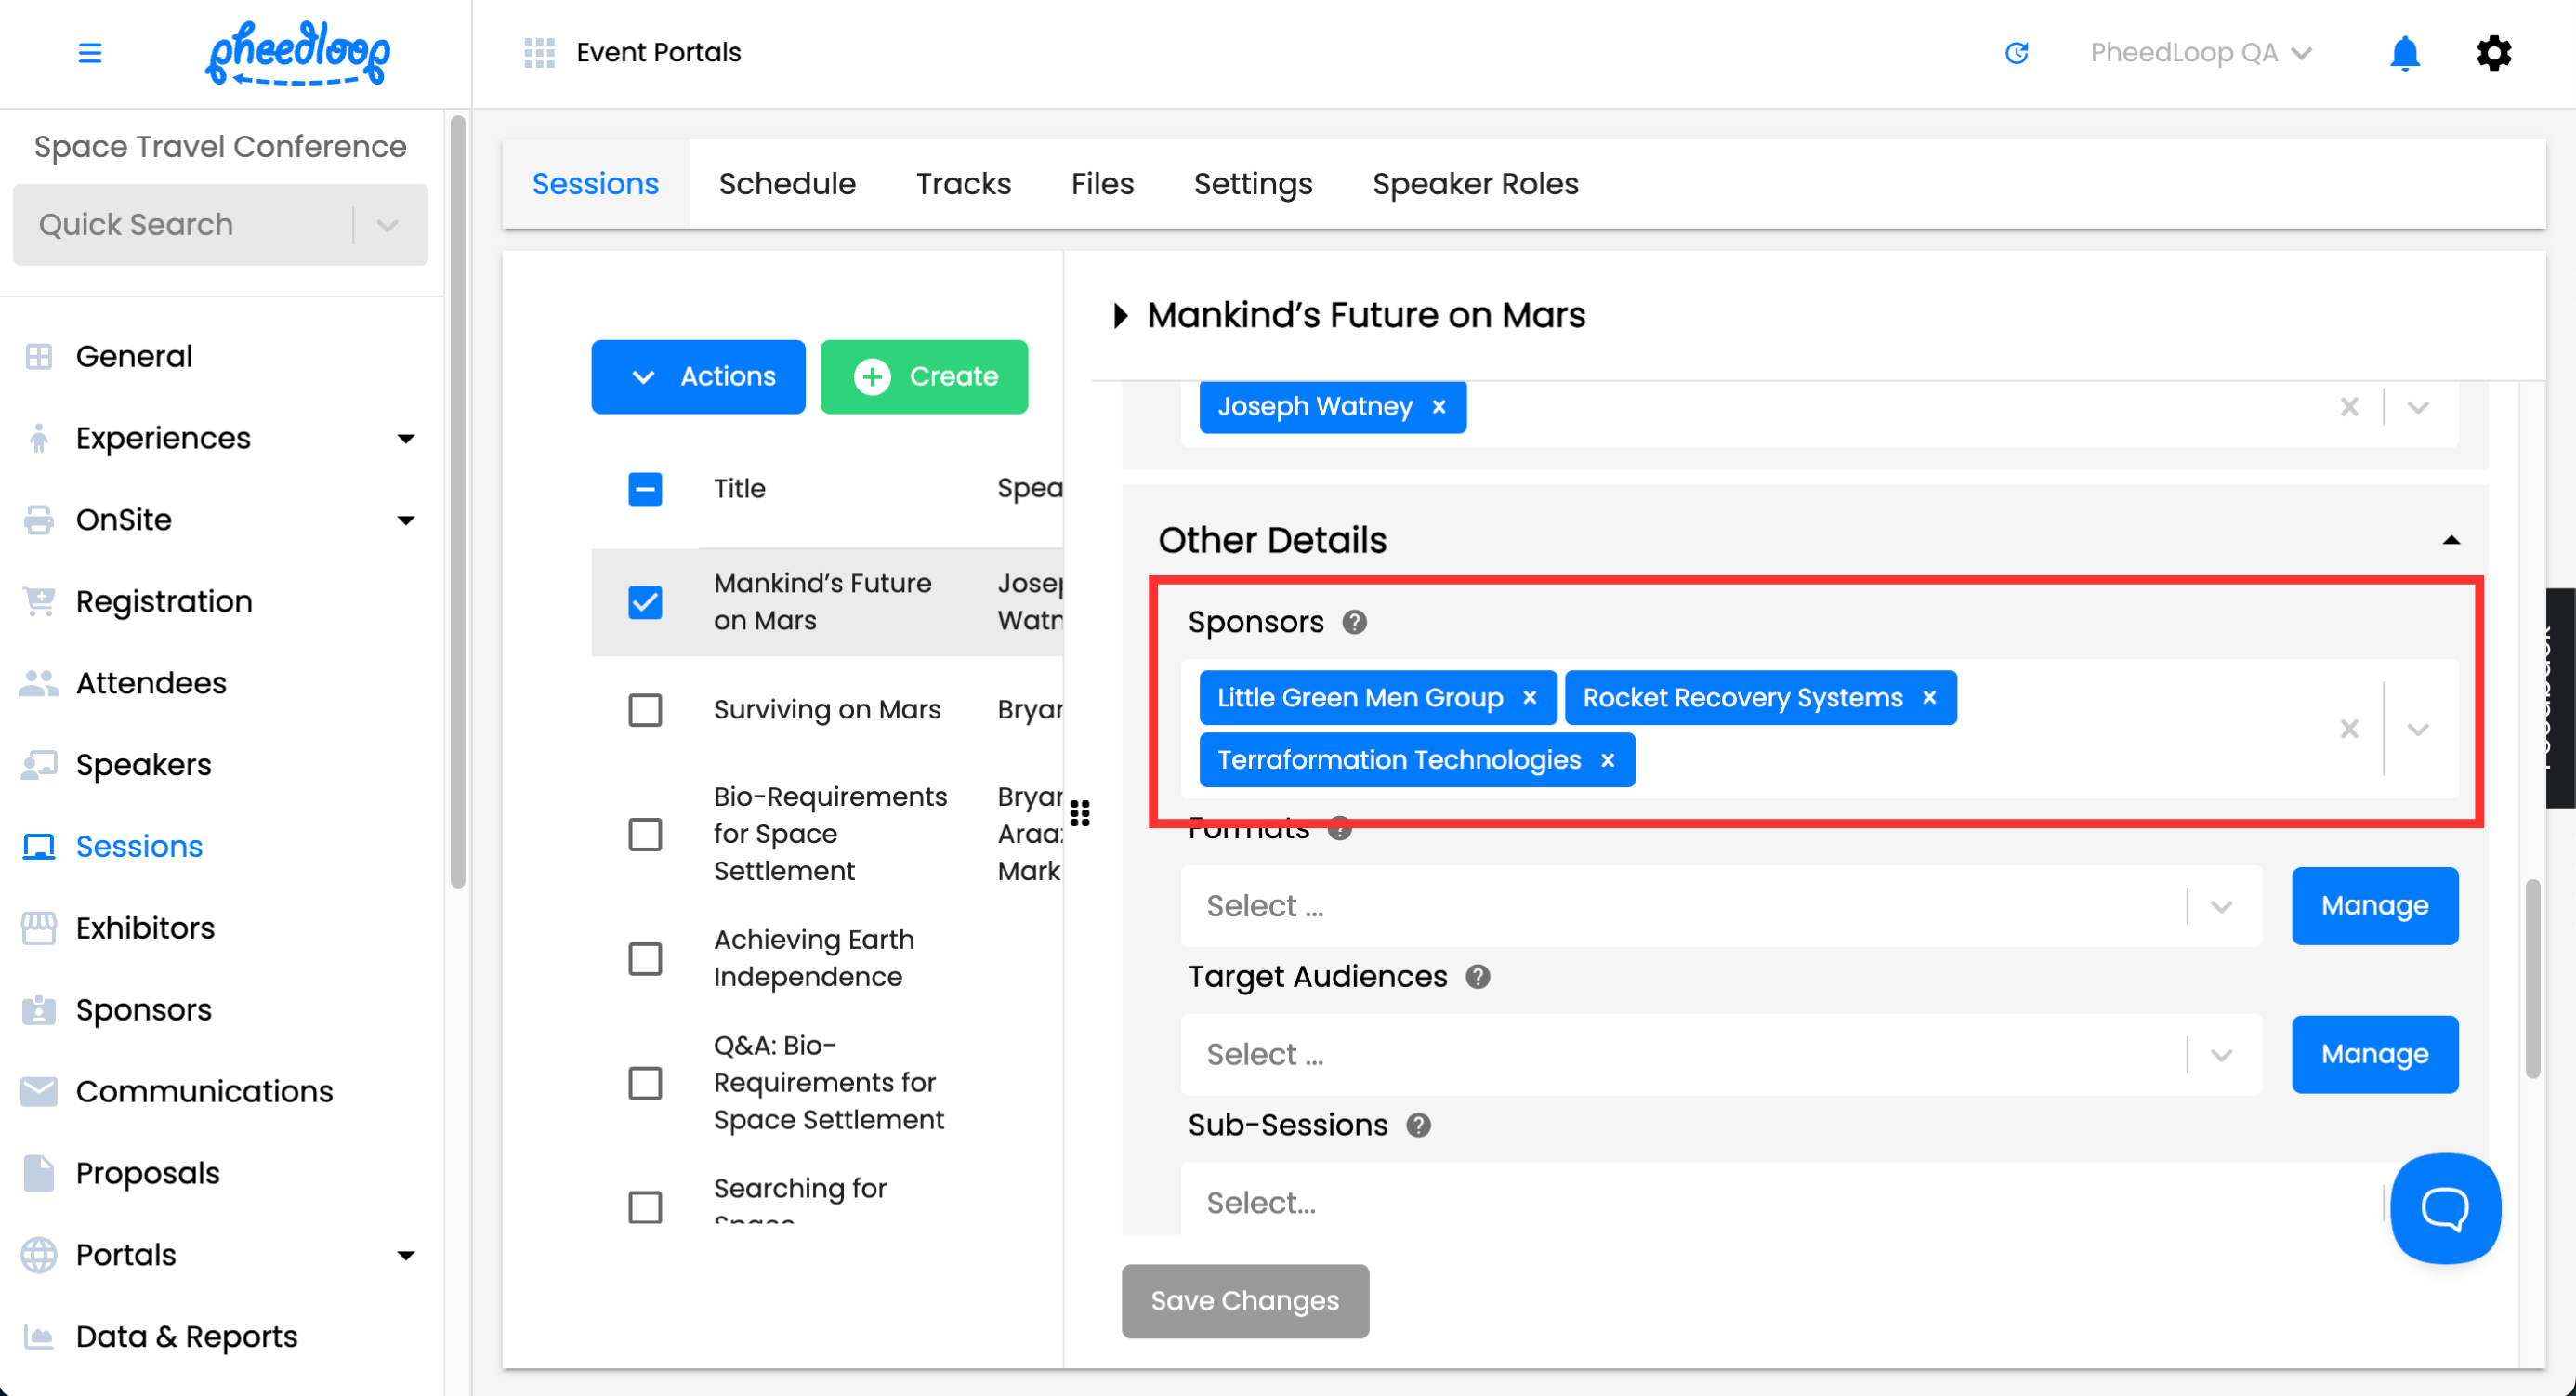
Session sponsors
Sessions can feature dedicated sponsors, shown on the session card and in the description. Multiple sponsors can be assigned if required.

- From the Event Dashboard, navigate to Sessions > Sessions
- Select the session you wish to adjust from the list
- Scroll down to Other Details
- Under the Sponsors field, select the sponsor you wish to assign
Select Save Changes

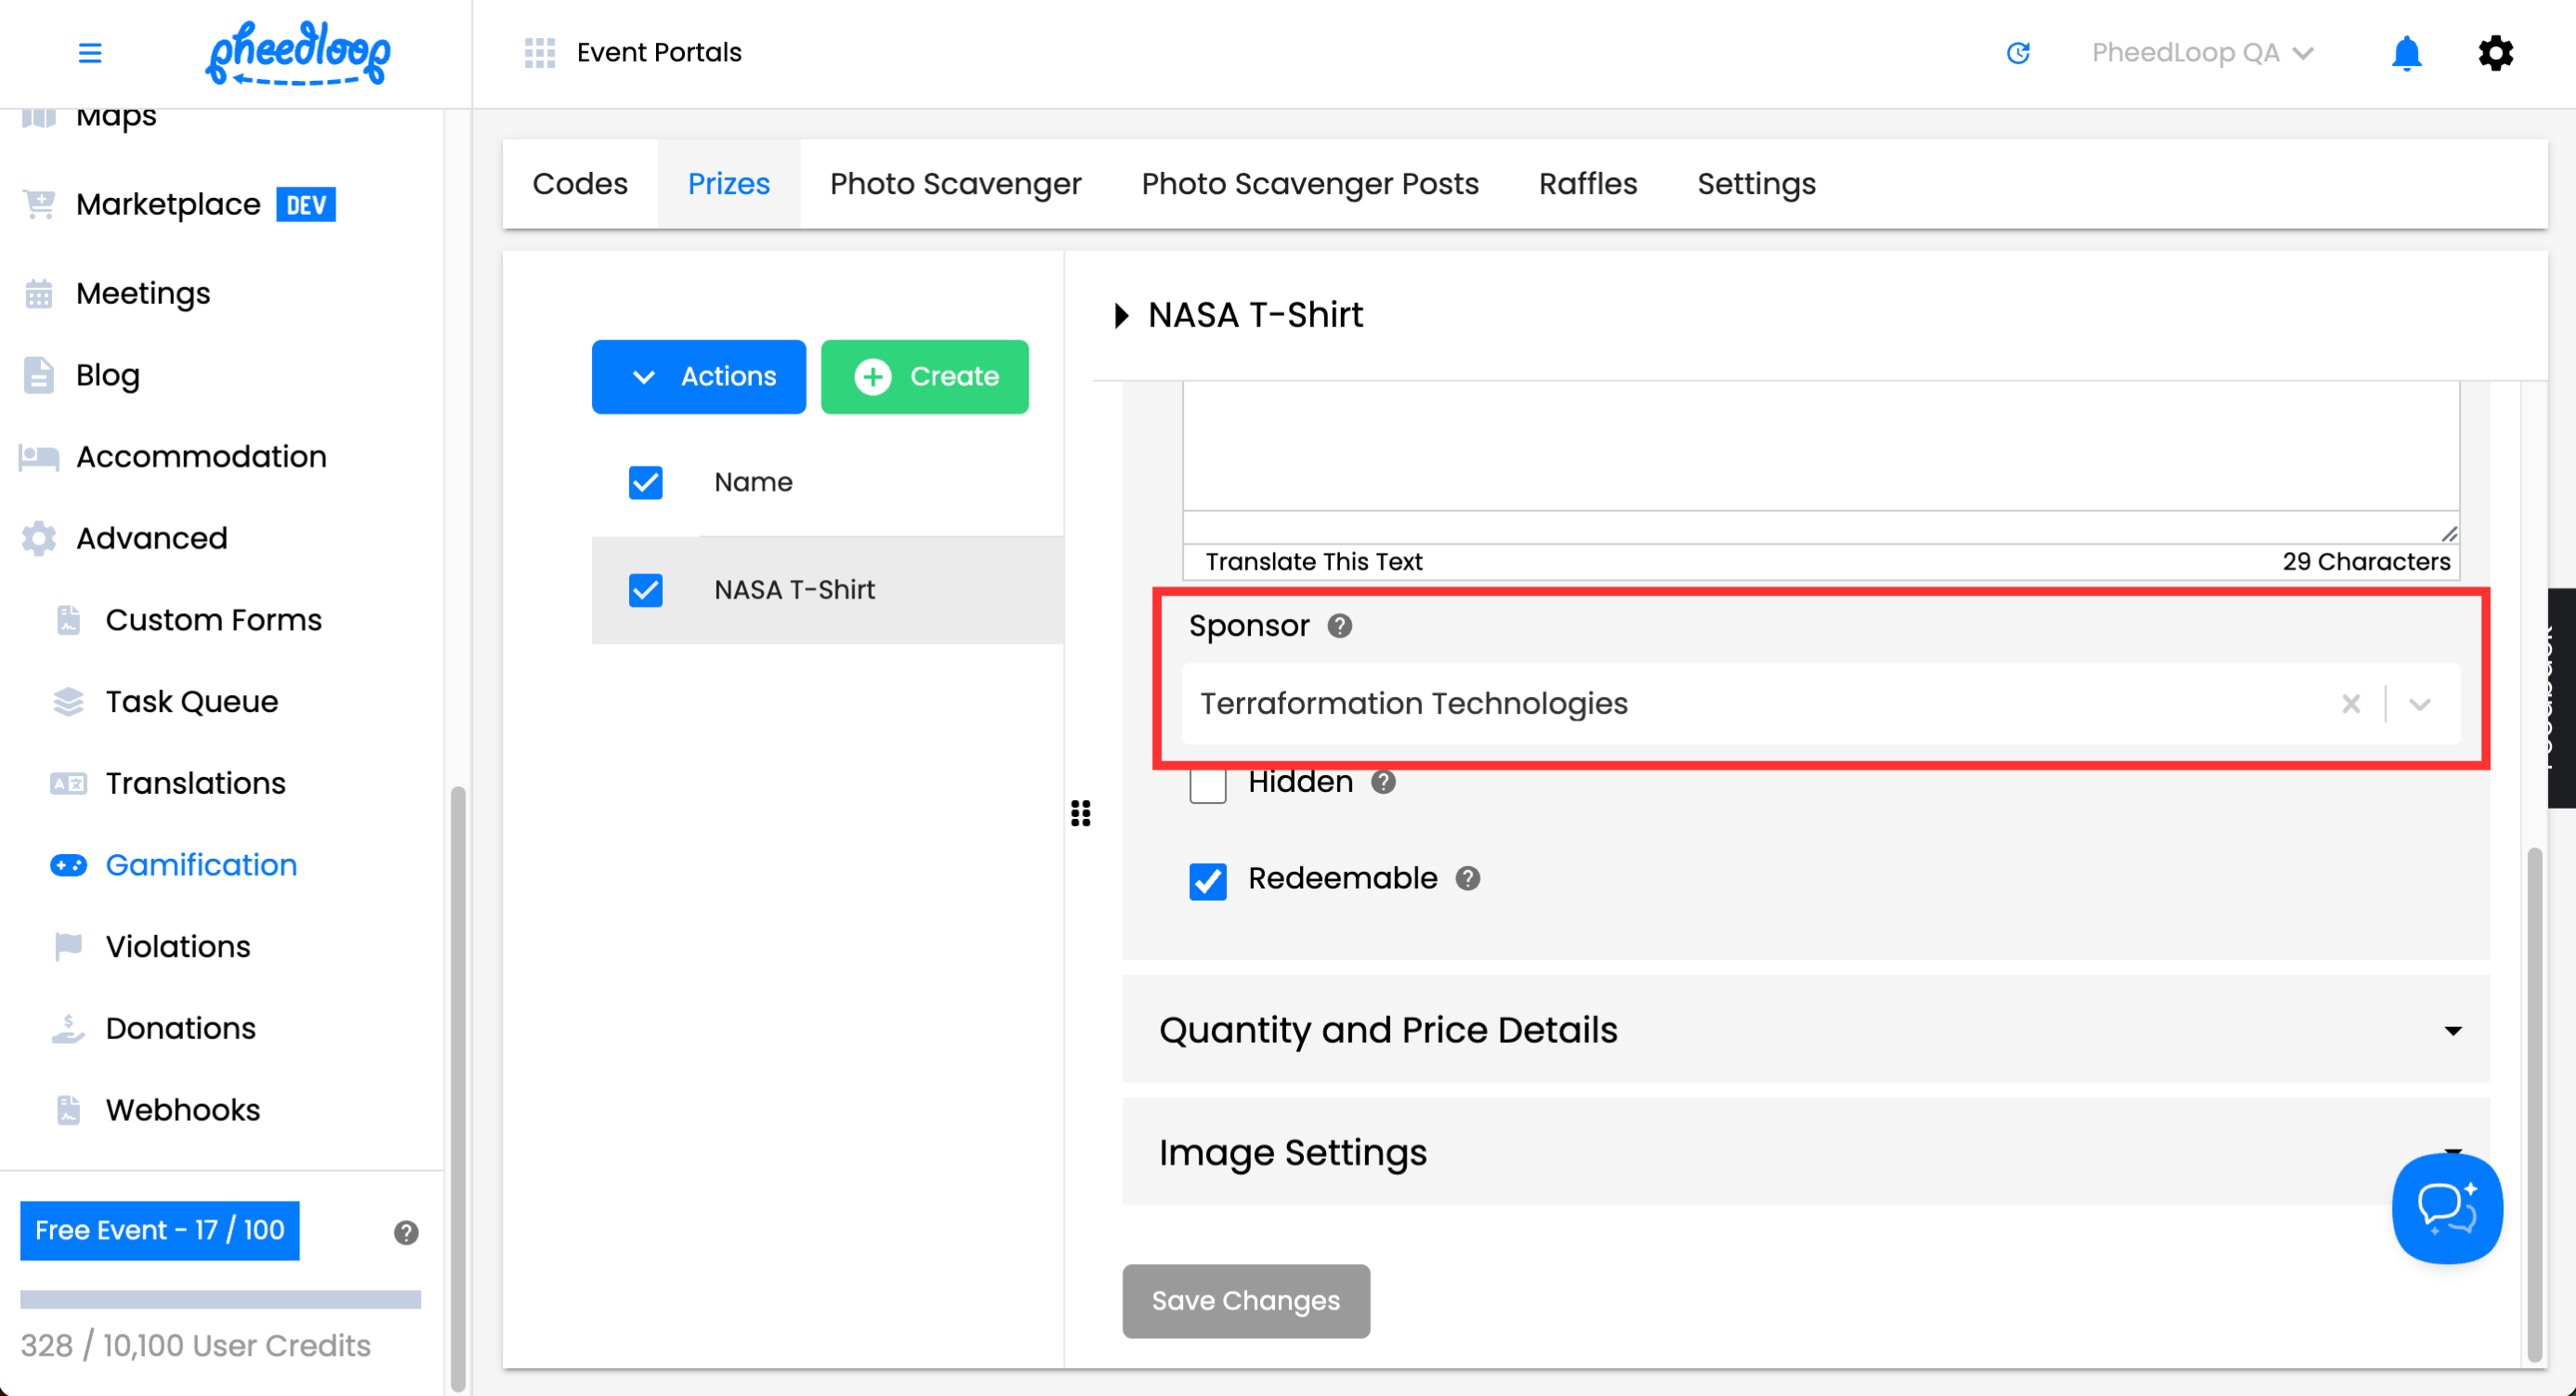
Gamification Prizes
Sponsors can be configured to appear below prizes in the Virtual Portal. The Sponsor's banner image will be shown when configured in the Event Dashboard. Only one sponsor can be assigned to a prize at a time.

- From the Event Dashboard, navigate to Advanced > Gamification > Prizes
- Select the prize you wish to configure
- Under the Sponsor field, select the sponsor you wish to use
Select Save Changes

Conclusion
By customizing visual elements, activating the event carousel feature, and assigning session sponsors, you can ensure sponsors receive consistent and meaningful exposure throughout your event. By implementing sponsors in these areas, you can effectively display your sponsors throughout the event.