Restricting Access to Sessions Based on Tags and Tickets
Whether attendees need a paid registration, need to be a part of a specific group (e.g. voting members), or need to register in advance because spots are limited, there are a vast number of reasons you may want to restrict access to sessions for your event. This doesn't mean you need to restrict access to the entire event to a certain subset of people (though you can do that too), but gated access to specific content is an important feature for many events for financial, regulatory, or strategic reasons.
For the Virtual Event Portal, if an attendee visits a session they do not have access to, they will be prompted with a message stating that there is restricted access.
For on-site events, if you are using the Mobile Event App as a session check-in scanner, upon scanning an attendee’s badge if they do not meet the criteria, the scanner will receive a pop-up alerting you that the attendee cannot gain entry to the session. Furthermore, attendees who attempt to add sessions to their schedule using the on-site app or the attendee portal will not be able to.
Areas this Impacts:
Virtual Event Portal - The session will be hidden from attendees if tag or ticket restrictions are set. If tag or ticket exclusions are set, the session will appear, but attendees will not be able to register for the session if they do not meet the requirements.
Mobile Event App - The session will be hidden from attendees if tag or ticket restrictions/exclusions are set.
Member Portal - The session will be hidden from attendees if tag or ticket restrictions are set. If tag or ticket exclusions are set, the session will appear, but attendees will not be able to register for the session if they do not meet the requirements.
Registration Selection Step - Attendees can't add the session to their schedule whilst registering for the event.
1. Ticket Restrictions
In order for this form of restricted access to work, you must be using PheedLoop’s registration system and have tickets created. If you are not using our registration system, please use other options to restrict access to sessions.
Restricting access based on tickets associated with an attendee’s account is a powerful way to bridge your PheedLoop registration experience and the opportunity to provide privileged access. Imagine creating different tiers or levels of tickets, and depending on what tier of ticket(s) an attendee has associated with their profile, they are allowed into certain sessions.
- From the Event Dashboard, navigate to Sessions > Sessions
- Select a session would like to restrict tickets for from the list
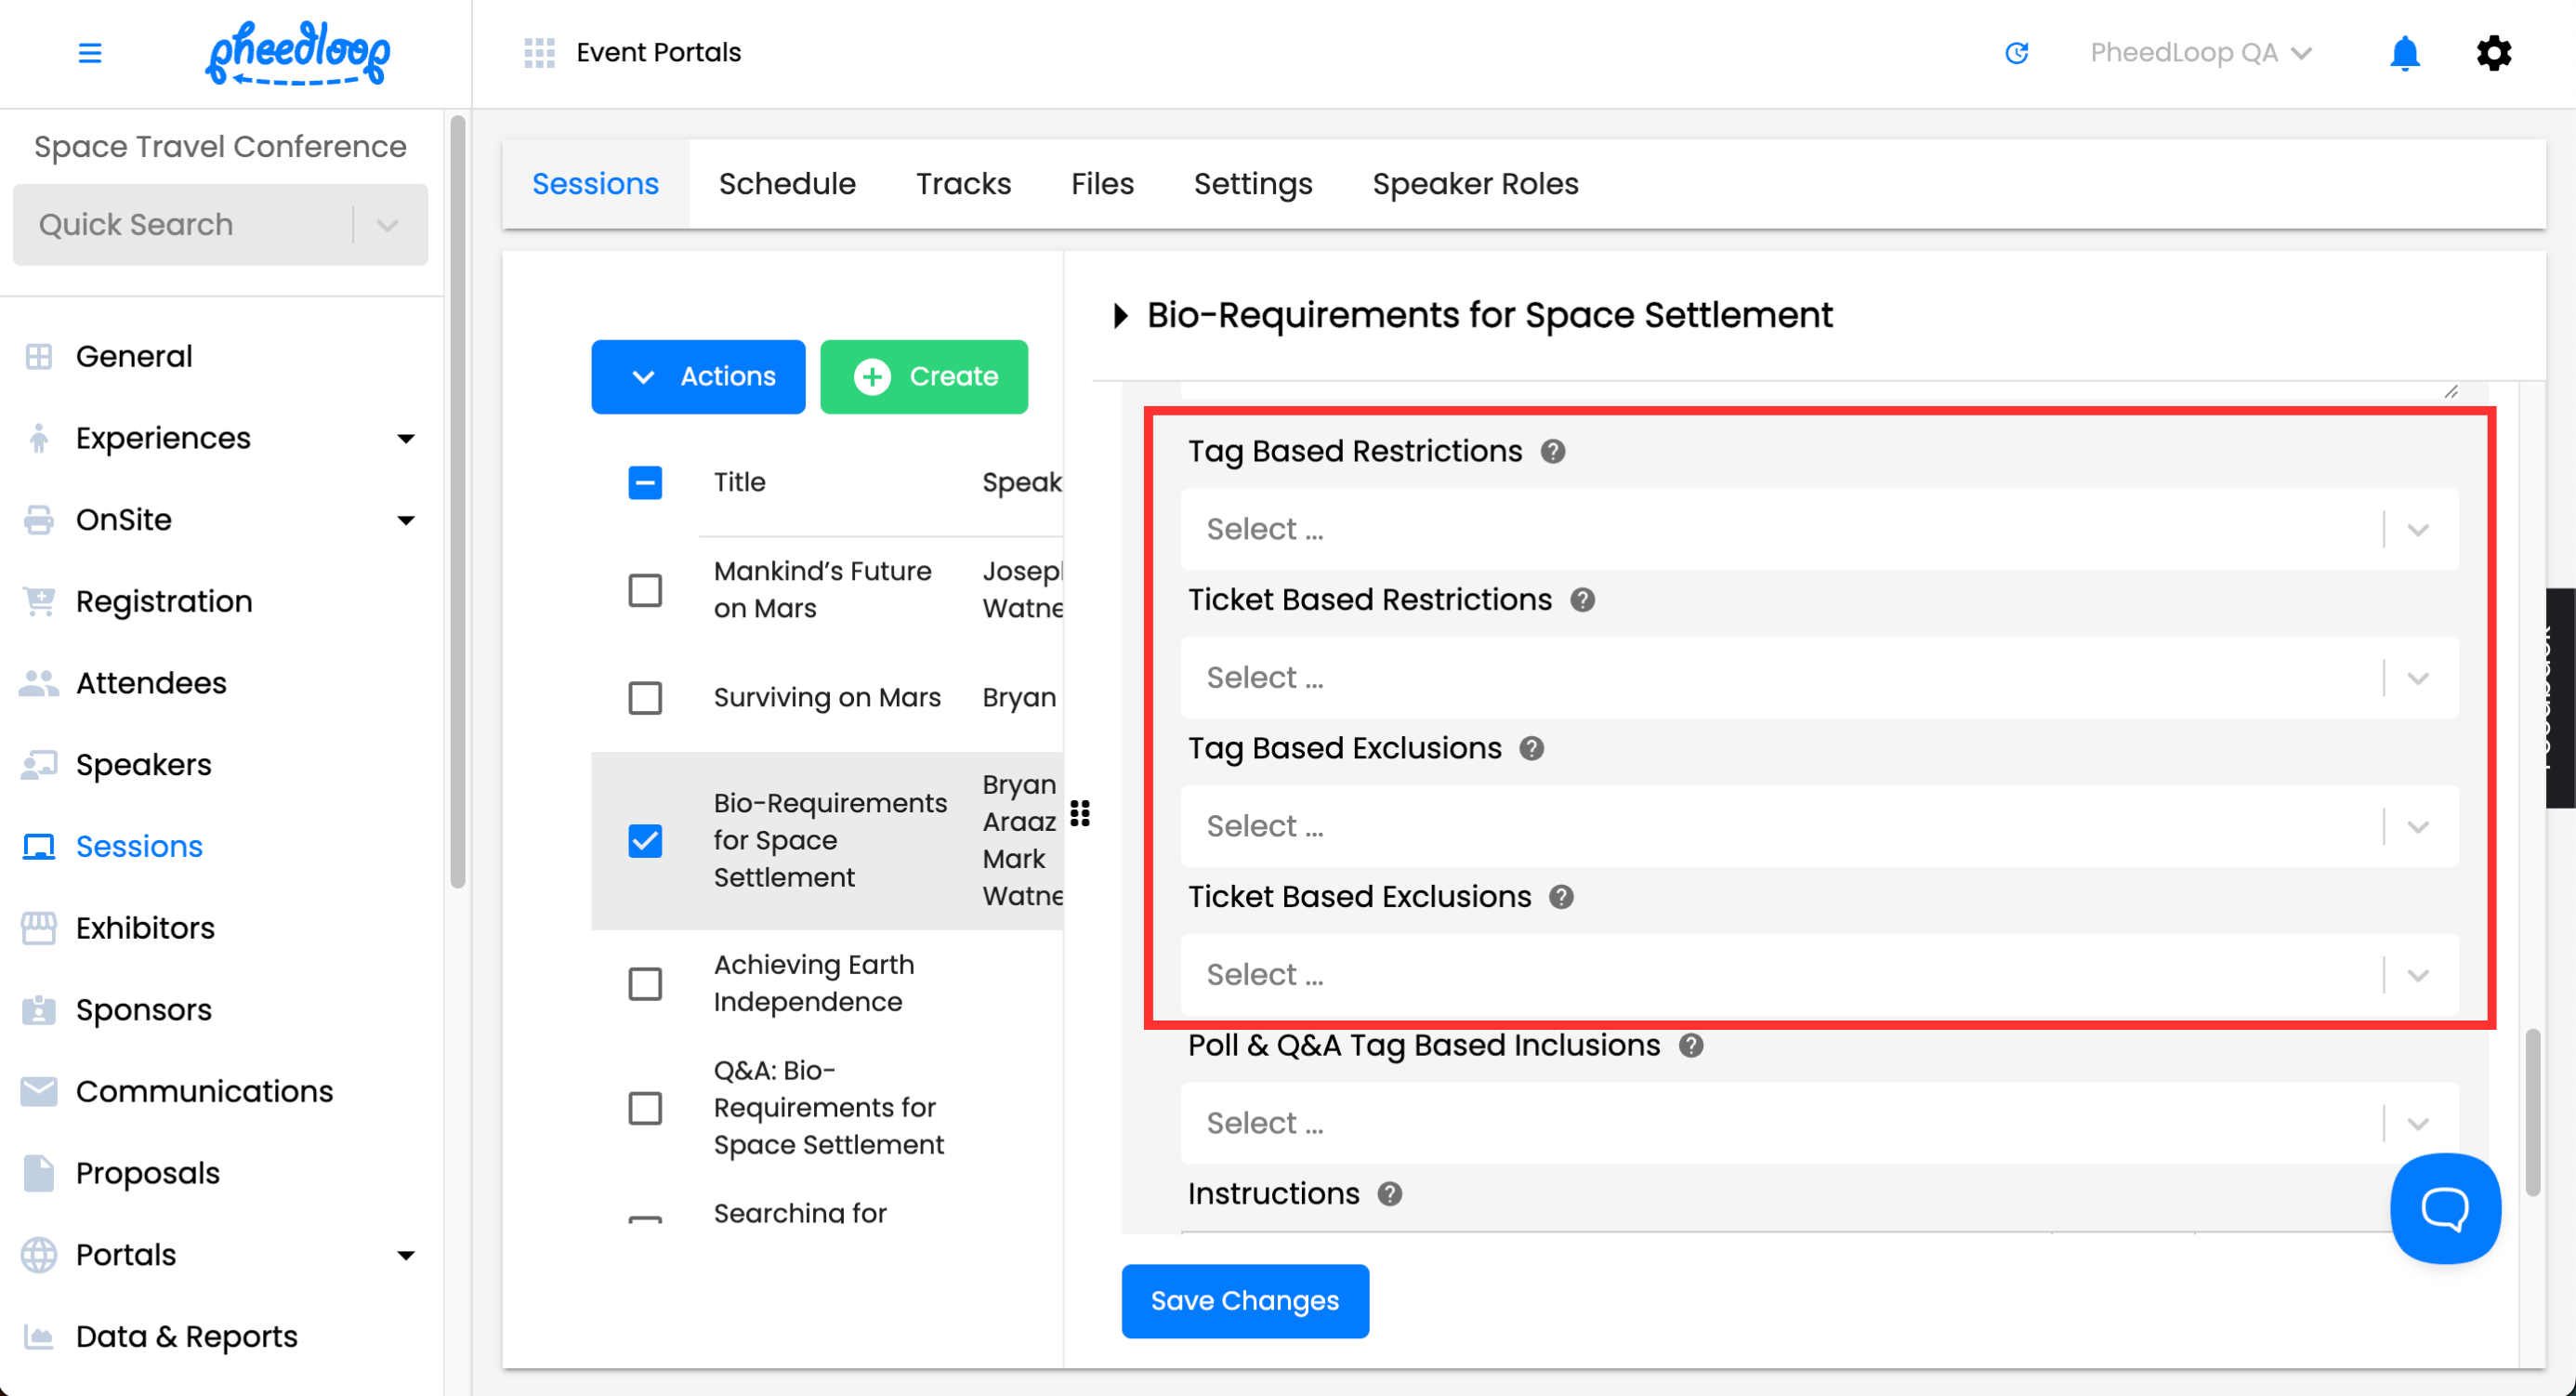
- In the session editor form, scroll down to Advanced Settings
- Under Ticket Based Restrictions, select the ticket(s) that would be necessary for attending the session from the list
-
Select Save Changes

For example, if Session A has a restriction for Ticket A then that means ONLY people who have Ticket A in their profile will be able to access this session. Only people who POSSESS Ticket A will be able to see it.
2. Tag Restrictions
Suppose you are not using PheedLoop’s built-in registration system. In that case, this method is helpful as most events rely heavily on tags to segment communication, promote filtering for badges on-site, and for internal data management. Tag restrictions can also be combined with ticket restrictions and vice versa, which means any one of the conditions is required to view the session.
2 (A). Create a Tag:
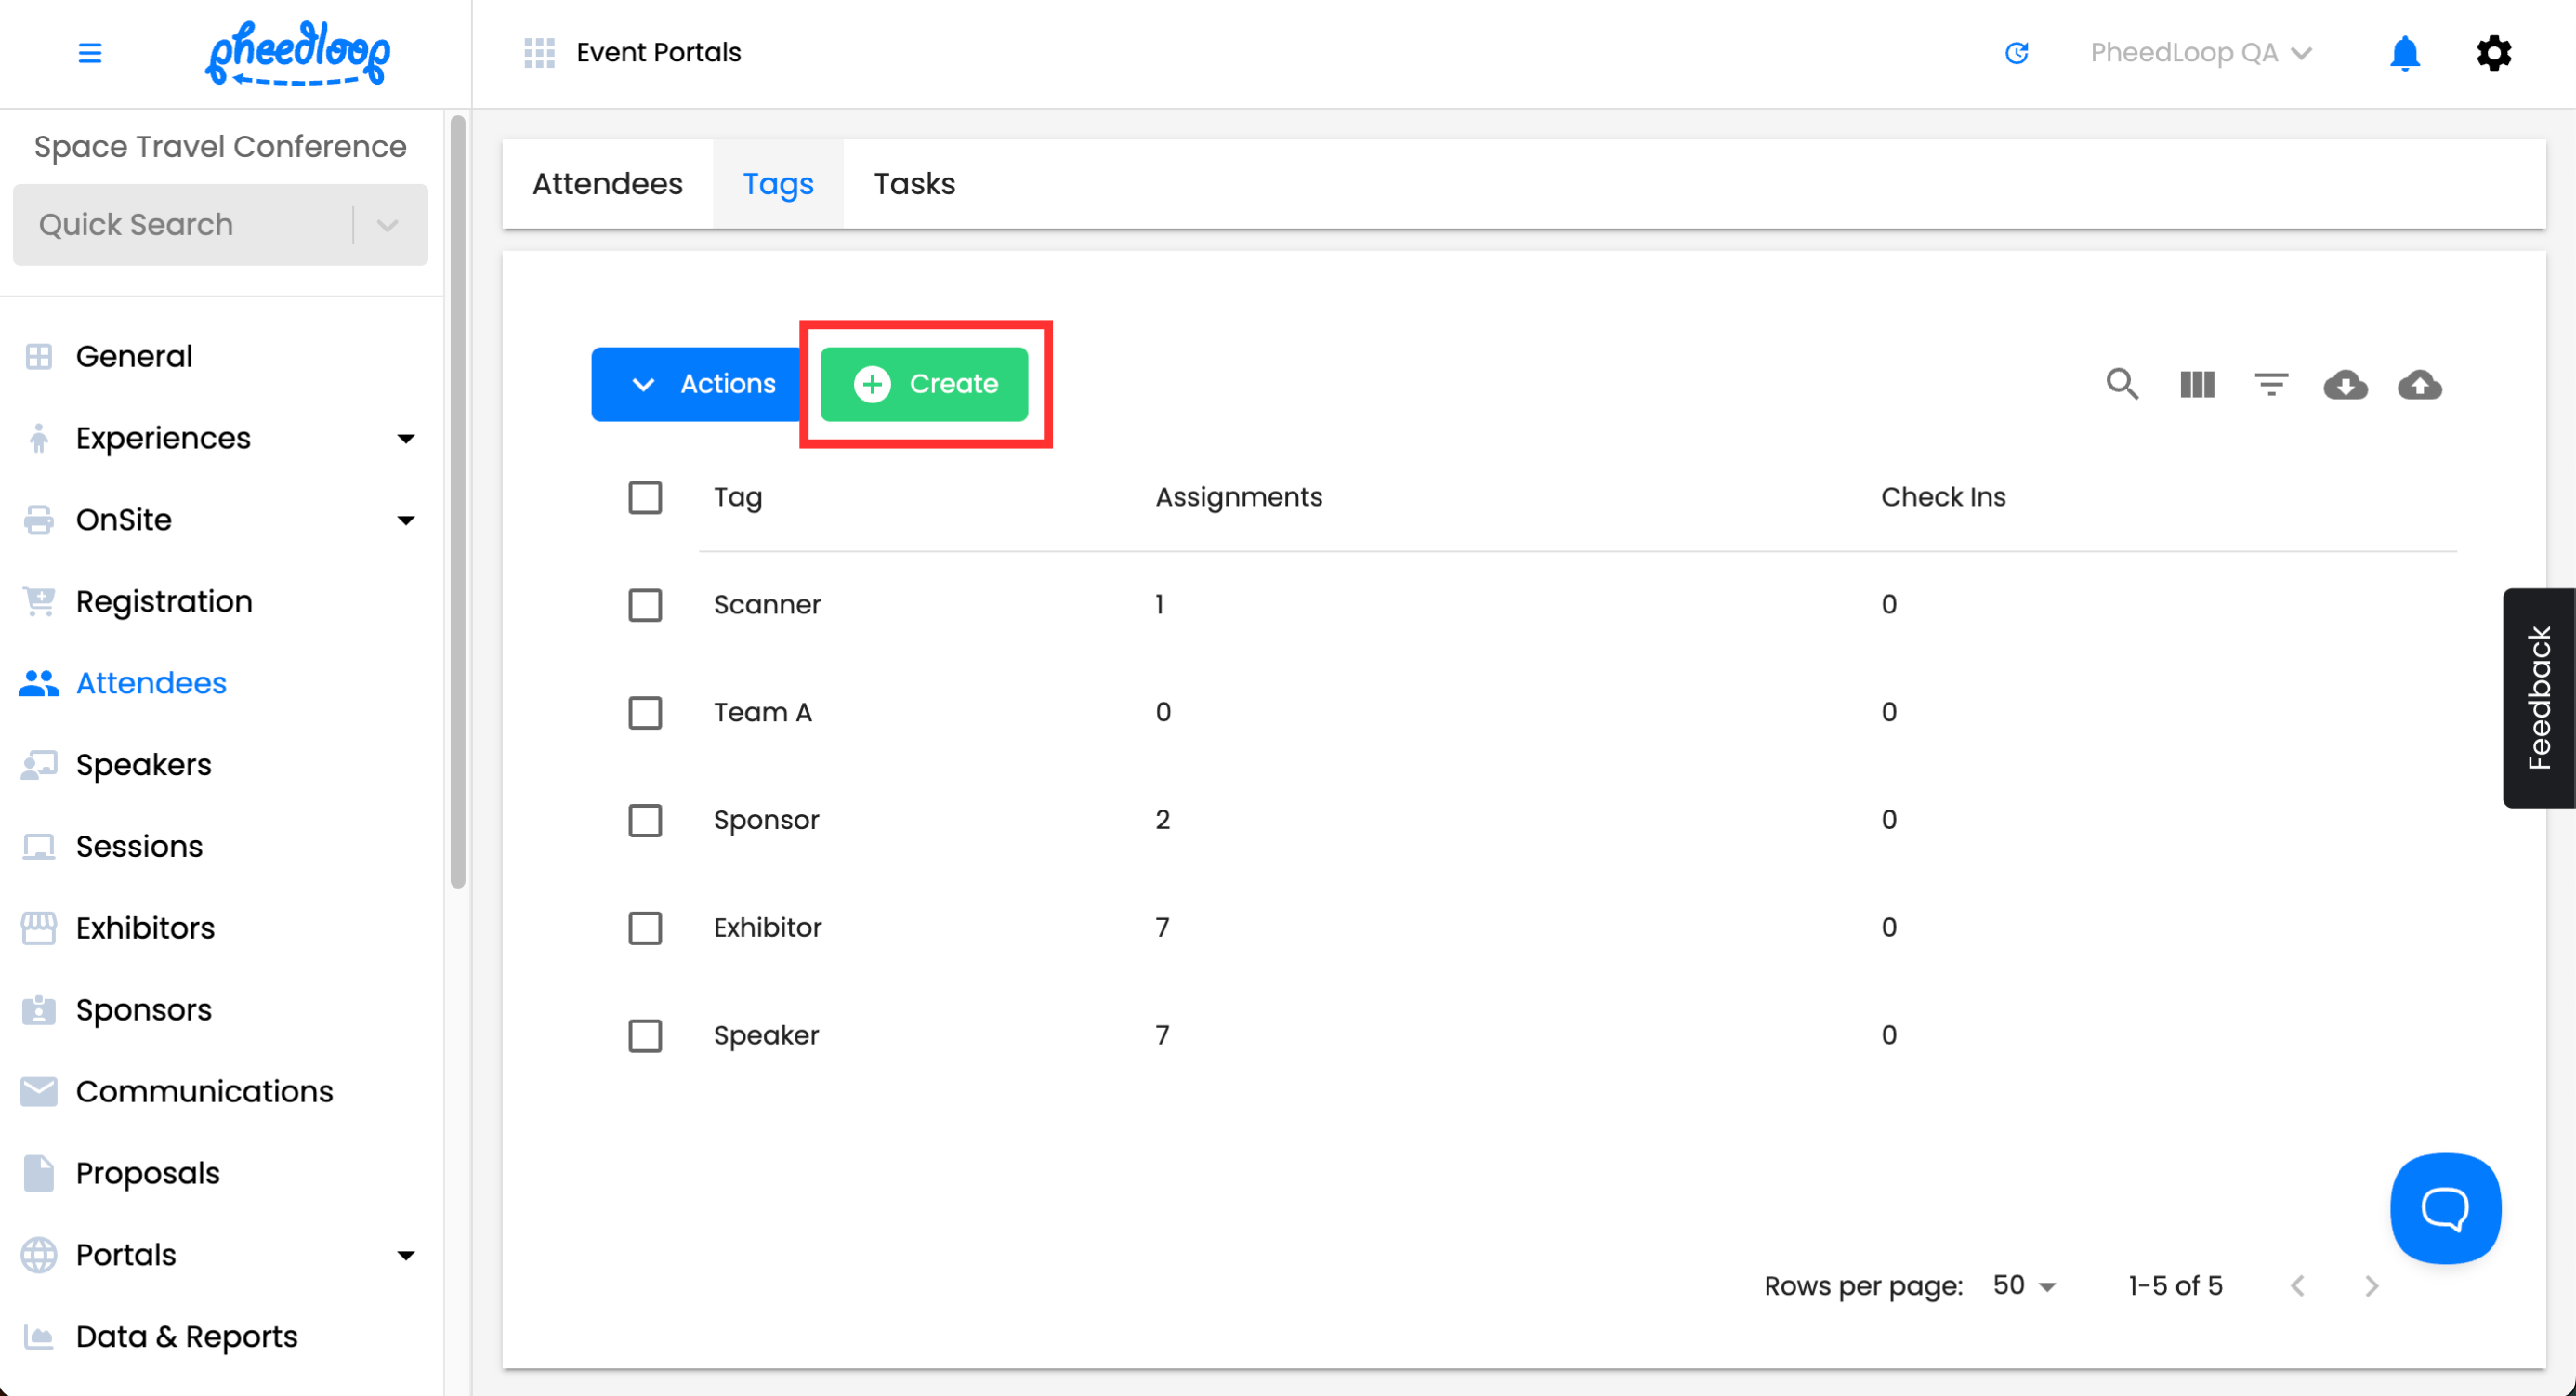
- From the Event Dashboard, navigate to Attendees > Tags
-
Above the tag table, select Create
-
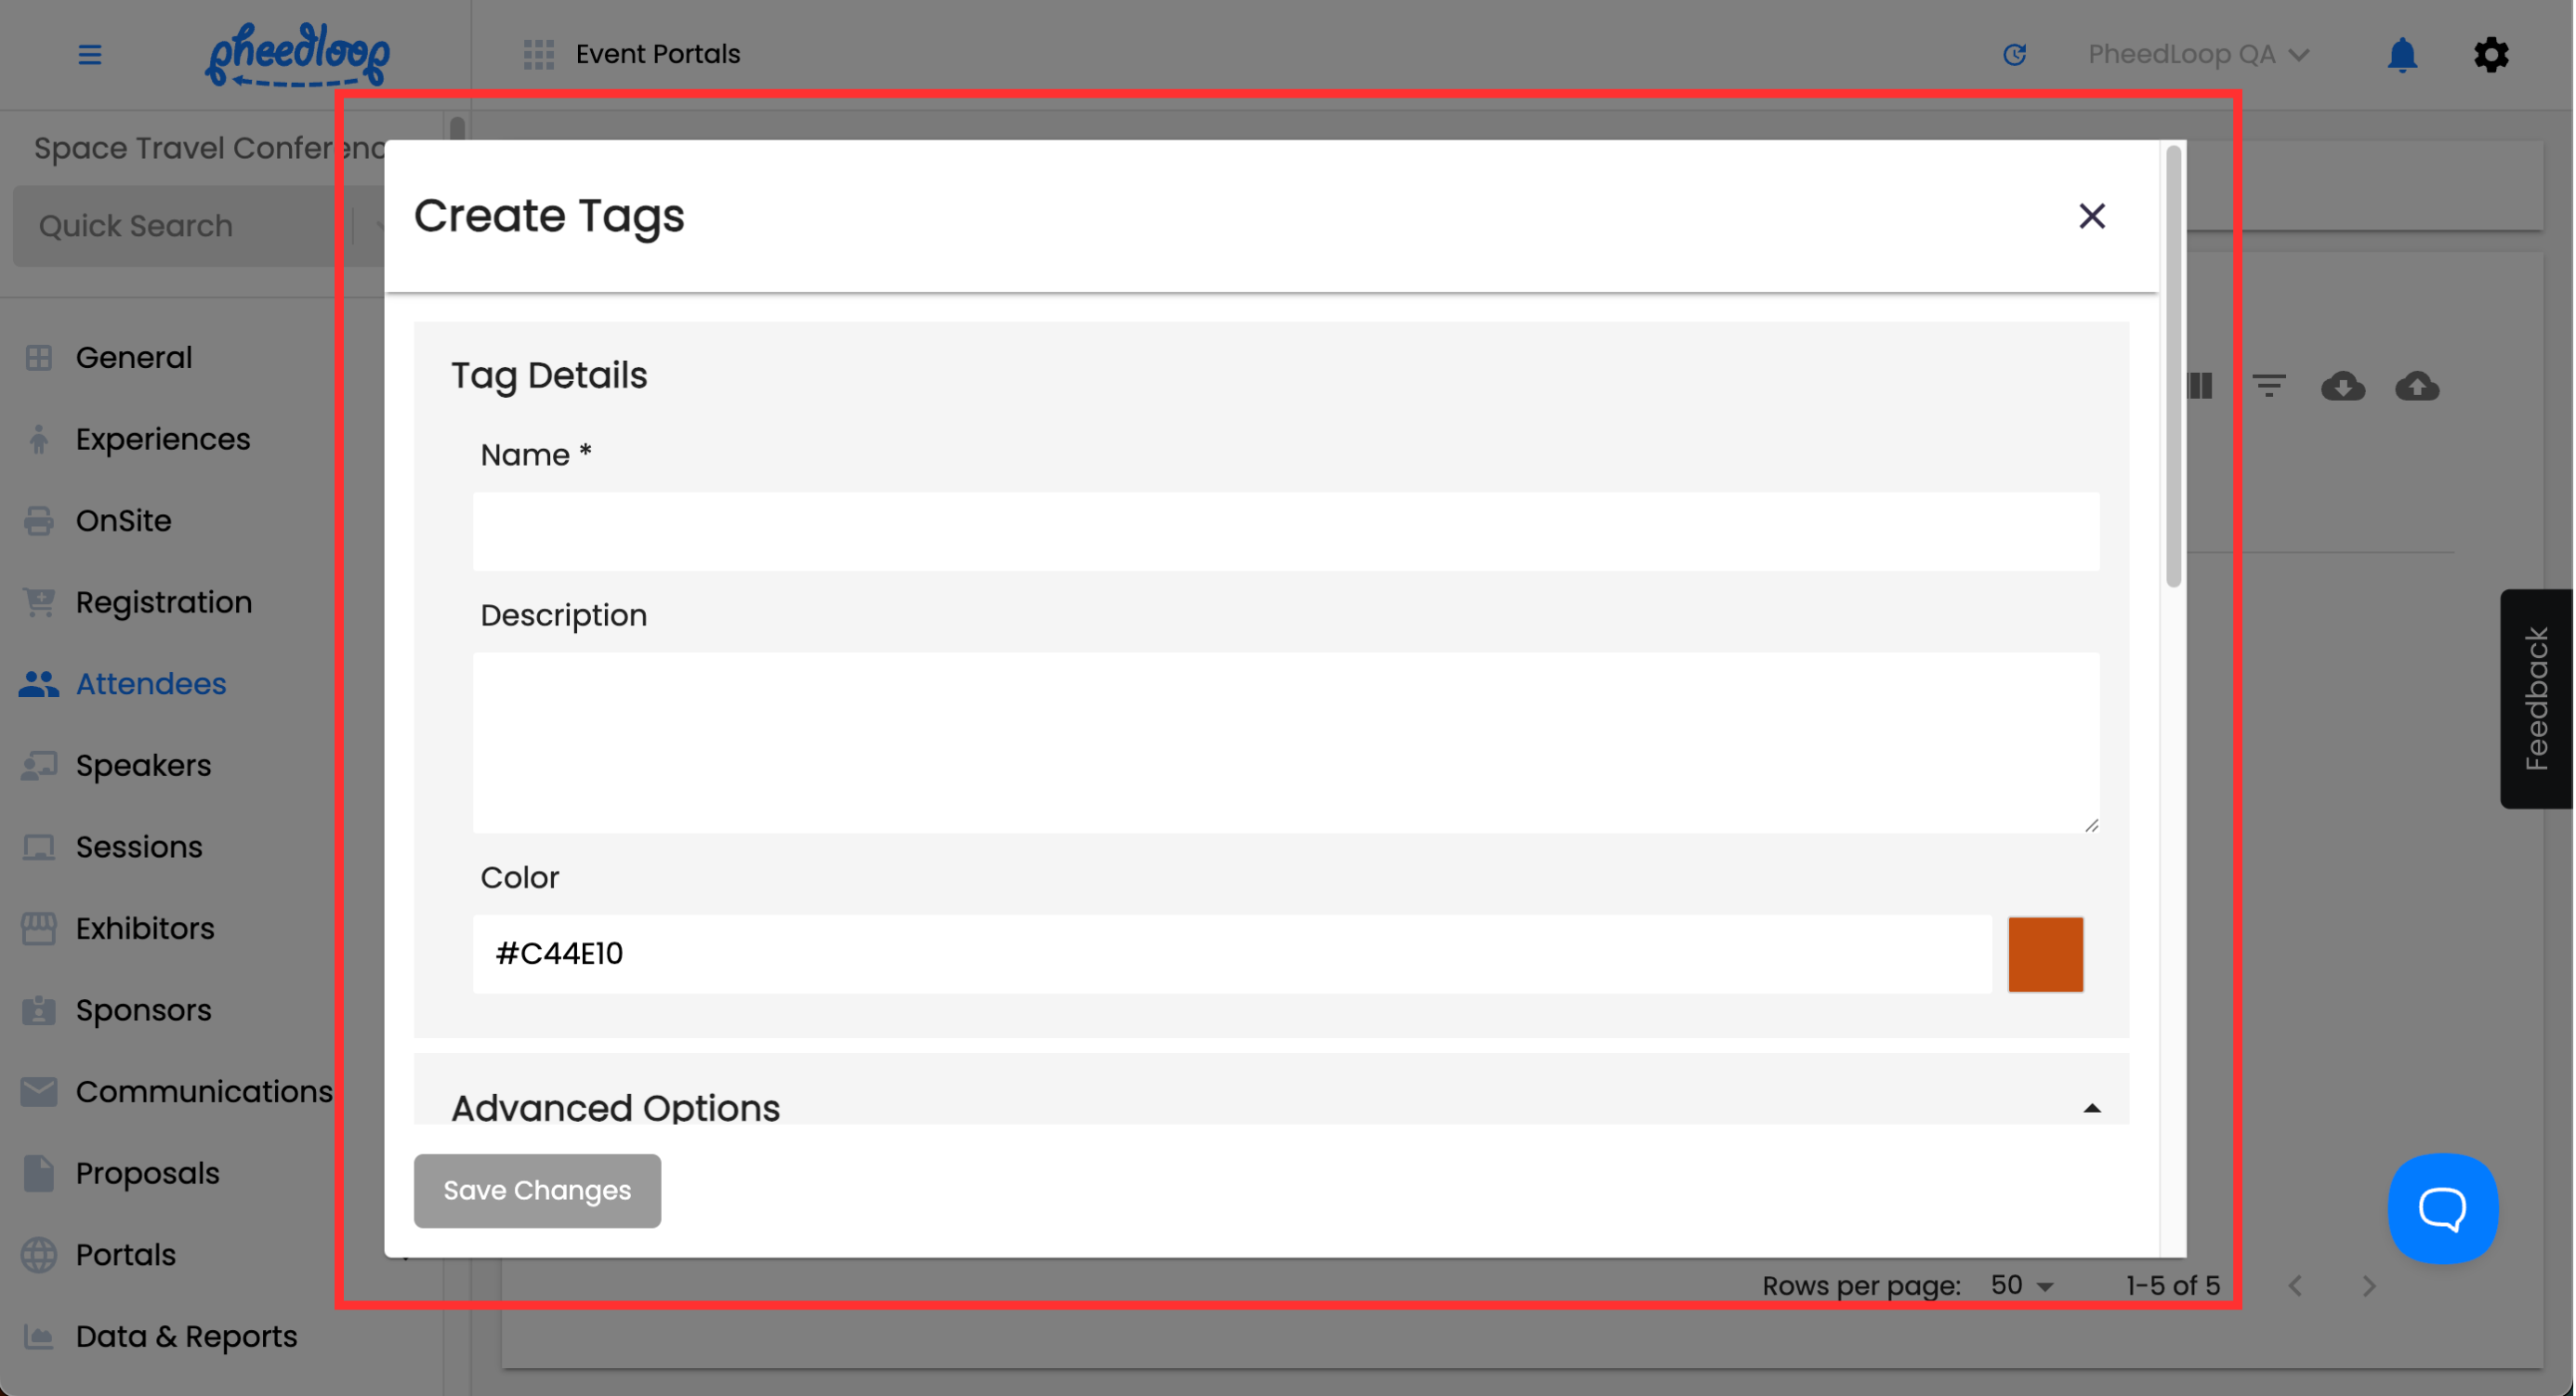
Fill out the Name field and other details you desire


2 (B). Enable Tag Based Restrictions:
- From the Event Dashboard, navigate to Sessions > Sessions
- Select the session you would like to restrict tags to from the list
- In the session editor form, navigate to Details > Advanced Settings
- Under Tag Based Restrictions, select the tag(s) that would be necessary for attending the session from the list
-
Select Save Changes


For example - if Session A has a restriction for Tag A then that means ONLY people that have Tag A in their profile will be able to view and access this session.
3. Exclusions
The exclusions feature is similar to the restrictions feature as it allows for targeted tickets and tags to be excluded from the intended session. Unlike restricting, where you have the option to limit the session to specifically chosen tickets/tags, exclusions allow for you to target tickets/tags which cannot join the session entirely.
While restrictions apply to tickets and tags, exclusions ensure attendees can access a session only if they meet the required ticket or tag criteria. The Poll & Q&A Tag-Based Inclusions setting also limits access to Advanced Networking features in the event app and virtual portal to only those attendees with the appropriate tags.
For example, if you list a ticket or tag under the Ticket-Based Exclusions or Tag-Based Exclusions field for Session A, any attendee with that ticket or tag will still see Session A but will be unable to add it to their schedule.
Exclusions for tickets and tags have the same step-by-step process as restrictions and can be found underneath the Ticket Based Restrictions or Tag-Based Exclusions under the Advanced Settings section.

3 (A). Poll & QA Tag Based Inclusions
Polls along with Questions and Answers, can be restricted based on the required tag.
- From the Event Dashboard, navigate to Sessions > Sessions
- Select the Session you wish to adjust from the list
- Scroll down to Advanced Settings
- Under the Poll & QA Tag Based Inclusions field, select the tag you wish to use
-
Select Save Changes
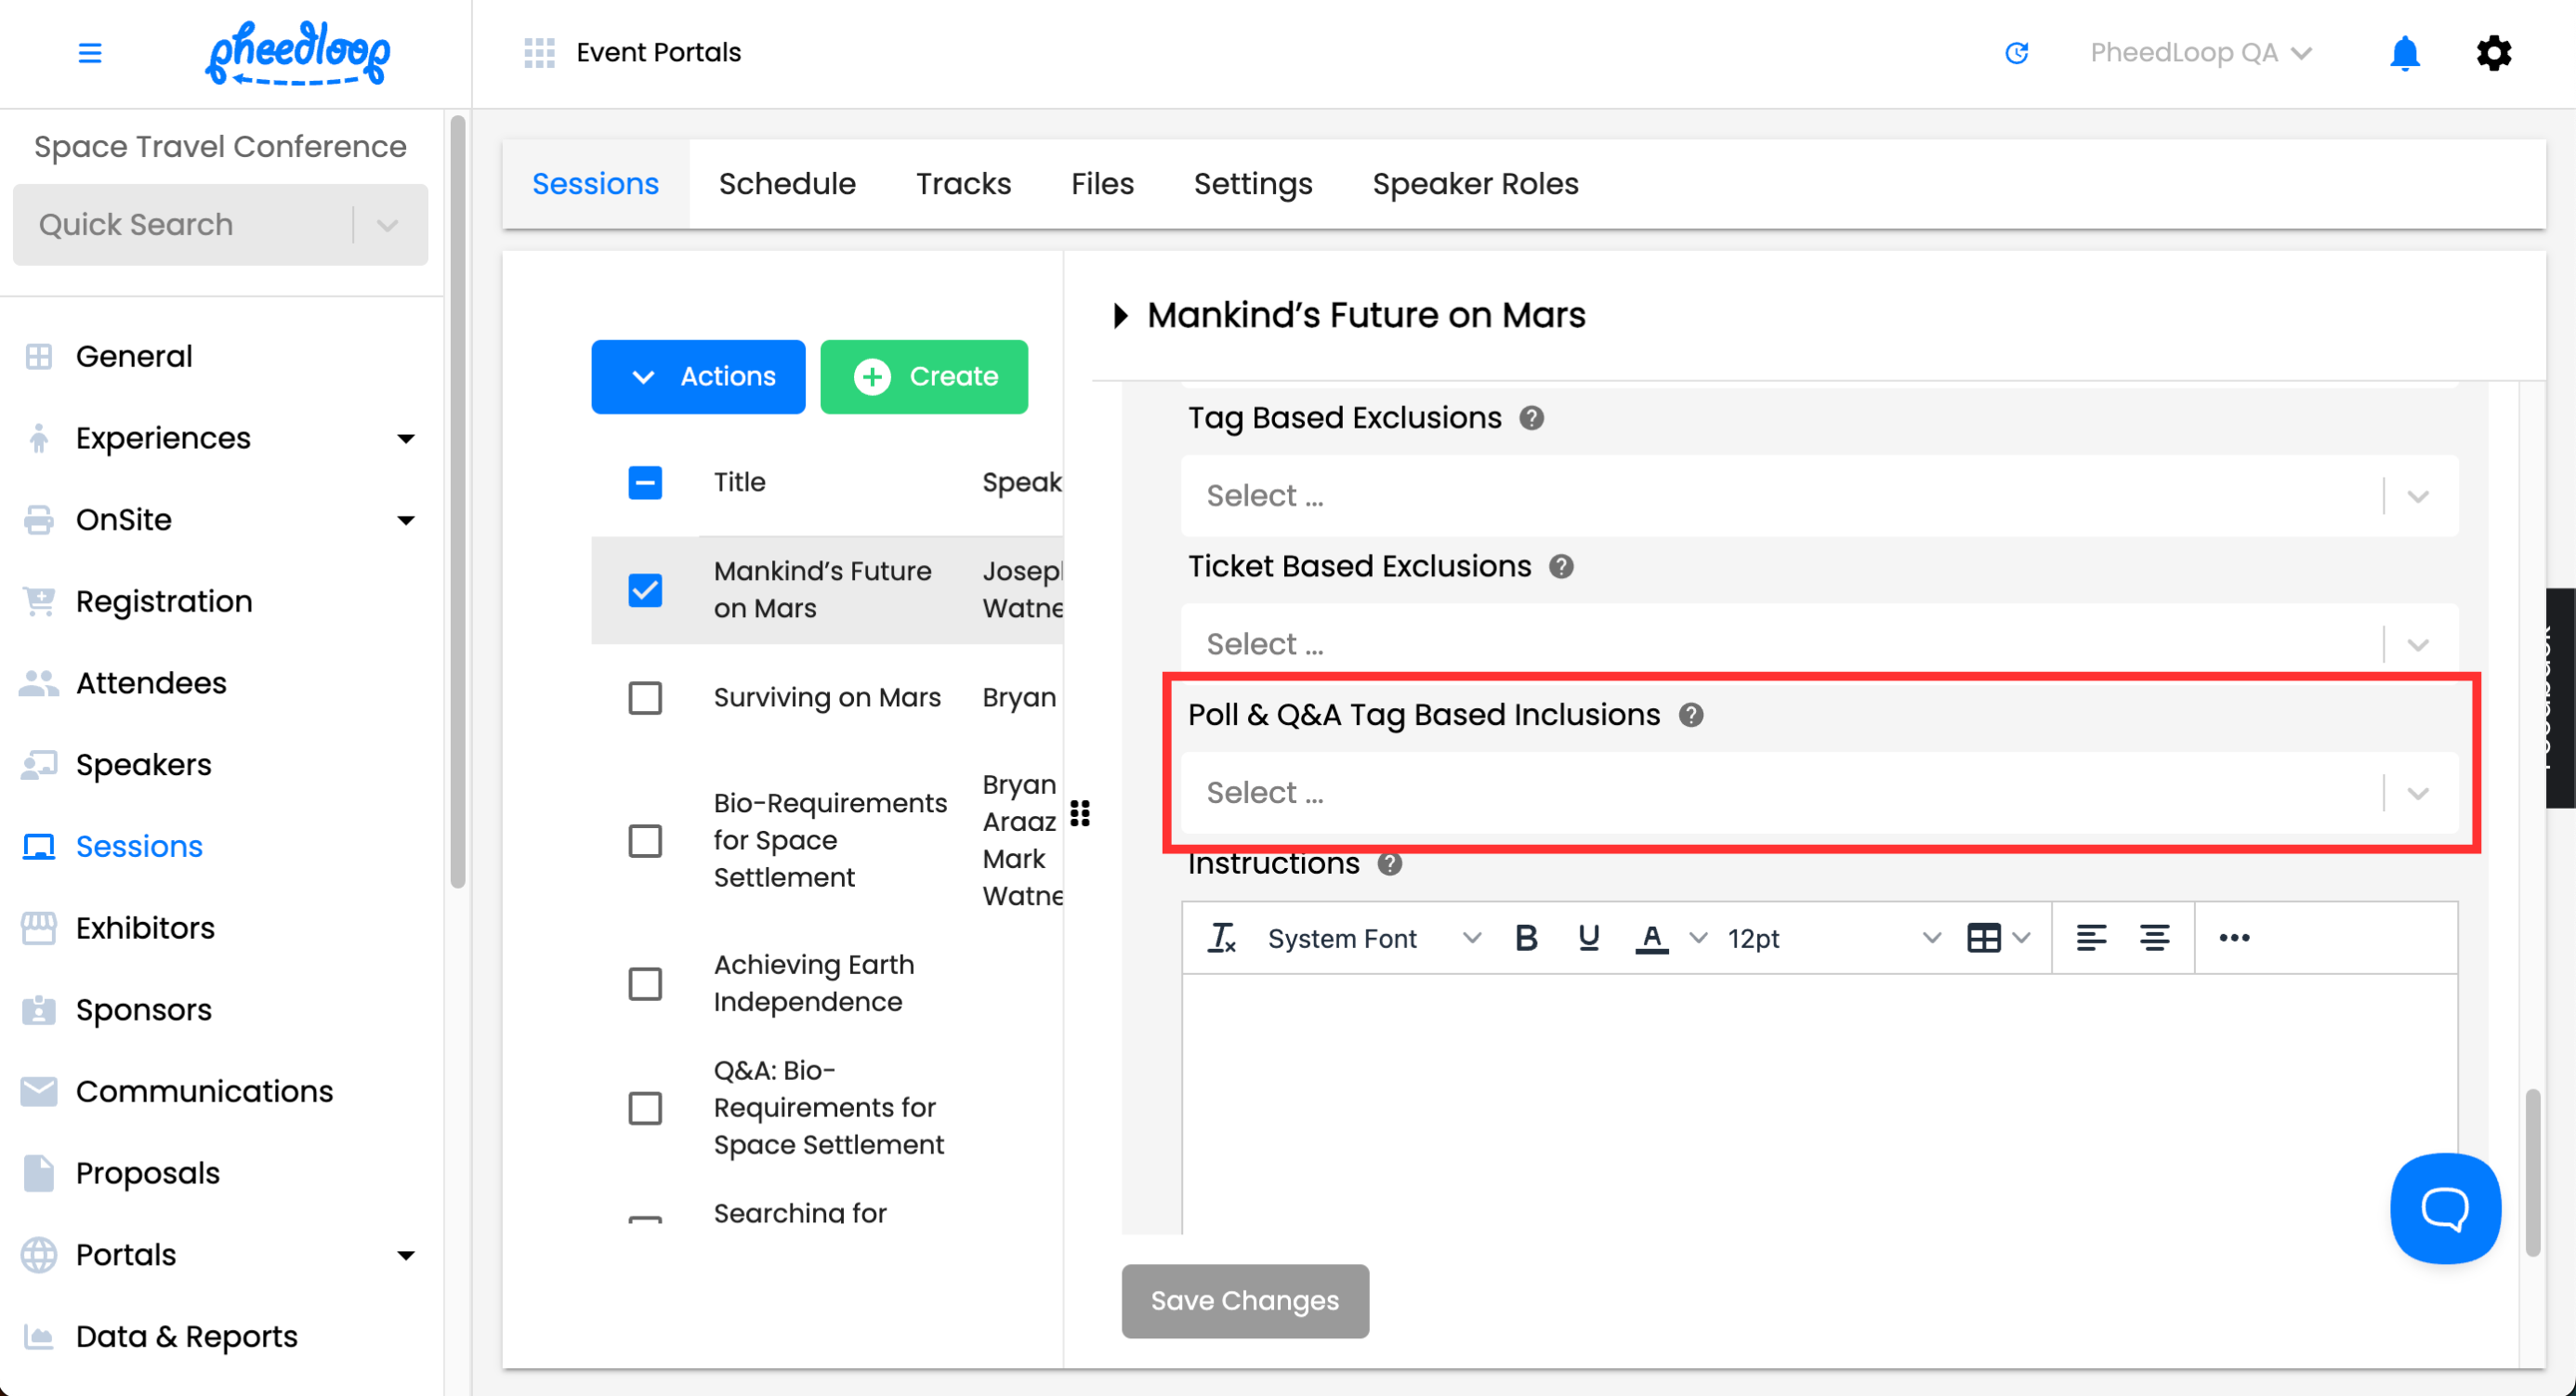

Attendees without the tag will not be able to see the Polls or Questions and Answers section in the Virtual Portal and PheedLoop Go!.
4. Testing Restrictions/Exclusions
4 (A). Virtual Event Portal:
-
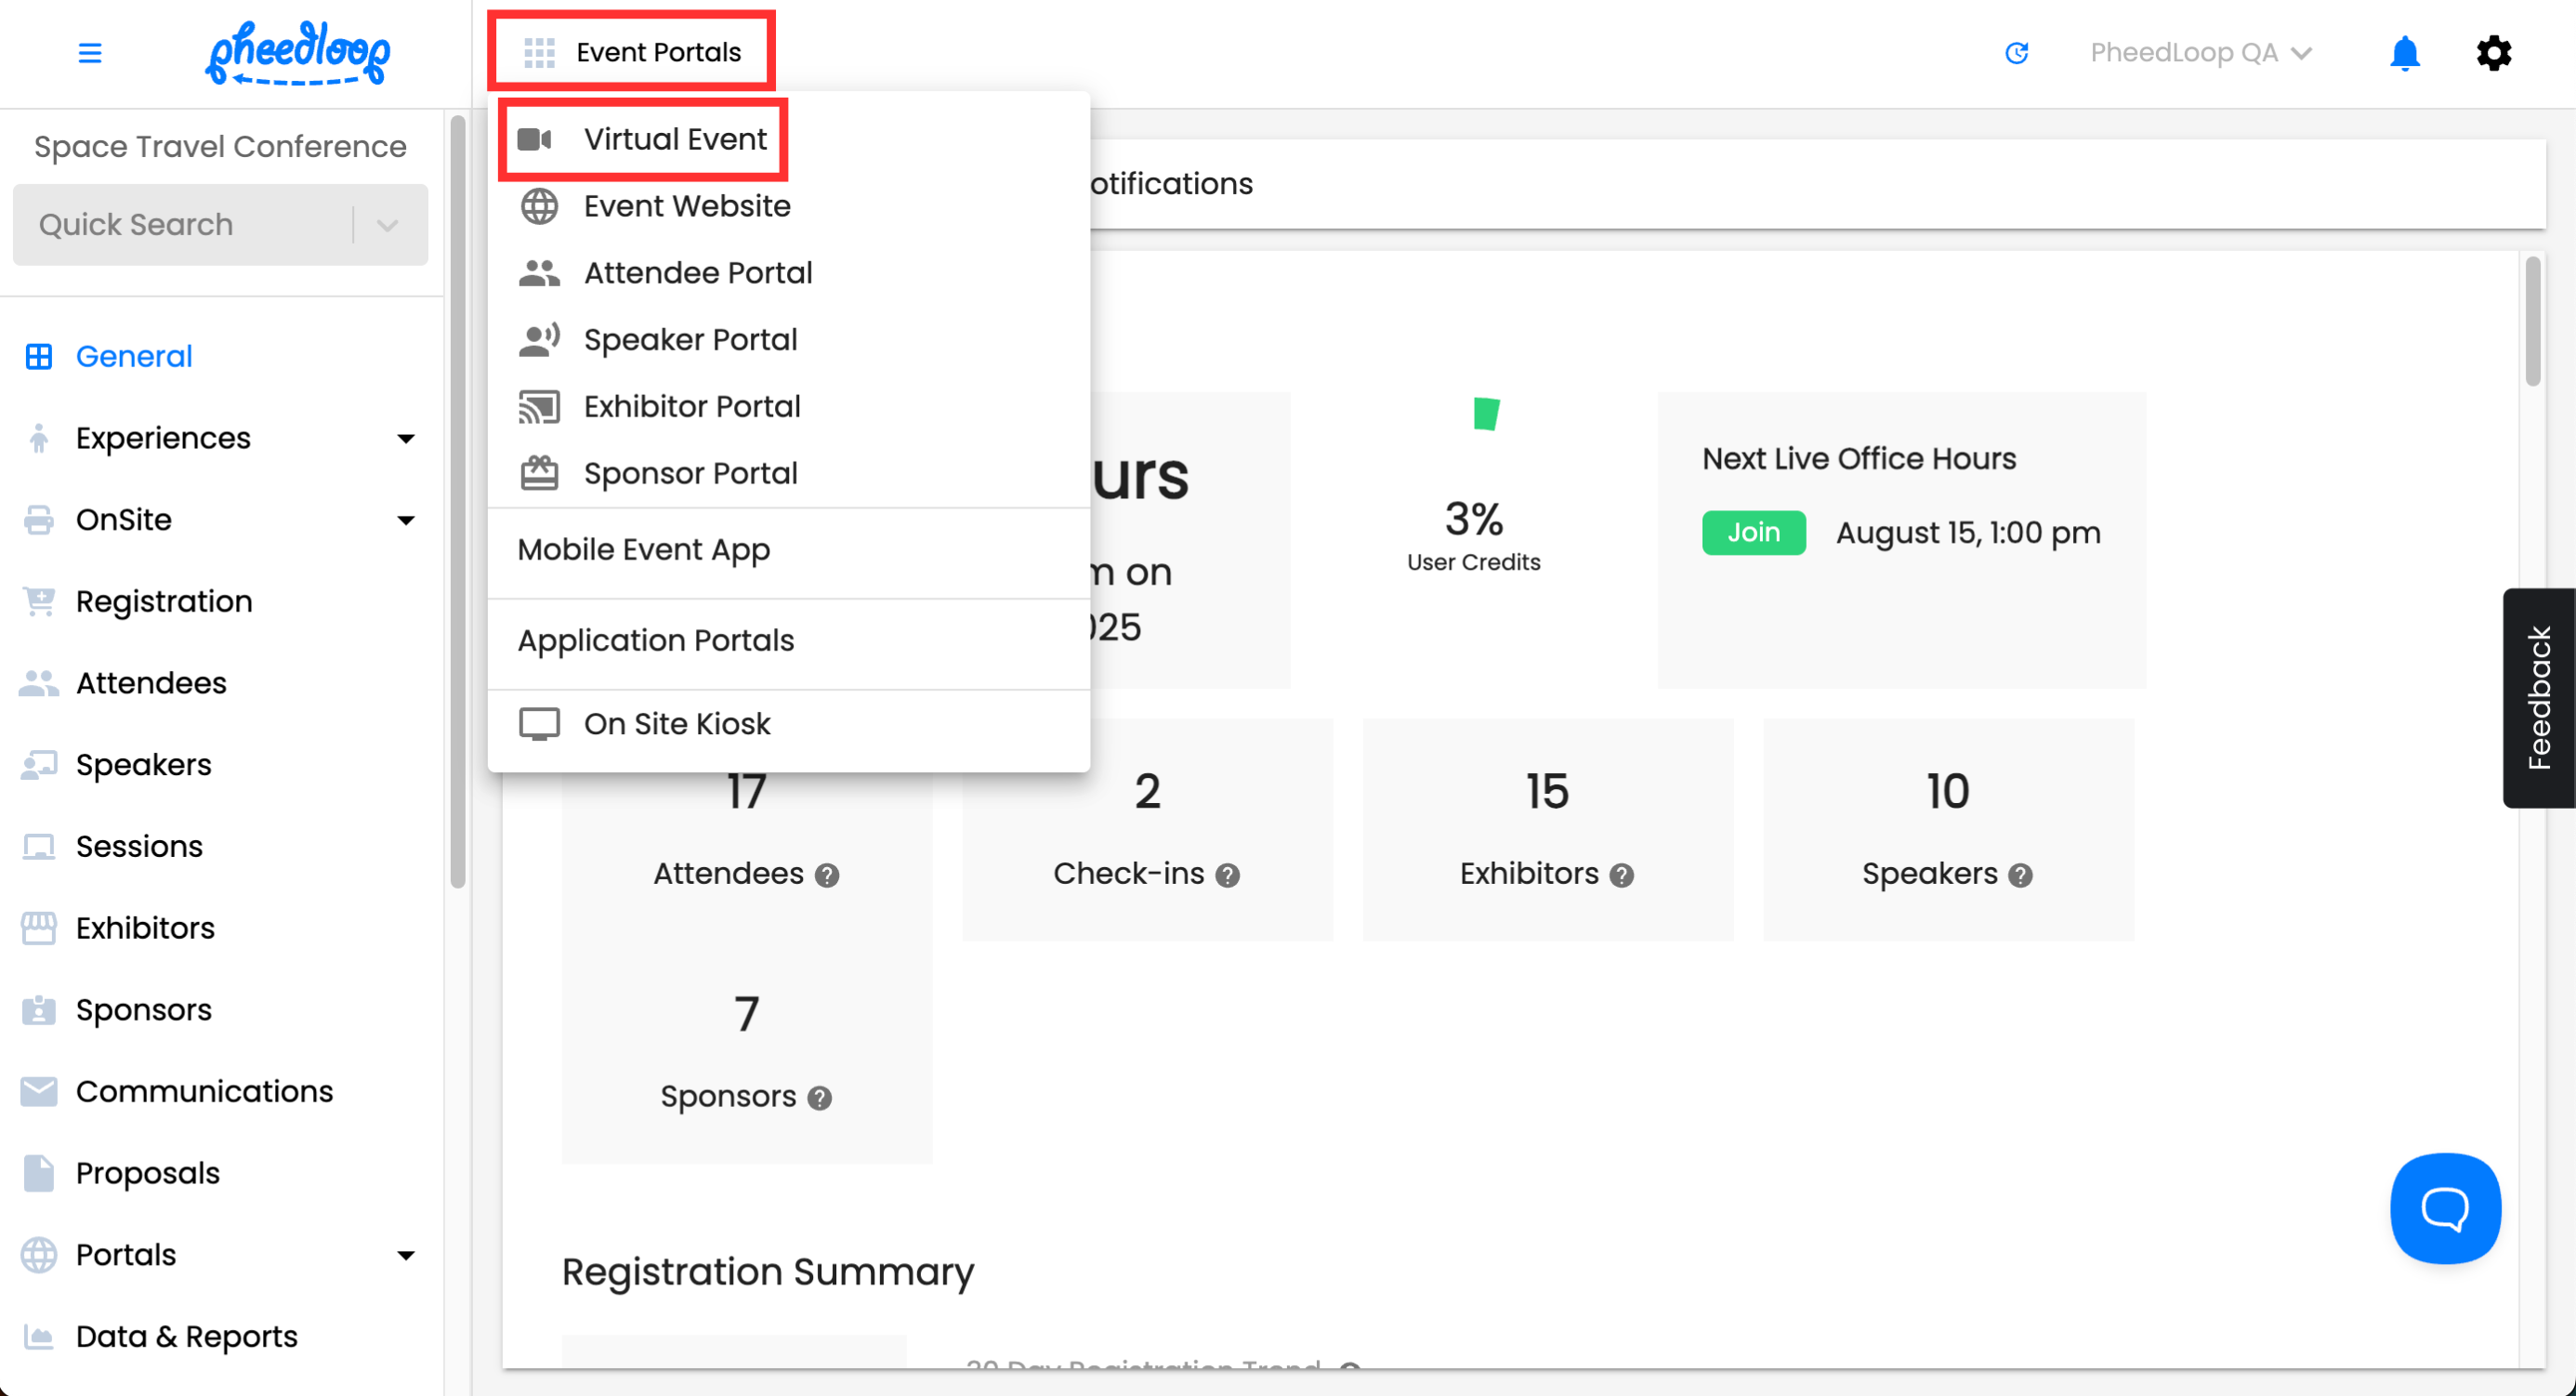
From the Event Dashboard, navigate to Event Portals > Virtual Event
- Login as one of the attendees which has a restricted ticket or tag
- From the left hand side navigation menu, select Sessions
- Select the session with the restricted ticket or tag

If restrictions or exclusions are set up correctly, attempting to access a restricted session with an attendee profile that meets those conditions should trigger a message denying access.

4 (B). Mobile Event App:
-
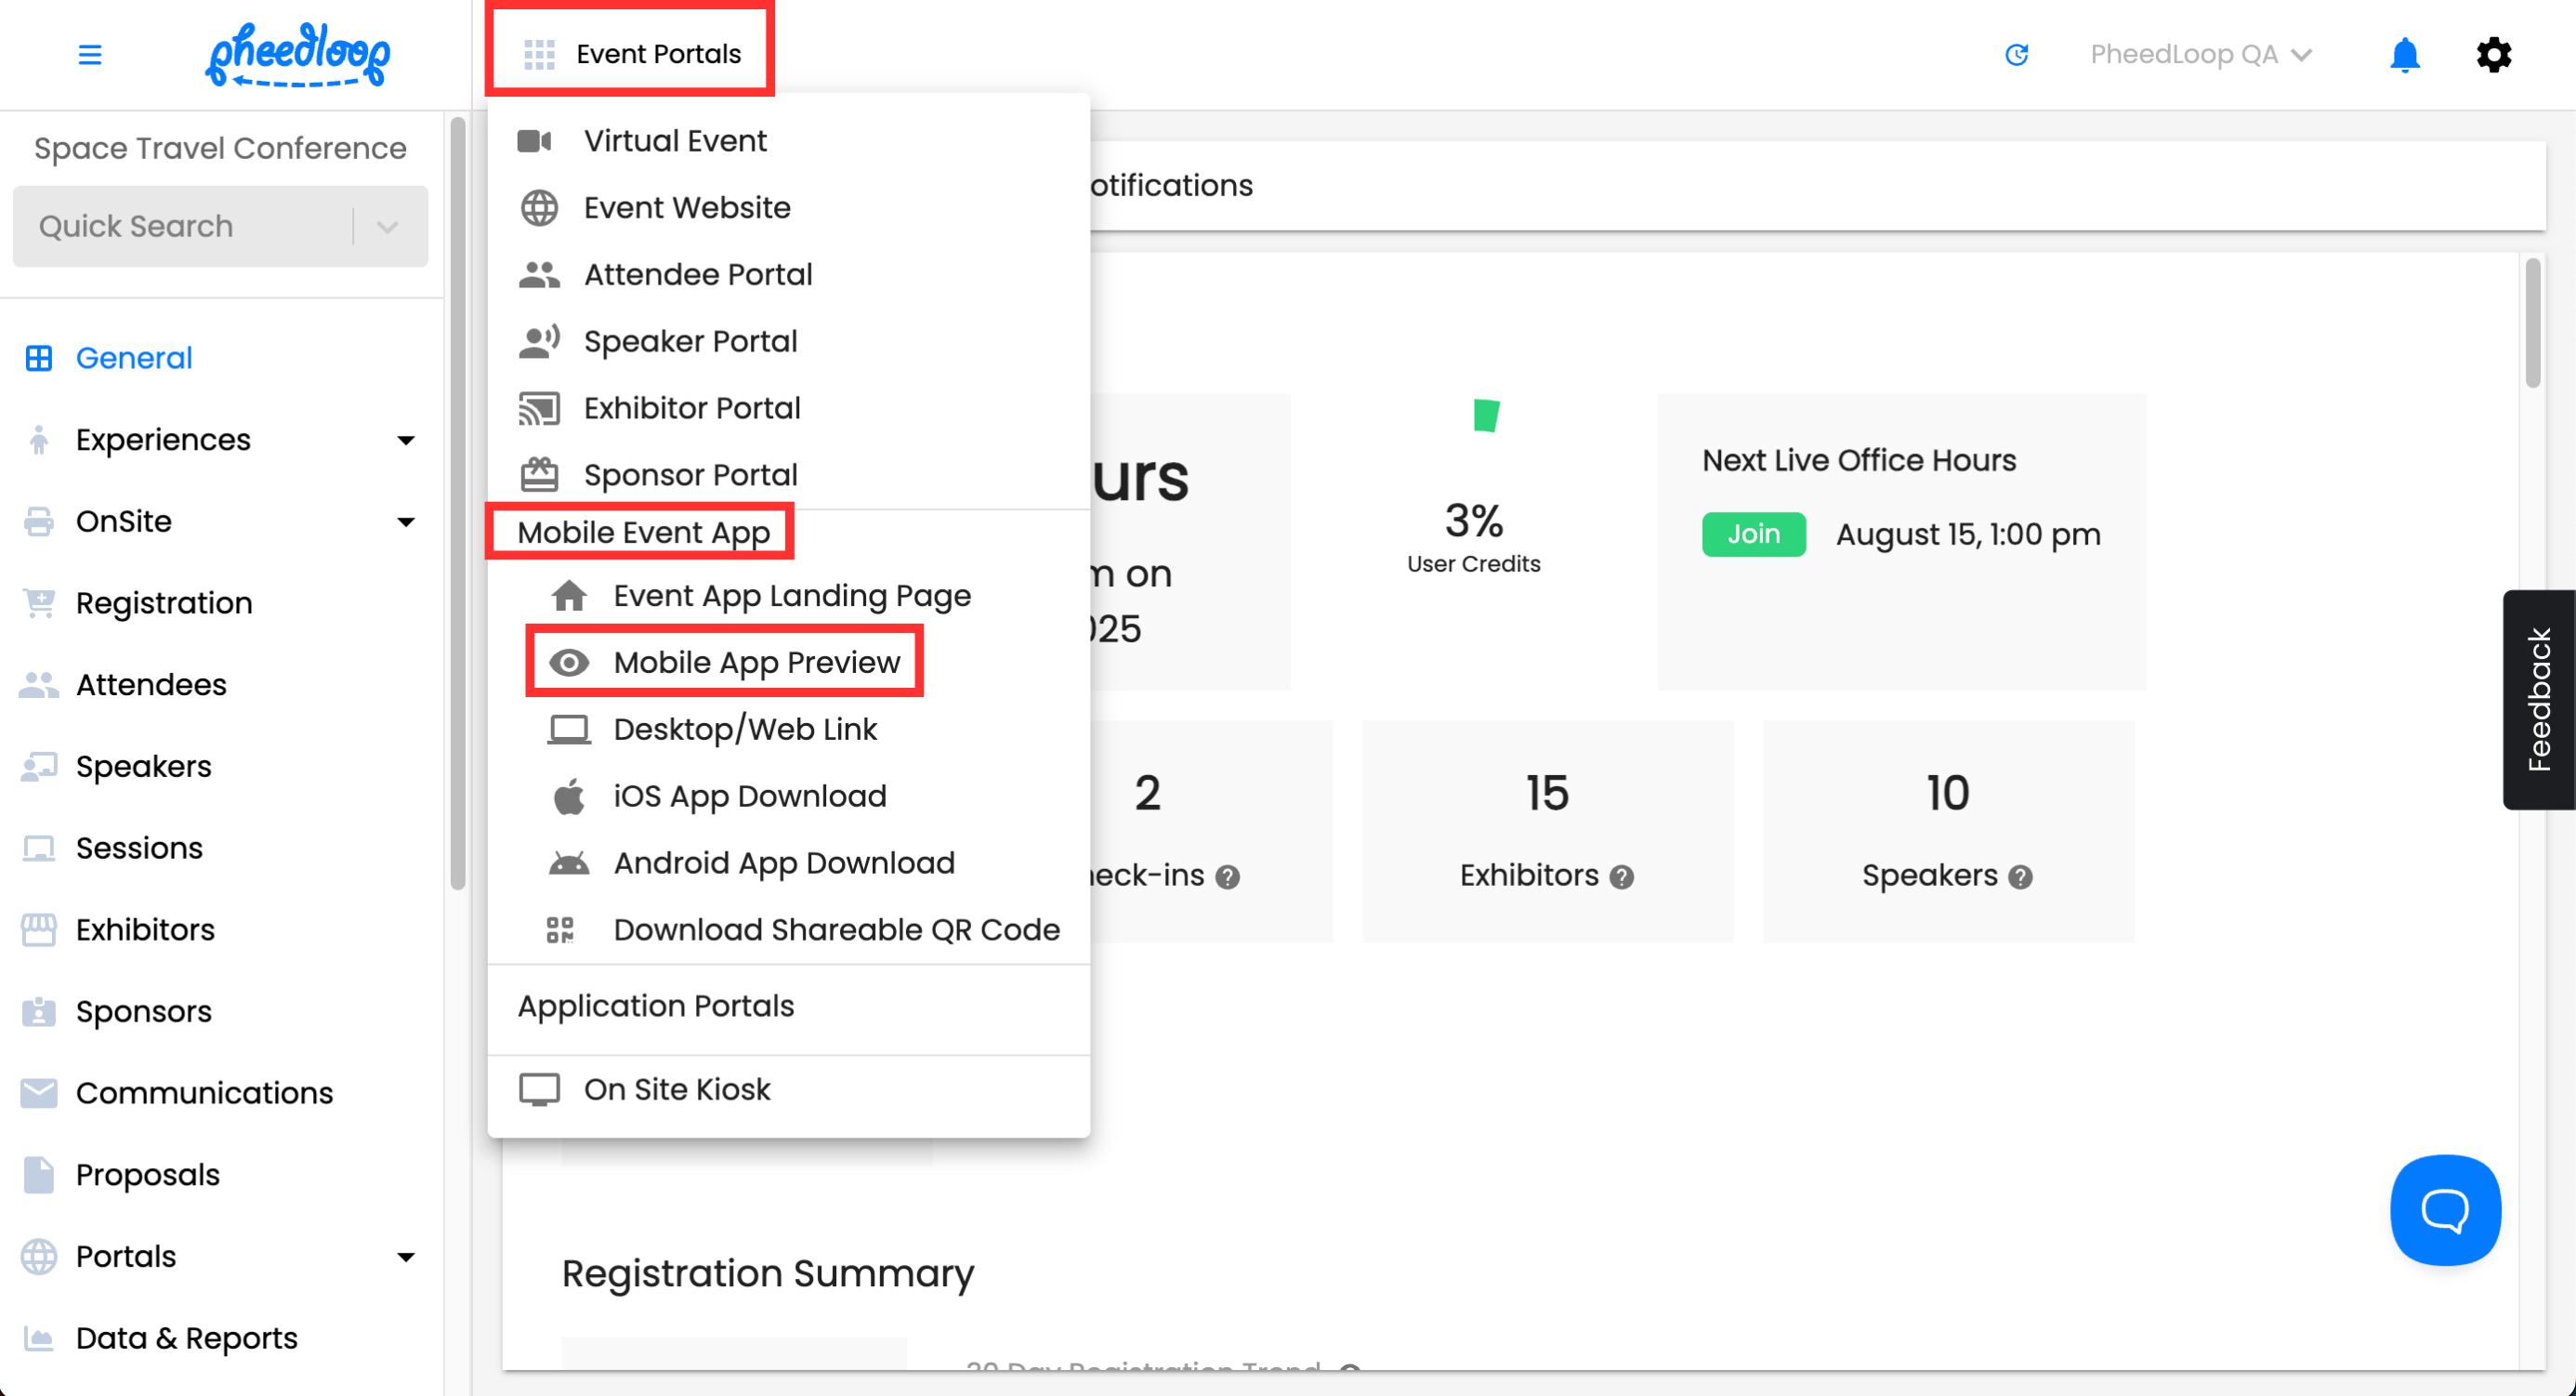
From the Event Dashboard, navigate to Event Portals > Mobile Event App > Mobile App Preview
- Login as one of the attendees which has a restricted ticket or tag and access your event
-
Select the hamburger menu on the top left corner of the screen
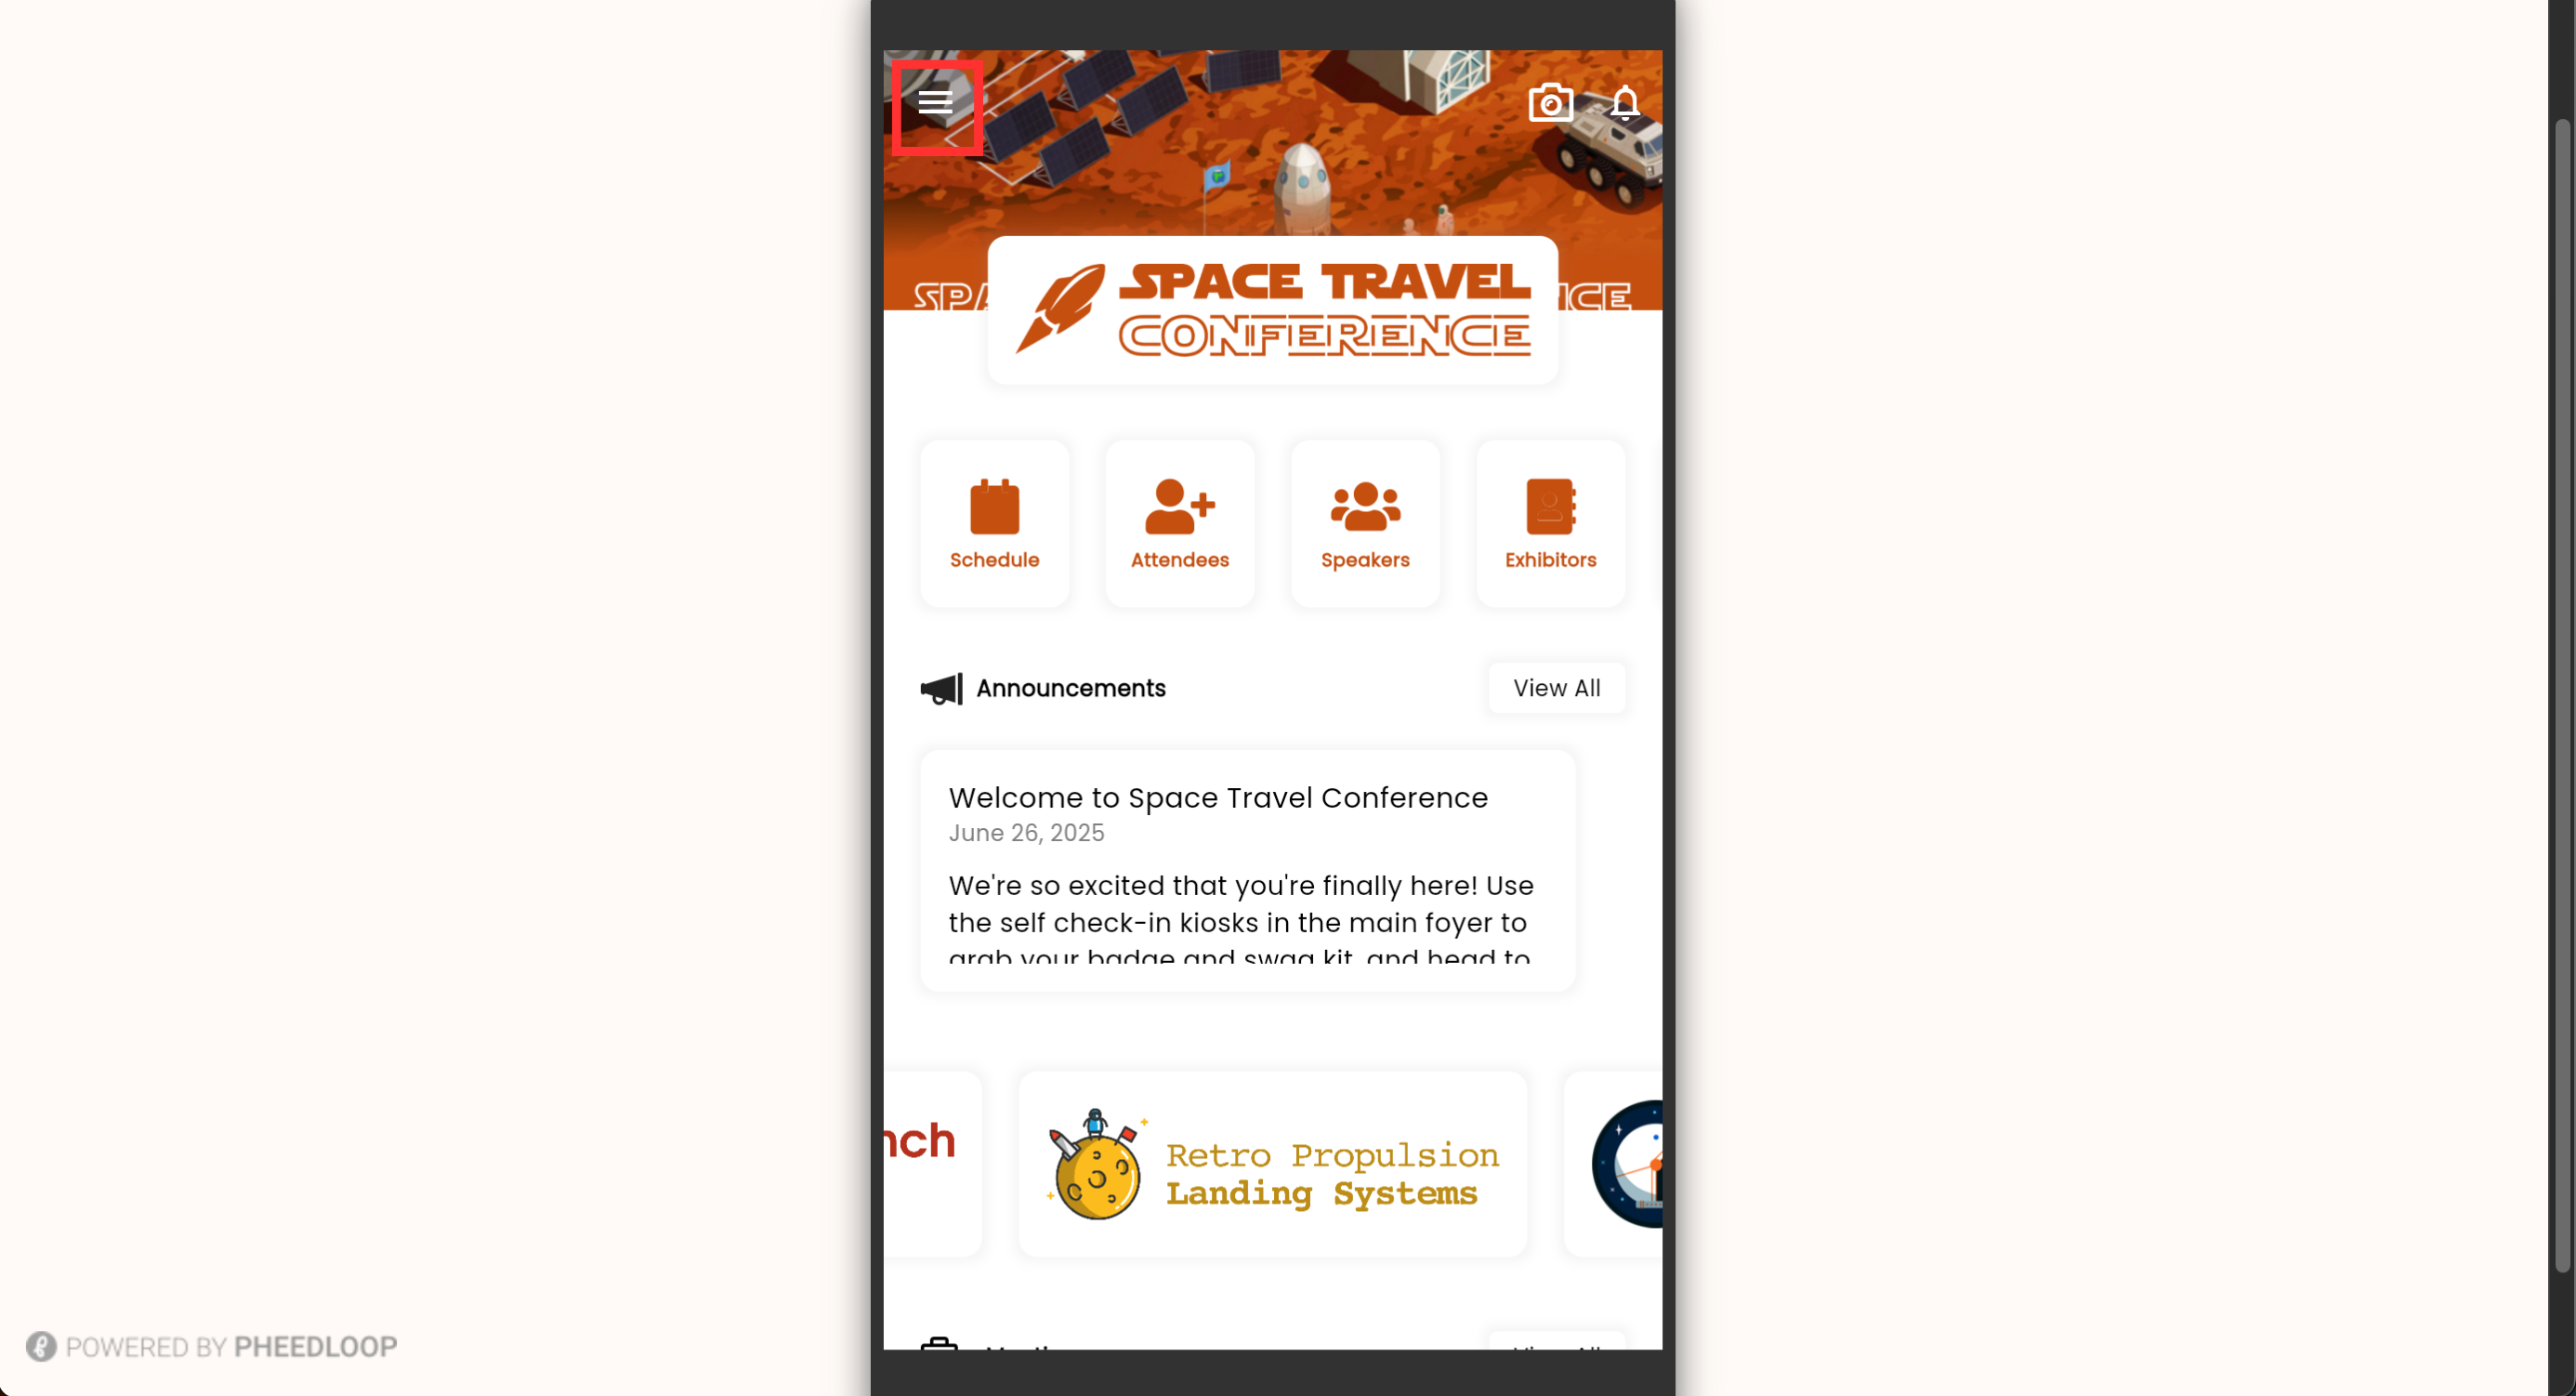
- Select Schedule from the list


If the restrictions/exclusions have been executed correctly, attendees will not be able to see the session at all from the Event App.
Please note, if you are trying to access a session that has restrictions on it and you are logged in with your event admin account, the restrictions will not affect you as administrators have unrestricted access to all content.