How to Add Contact Groups
Contact groups are an additional layer of structuring that event administrators can employ. The purpose of Contact Groups is to send targeted emails to select groups of people in the membership dashboard. This is similar to grouping members up based on similar qualities reminiscent of Custom Fields.
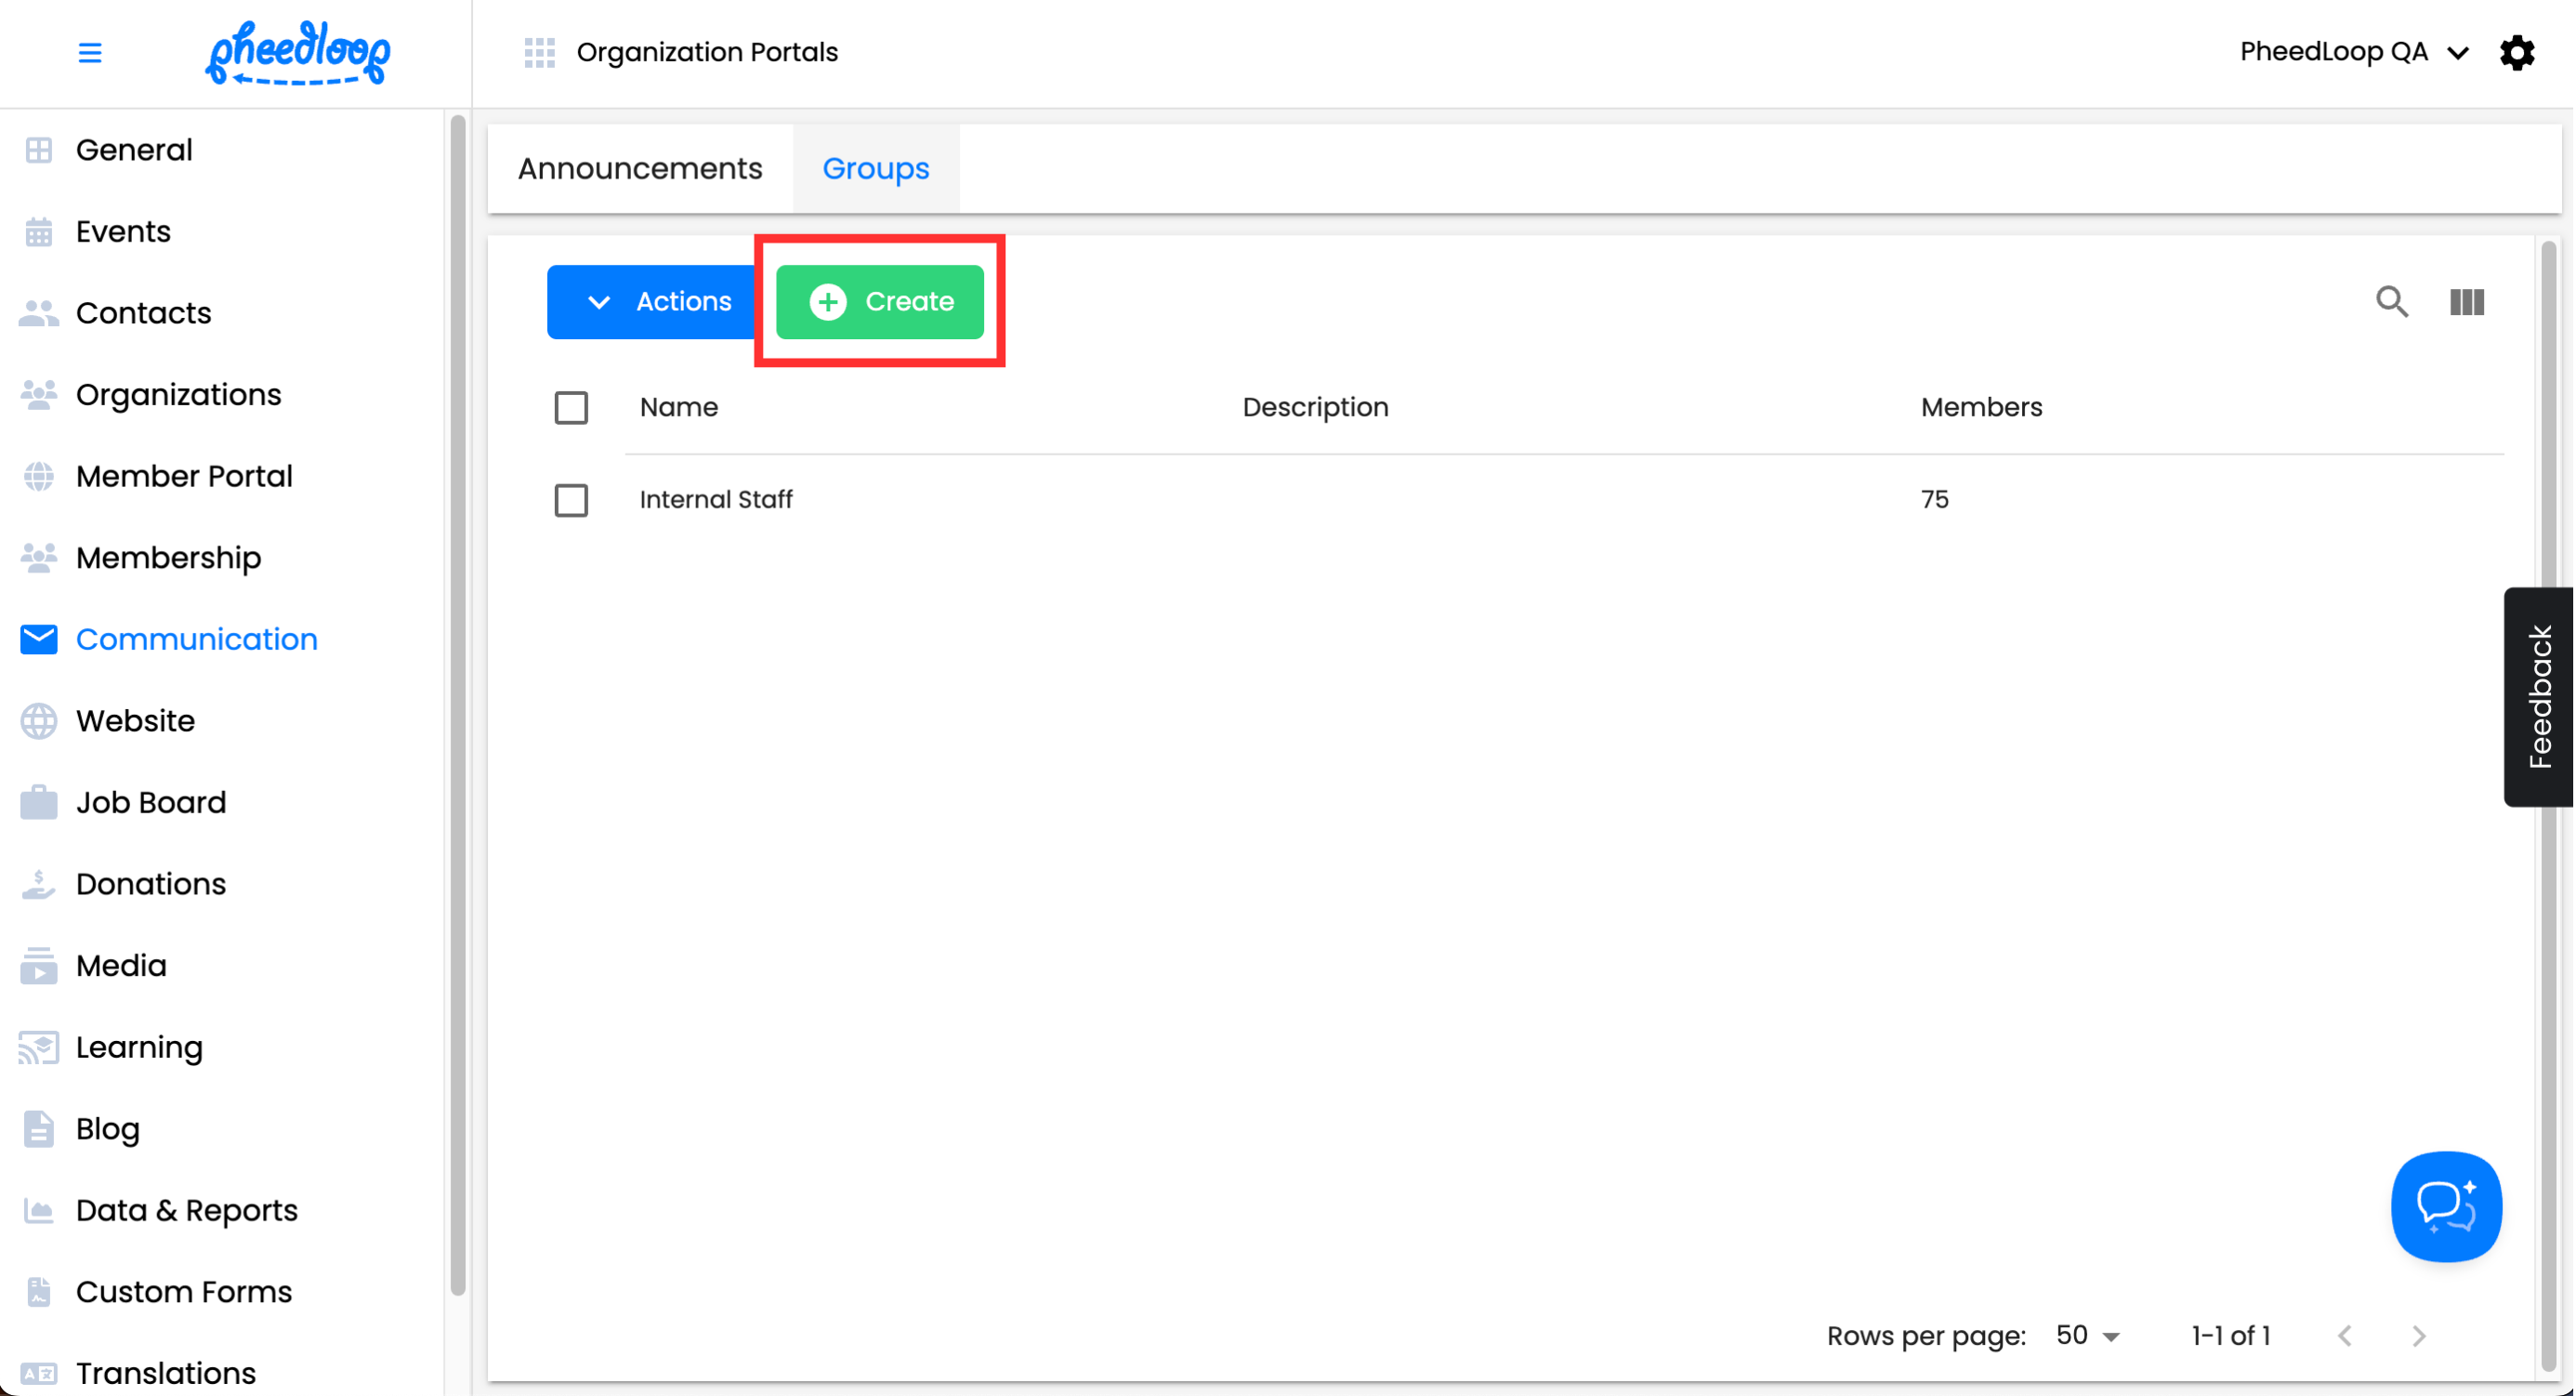
Creating Contact Groups from the Membership Dashboard
- From the Membership Dashboard, navigate to Communications > Groups
-
Above the Groups table, select Create
- Fill out the Name field
- Optionally, enter a description for the Group for further elaboration.
-
Select Save Changes


Assigning Contact Groups to Contacts
Once the contact groups are created, event administrators will need to assign them to the contacts. This can be done individually or all at once with a bulk upload.
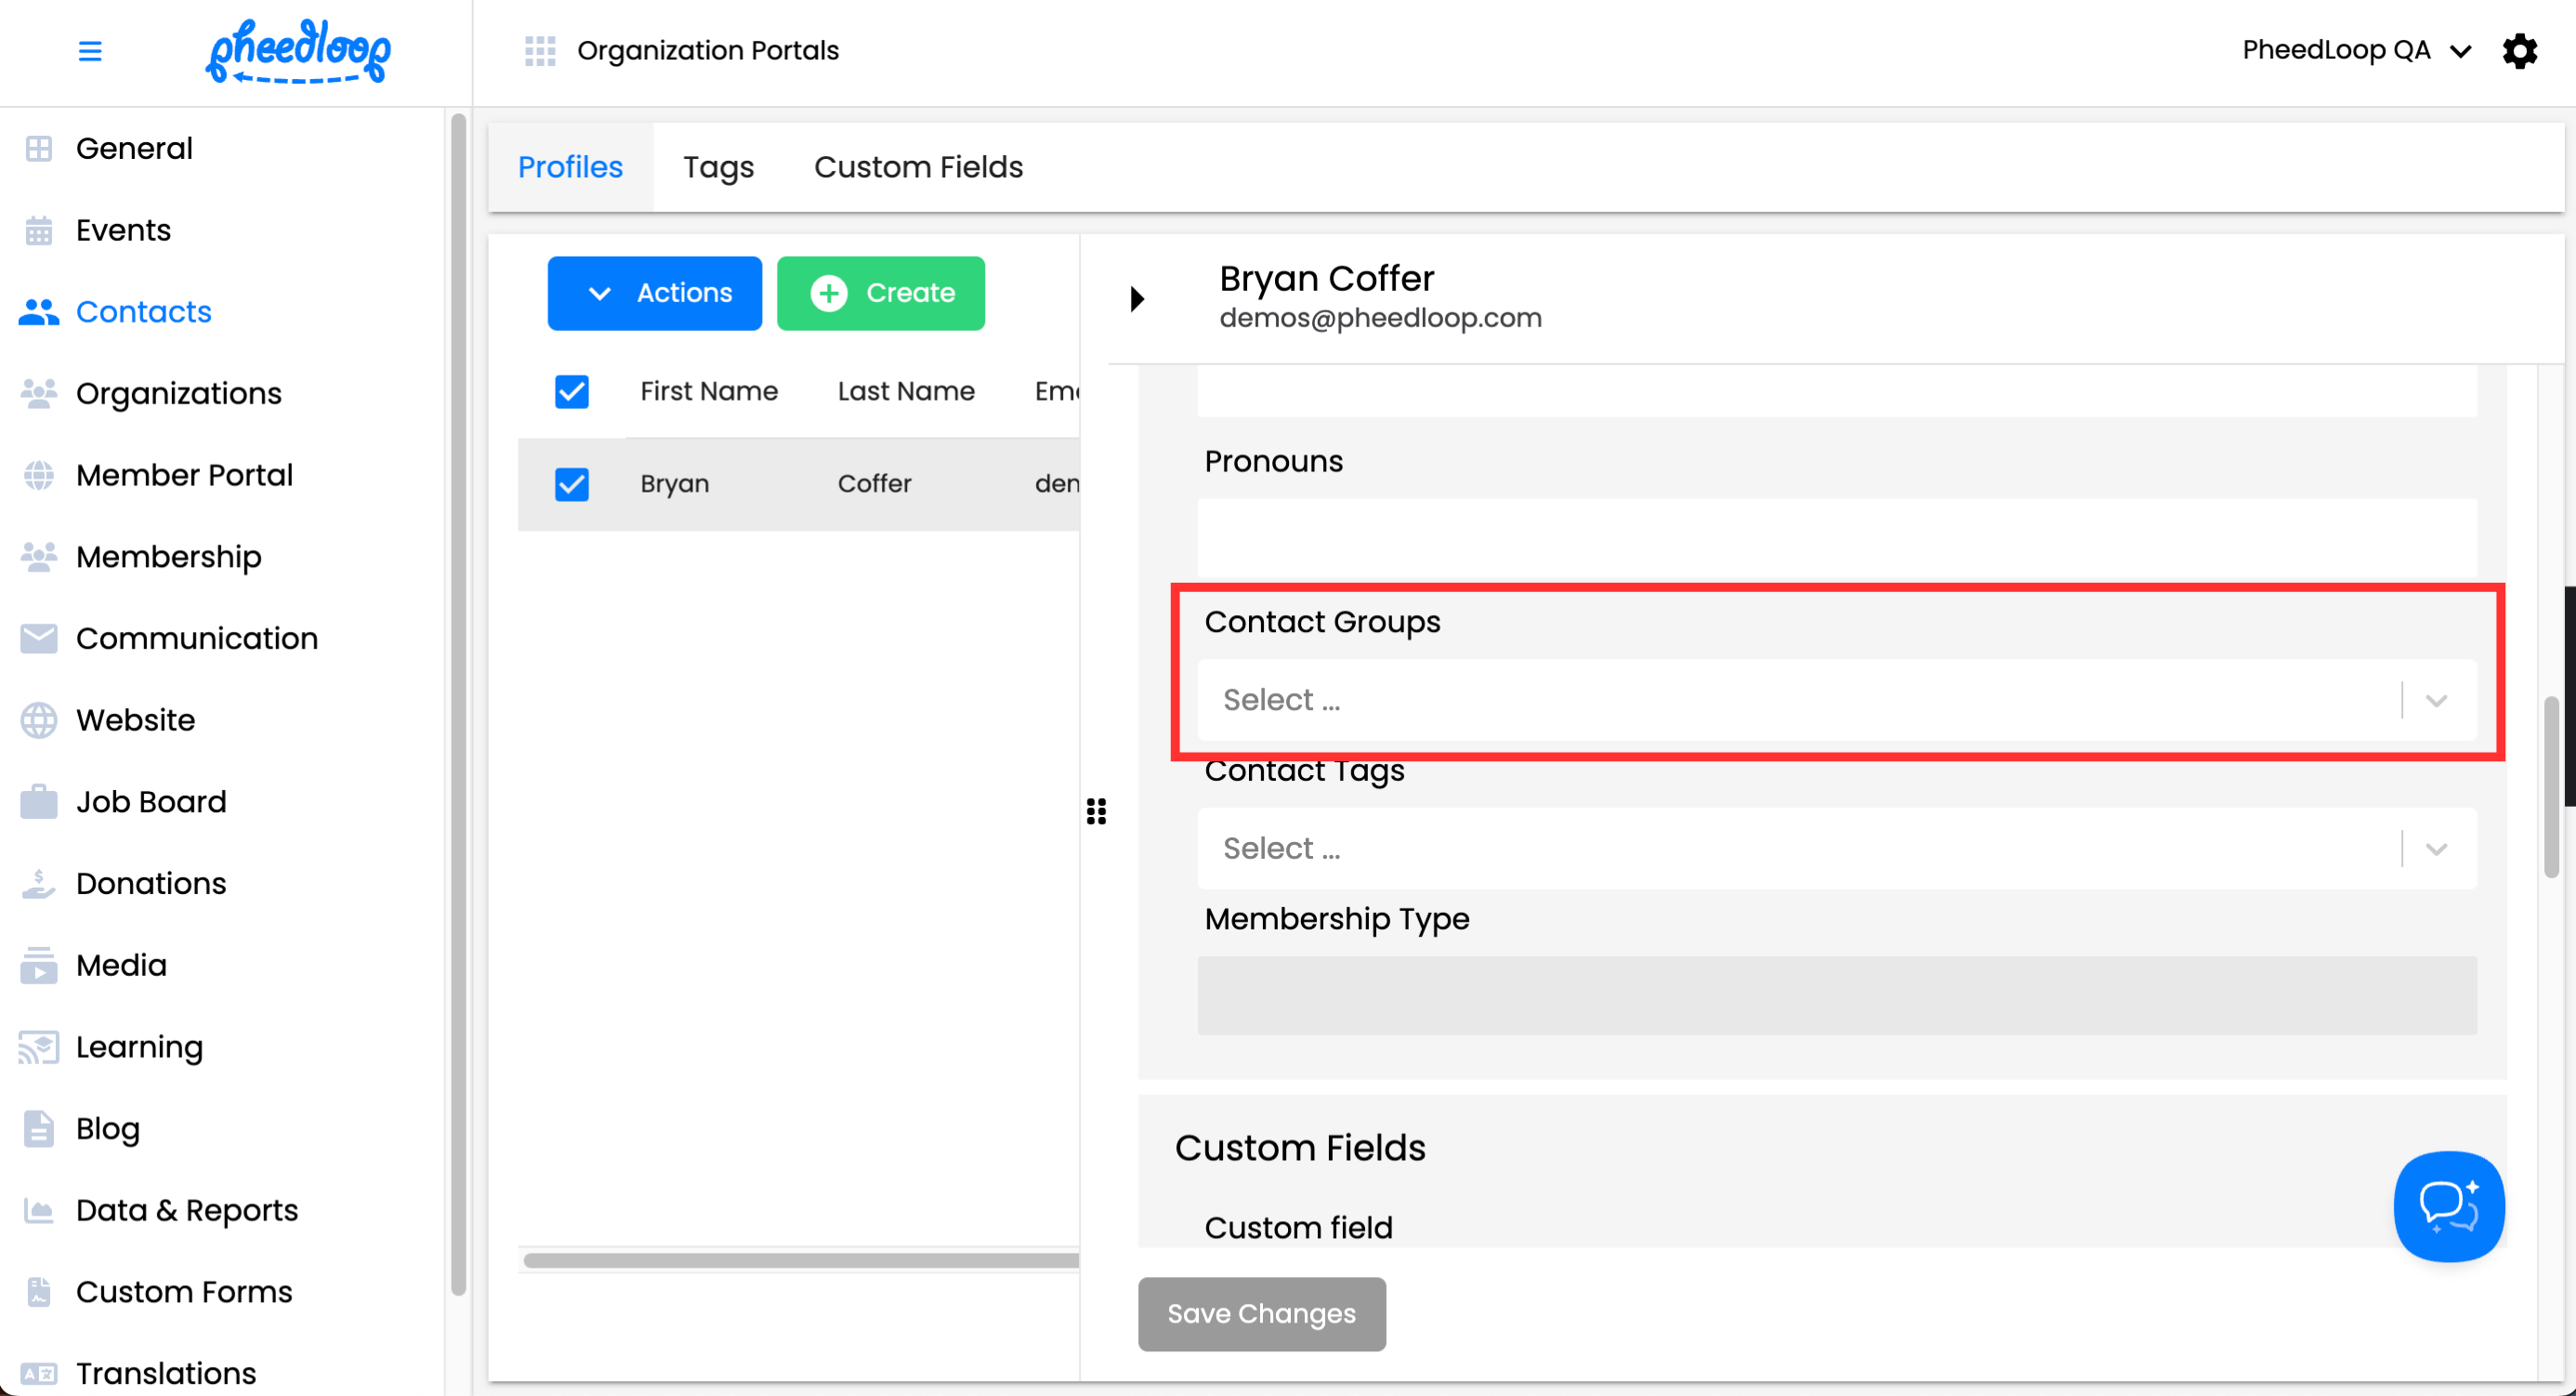
To assign contact groups individually:
- From the Membership Dashboard, navigate to Contacts > Profiles
- Select the Contact you would like to adjust from the list
- Scroll down to Personal Details
- Under Contact Groups, select the relevant group
-
Select Save Changes

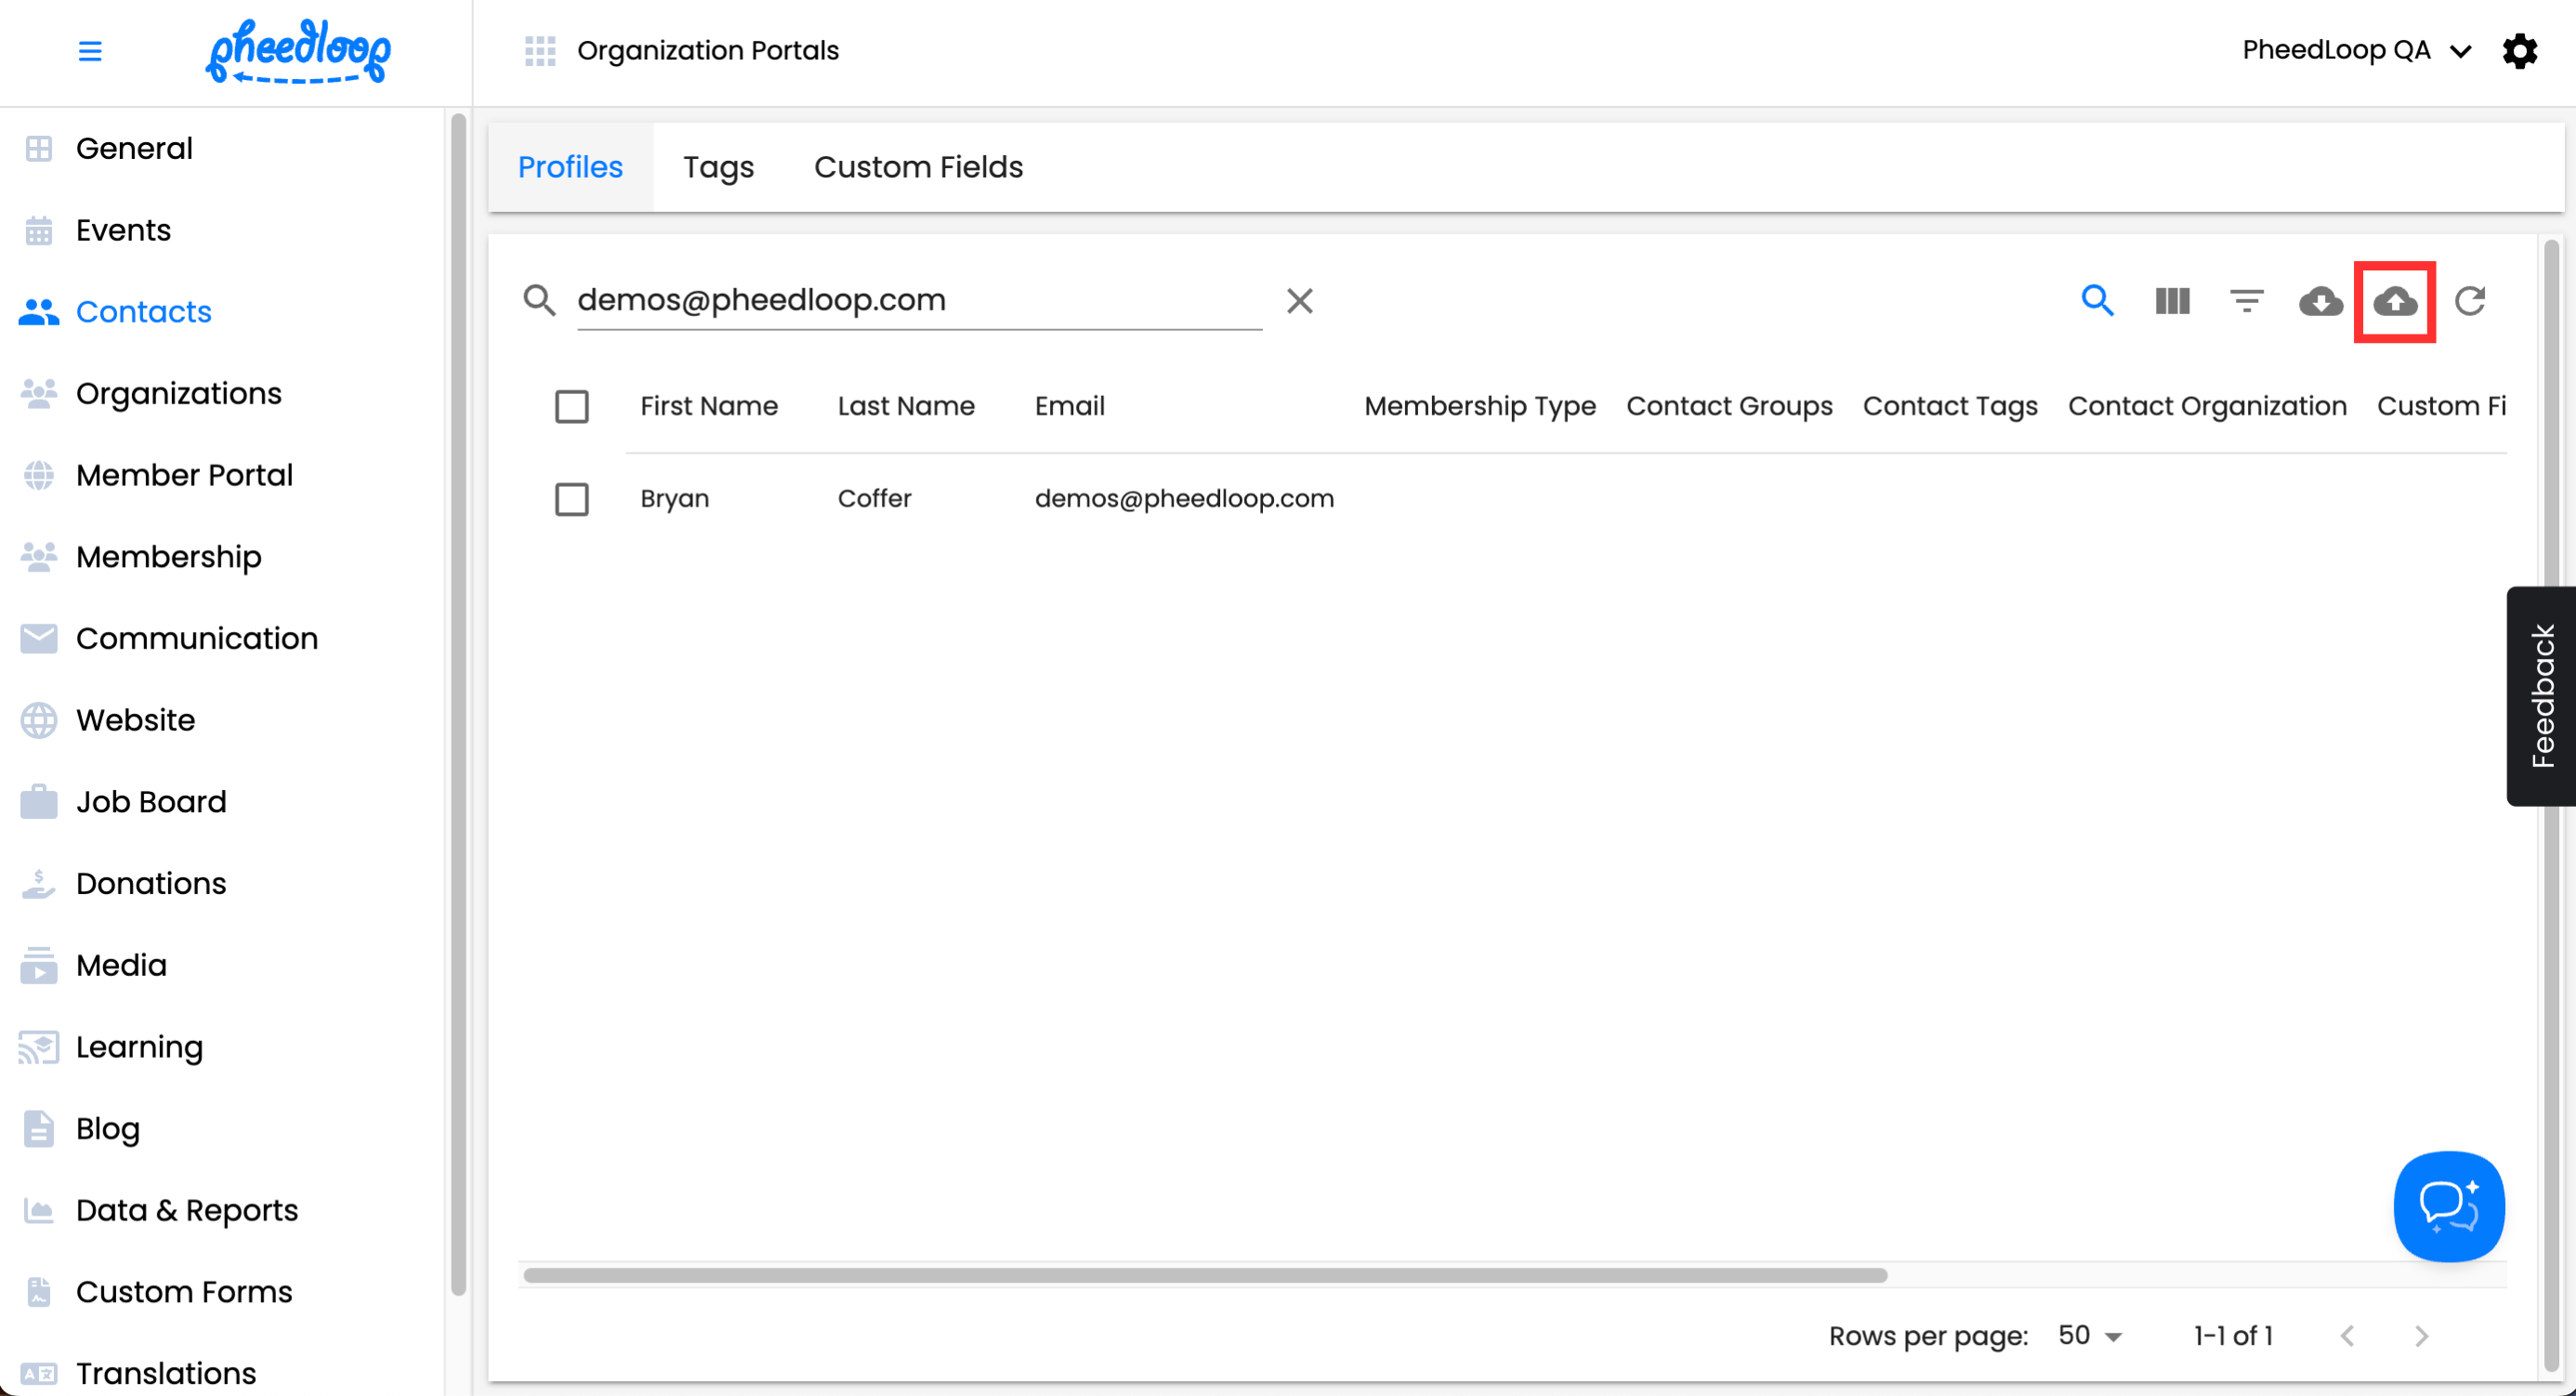
To bulk assign Contact Groups:
- From the Membership Dashboard, navigate to Contacts > Profiles
-
Above the Contacts table, select the upload button
-
Select Download Template
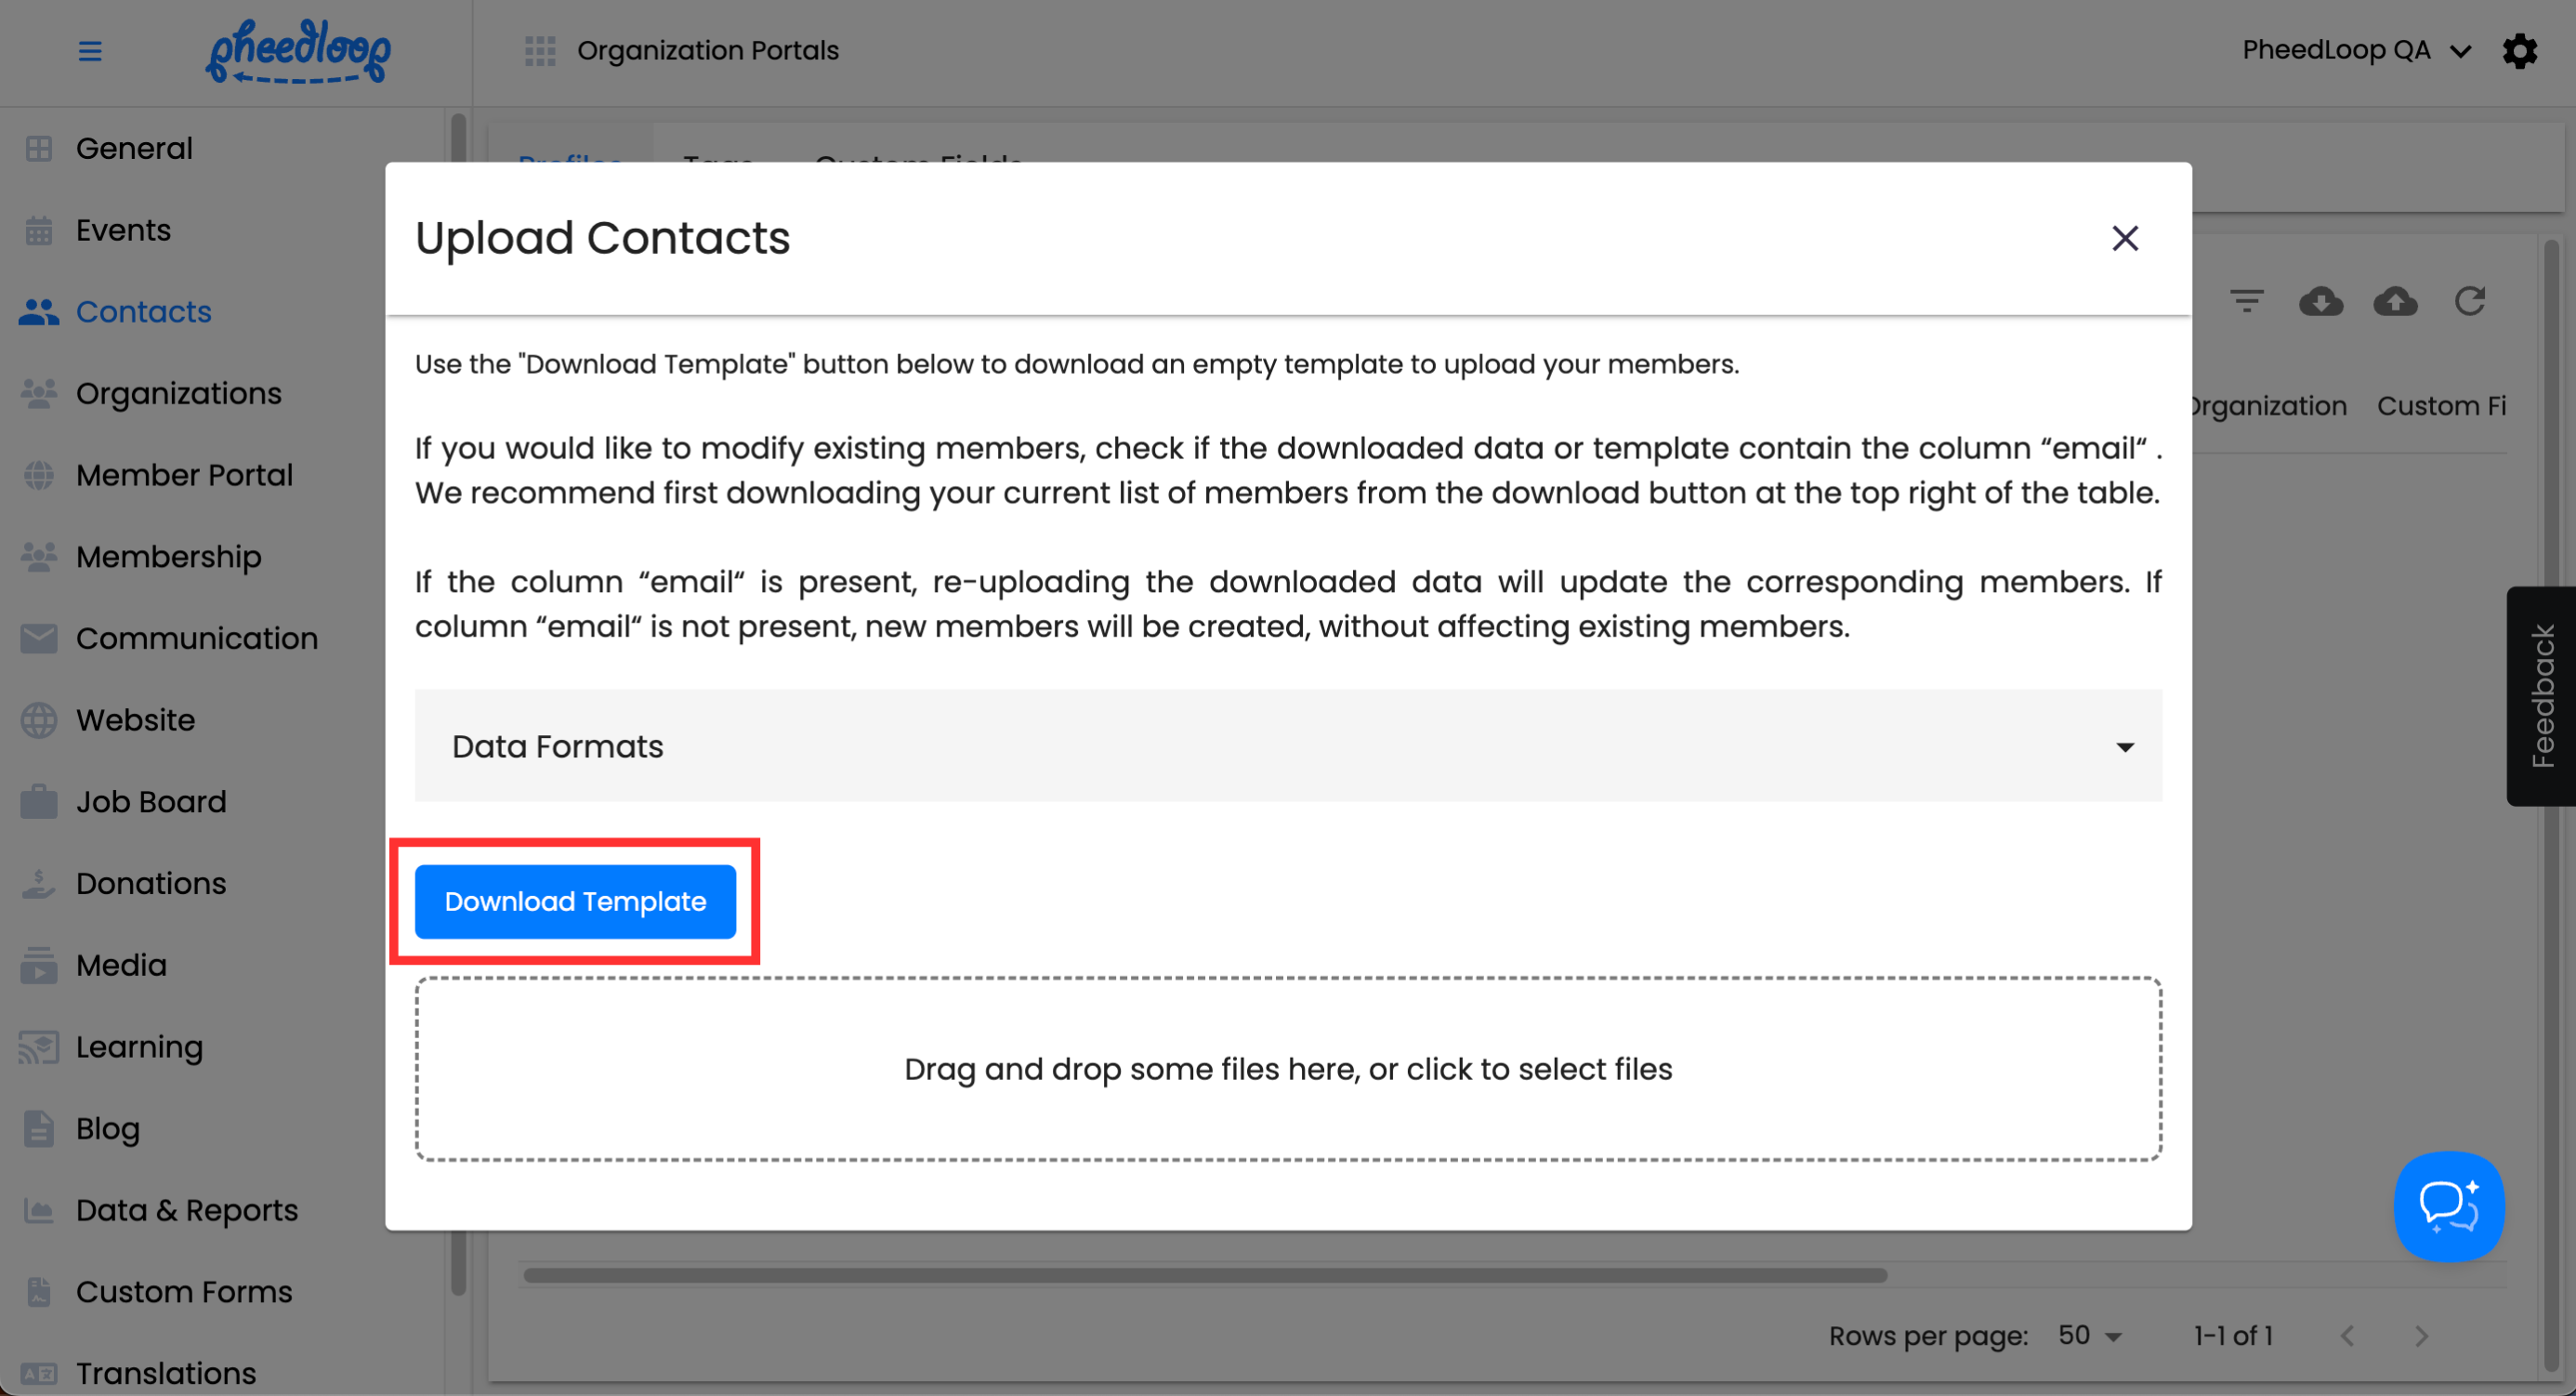
- With the new CSV file, enter the contact group's code under the contactGroups column along with all the other information
- Code can be found by navigating to Communication > Groups, selecting the contact group, and copying the code at the end of the URL (e.g. CTGDJQAXJZ5ZN)
- Save the file and upload it by selecting the Click or Drag to Upload button
-
Select Submit


Contacts can also be editted directly in the Membership Dashboard without requiring the use of bulk uploading.
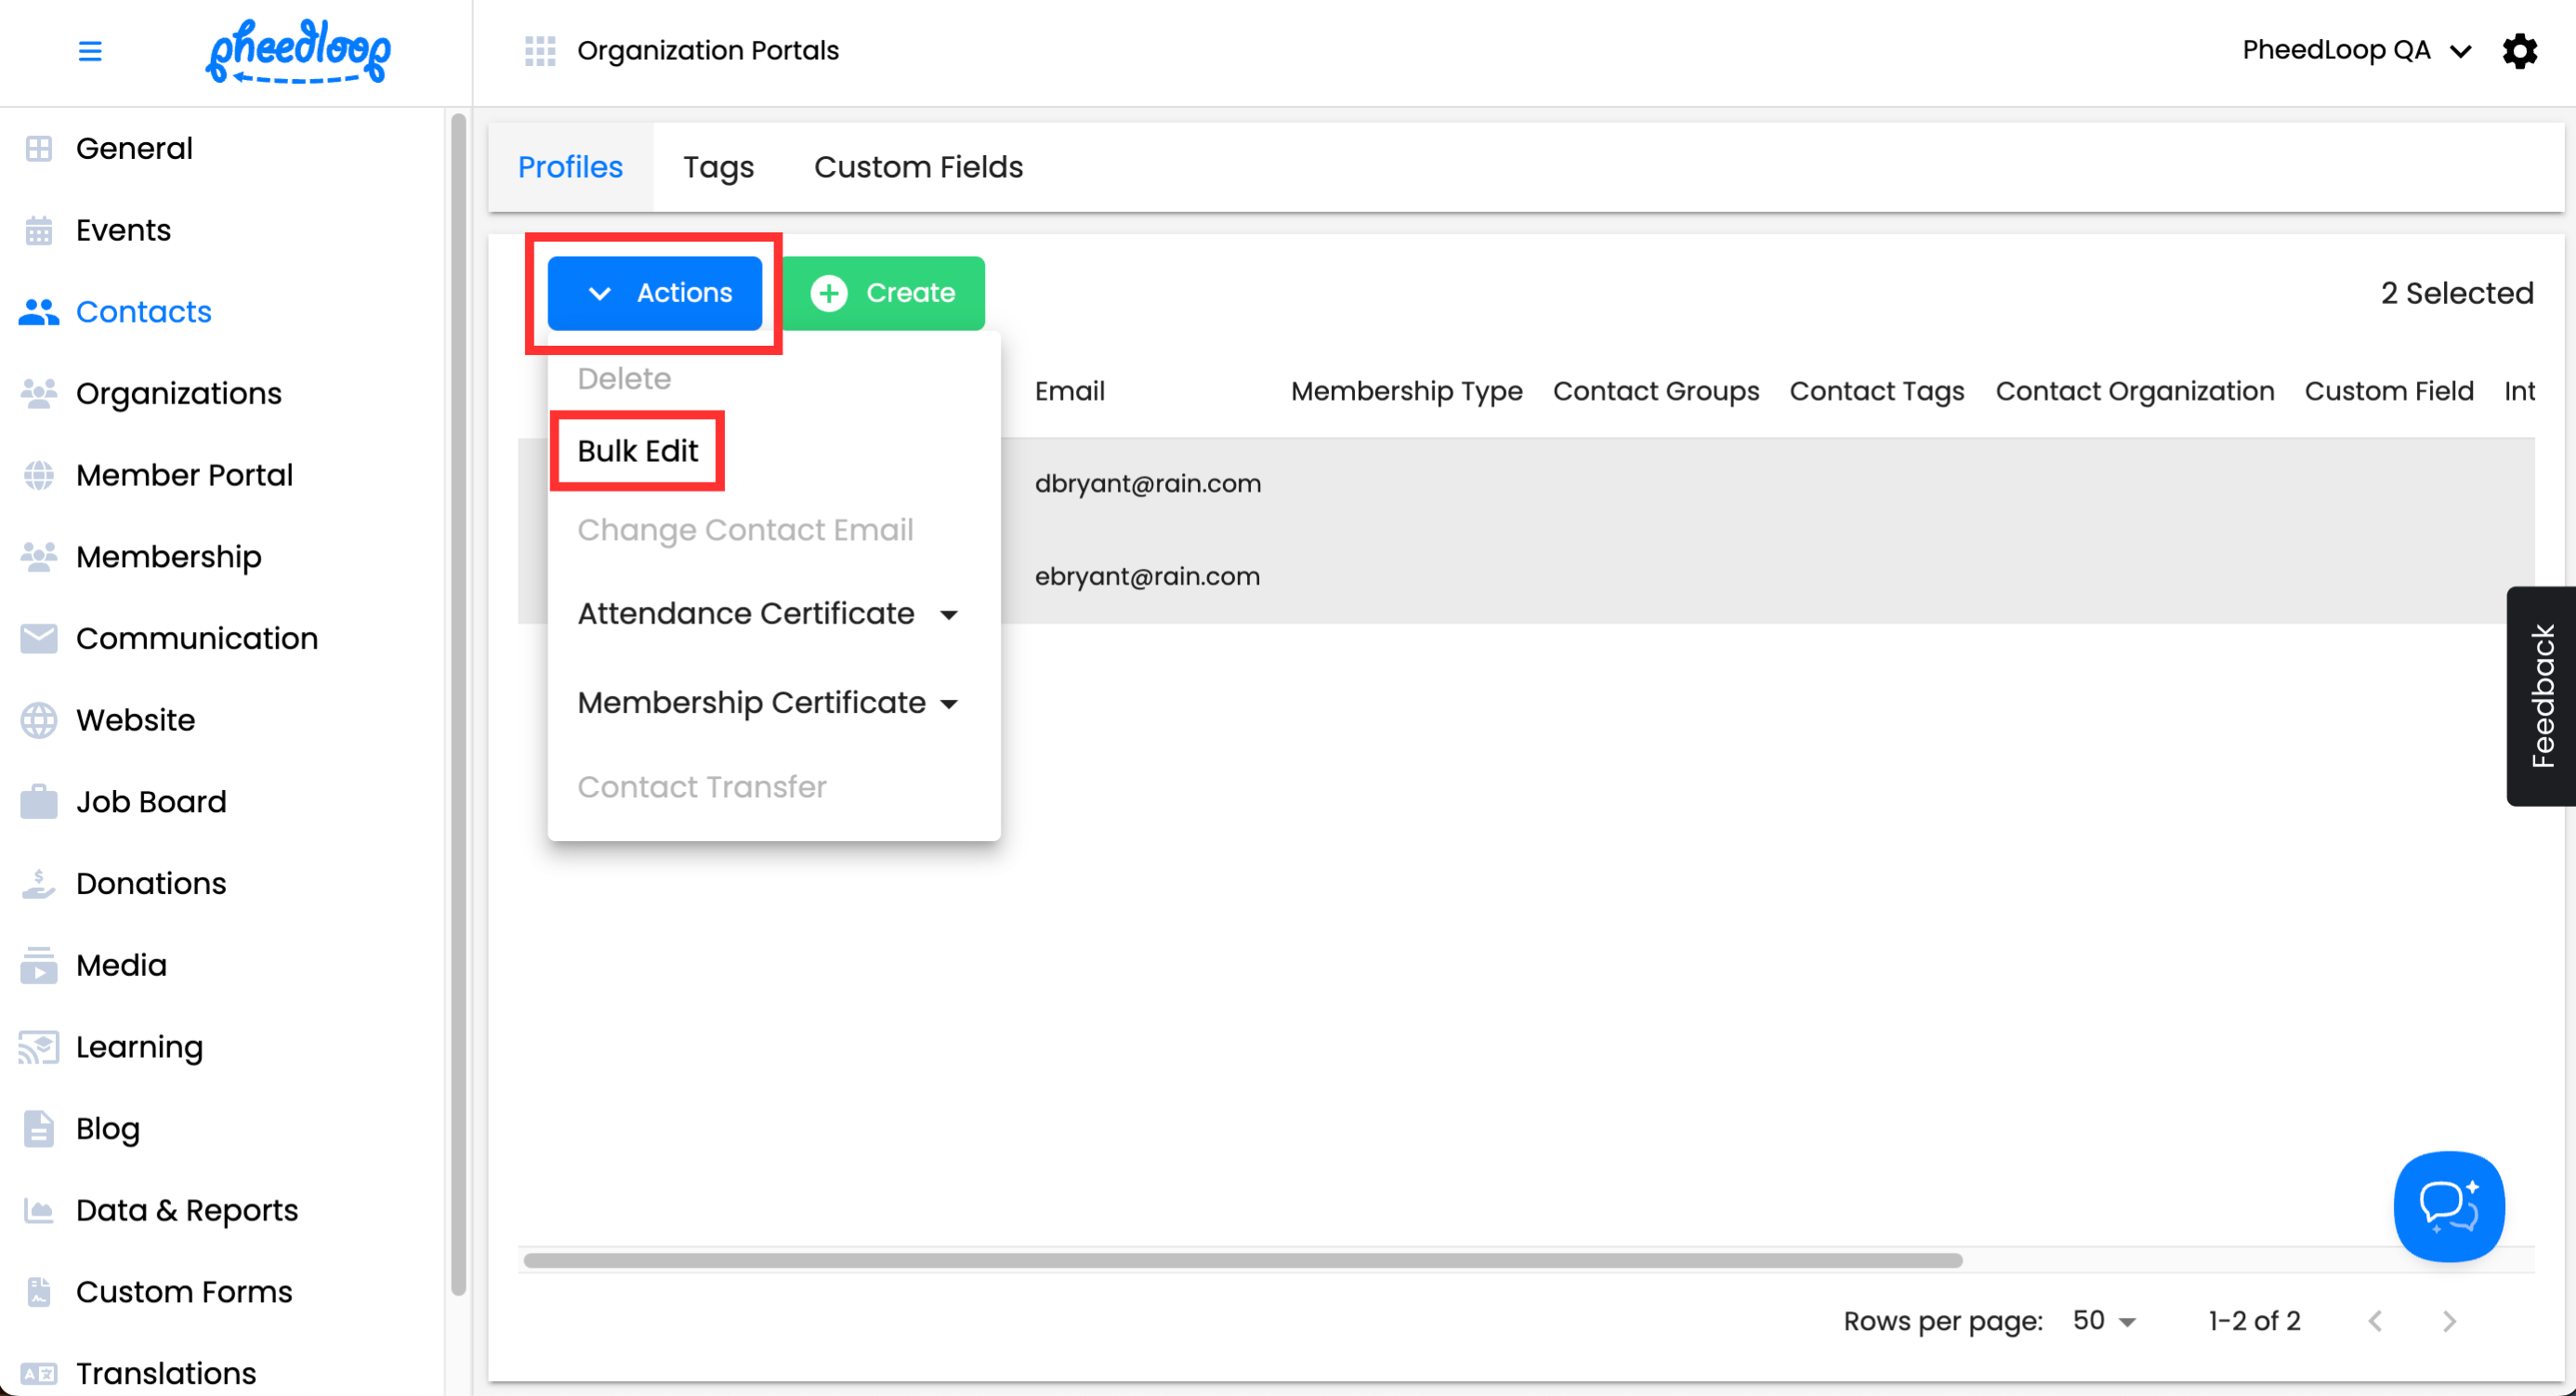
- From the Membership Dashboard, navigate to Contacts > Profiles
- Select the checkboxes of the members you would like to change
-
Above the Contacts table, select Actions > Bulk Edit
- Scroll down to Contact Groups and select the checkbox to enable editing
- Under Contact Groups, select the group you would like to assign from the list
-
Select Save Changes


Sending Announcements to Contact Groups with Target Settings
With contact groups created and assigned, the final step is to include which groups to target for the announcement before sending it.
- From the Membership Dashboard, navigate to Communications > Announcements
- Above the Announcements table, select Create
- If the announcement is already created, select the announcement.
- Scroll down to Target Settings
- Under Contact Groups, select the group you wish to notify from the list
-
Select Save Draft


At this point, your announcement is ready to be sent out.
- Select the checkbox of your announcement
- Select Actions > Send Bulk Announcement
- Select Send to Single Attendee if you only wish to send the announcement to an individual
-
Select Send to
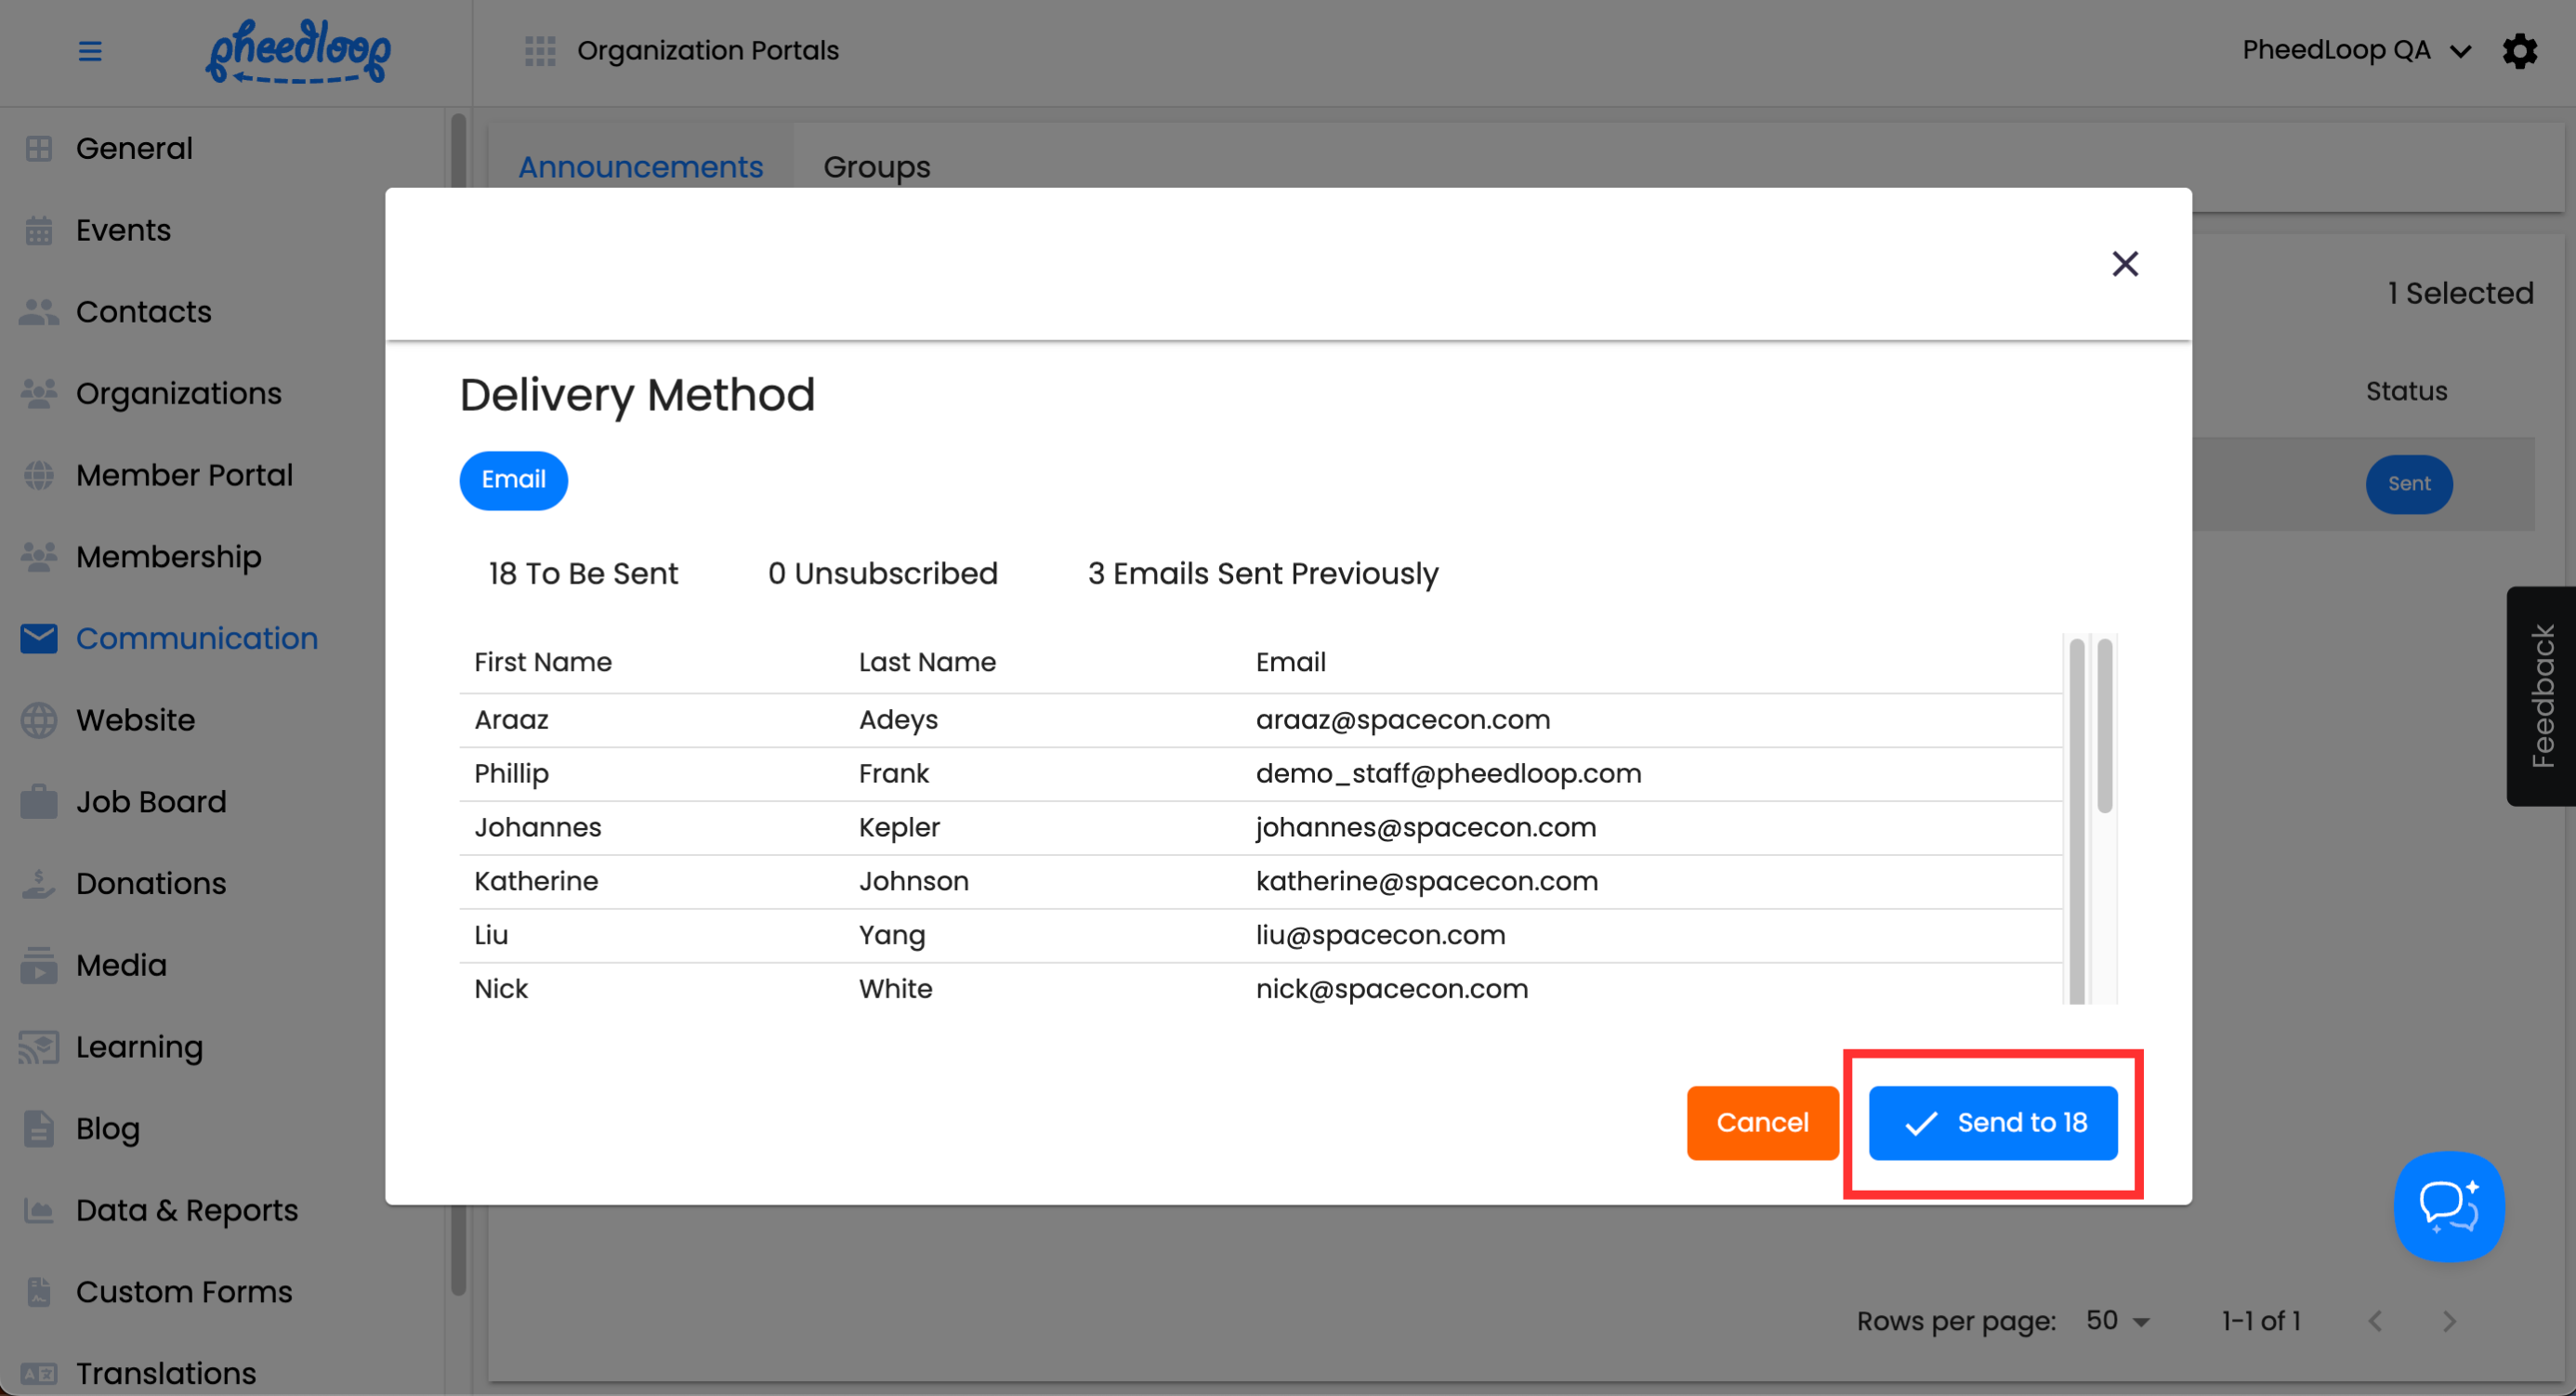

The announcement will now be sent to the emails listed.