Adding Sponsors to the Virtual Portal
Sponsors can be displayed in the Virtual Portal just as they can in the Event Website and Event App. PheedLoop offers a variety of spots, including a rotating carousel at the top of the Virtual Portal. Before adding sponsors to the Virtual Portal, they must first be entered into the Event Dashboard.
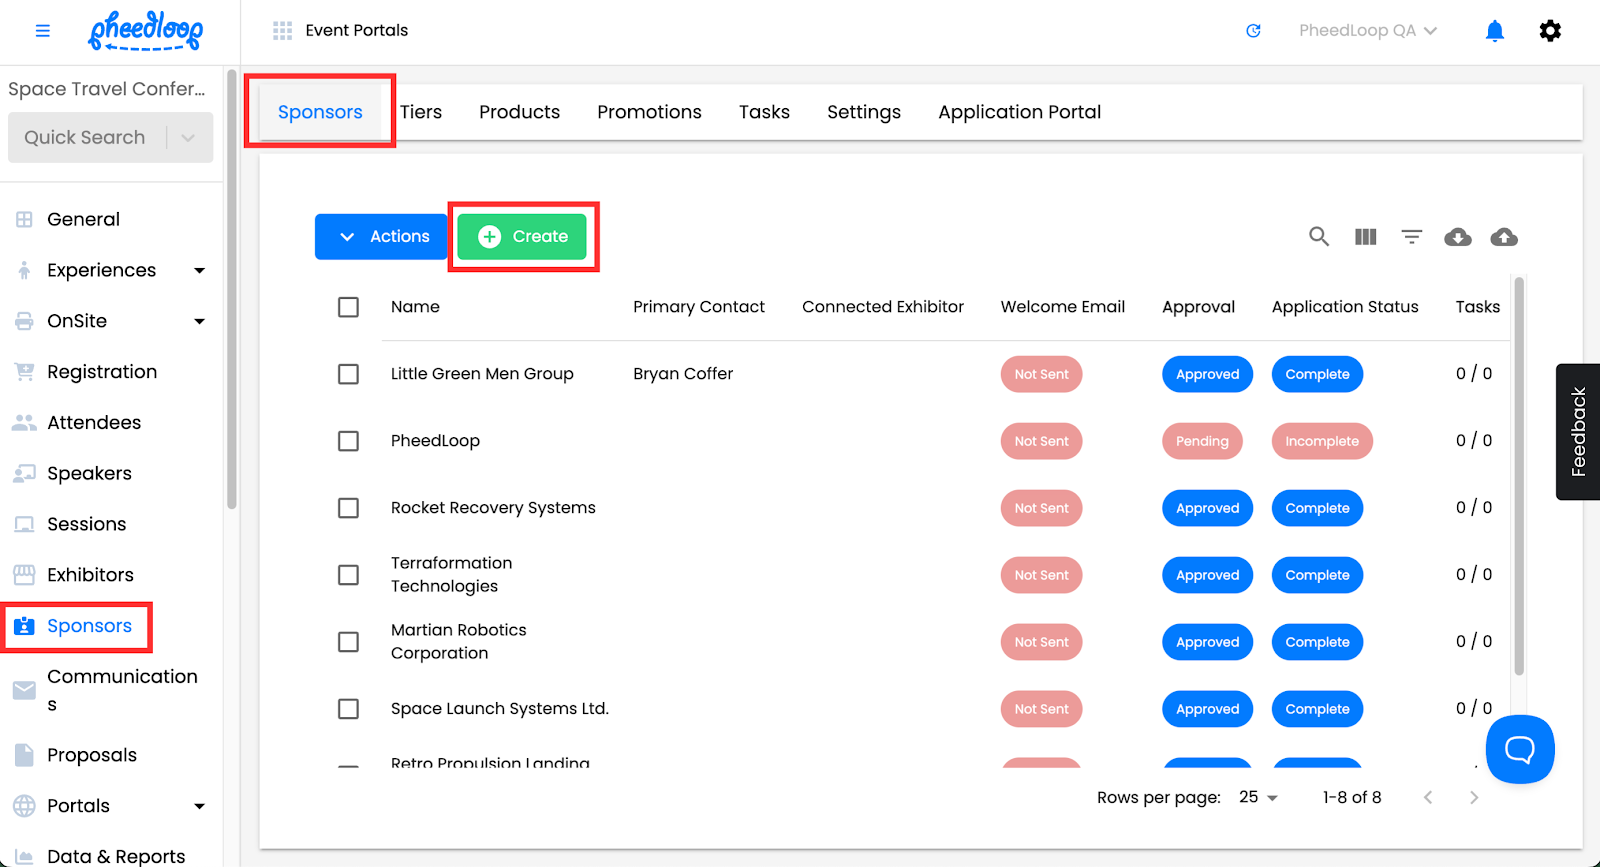
- From the Event Dashboard, navigate to Sponsors > Sponsors
Above the Sponsors table, select Create
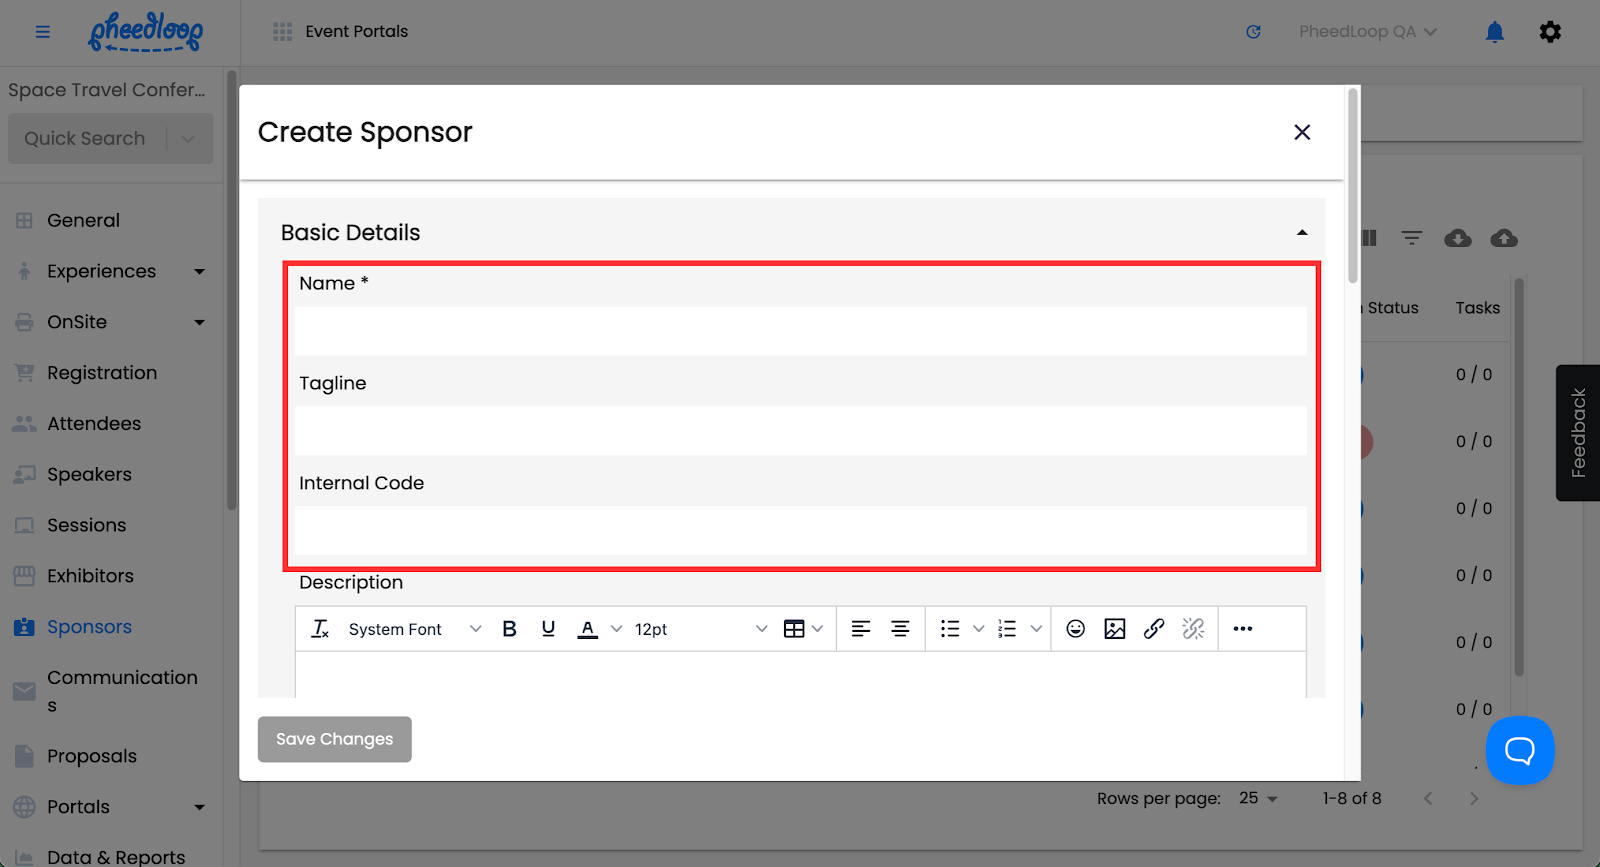
- Fill out Name, Tagline, and Internal Code
Internal Code is optional, this is a field that you can use if you want to associate a number or value specifically to this sponsor. It will only show up in reports.
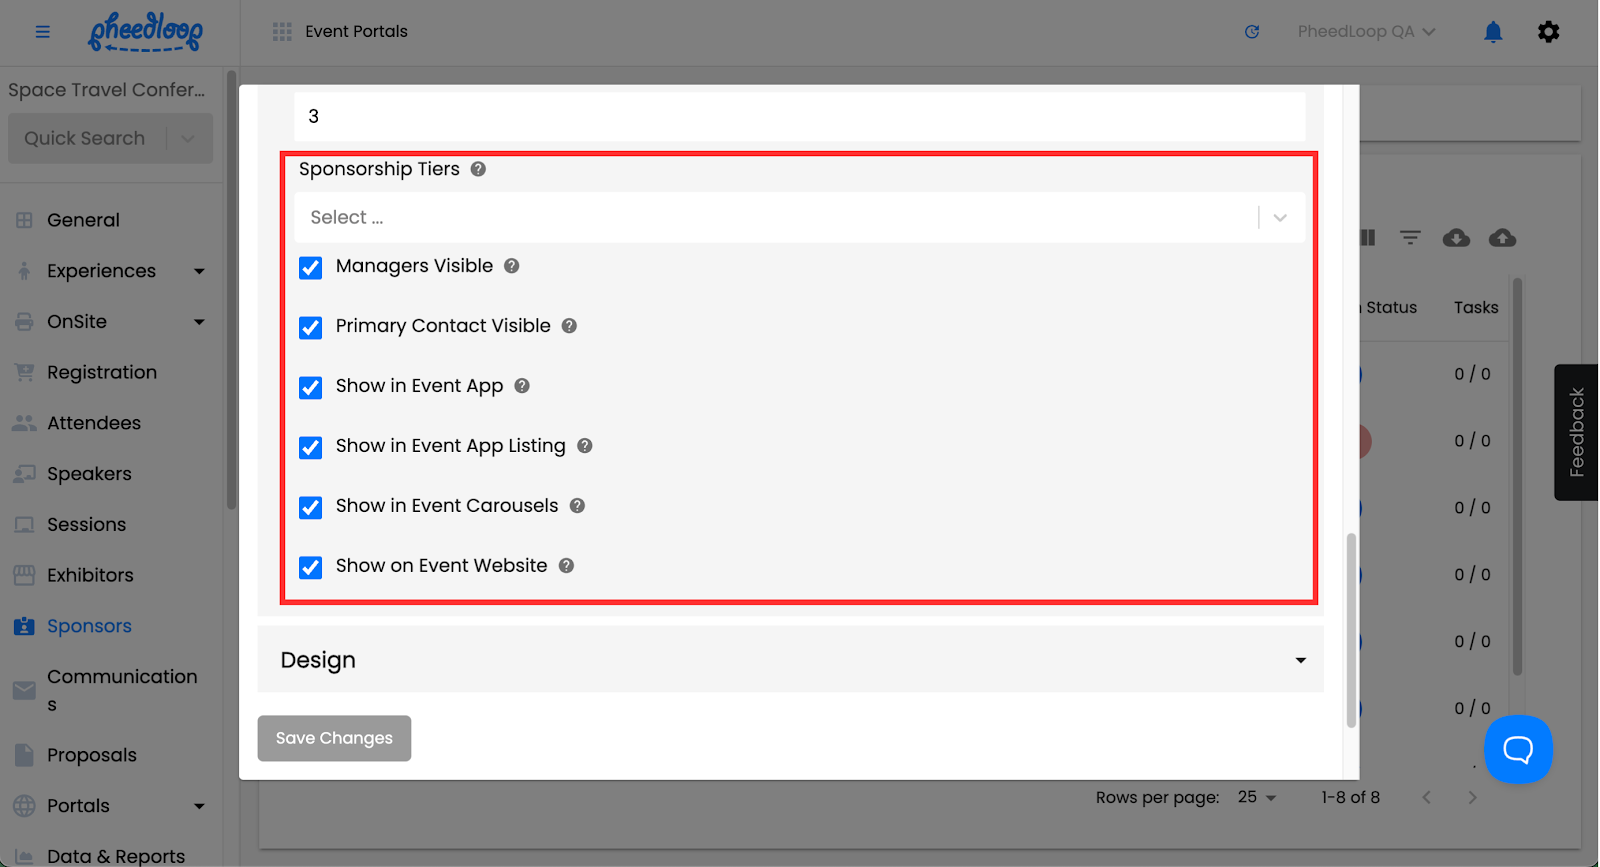
- Under Sponsorship Tiers, select the tiers the sponsor is registered under
- Toggle on the Show in Event App, Show in Event App Listing, and Show in Event Carousels checkboxes
These checkboxes are required for the sponsor to appear on PheedLoop Go!. If the sponsors are not appearing, ensure these checkboxes are toggled on.
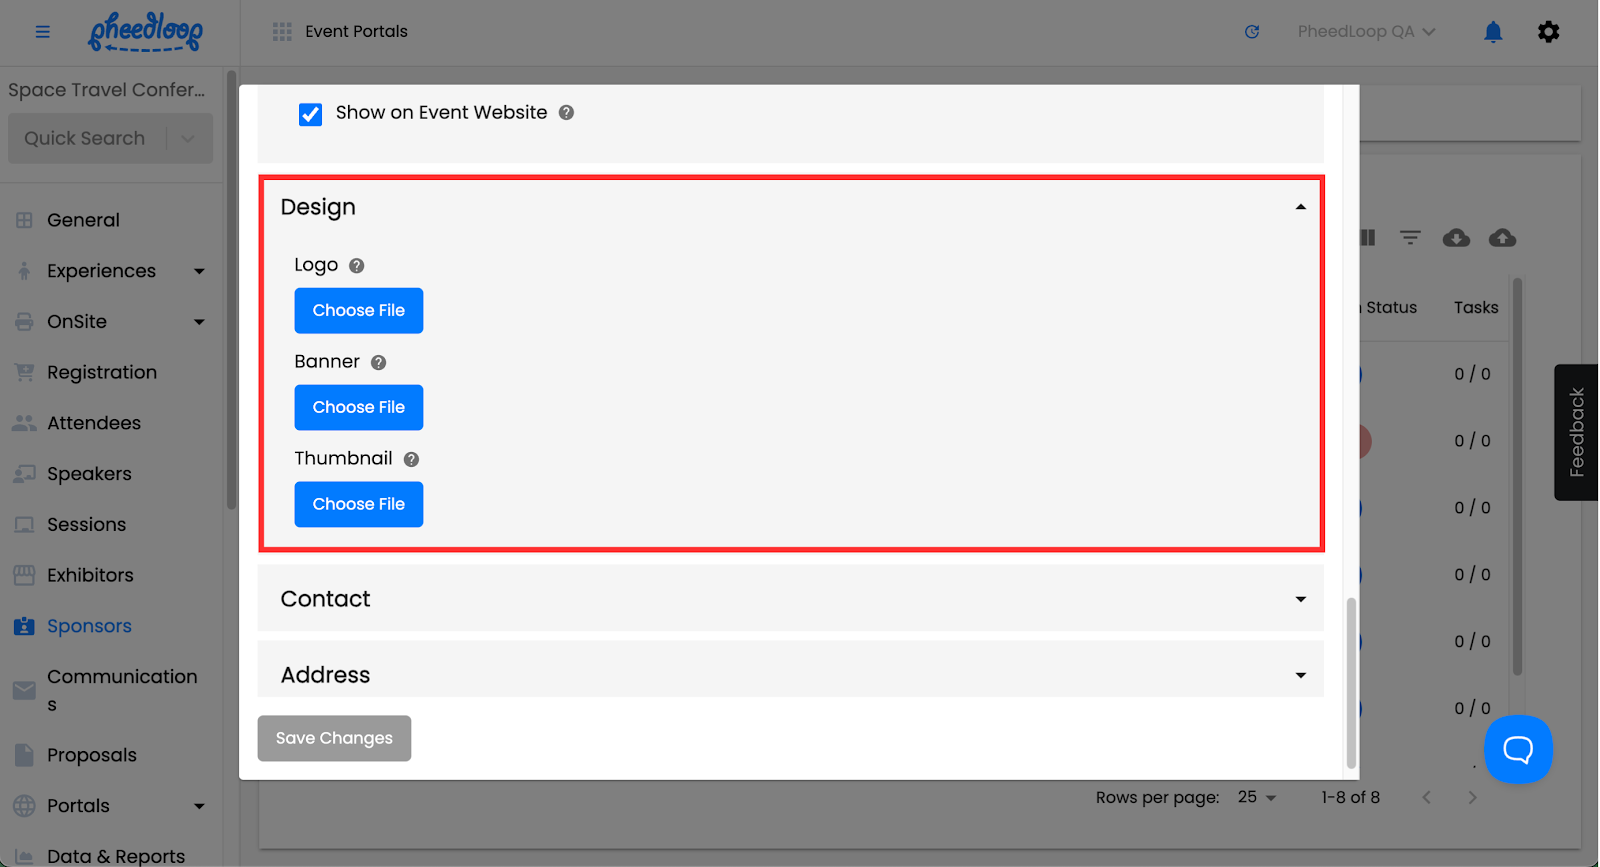
Under Design, upload files based on the Logo, Banner, and Thumbnail of the sponsor
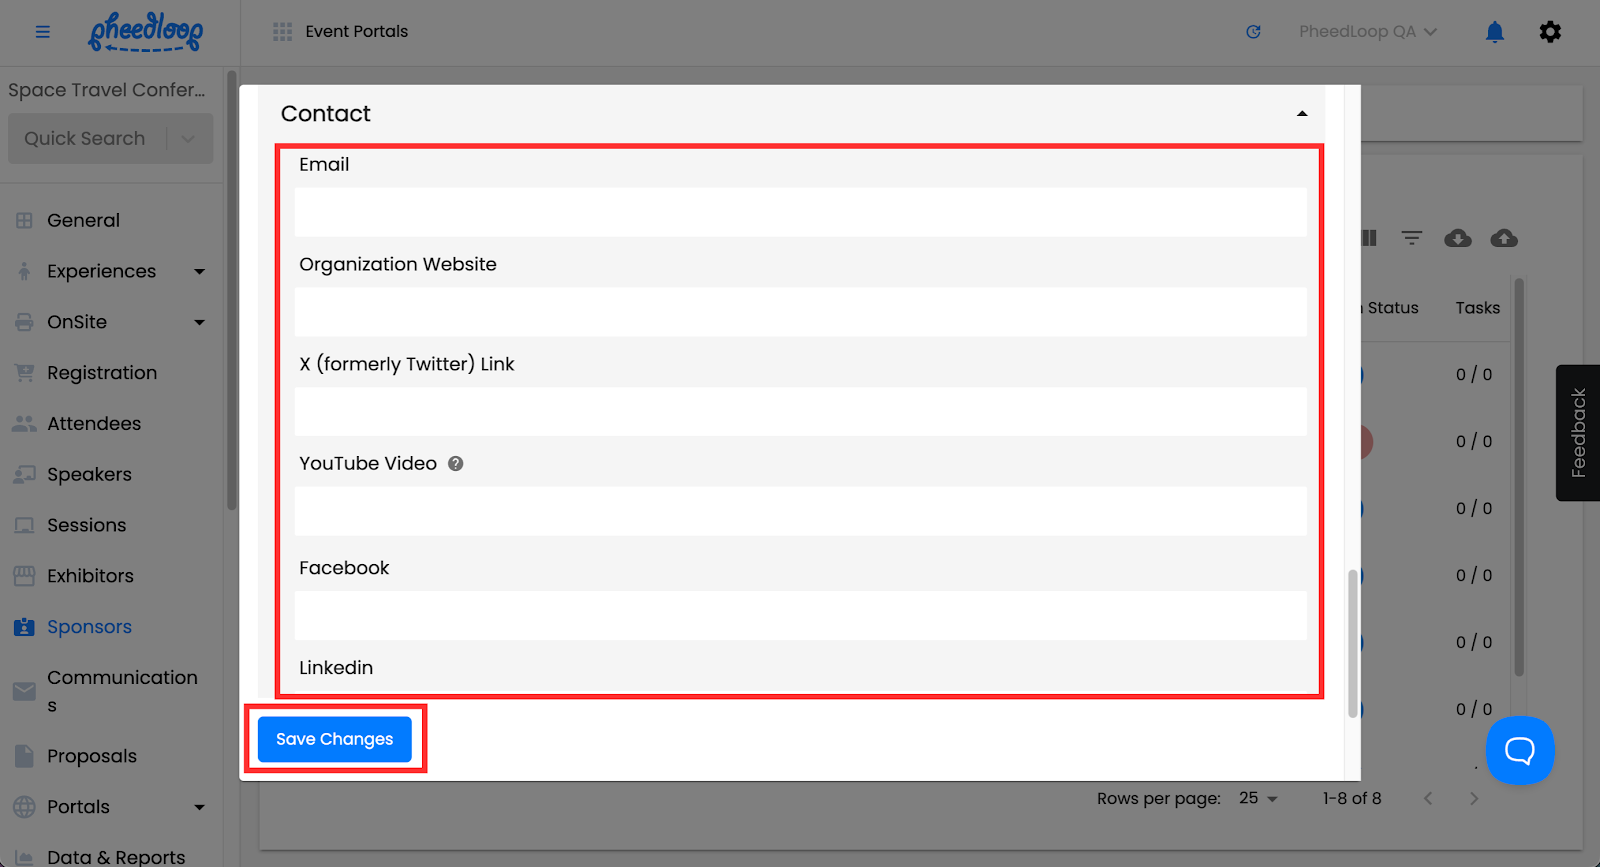
- Under Contact, fill out the contact information related to the sponsor
Select Save Changes
For more information on Sponsorship creation and instructions on how to create multiple sponsors simultaneously, please refer to our Uploading Sponsors and Sending Their Sponsor Portal article.
Now that your sponsors have been created, you can display them in the Virtual Portal. For instructions on how to do this, please refer to our Displaying Sponsors on the Virtual Portal article.