How to Set Up Membership Types
Please note, use of this feature requires the Membership Management Module to use. Please contact sales@pheedloop.com to purchase this for your organization.
Membership Types grant users the opportunity to become a part of your organization. A member will go through the signup process on the Organization Website and purchase tiers, granting them the status as a member of your organization.
Setting Up Membership Types
- From the Membership Dashboard, navigate to Membership > Membership Types
-
Above the Membership Types table, select Create


You will now see the Membership Types editorial form. Here, you can configure
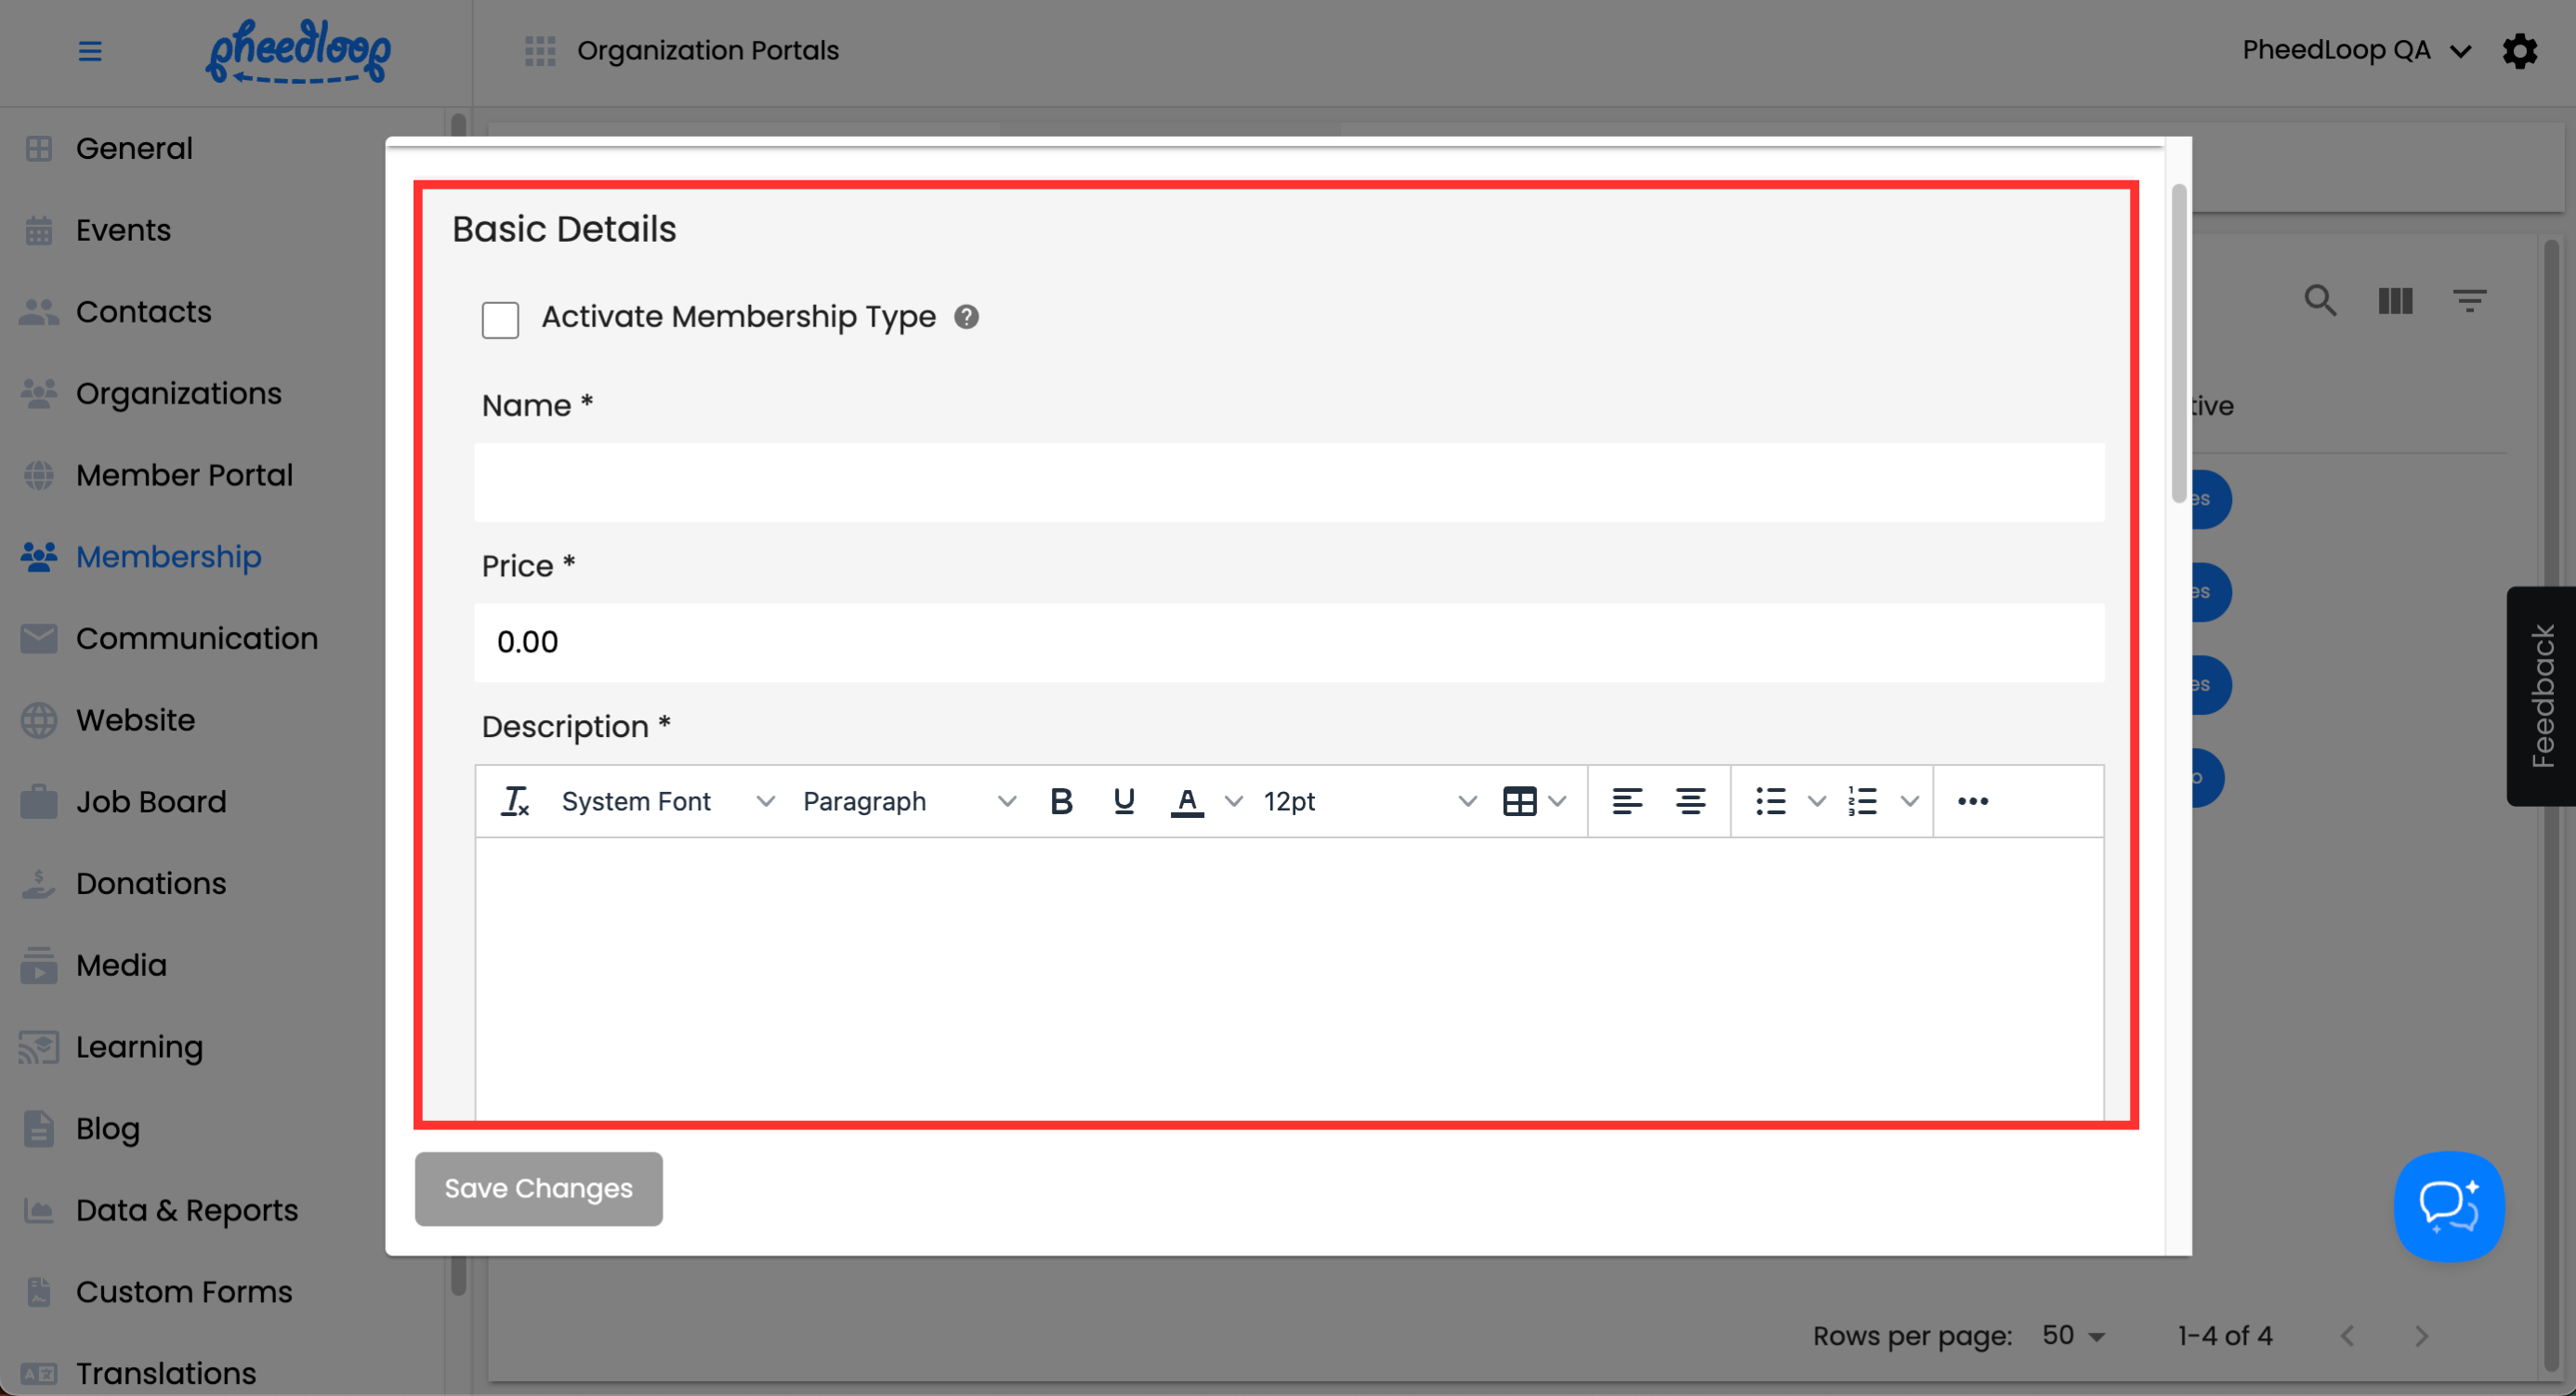
Basic Details
| Setting | Description |
|---|---|
| Active Membership Type | Toggle this checkbox on to make the Membership Type available for purchase. If toggled off, the Membership Type will still appear in the registration flow but cannot be purchased. |
| Name | Enter the name for your Membership Type in this field. |
| Price | Enter the price of your Membership Type in this field. |
| Description | Enter any additional information about the Membership Type relevant to your event. |
Other Details

| Setting | Description |
|---|---|
| Quantity Available | Enter the total number of purchases allowed for this Membership Type. |
| Limit Per Order | Enter the maximum number of this Membership Type that can be purchased in a single registration. |
| Select Announcement | Select the announcement you want to associate with this Membership Type. |
| Select Custom Form | Select the Custom Form you want to associate with this Membership Type. |
| Restrict Organization | Enter the Organizations that should have access to this Membership Type. Organizations not included will not be able to purchase it in the Registration Flow. |
| Hide Overflowing Description | Toggle this checkbox to collapse long descriptions, requiring attendees to expand them to read more. This is ideal for lengthy text that might distract from other information. |
Availability

| Setting | Description |
|---|---|
| Start Date | Enter the date when users can begin purchasing the Membership Type. It will not be available for purchase before this date. |
| End Date | Enter the date when users can no longer purchase the Membership Type. It will not be available after this date. |
| Start Time | Enter the time when users can begin purchasing the Membership Type. It will not be available before this time. |
| End Time | Enter the time when users can no longer purchase the Membership Type. It will not be available after this time. |
| Is Visible Unavailable | Toggle this checkbox to display the Membership Type at checkout while keeping it unavailable for purchase. |
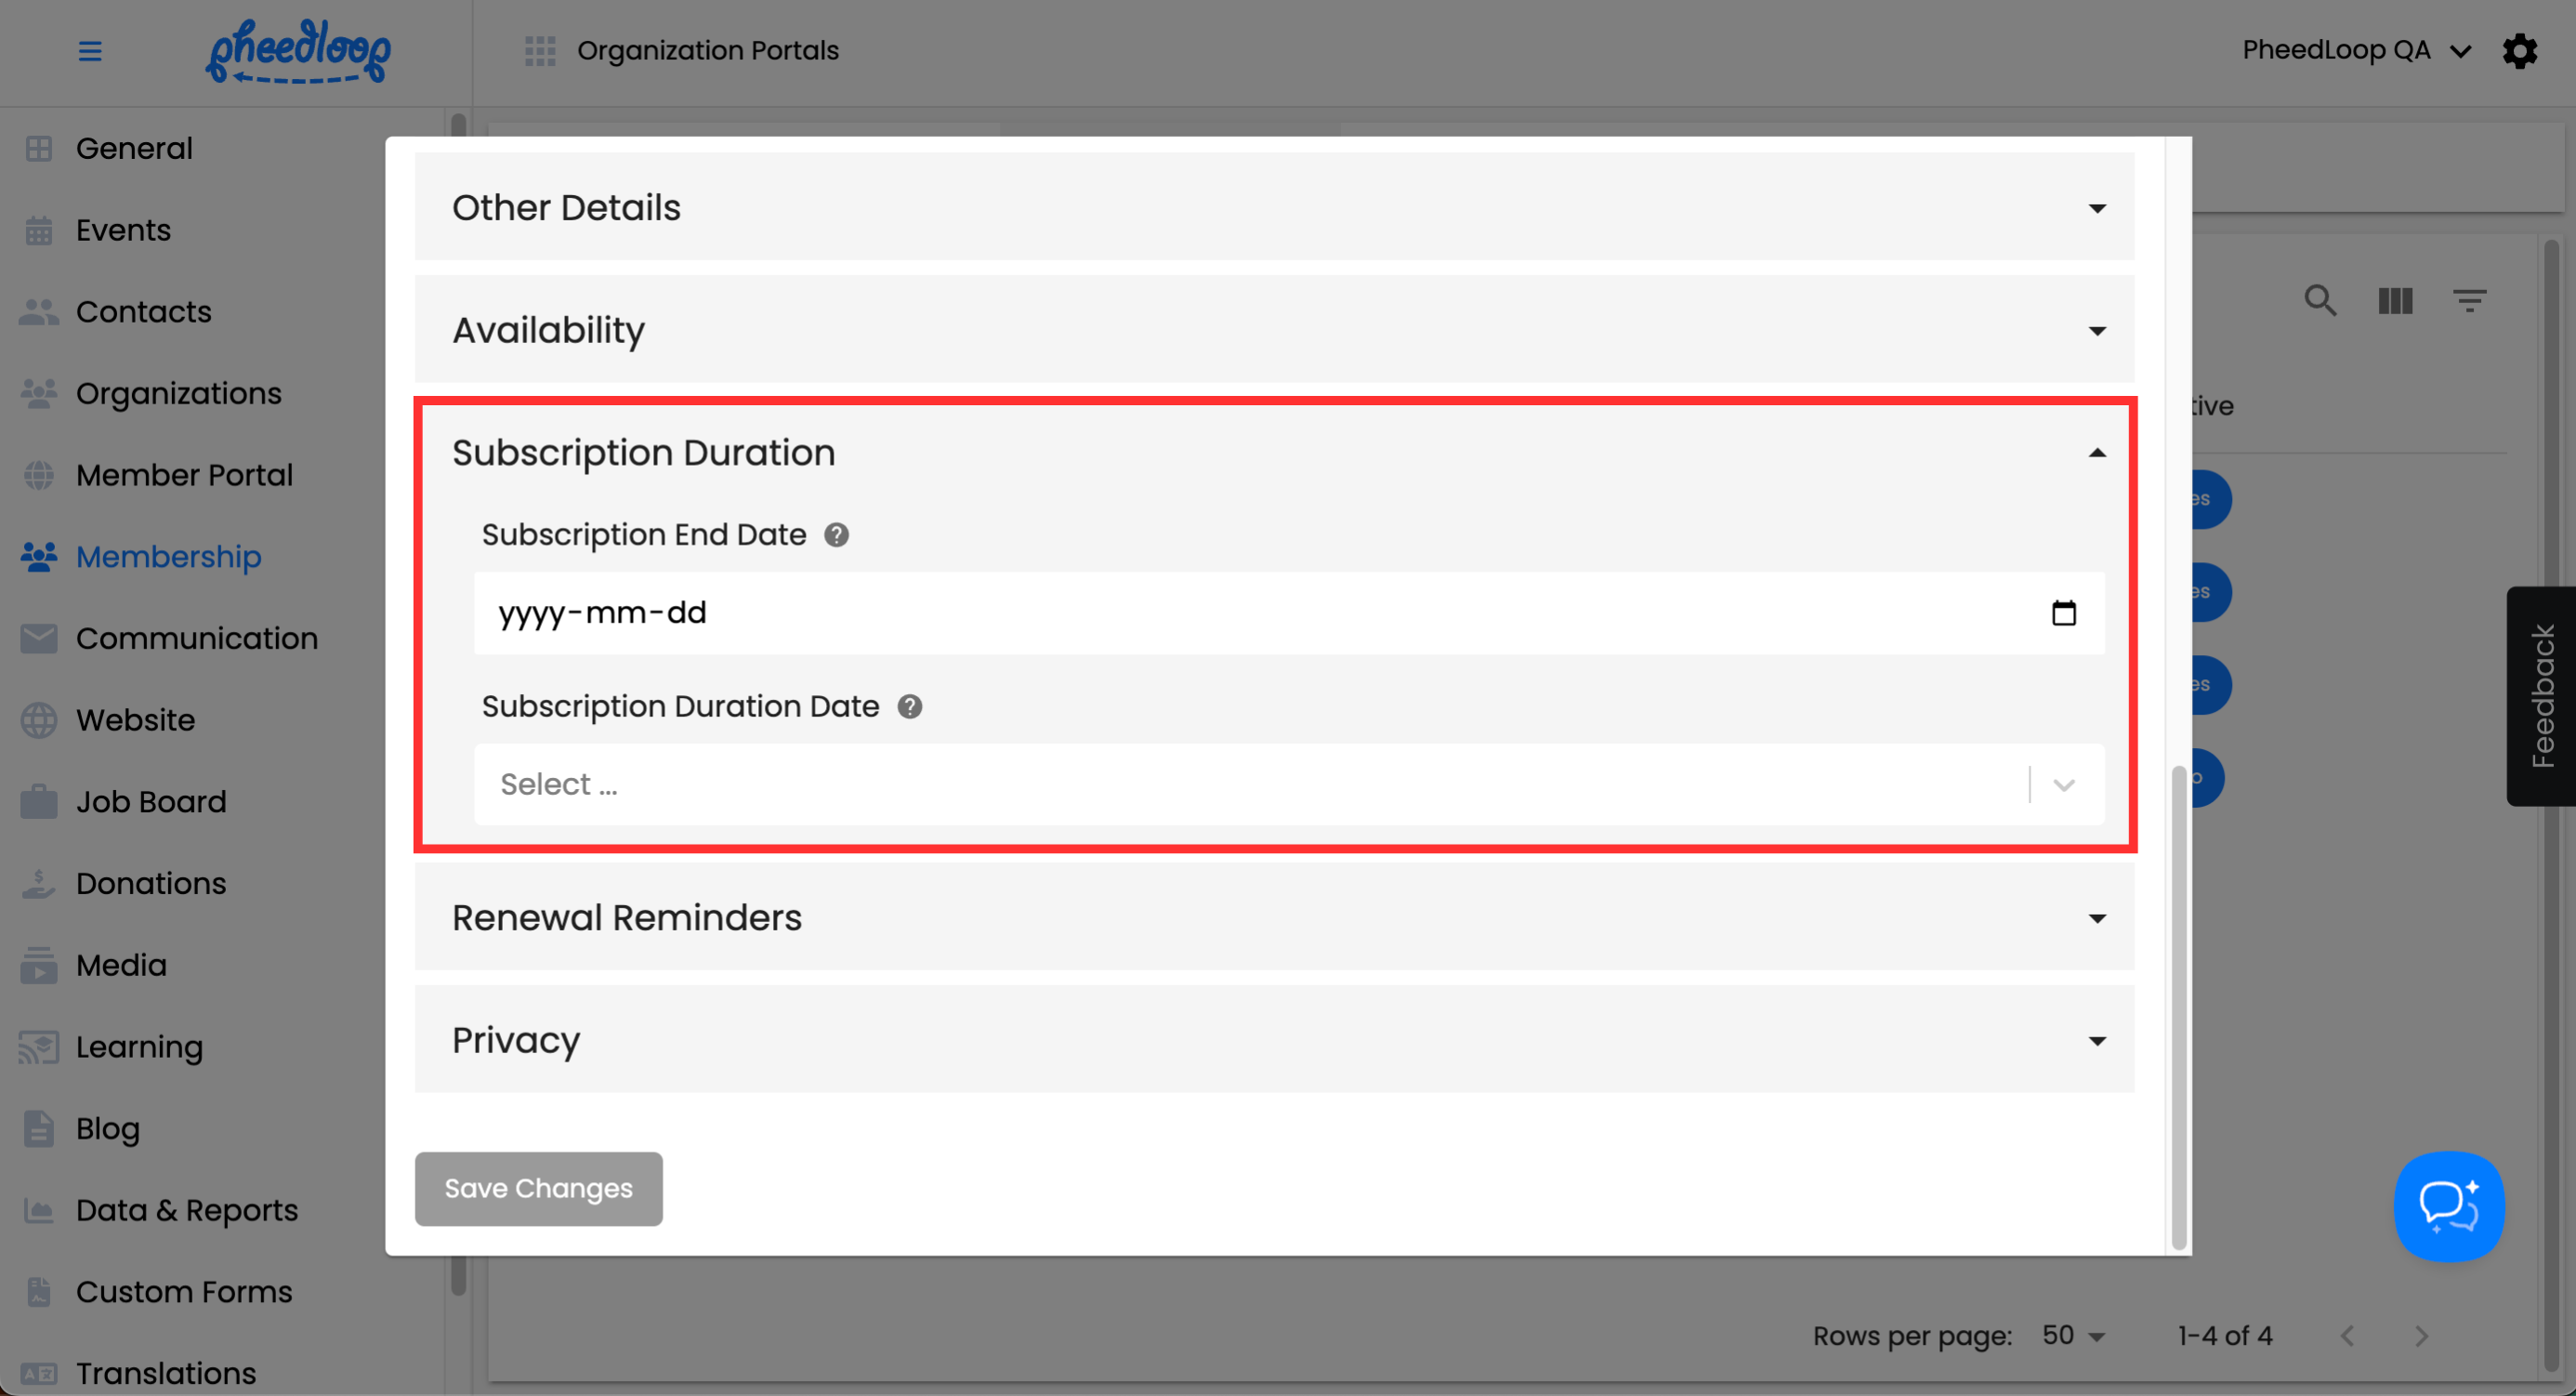
Subscription Duration
| Setting | Description |
|---|---|
| Subscription End Date | Enter the date when the Membership Type will expire. |
| Subscription Duration Date | Select the number of months the Membership Type will remain valid. This setting cannot be used simultaneously with the Subscription End Date field. |
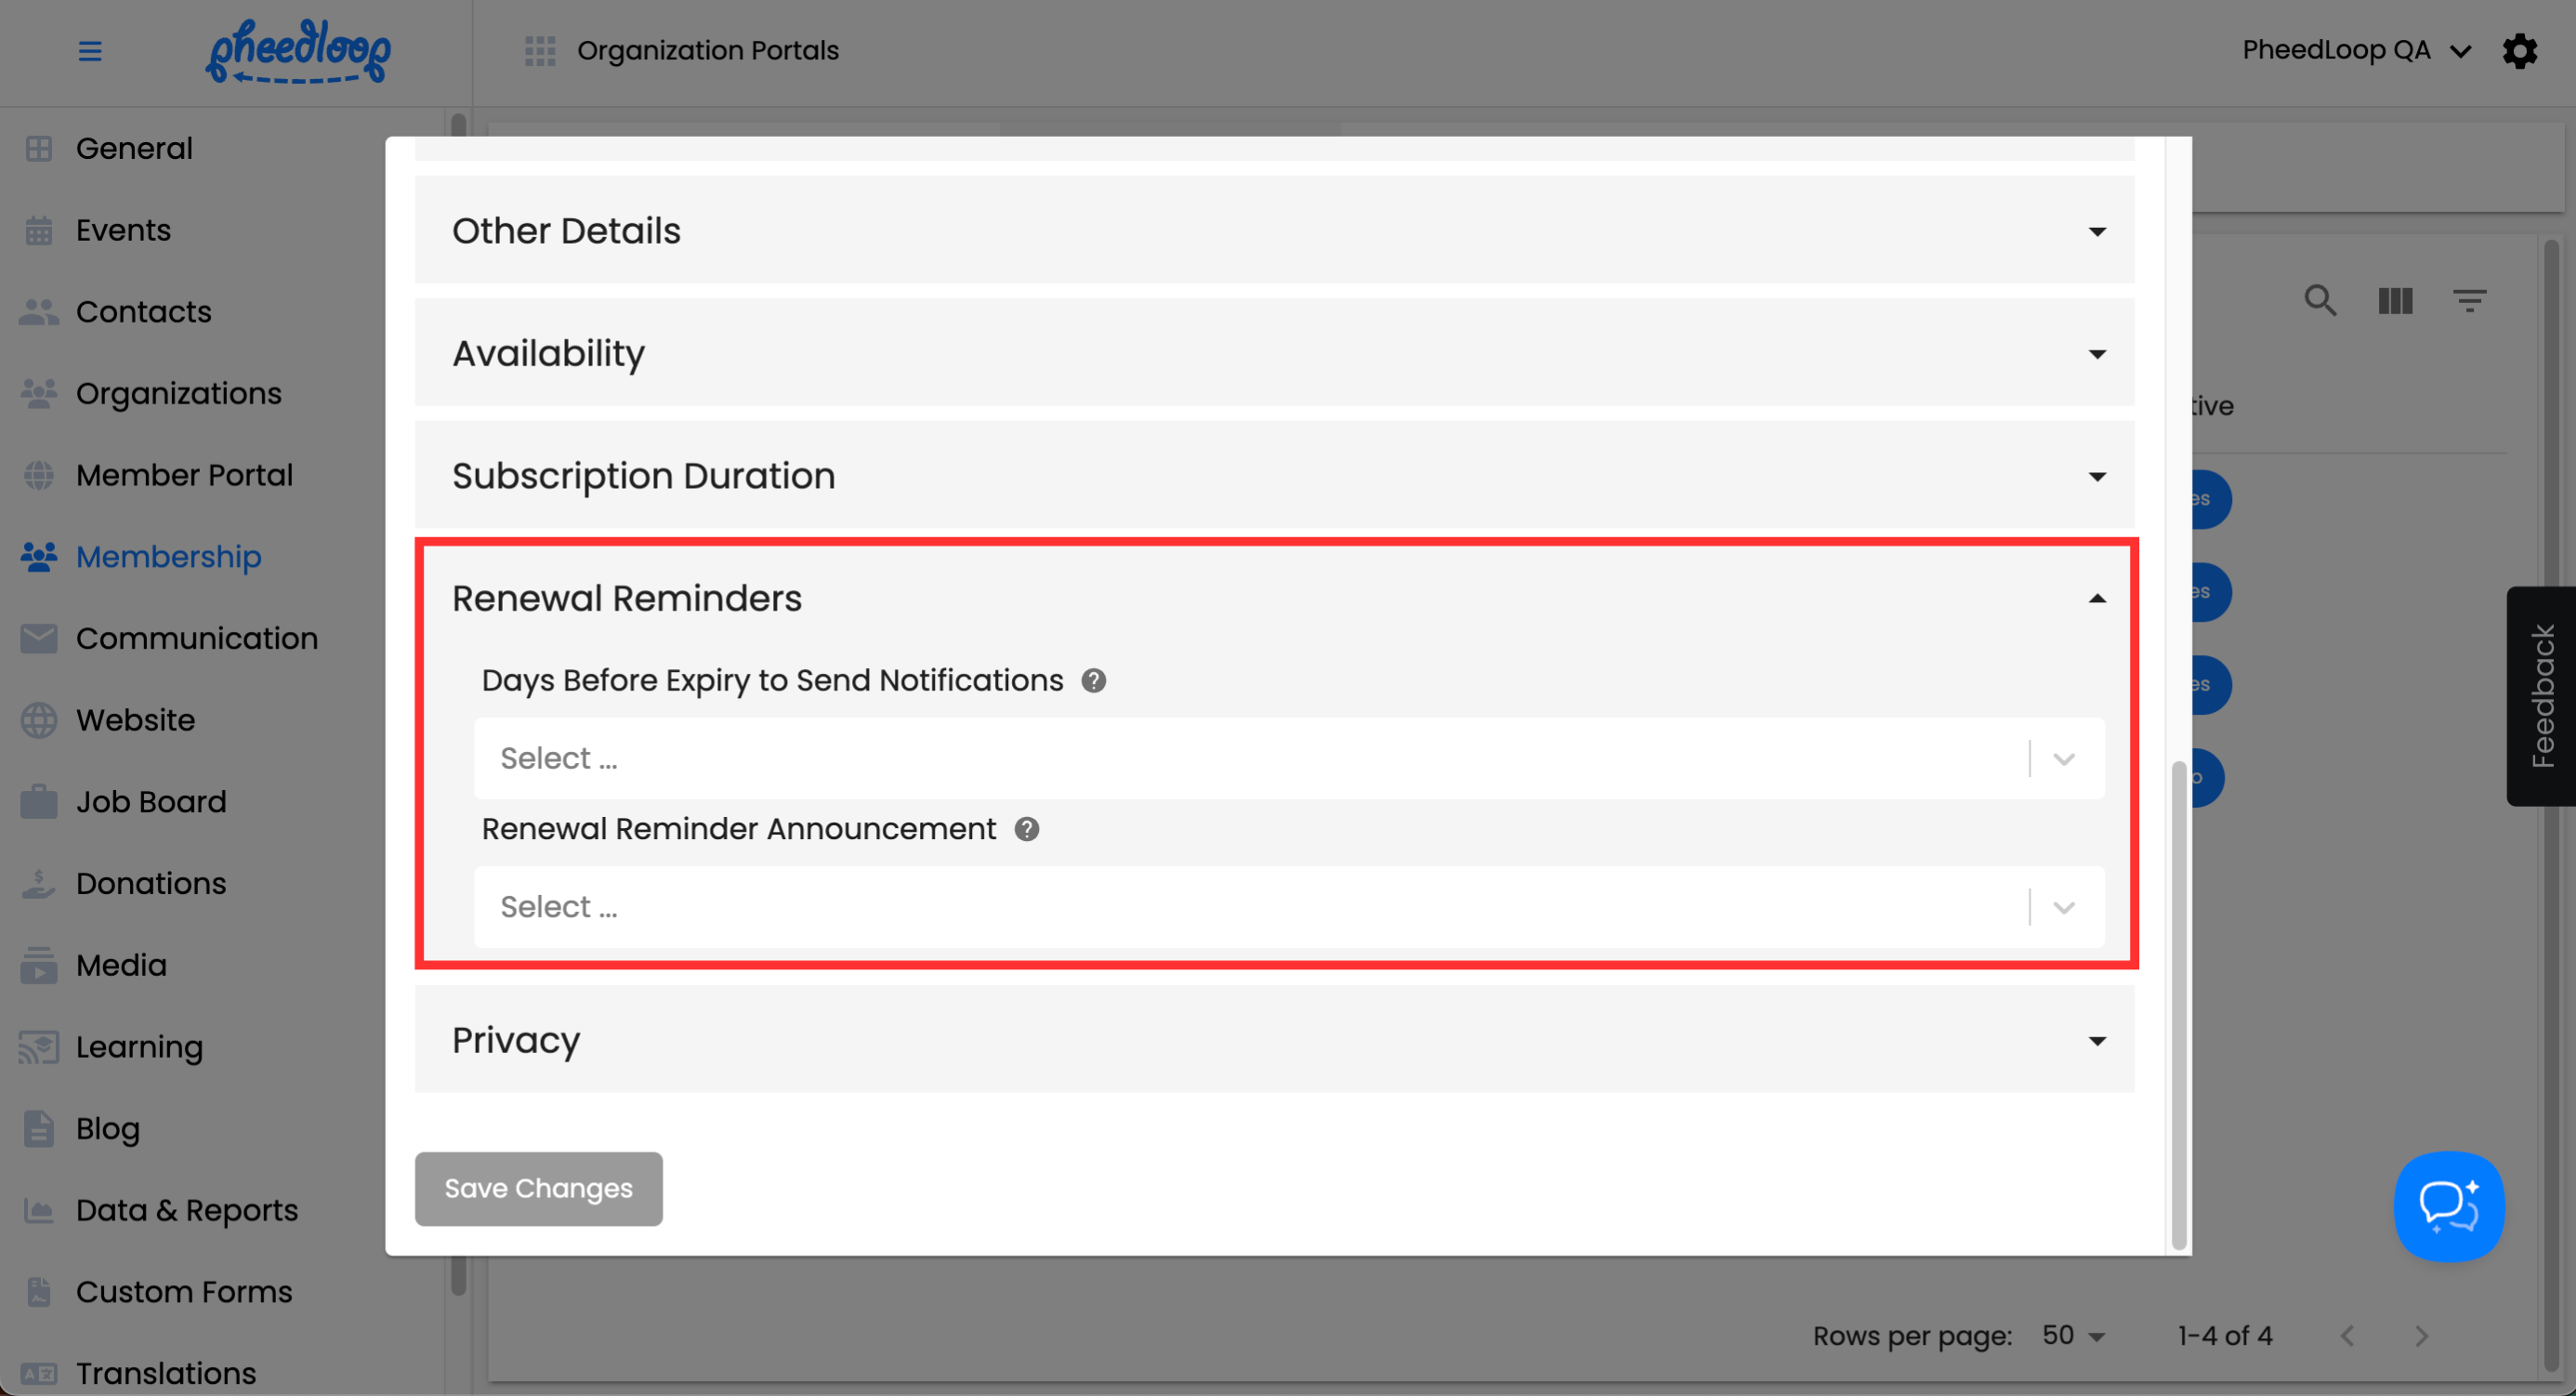
Renewal Reminders
| Setting | Description |
|---|---|
| Days Before Expiry to Send Notification | Select the number of days before the expiration date to send a reminder announcement. |
| Renewal Reminder Announcement | Select the announcement you want to use as the Renewal Reminder. |
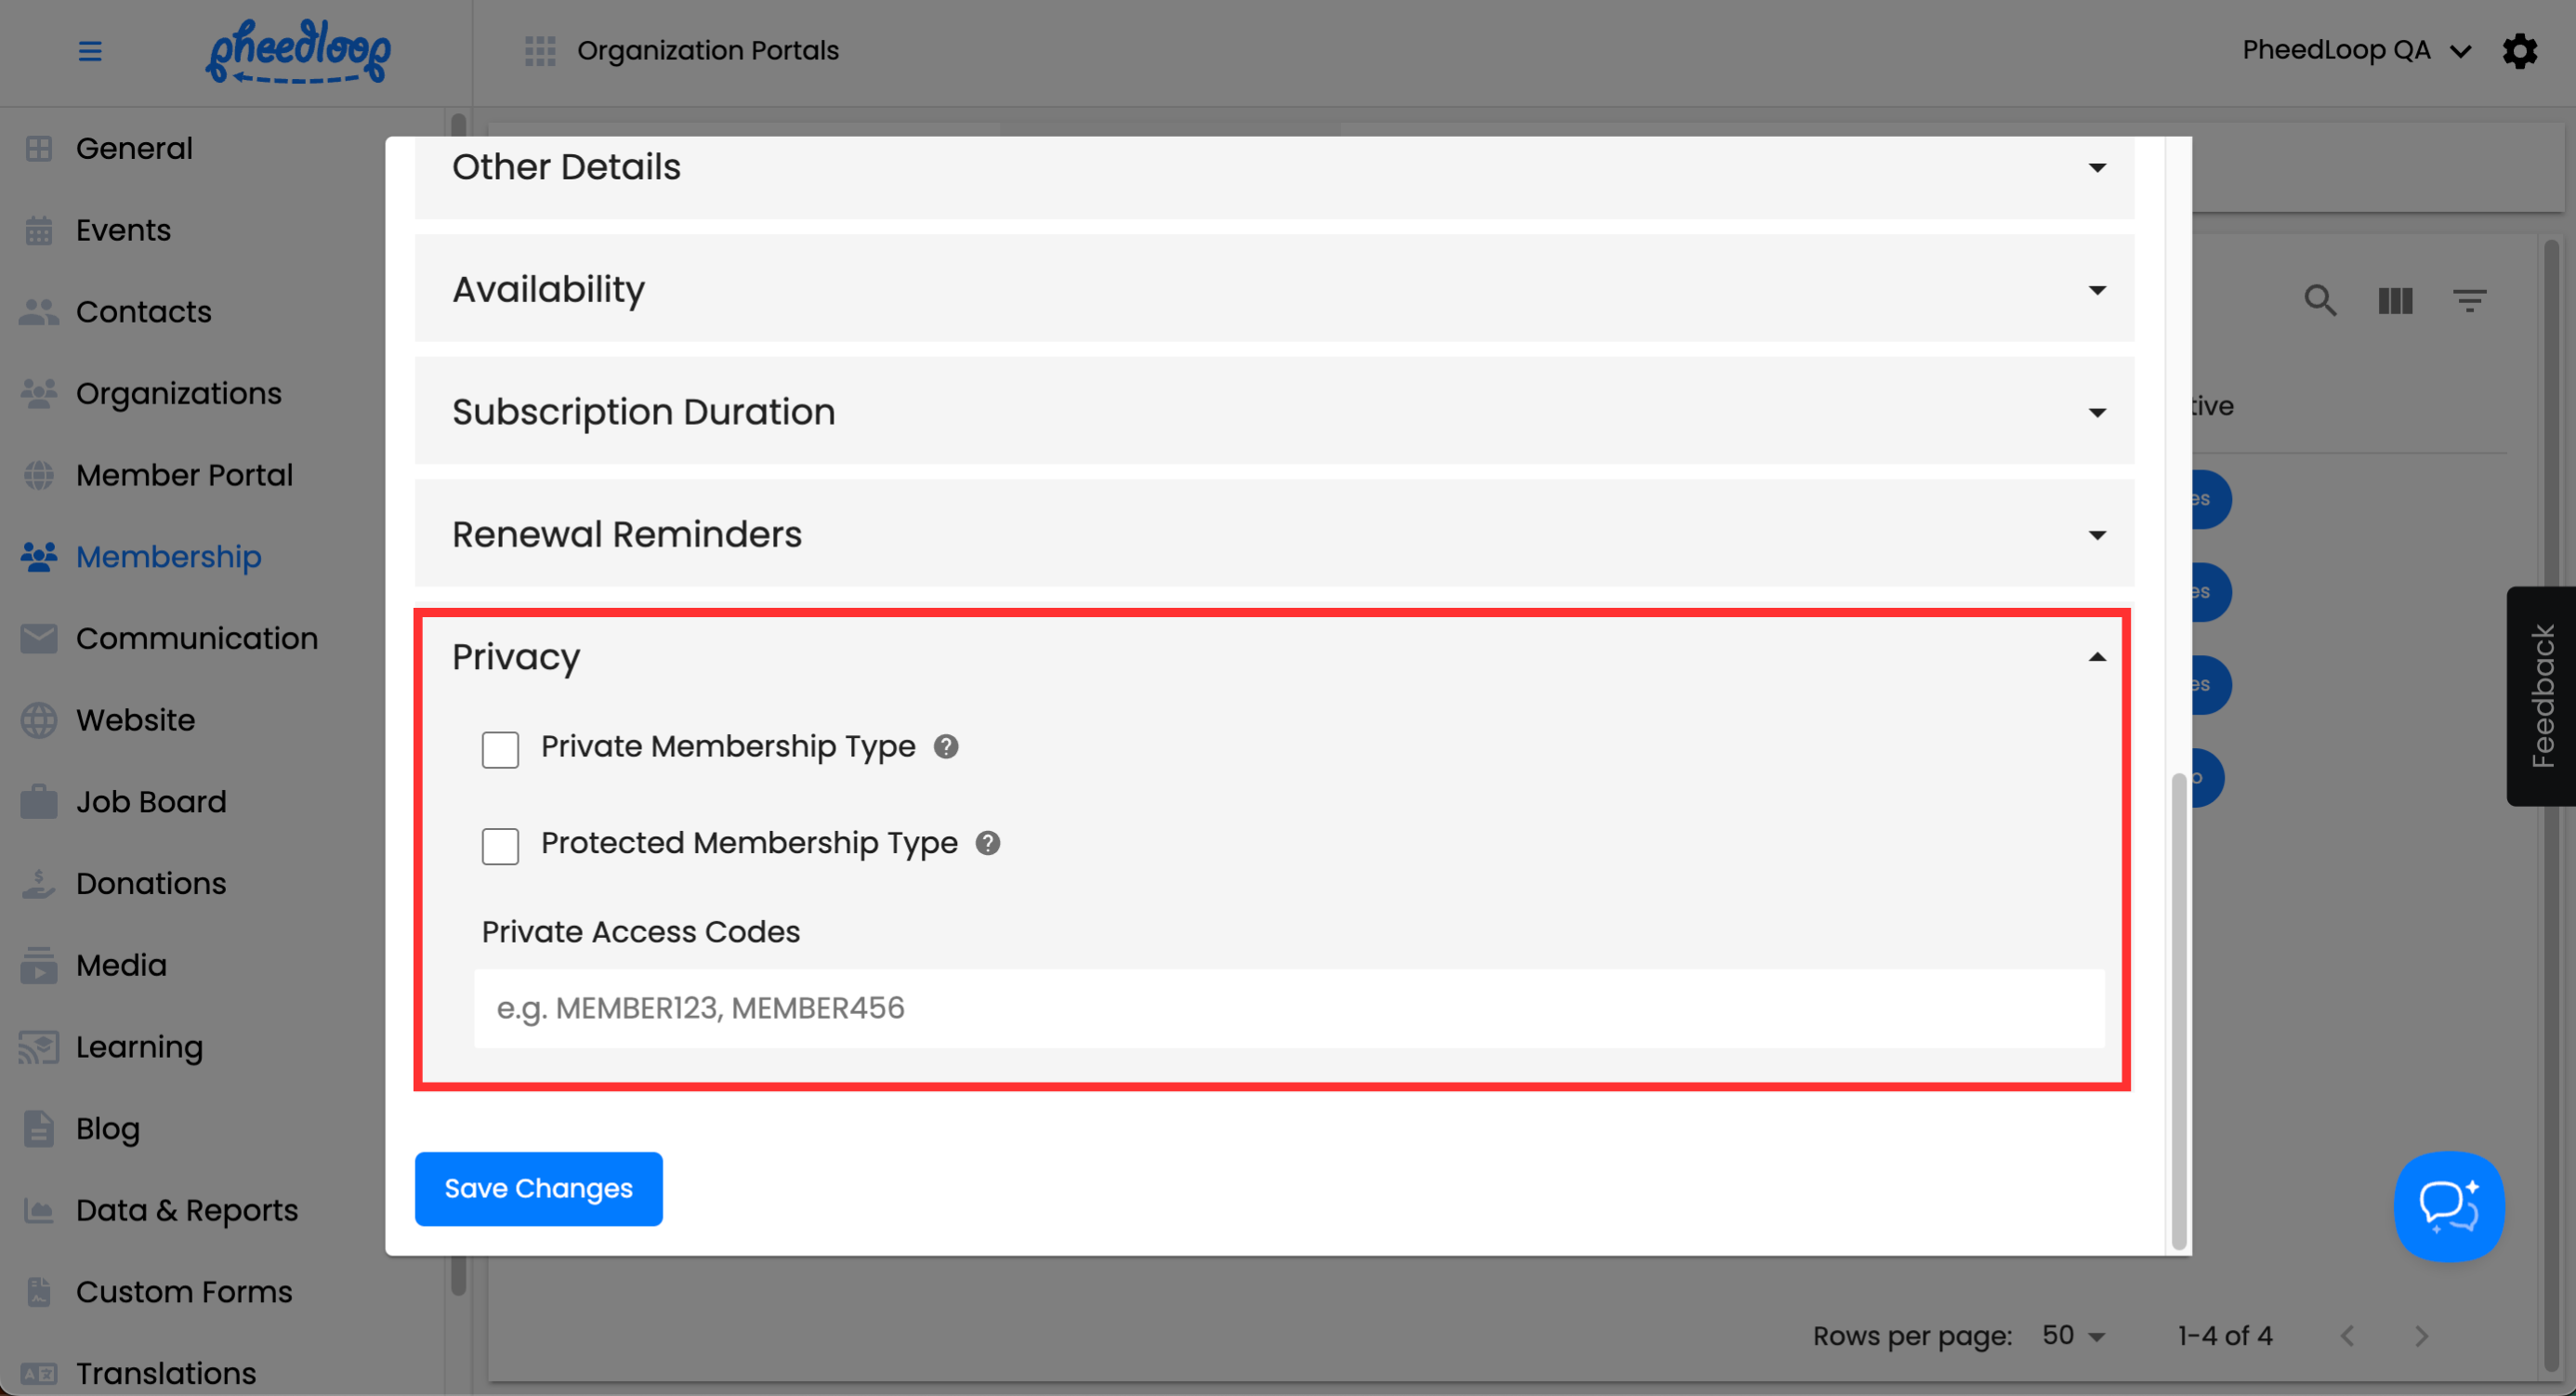
Privacy
| Setting | Description |
|---|---|
| Private Membership Type | Toggle this on to require users to enter a Private Access Code to access the Membership Type. |
| Protected Membership Type | Toggle this on to hide the Membership Type at checkout. Users must use a special URL to make the Membership Type appear and be purchasable. |
| Access Link |
A blue button becomes visible once changes are saved with Protected Membership Type enabled. Click the button to copy the special URL to access the Membership Type.
|
| Private Access Codes | Enter the codes that users will need to access the Membership Type. |

Setting up Announcements with Membership Types
As part of the Signup process, you have the option to include a custom announcement for individual Membership Types. When a member completes the Signup flow, they will receive the custom announcement. Each Membership Type can be equipped with its own announcement if necessary.
For instructions on how to create announcements, please refer to our How to Create and Send Announcements for Membership Management article.
Assigning the Announcement to the Membership Type
- From the Membership Dashboard, navigate to Membership > Membership Types
- Select the Membership Type you wish to adjust from the list
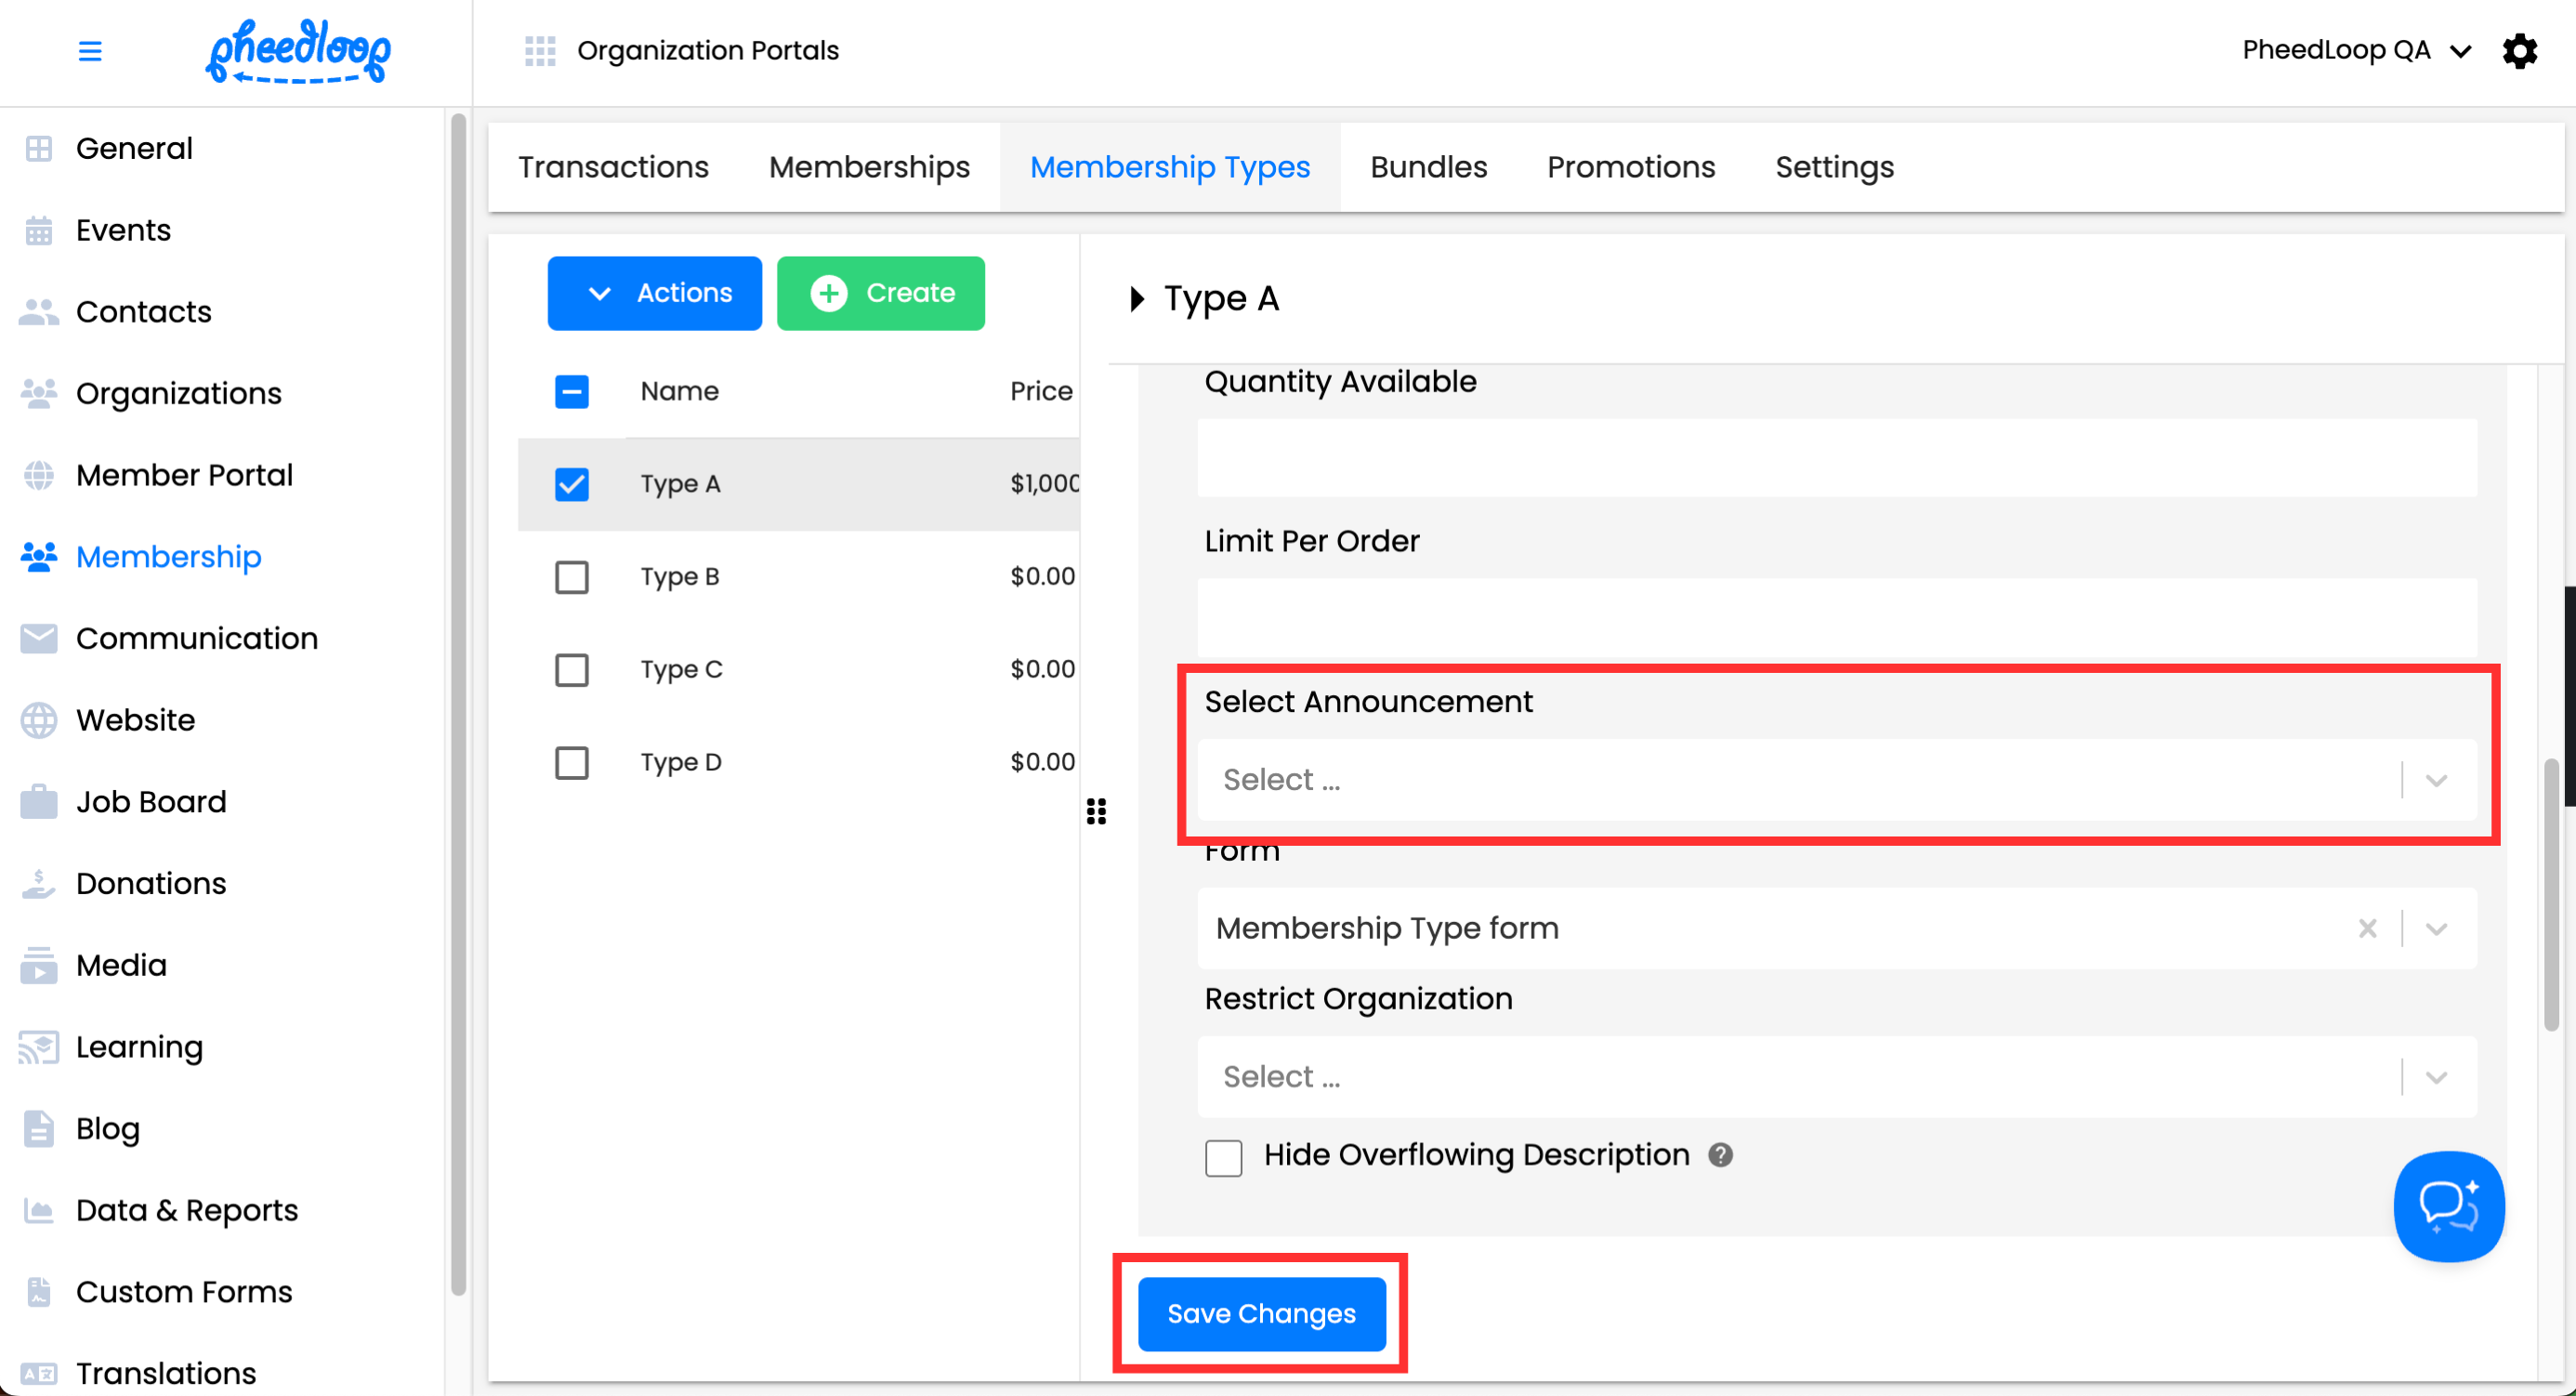
- Scroll down to Other Details
- Under Select Announcement, select the announcement you wish to include
-
Select Save Changes

Buying the Membership Type
Please note that in order for users to purchase a Membership Type, the organization account must be connected to a payment processor such as Stripe. For instructions on how to configure Stripe, please review our How to Connect your Account to Stripe for Payment Processing article.
Once the Membership Type has been created, it can be purchased from the Organization Website.
- From the Membership Dashboard, select Organization Portals > Organization Website
-
Select Signup

- Go through the signup process until you reach the Tiers page
- Add the Membership Types to your cart
-
Select Checkout


A success page will be shown indicating your purchase has been made.
How to Reorder Membership Type
It is possible to change the order in which membership types appear during the signup process.
- From the Membership Dashboard, navigate to Membership > Membership Types
-
Above the Membership Types table, select Actions > Re-Order
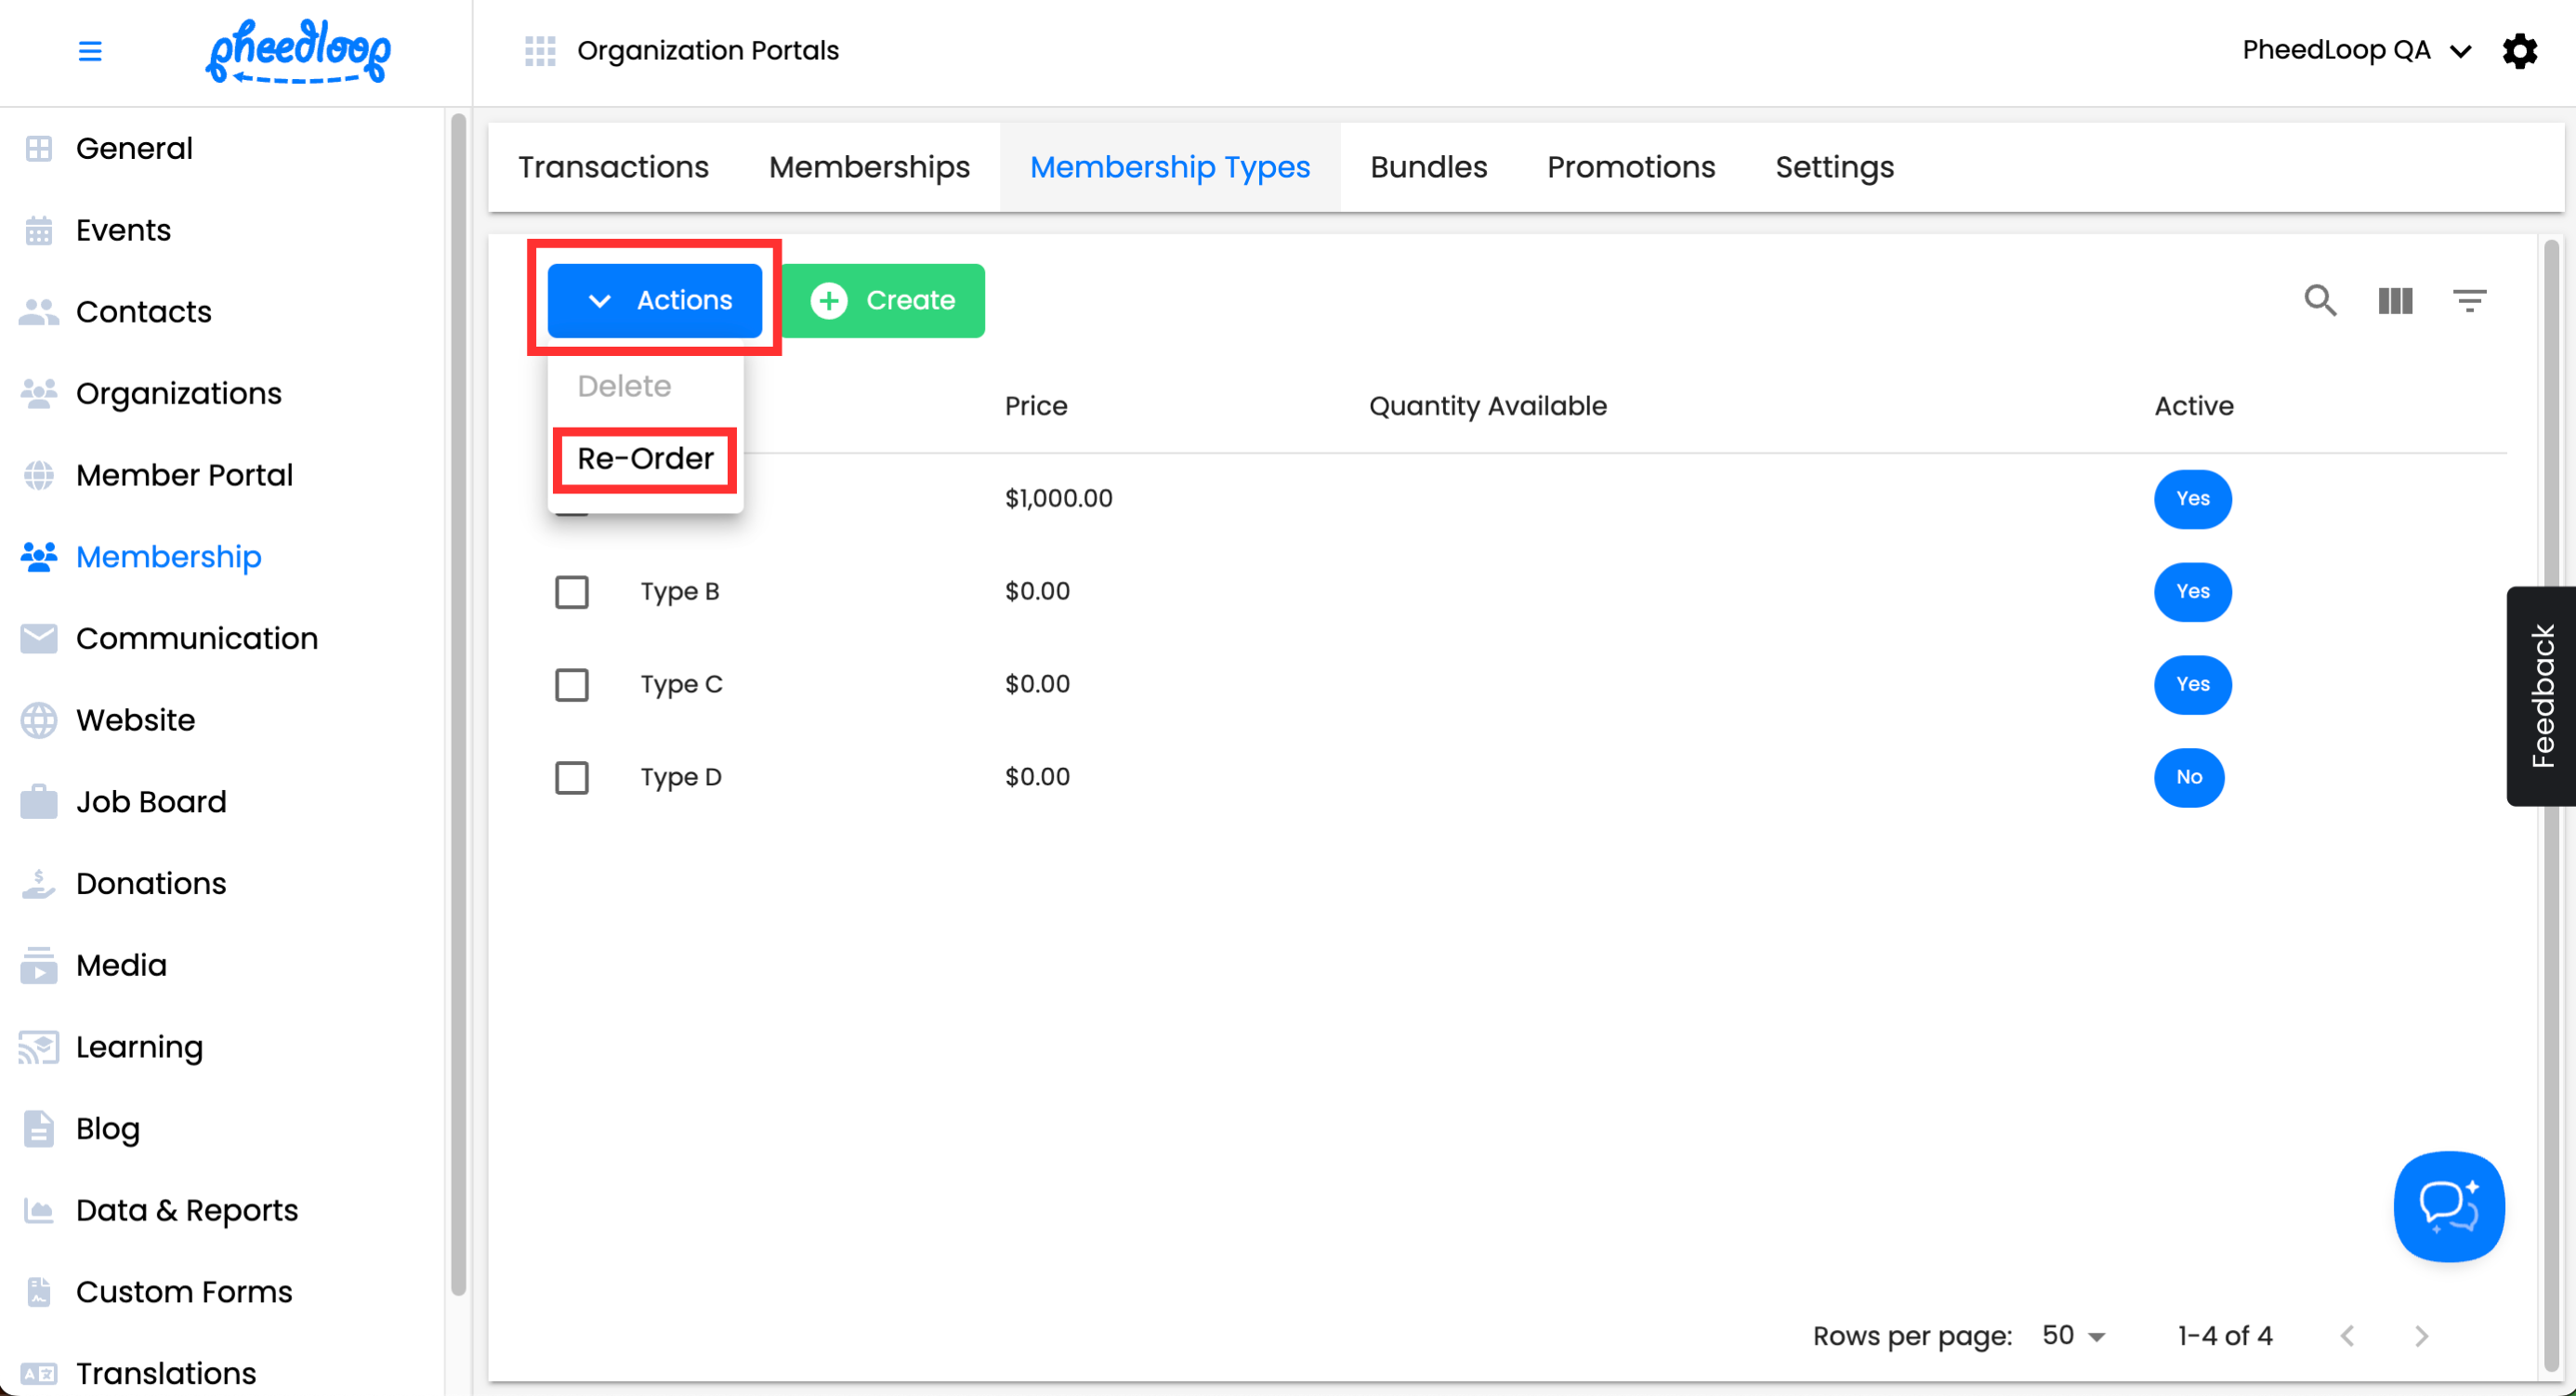
- Drag the Membership Types to their desired location
-
Select Save


Once you have saved your progress, select Exit to leave the re-order screen.