Getting Started With Your Organization Website
One of the features of the Membership Dashboard is a dedicated Organization Website similar to the Event Website. This article will go over the process of setting up your Organization Website.
Accessing the Organization Website
The Organization Website can be easily accessed from the Membership Dashboard.
-
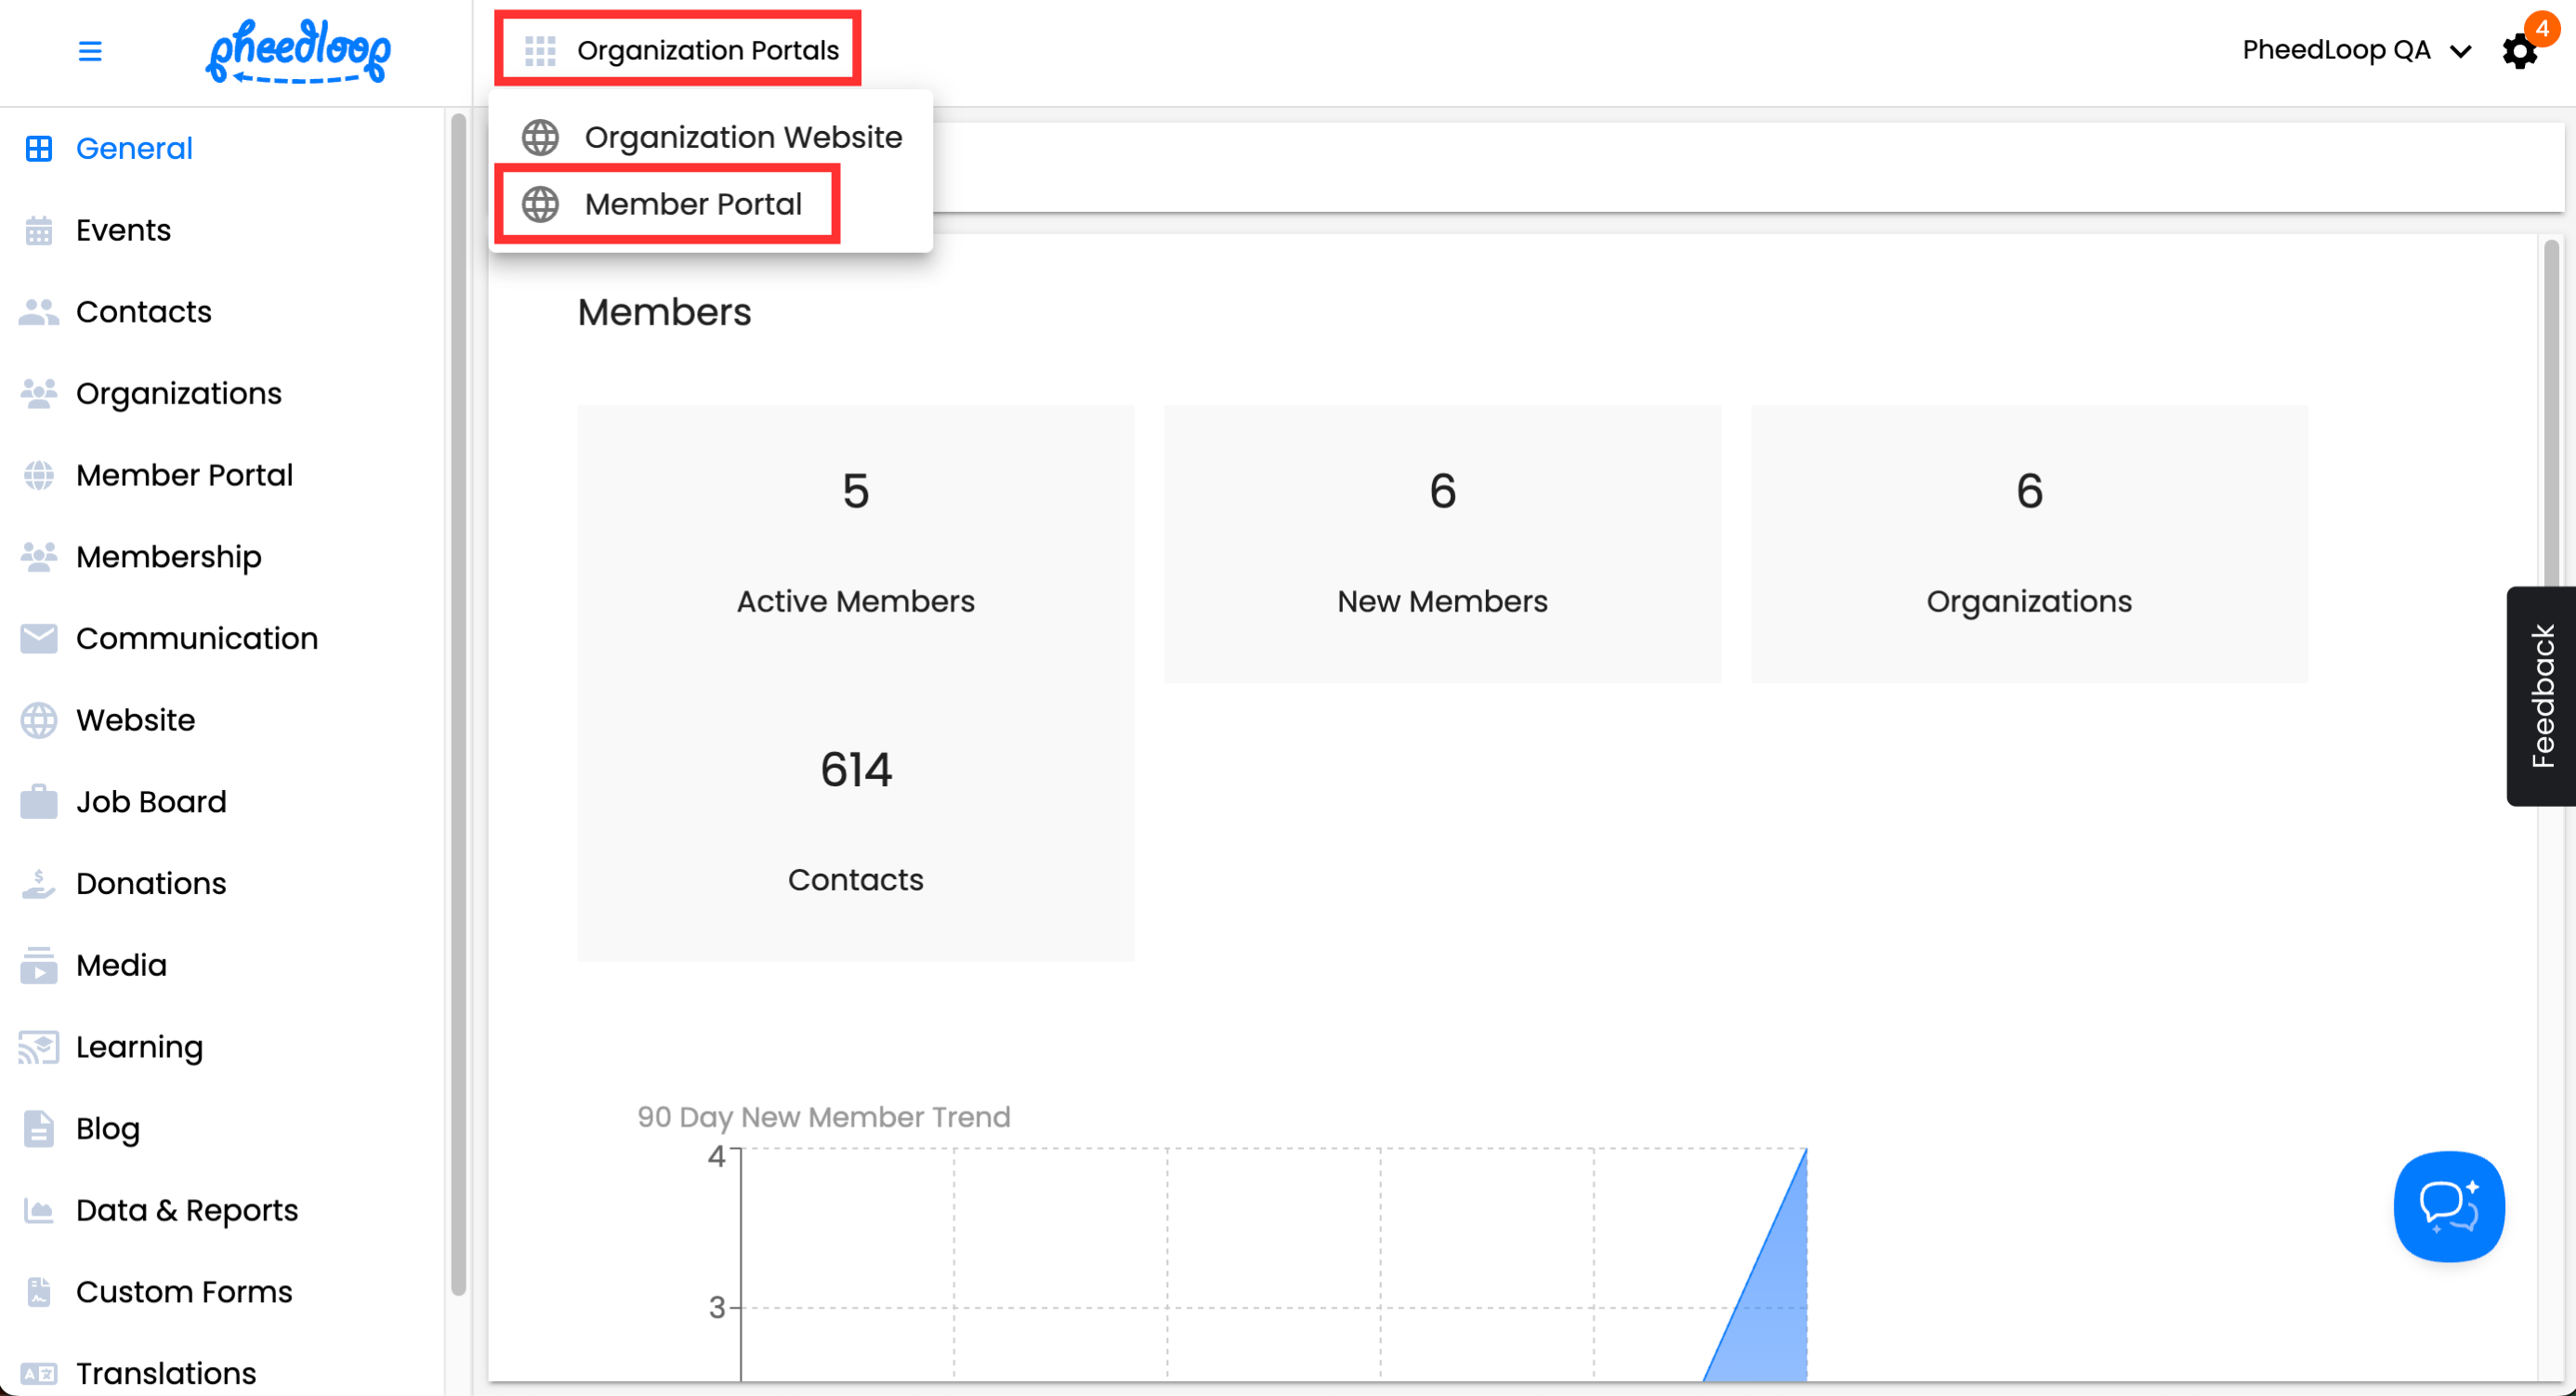
From the Membership Dashboard, navigate to Organization Portals > Organization Website

We recommend that you visit the Organization Website whenever you make a change to ensure that the change reflects on the Website.
Creating Pages in the Organization Website
By default, the following pages are available in the Organization Website:
| Page | Description |
|---|---|
| Home | The homepage for your organization’s website. |
| Events | Displays the list of events created in your organization. |
| Signup | The page where users can join your organization as members. |
To Create Pages
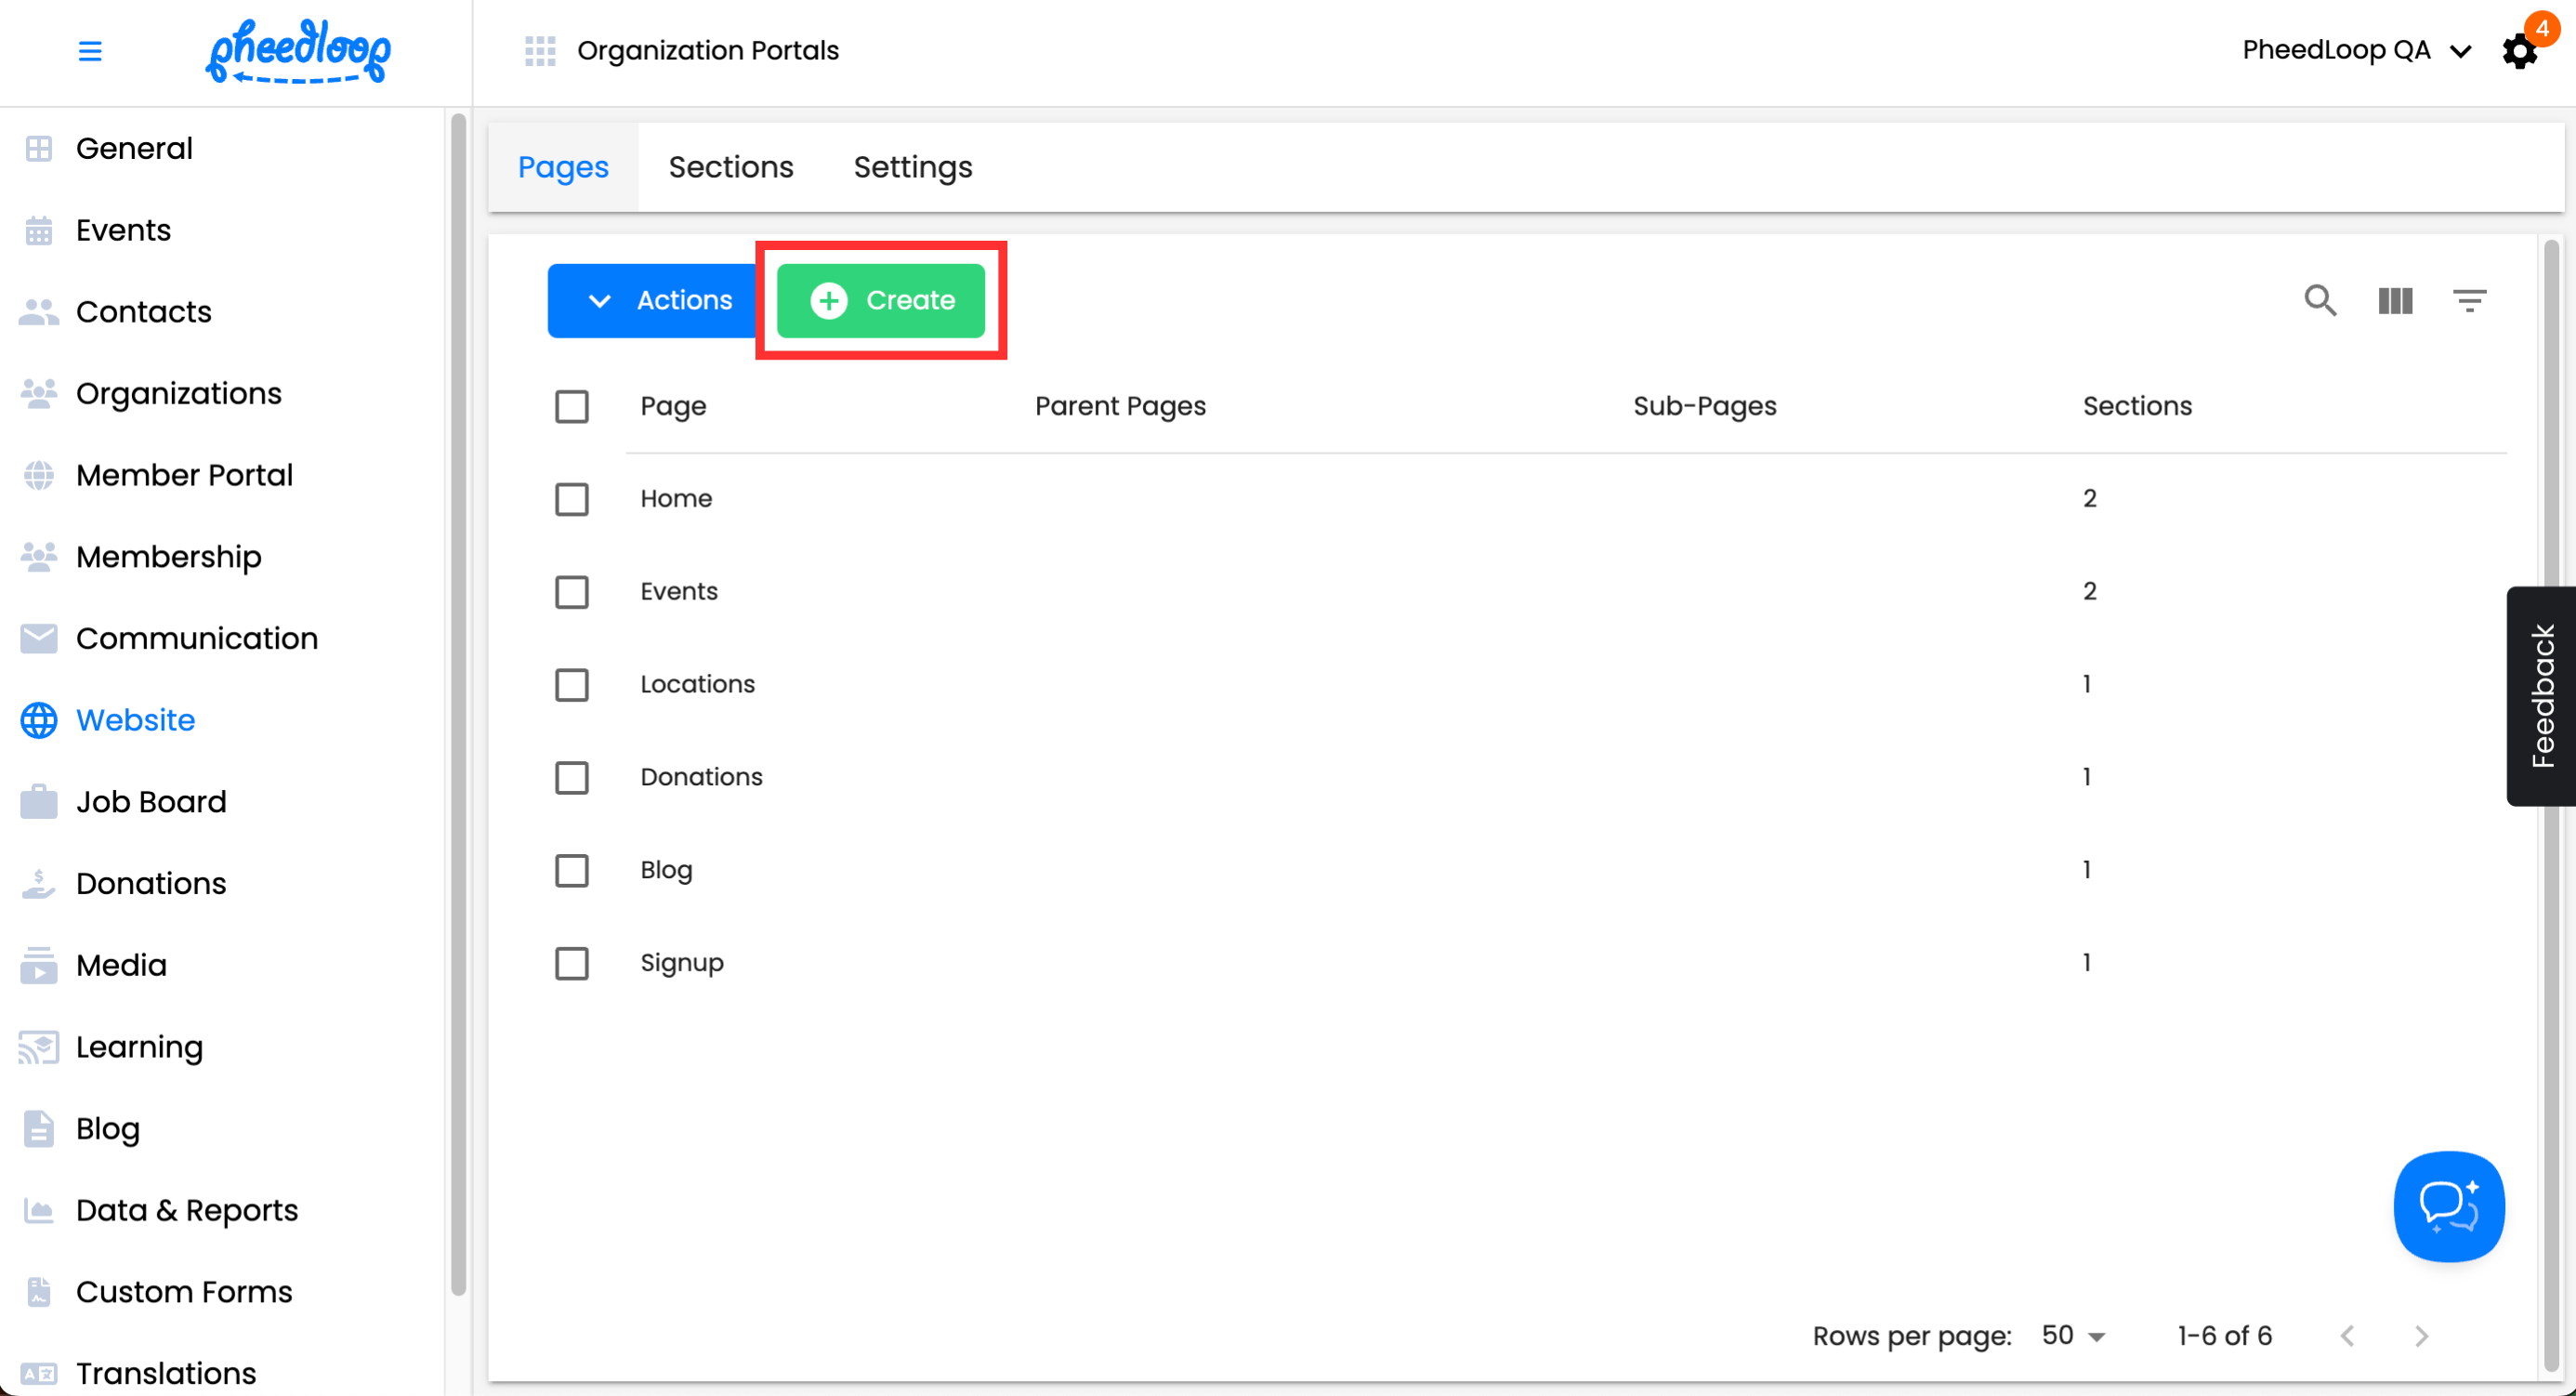
- From the Membership Dashboard, navigate to Website > Pages
-
Above the Pages table, select Create
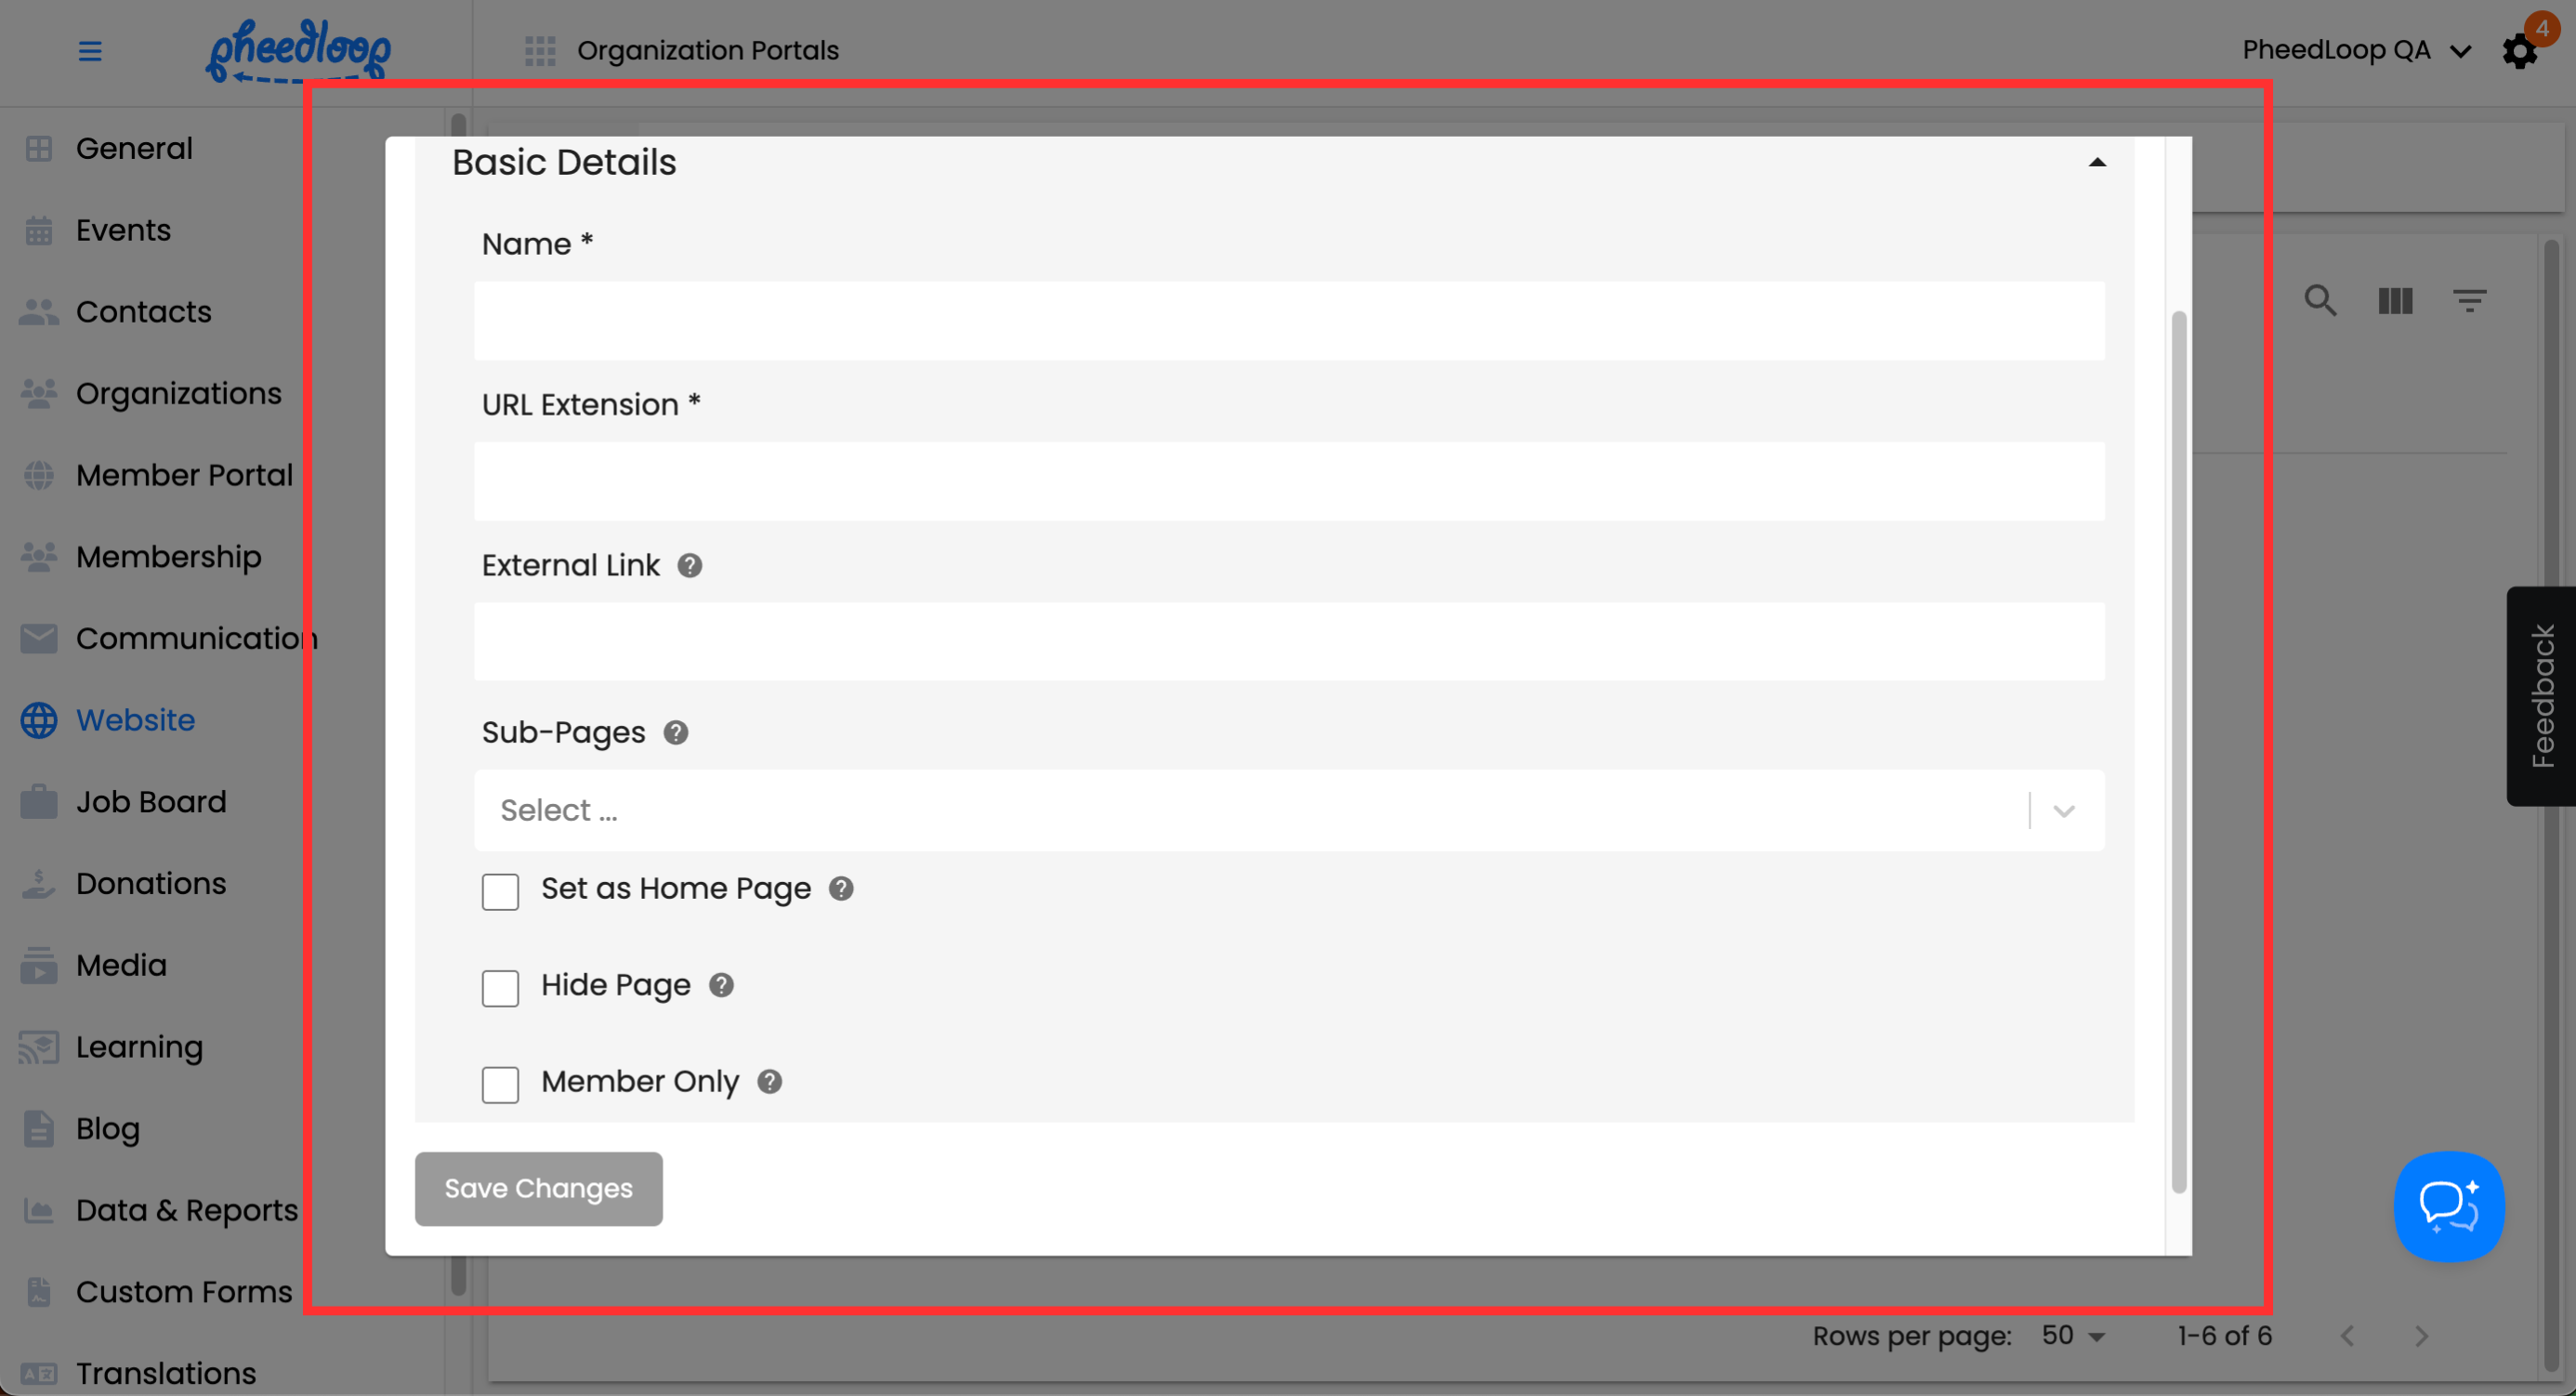
- Configure the following settings you
- Under the Name field, enter a name for your page.
- Under the URL Extension field, enter your URL Extension.
- Under the External Link field, enter a link to an external page if you would like this page to lead to an external website.
- Under the Sub-Pages field, enter any pages to appear under this page. Please note, sections cannot appear in a Page with Sub-Pages. This means that there can be no content if this field is utilized.
- Toggle on the Set as Home Page checkbox if you would like to set your created page as the new home page. If set, visiting the Organization Website will open this page.
- Toggle on the Hide Page checkbox if you would like to keep the page hidden.
- Toggle on the Member Only checkbox if you would like to restrict access to only users who have logged into the site. If a user is not logged in, the page will be hidden from their view.
-
Select Save Changes


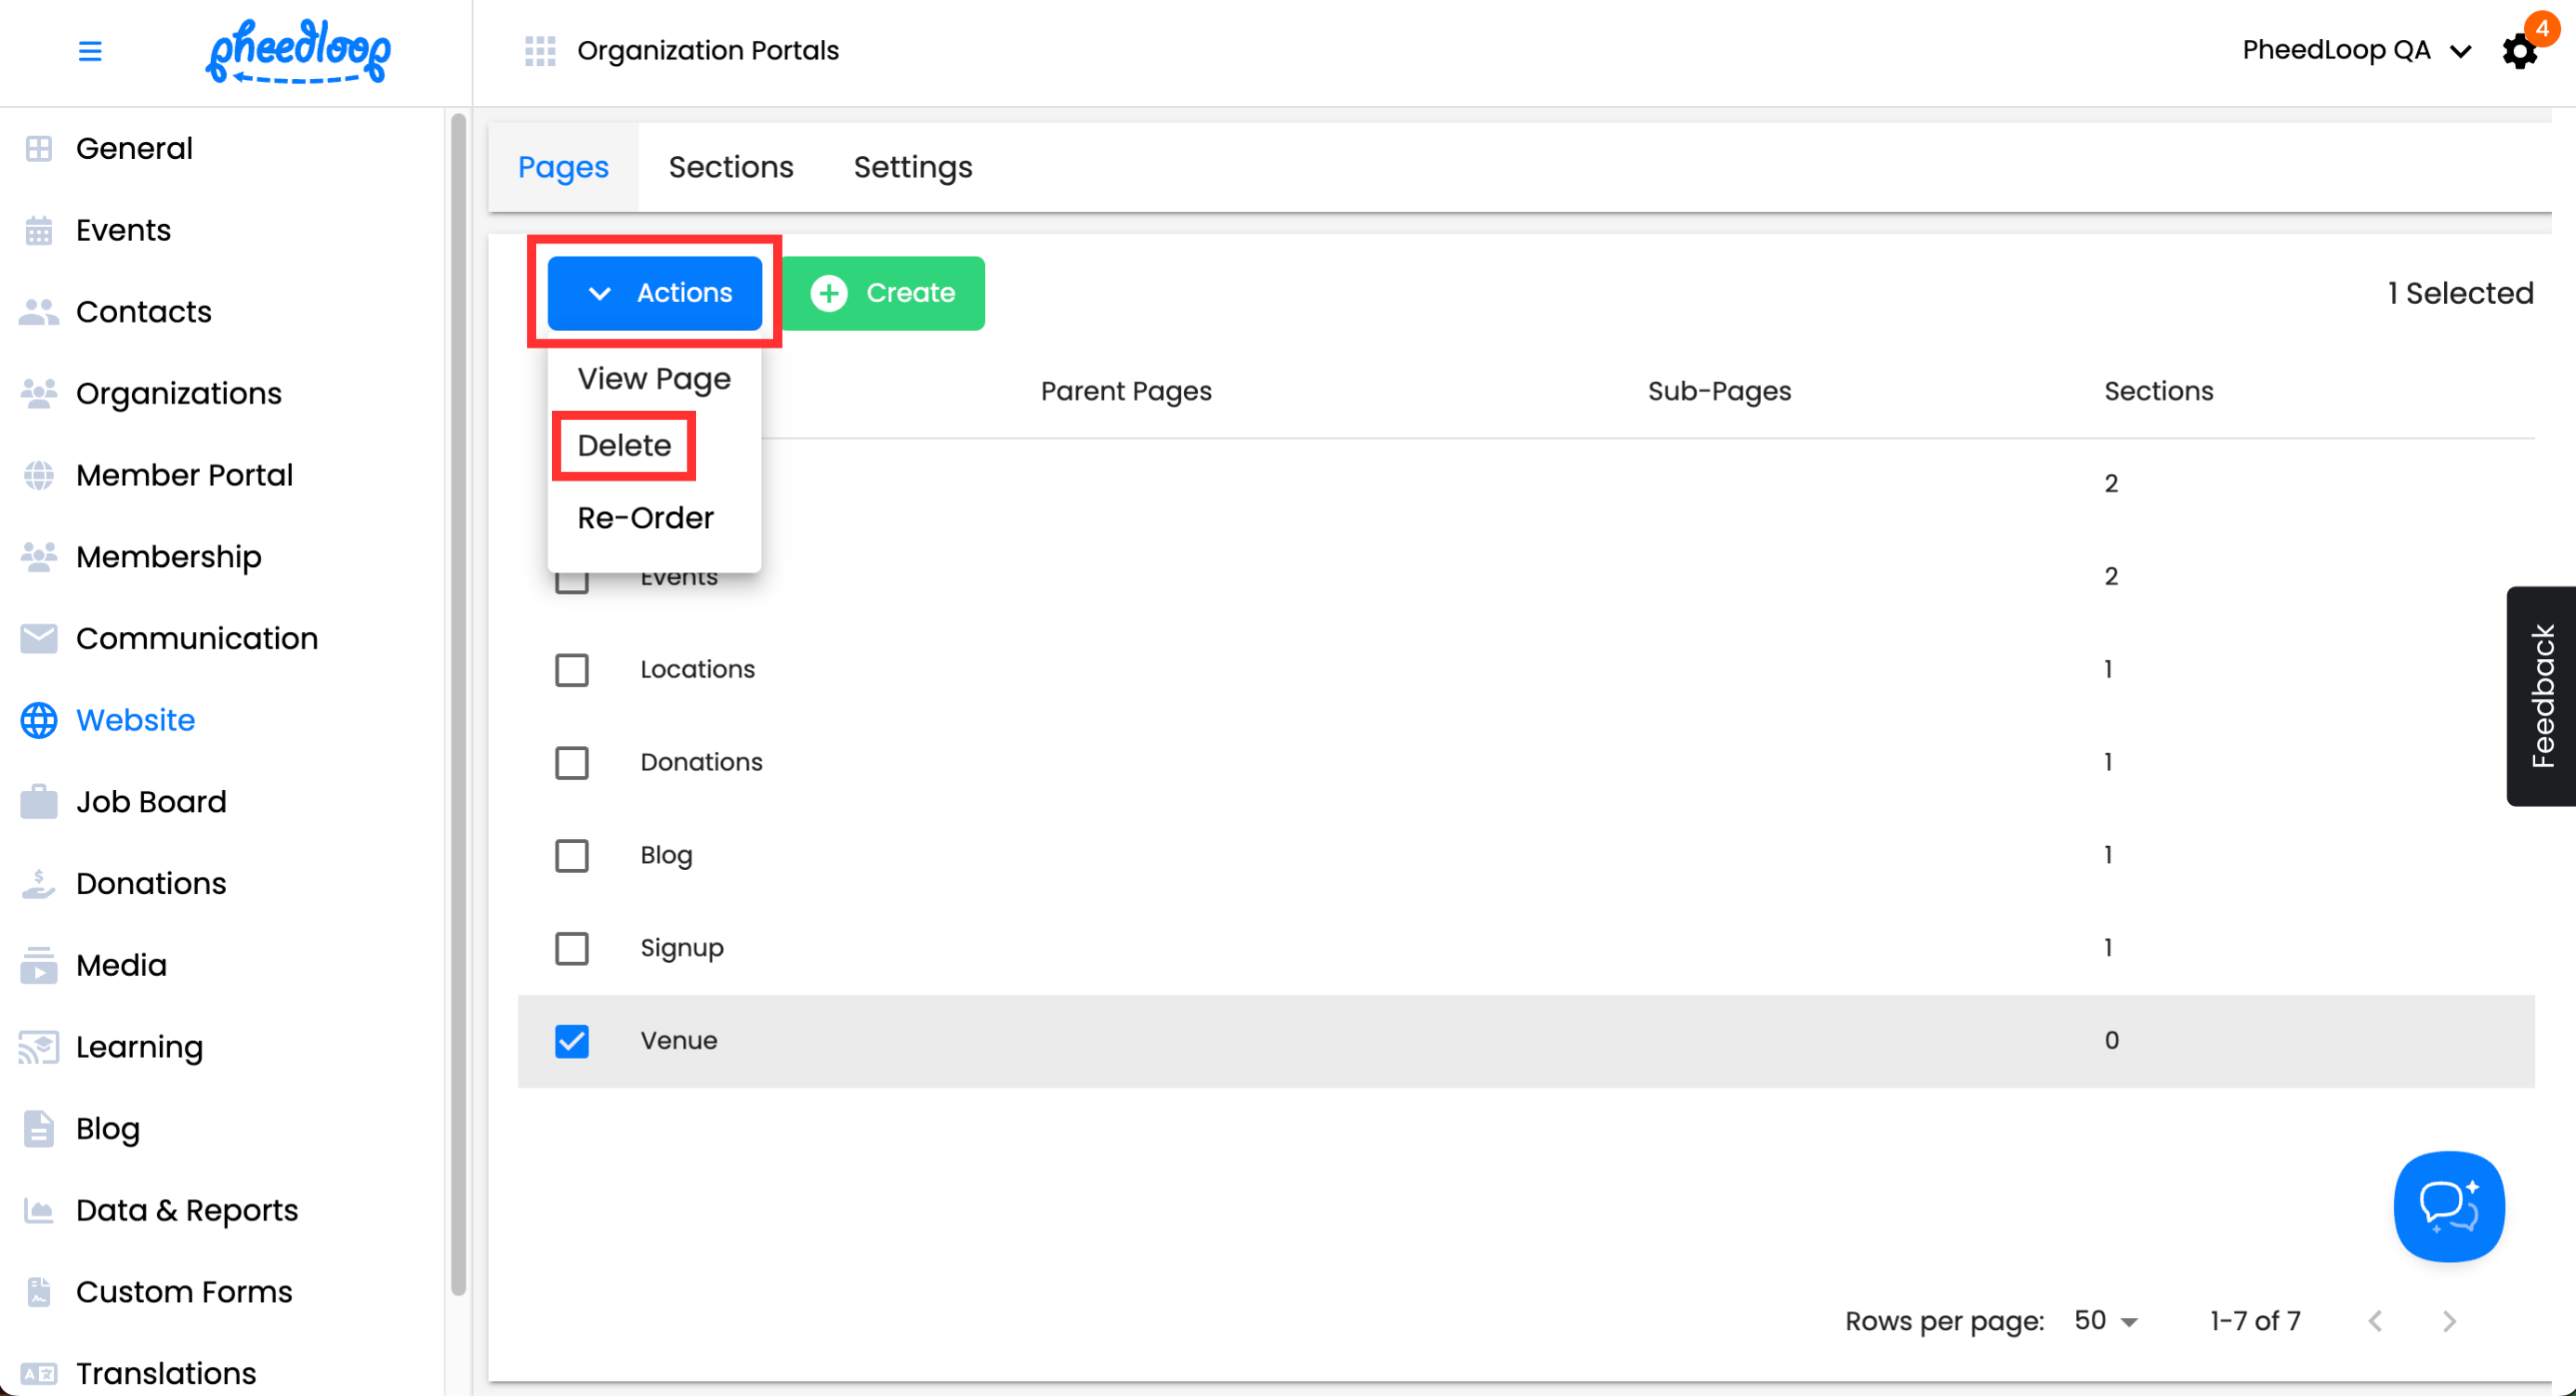
To Delete Pages
- From the Membership Dashboard, navigate to Website > Pages
- Select the checkbox of the page you wish to delete
-
Above the Pages table, select Actions > Delete
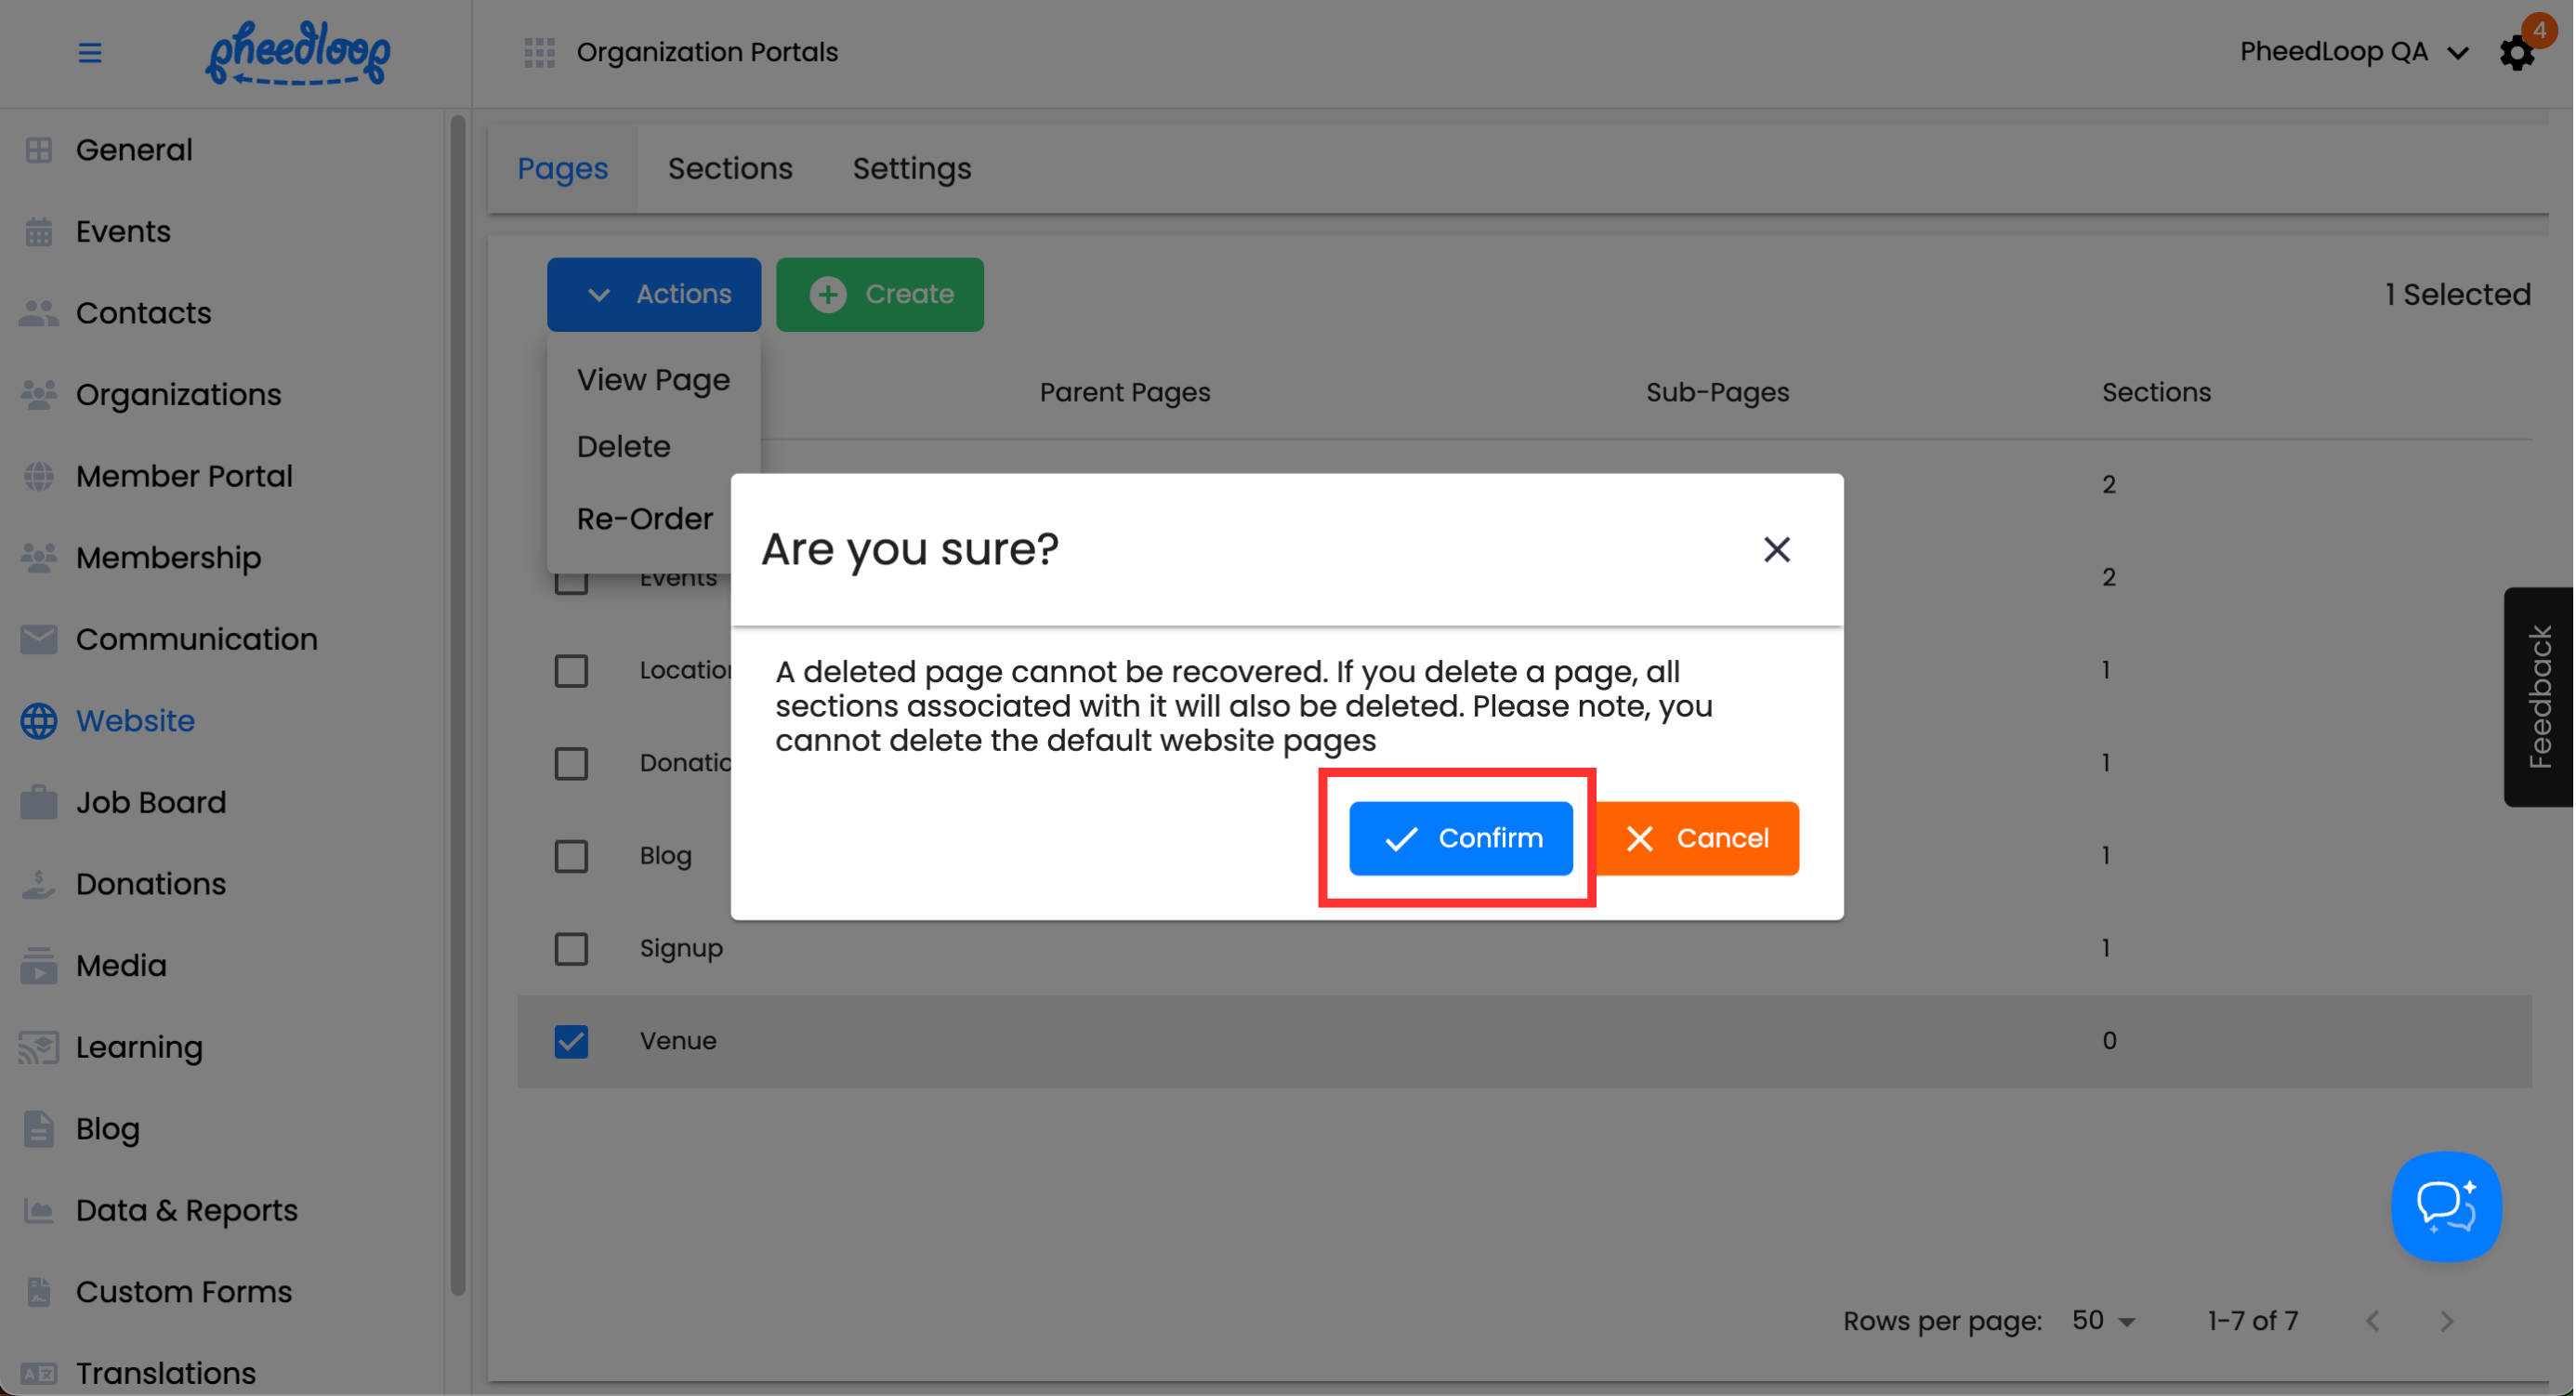
-
Select Confirm


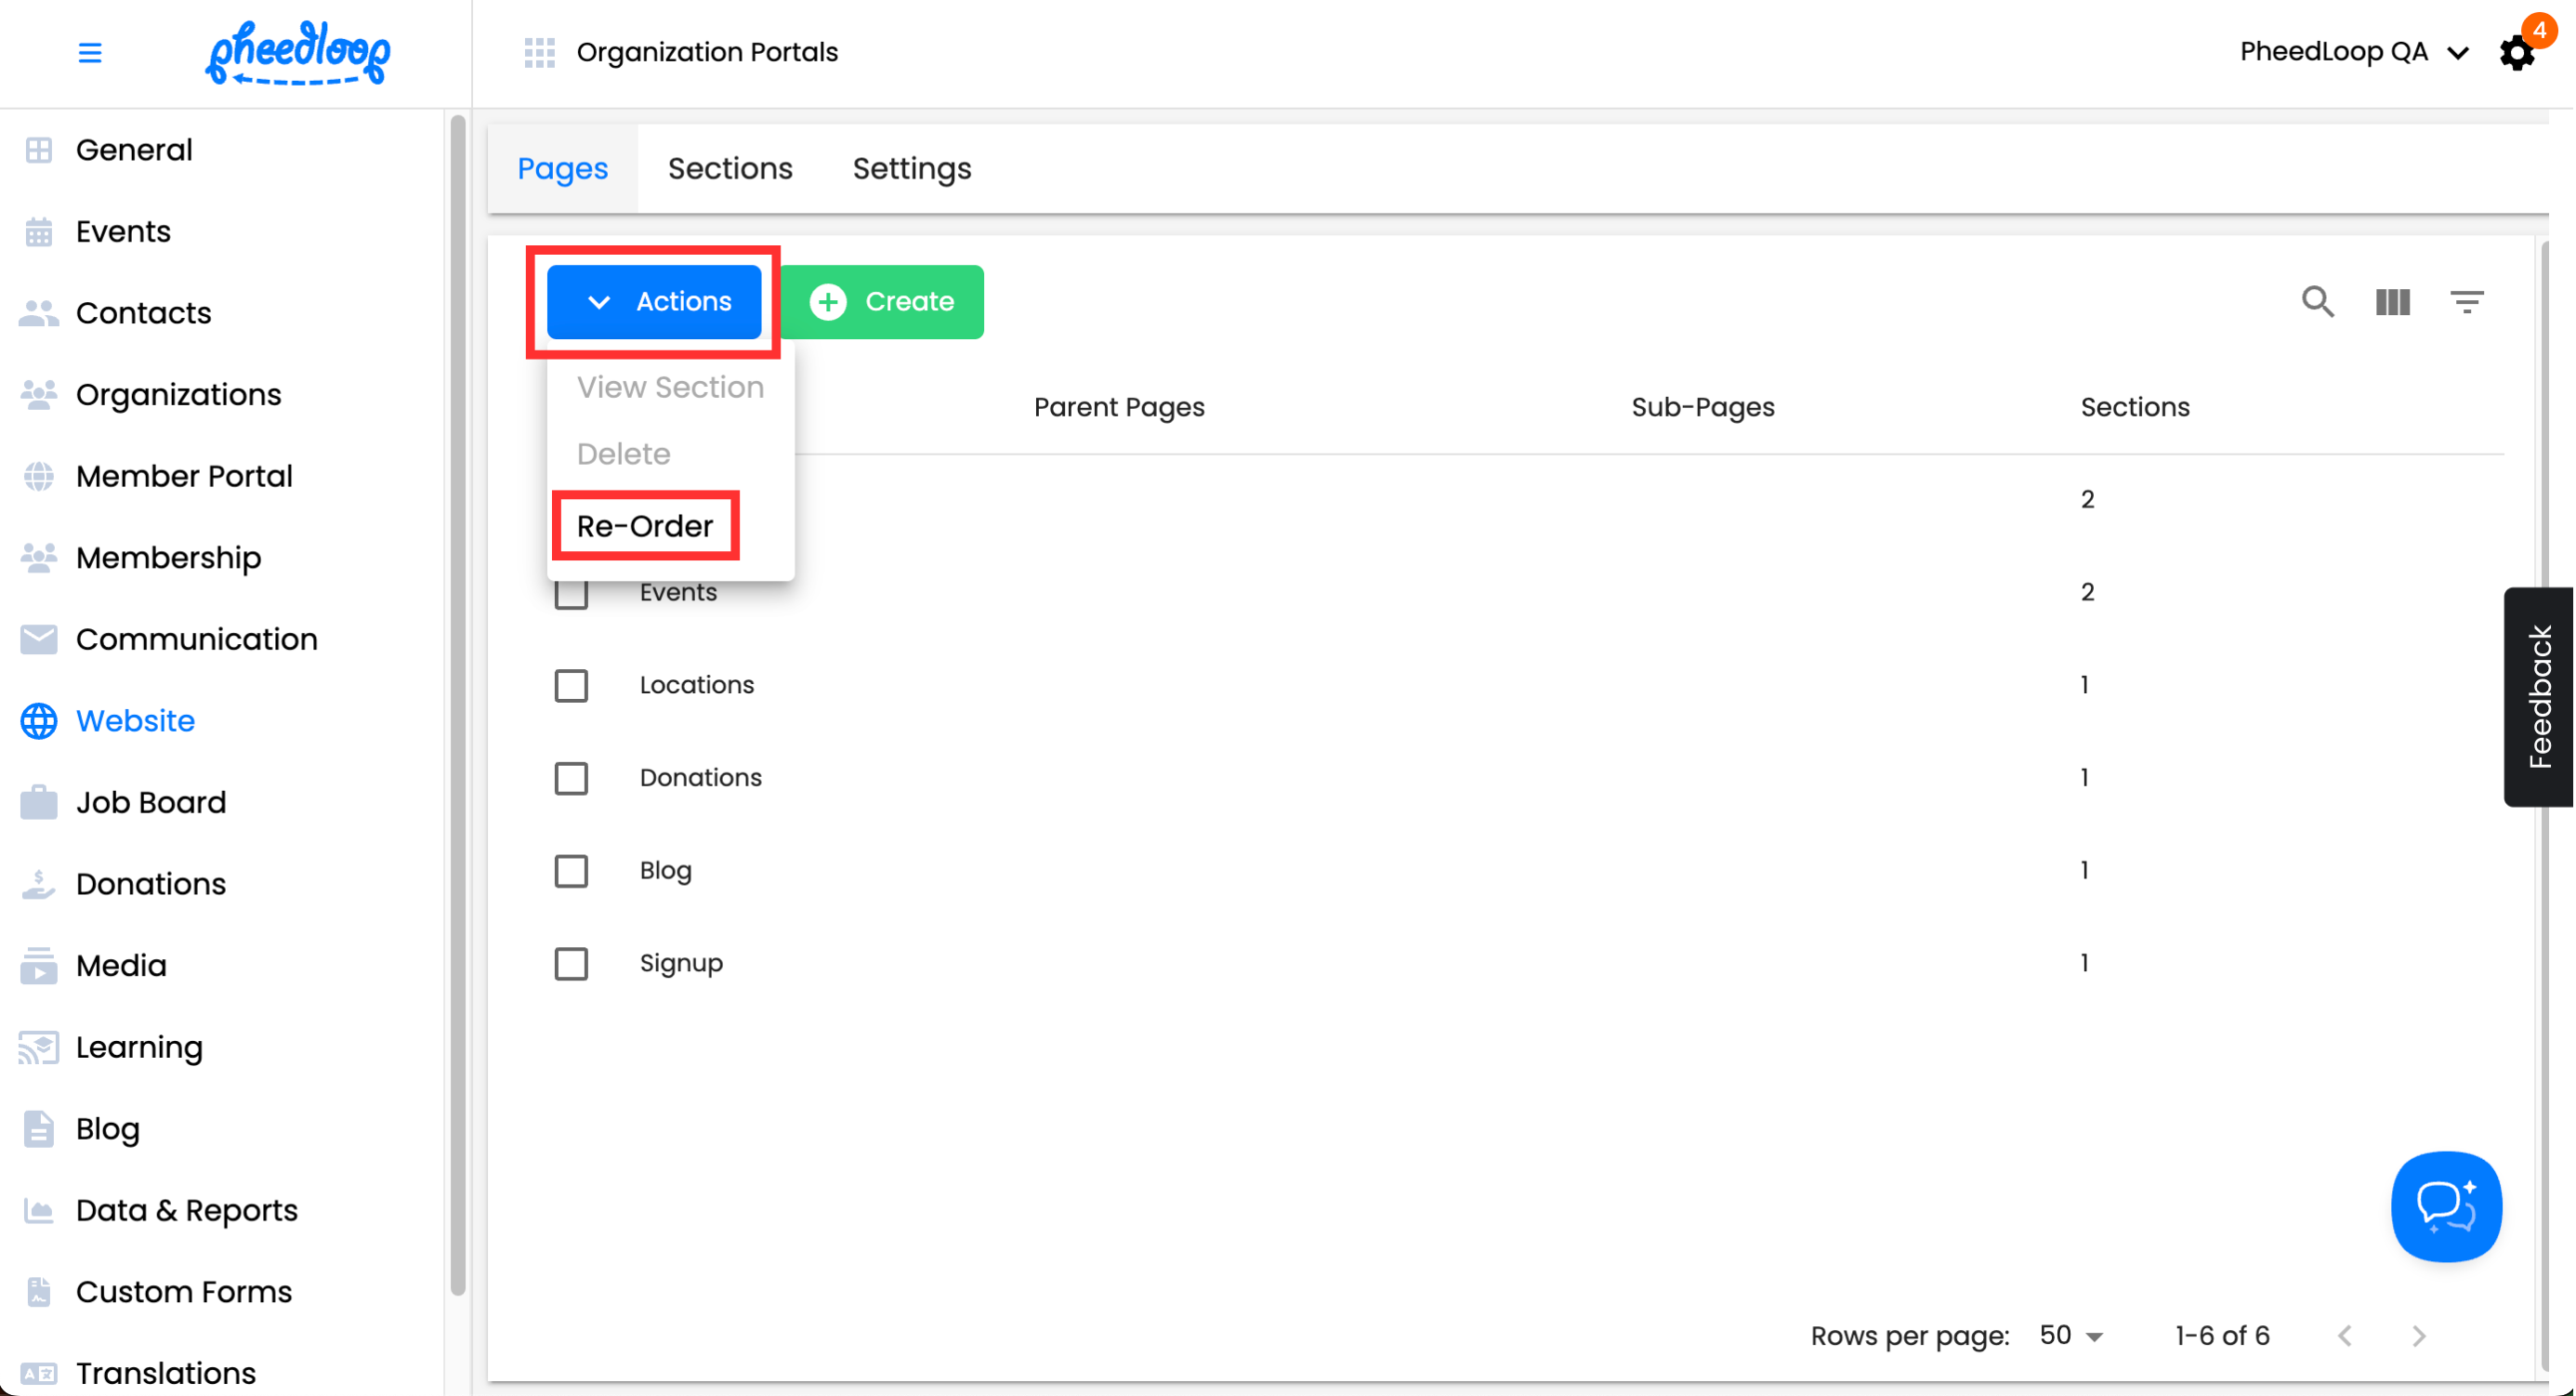
To Reorder Pages
- From the Membership Dashboard, navigate to Website > Pages
-
Above the Pages table, select Actions > Re-Order
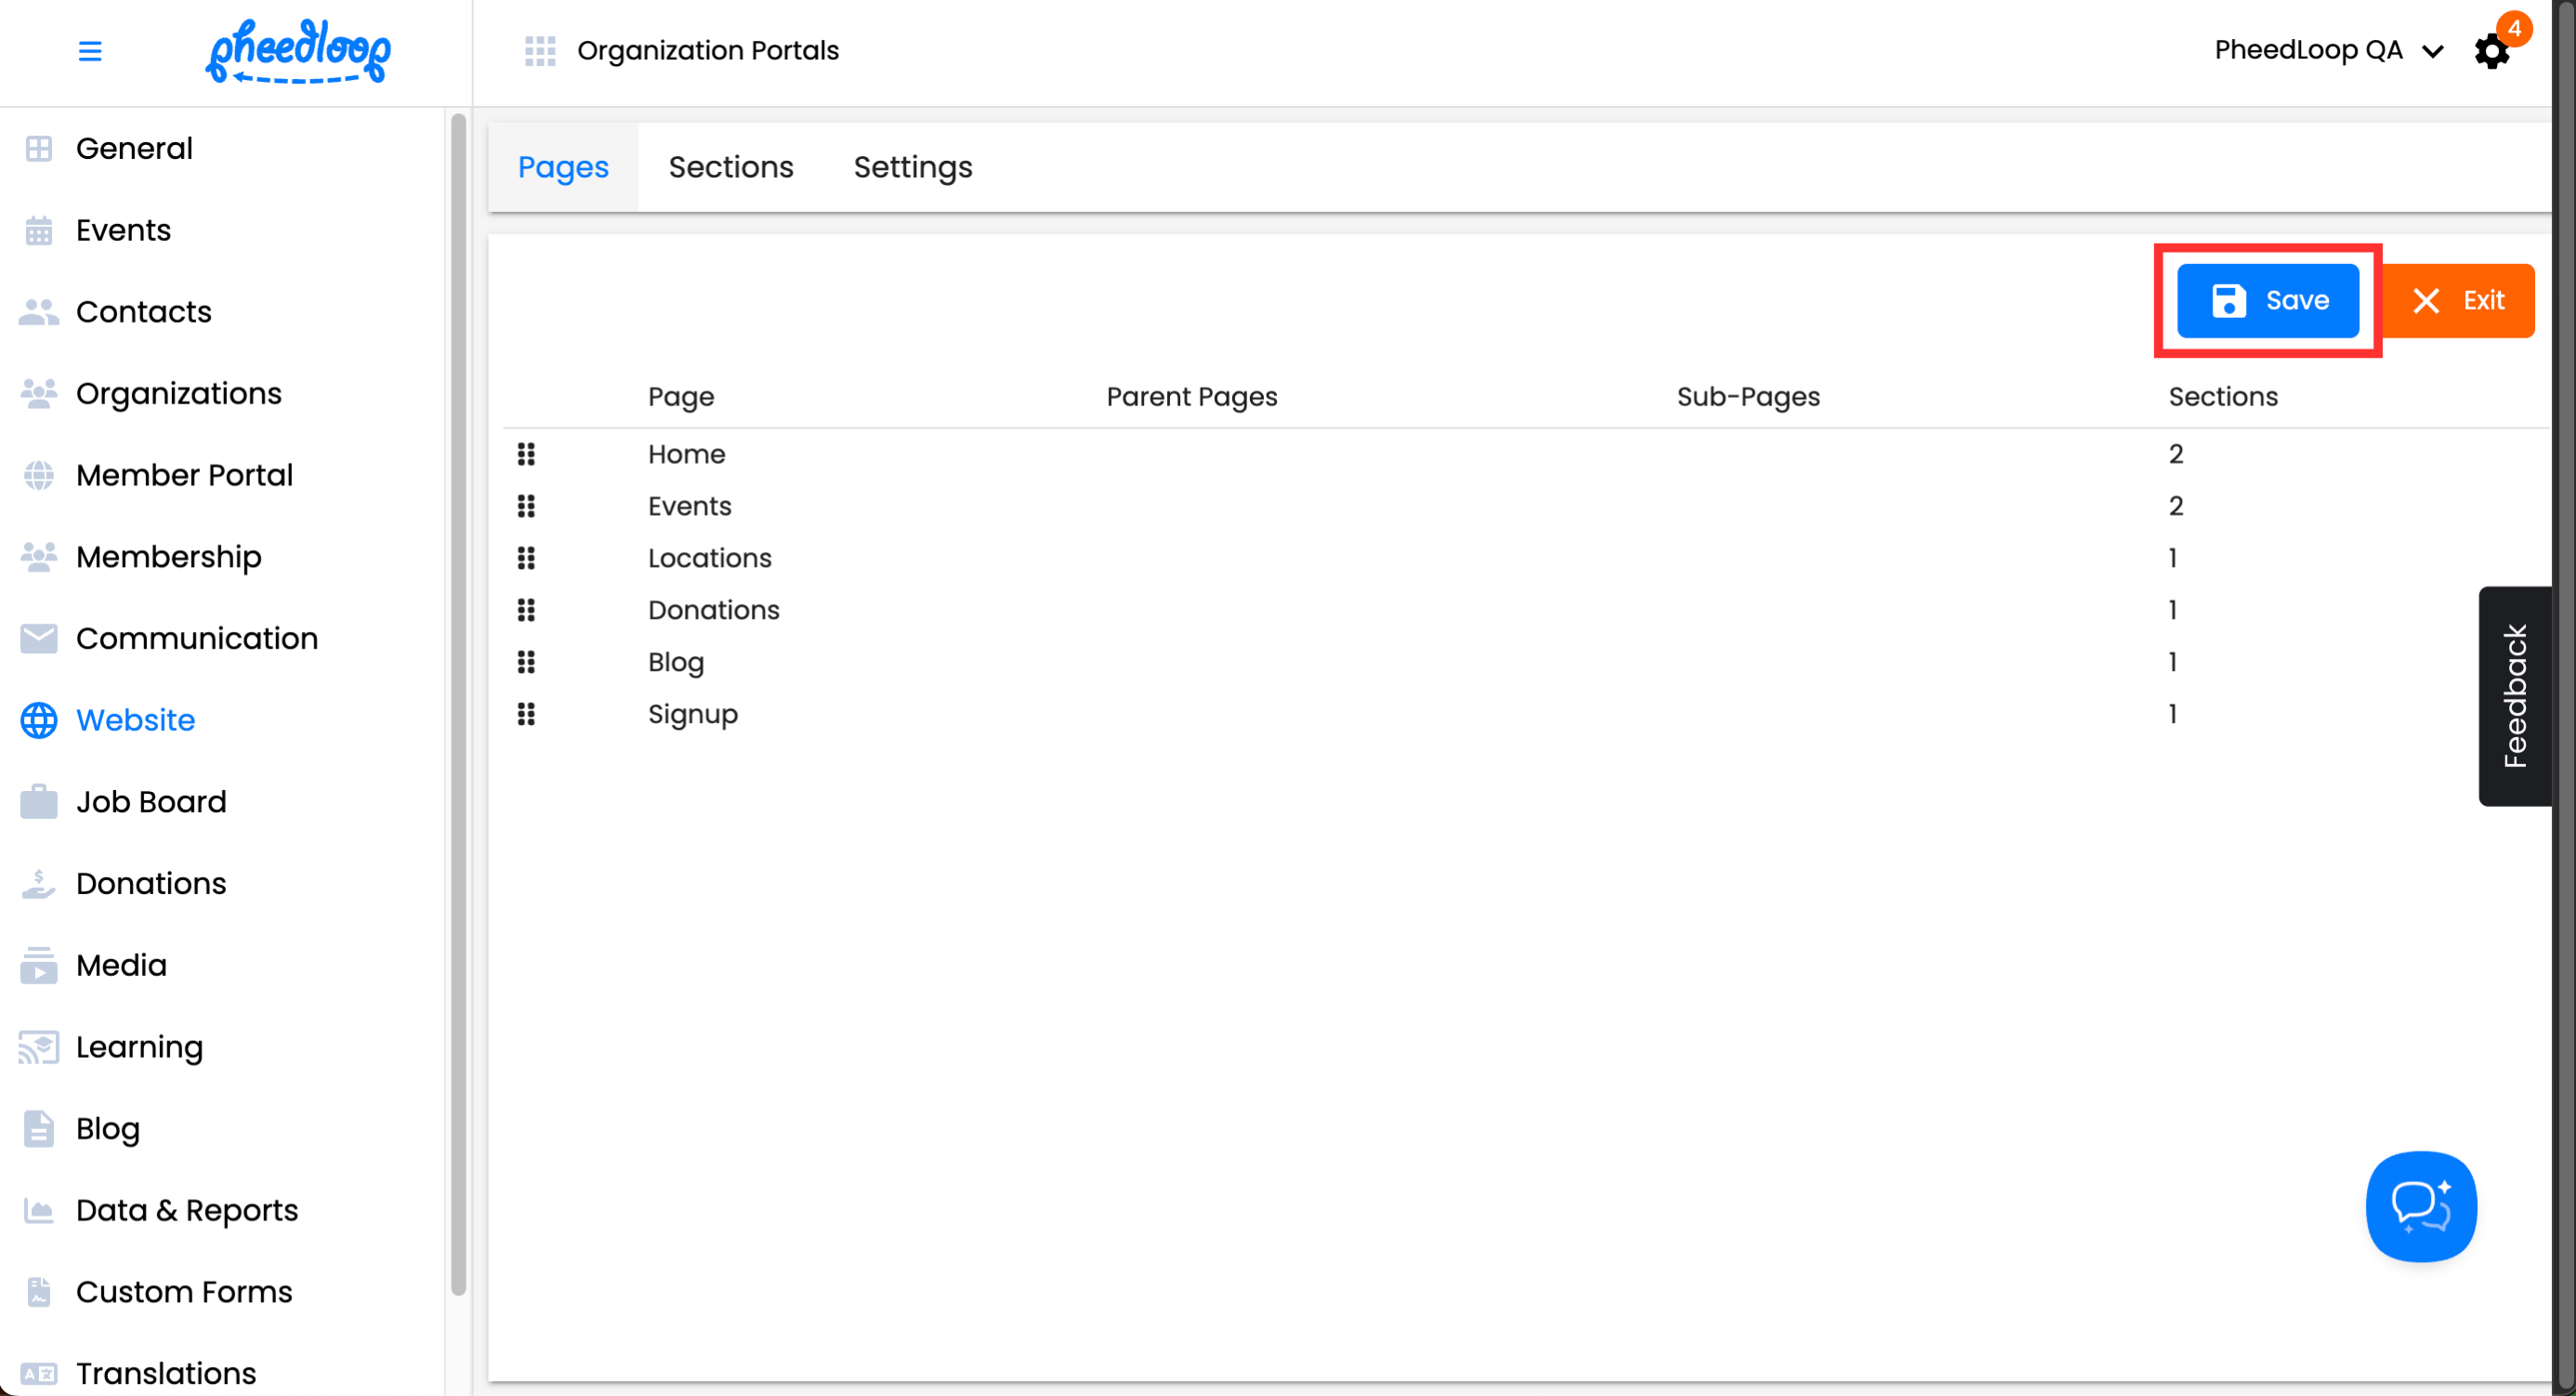
- Click and Drag the pages to your desired order
-
Select Save


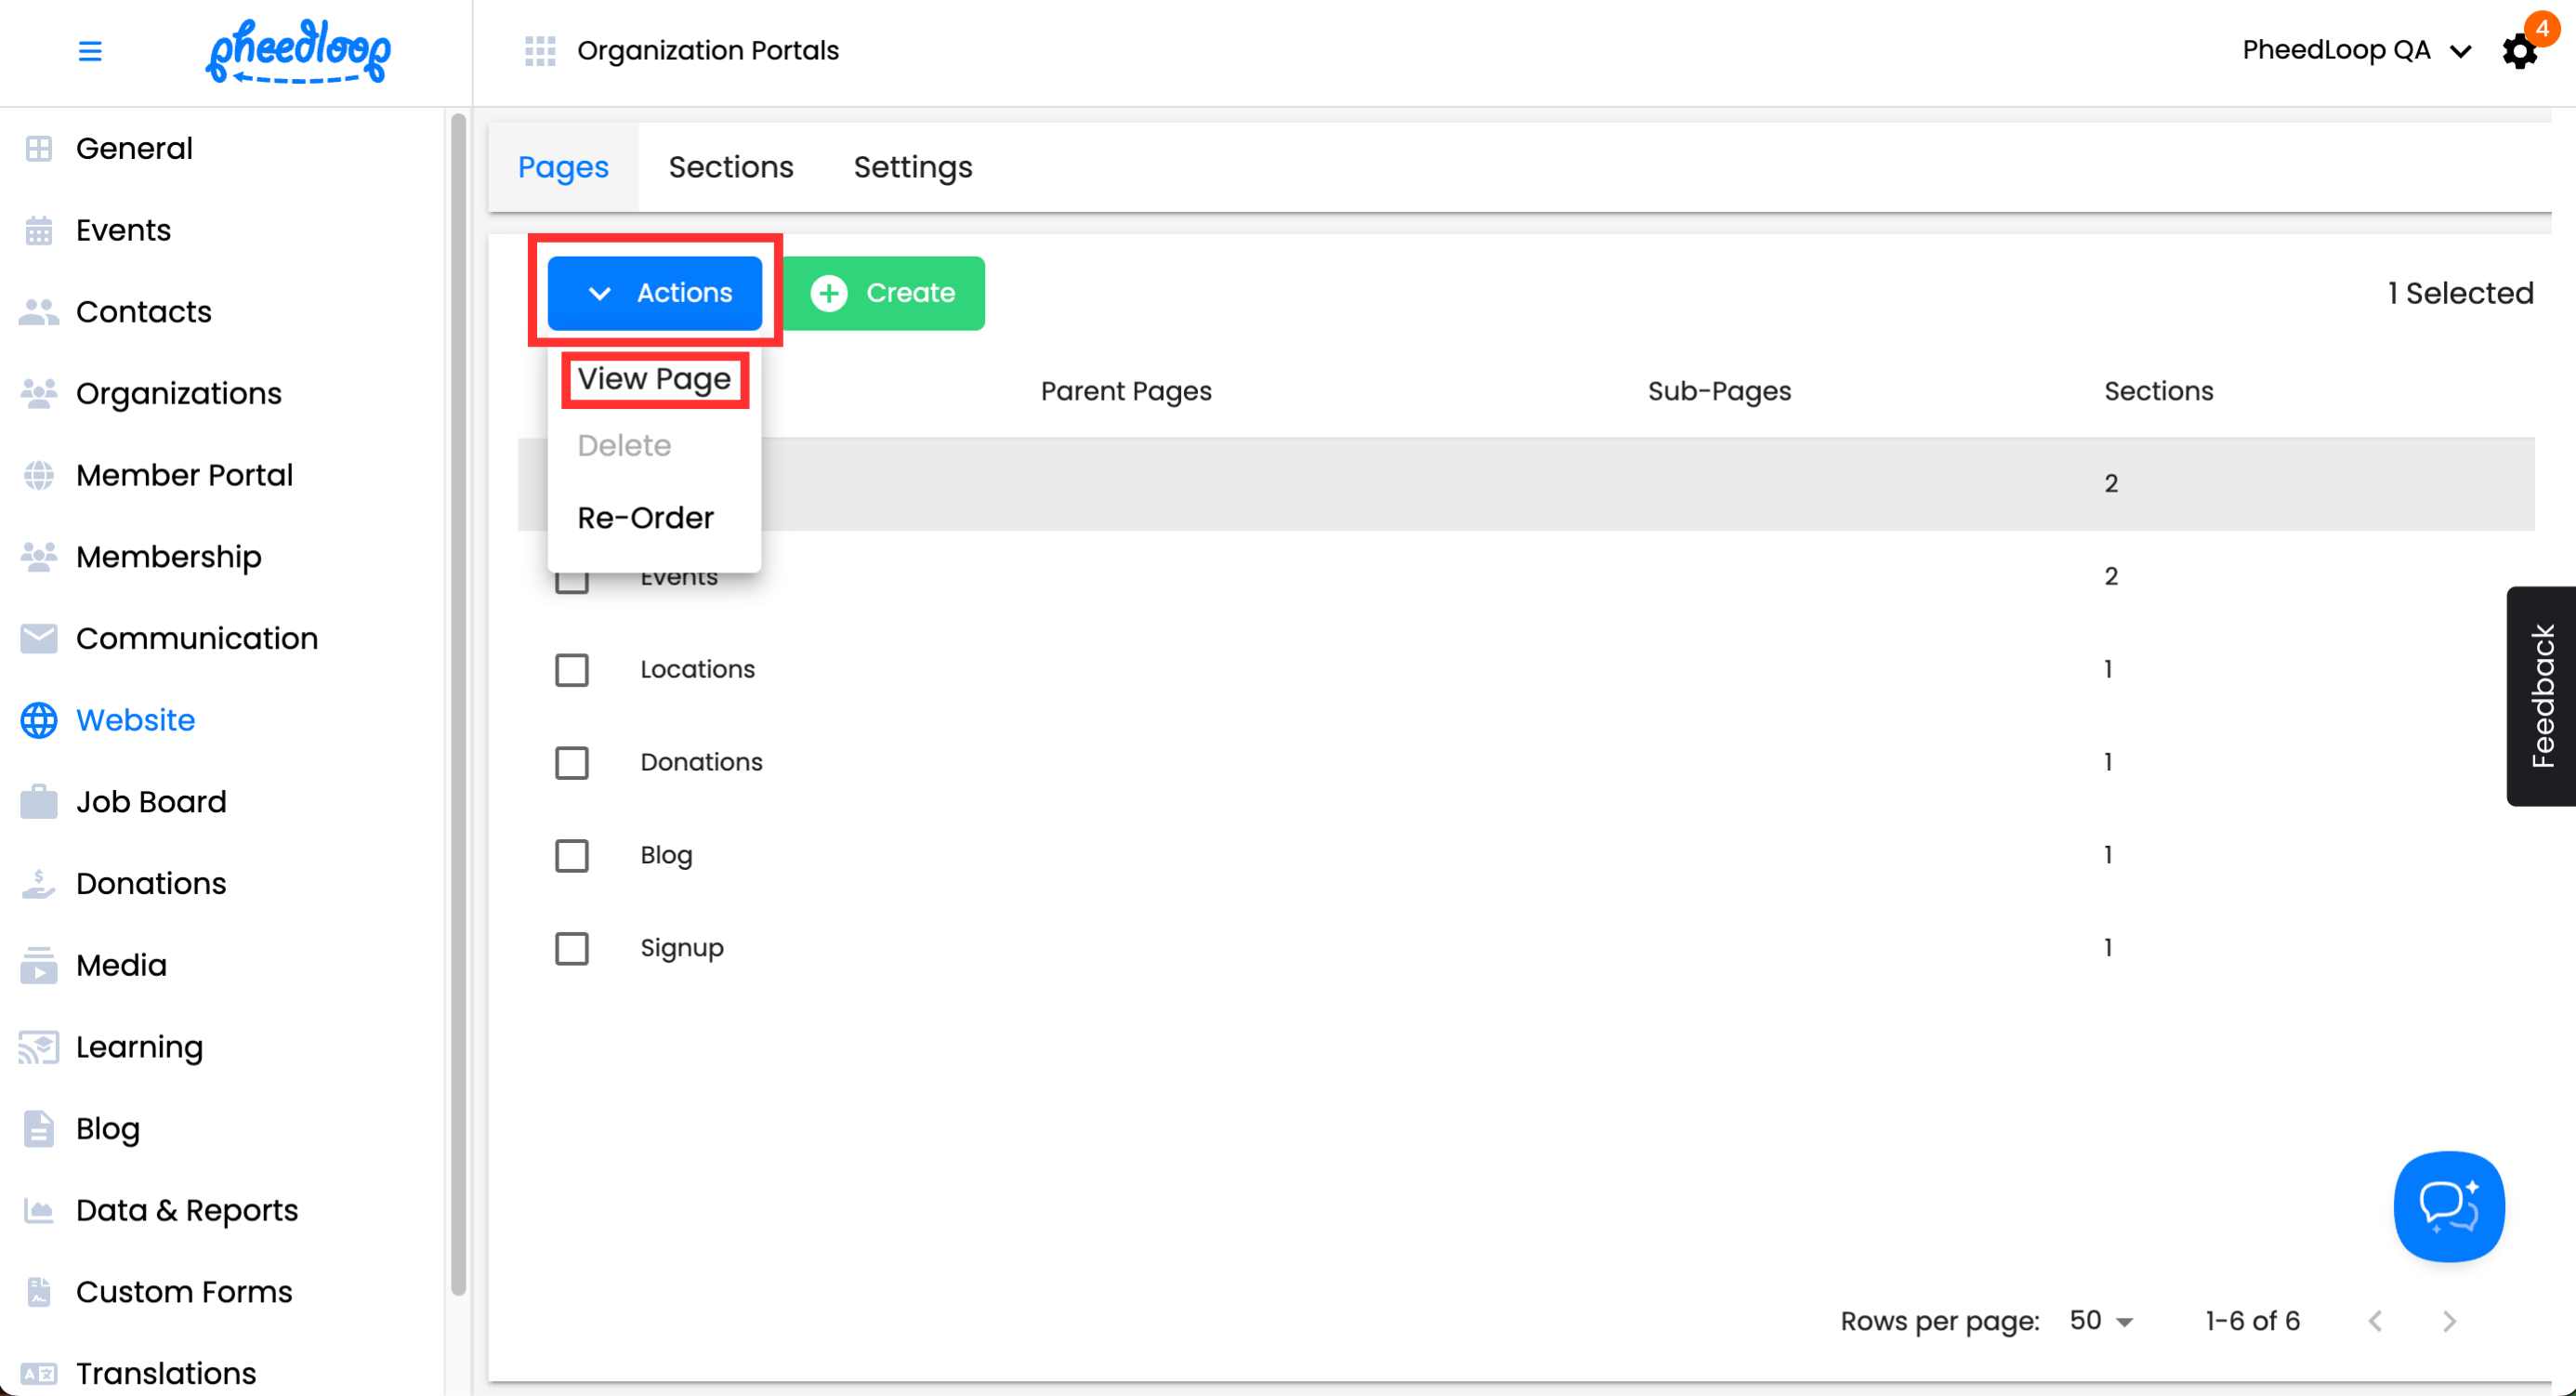
To View Pages
Event organizers can use the Event Dashboard to quickly access their desired page.
- From the Membership Dashboard, navigate to Website > Pages
- Select the checkbox of the page you wish to view
-
Above the Pages table, select Actions > View Page

Creating Sections in the Organization Website
By default, the following sections are available in the Organization Website:
| Section | Page Location | Purpose |
|---|---|---|
| Home Carousel | Home Page | Displays the background image or color for your organization’s home page. |
| Home Events Information | Home Page | Shows information for all upcoming events. |
| Next Event | Events Page | Highlights the next upcoming event. |
| Events Carousel | Events Page | Displays all upcoming events. |
| Signup | Signup Page | Contains the sign-up process for users to join your organization. |
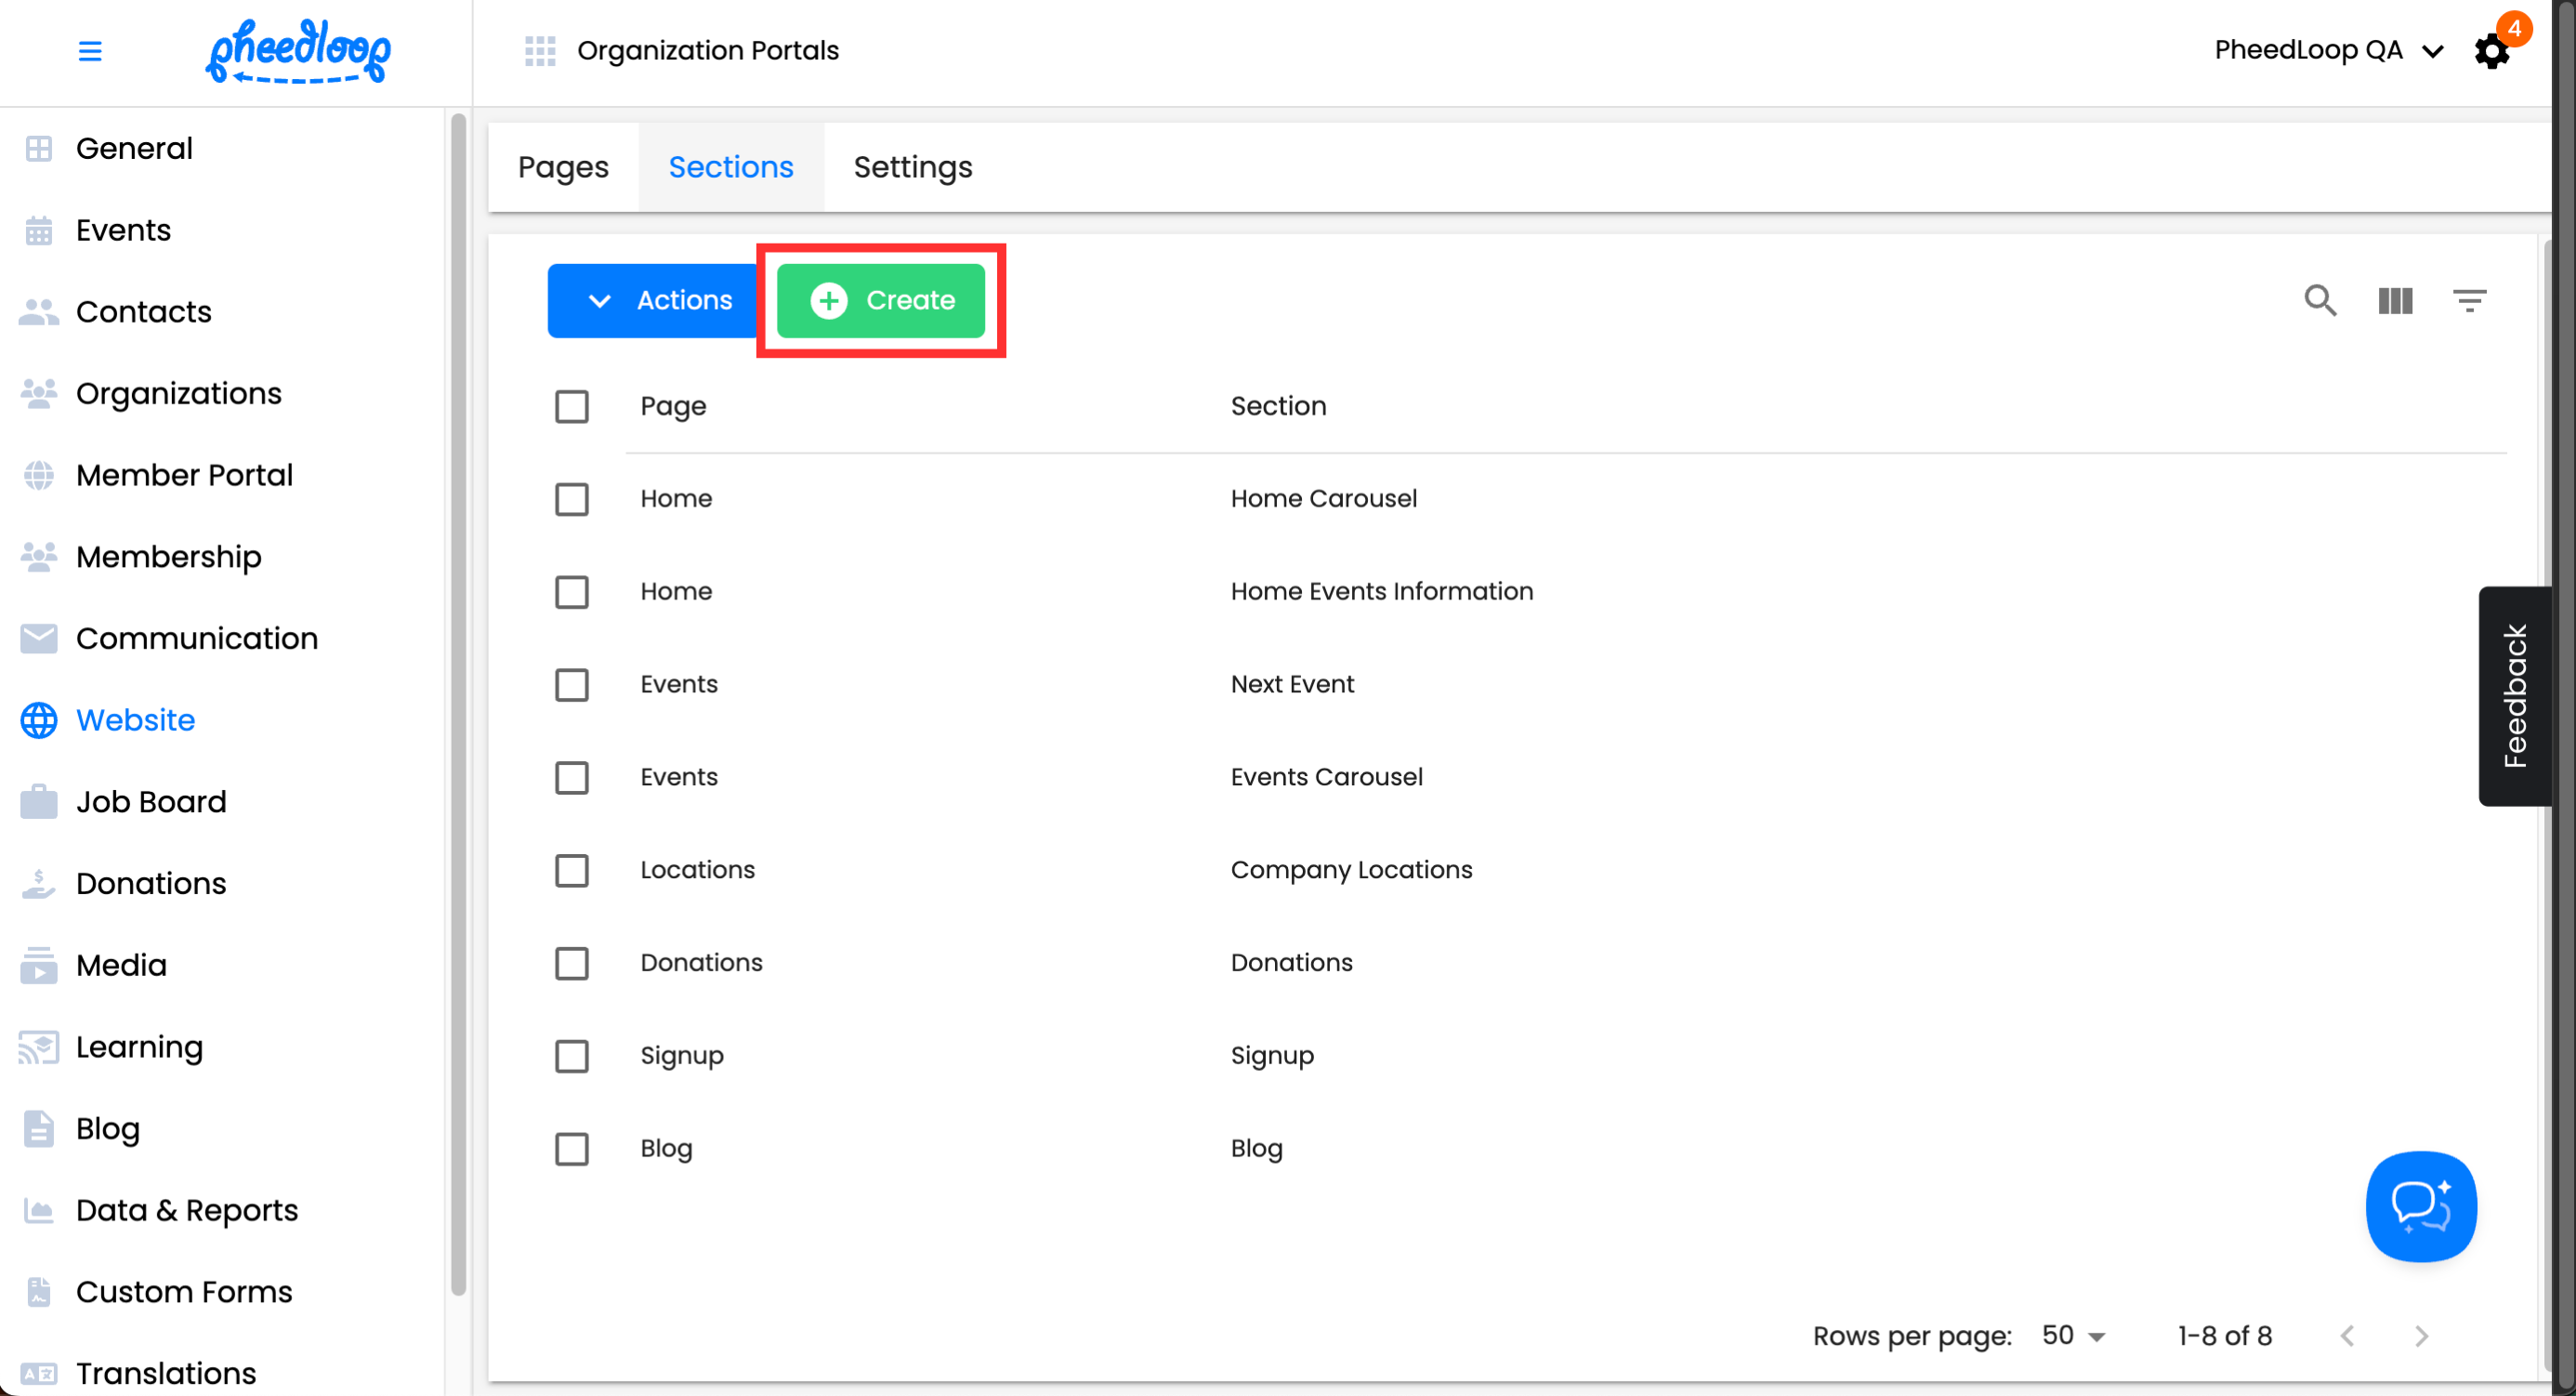
To Create Sections
- From the Membership Dashboard, navigate to Website > Sections
-
Above the Sections table, select Create
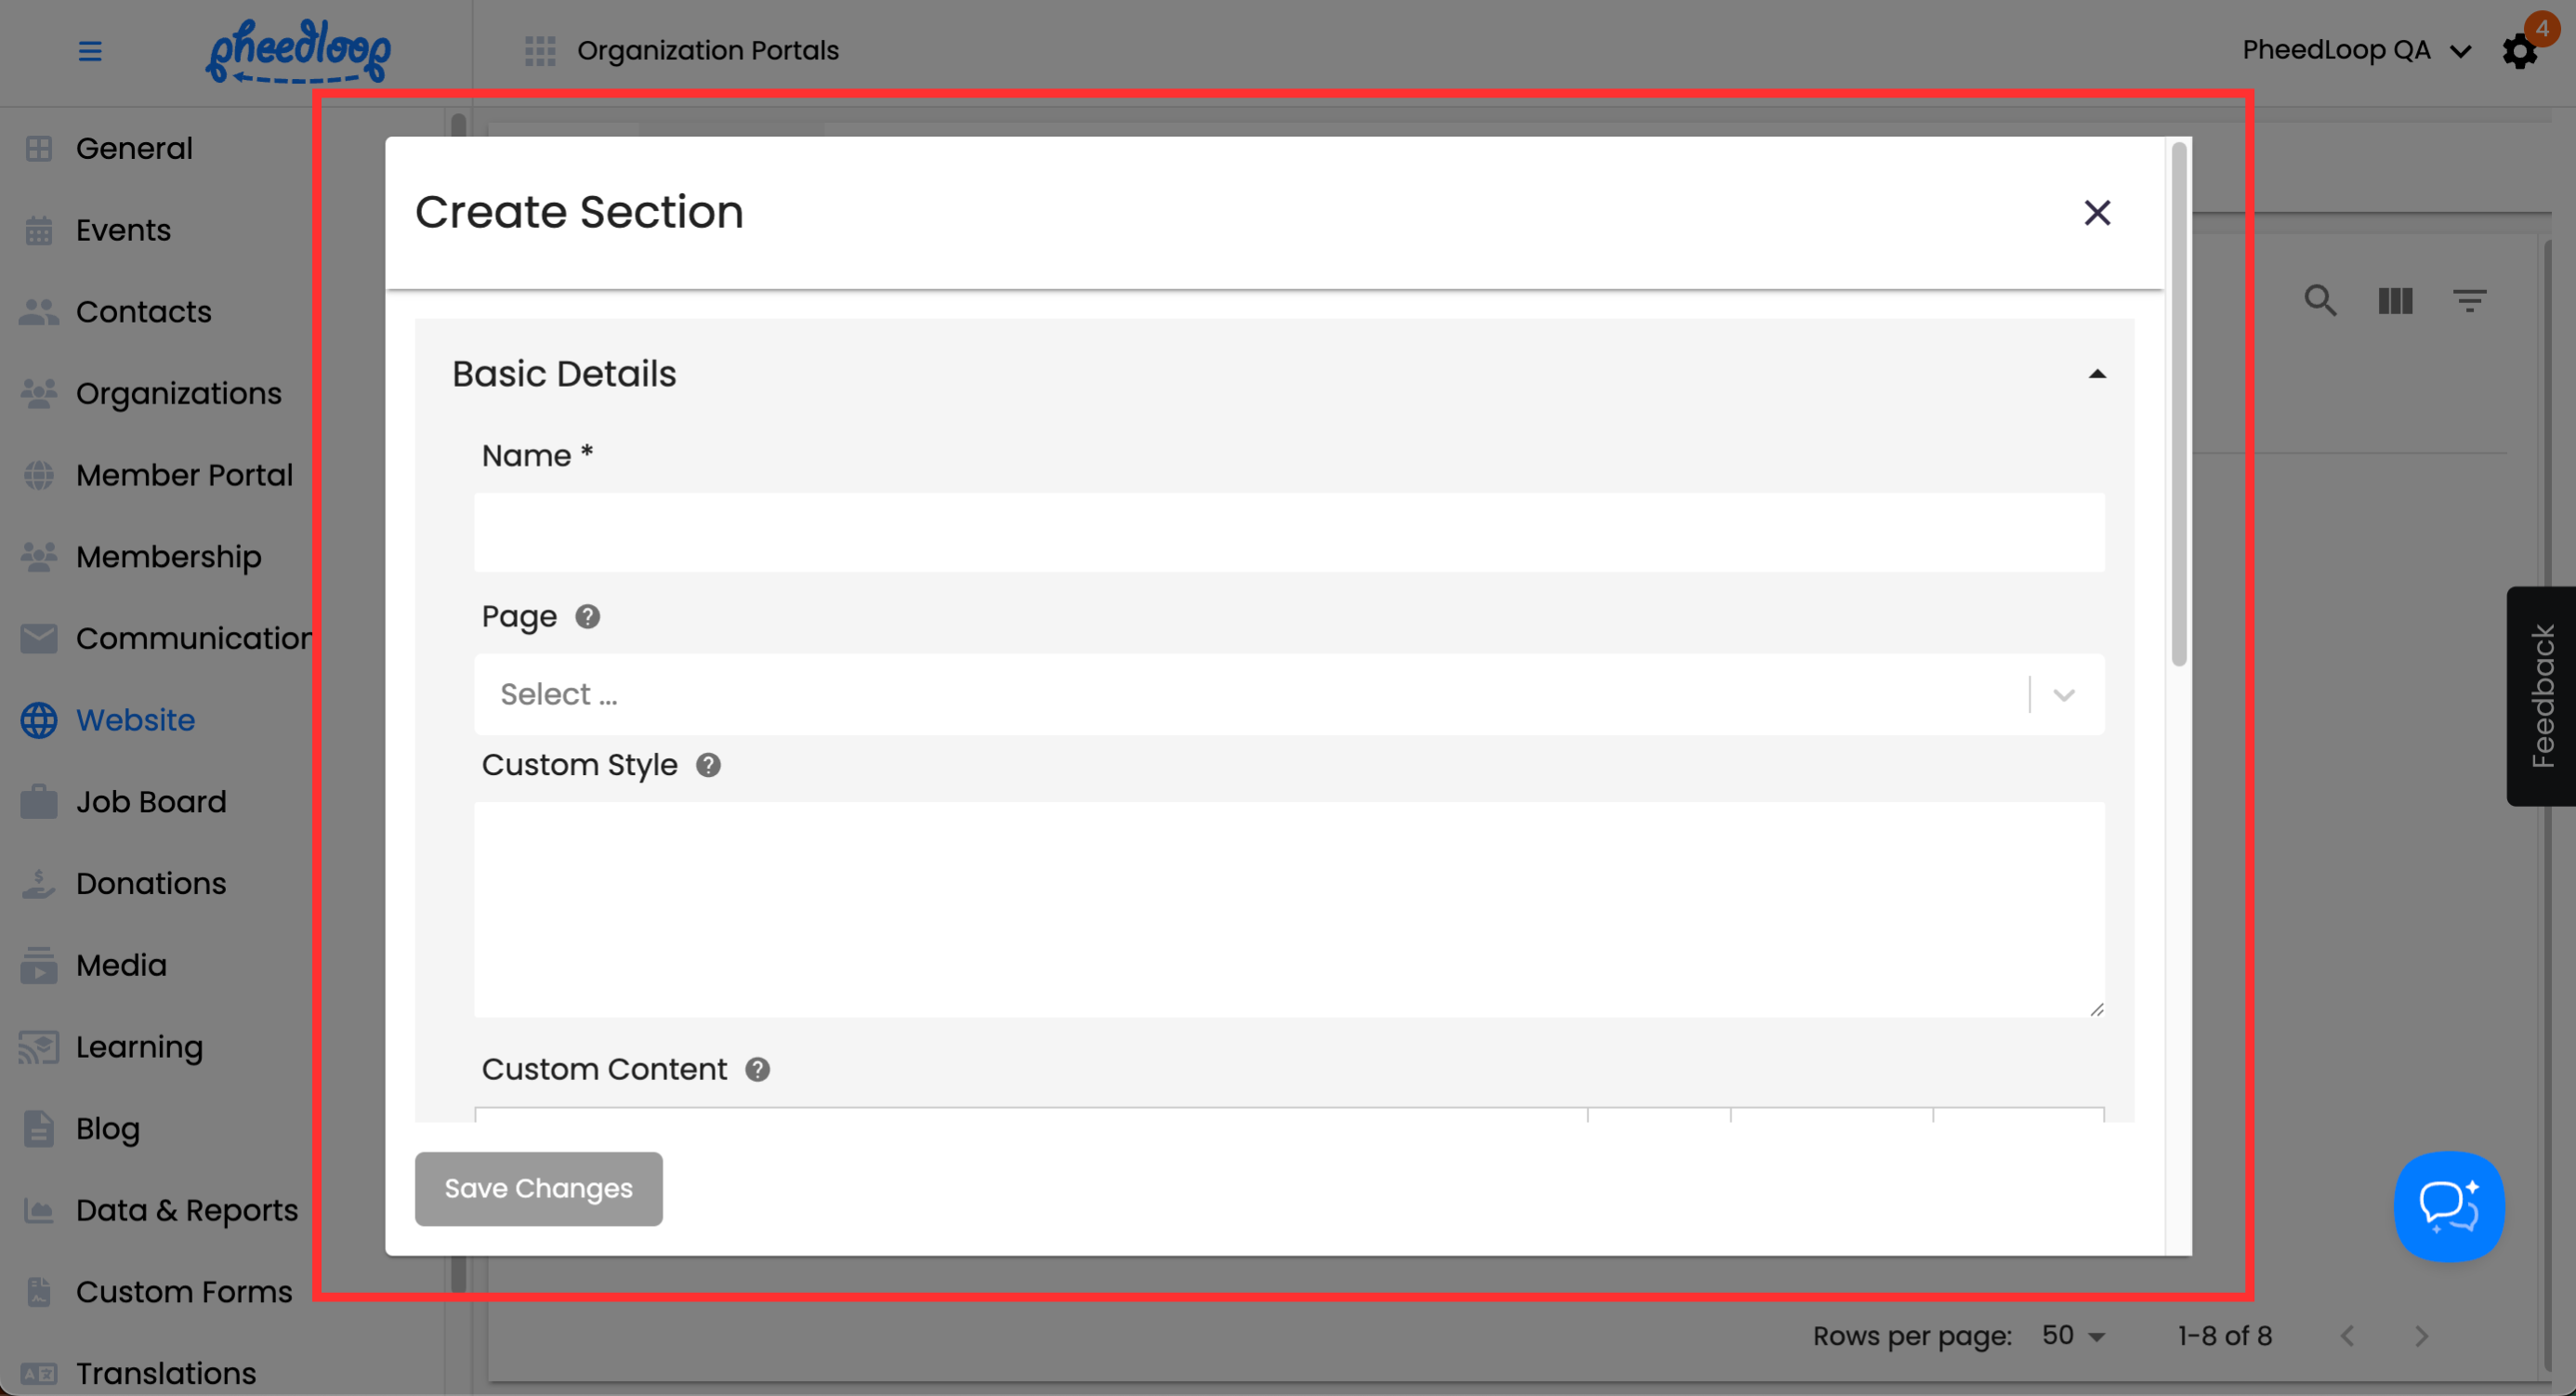
- Configure the following settings as required:
- Under the Name field, enter the name for your section.
- Under the Page field, select a page to associate this section to.
- Under the Custom Style field, enter any custom CSS styling you wish to include.
- Under the Custom Content field, enter the text and/or images you wish to display
- Toggle on the Hide Section field, if you wish to hide the section in the Organization Website.
- Under the Background Image field, select Choose File to upload a background image for your section.
- Under the Background Color field, select a color if you would like to change the default color of your section.
-
Select Save Changes


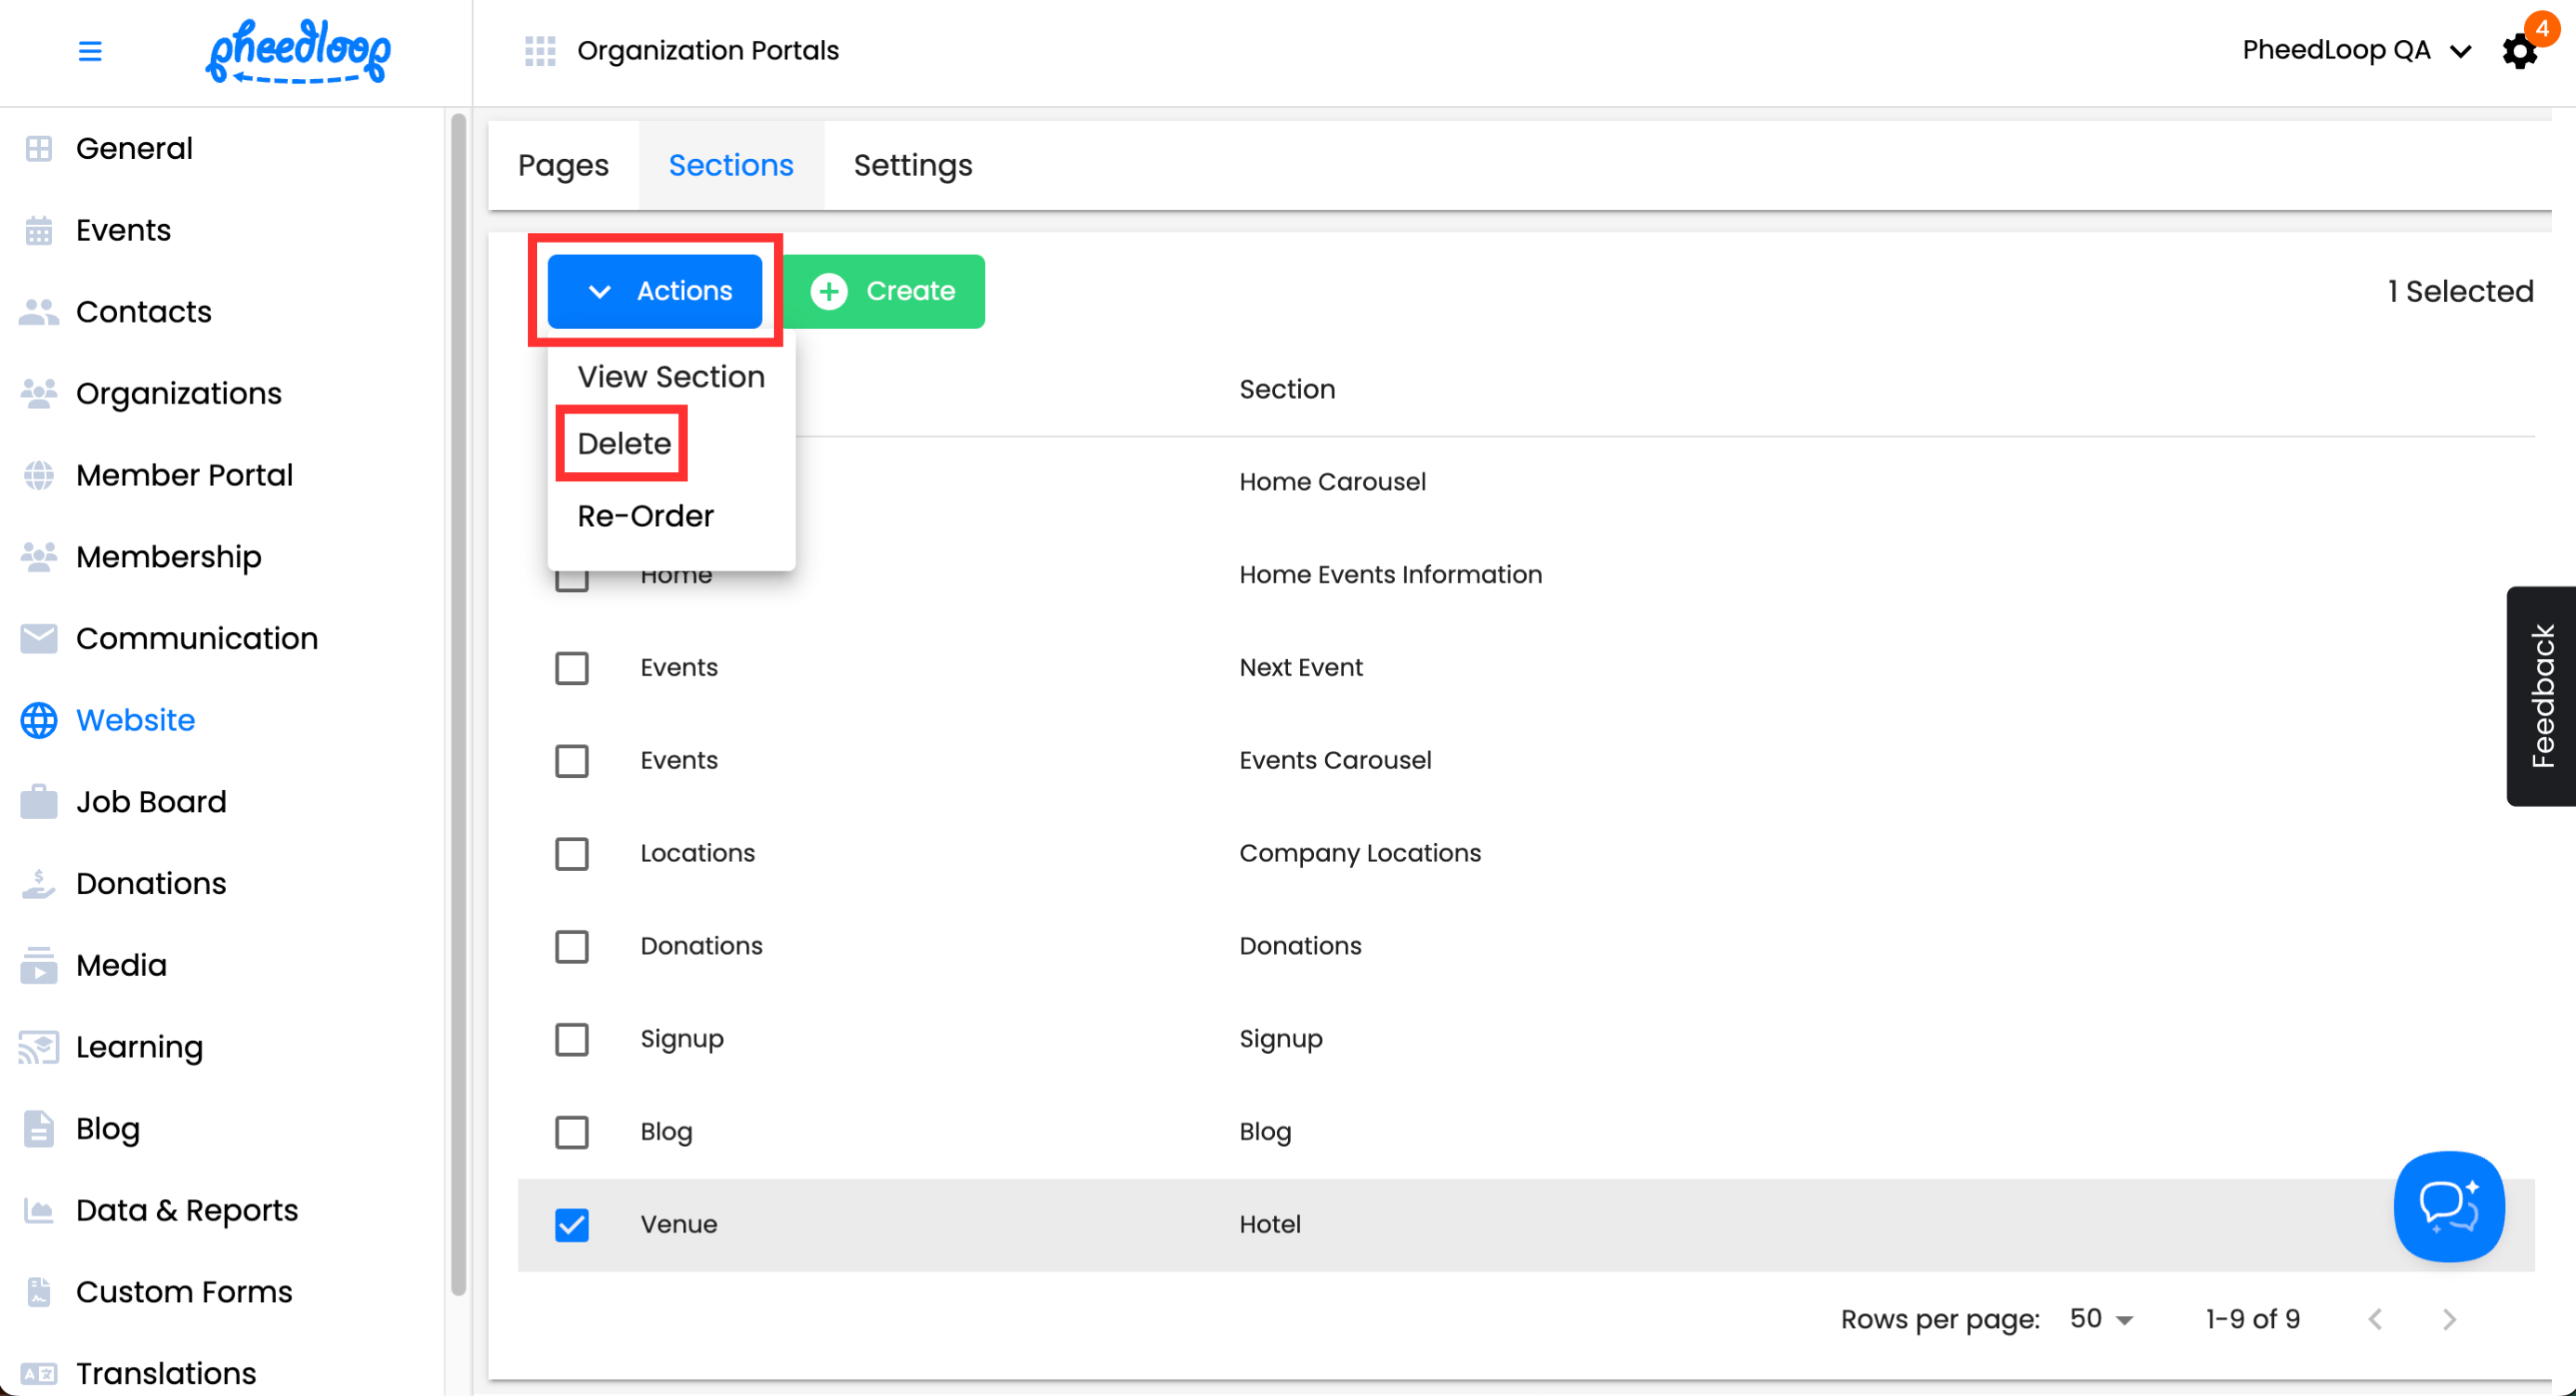
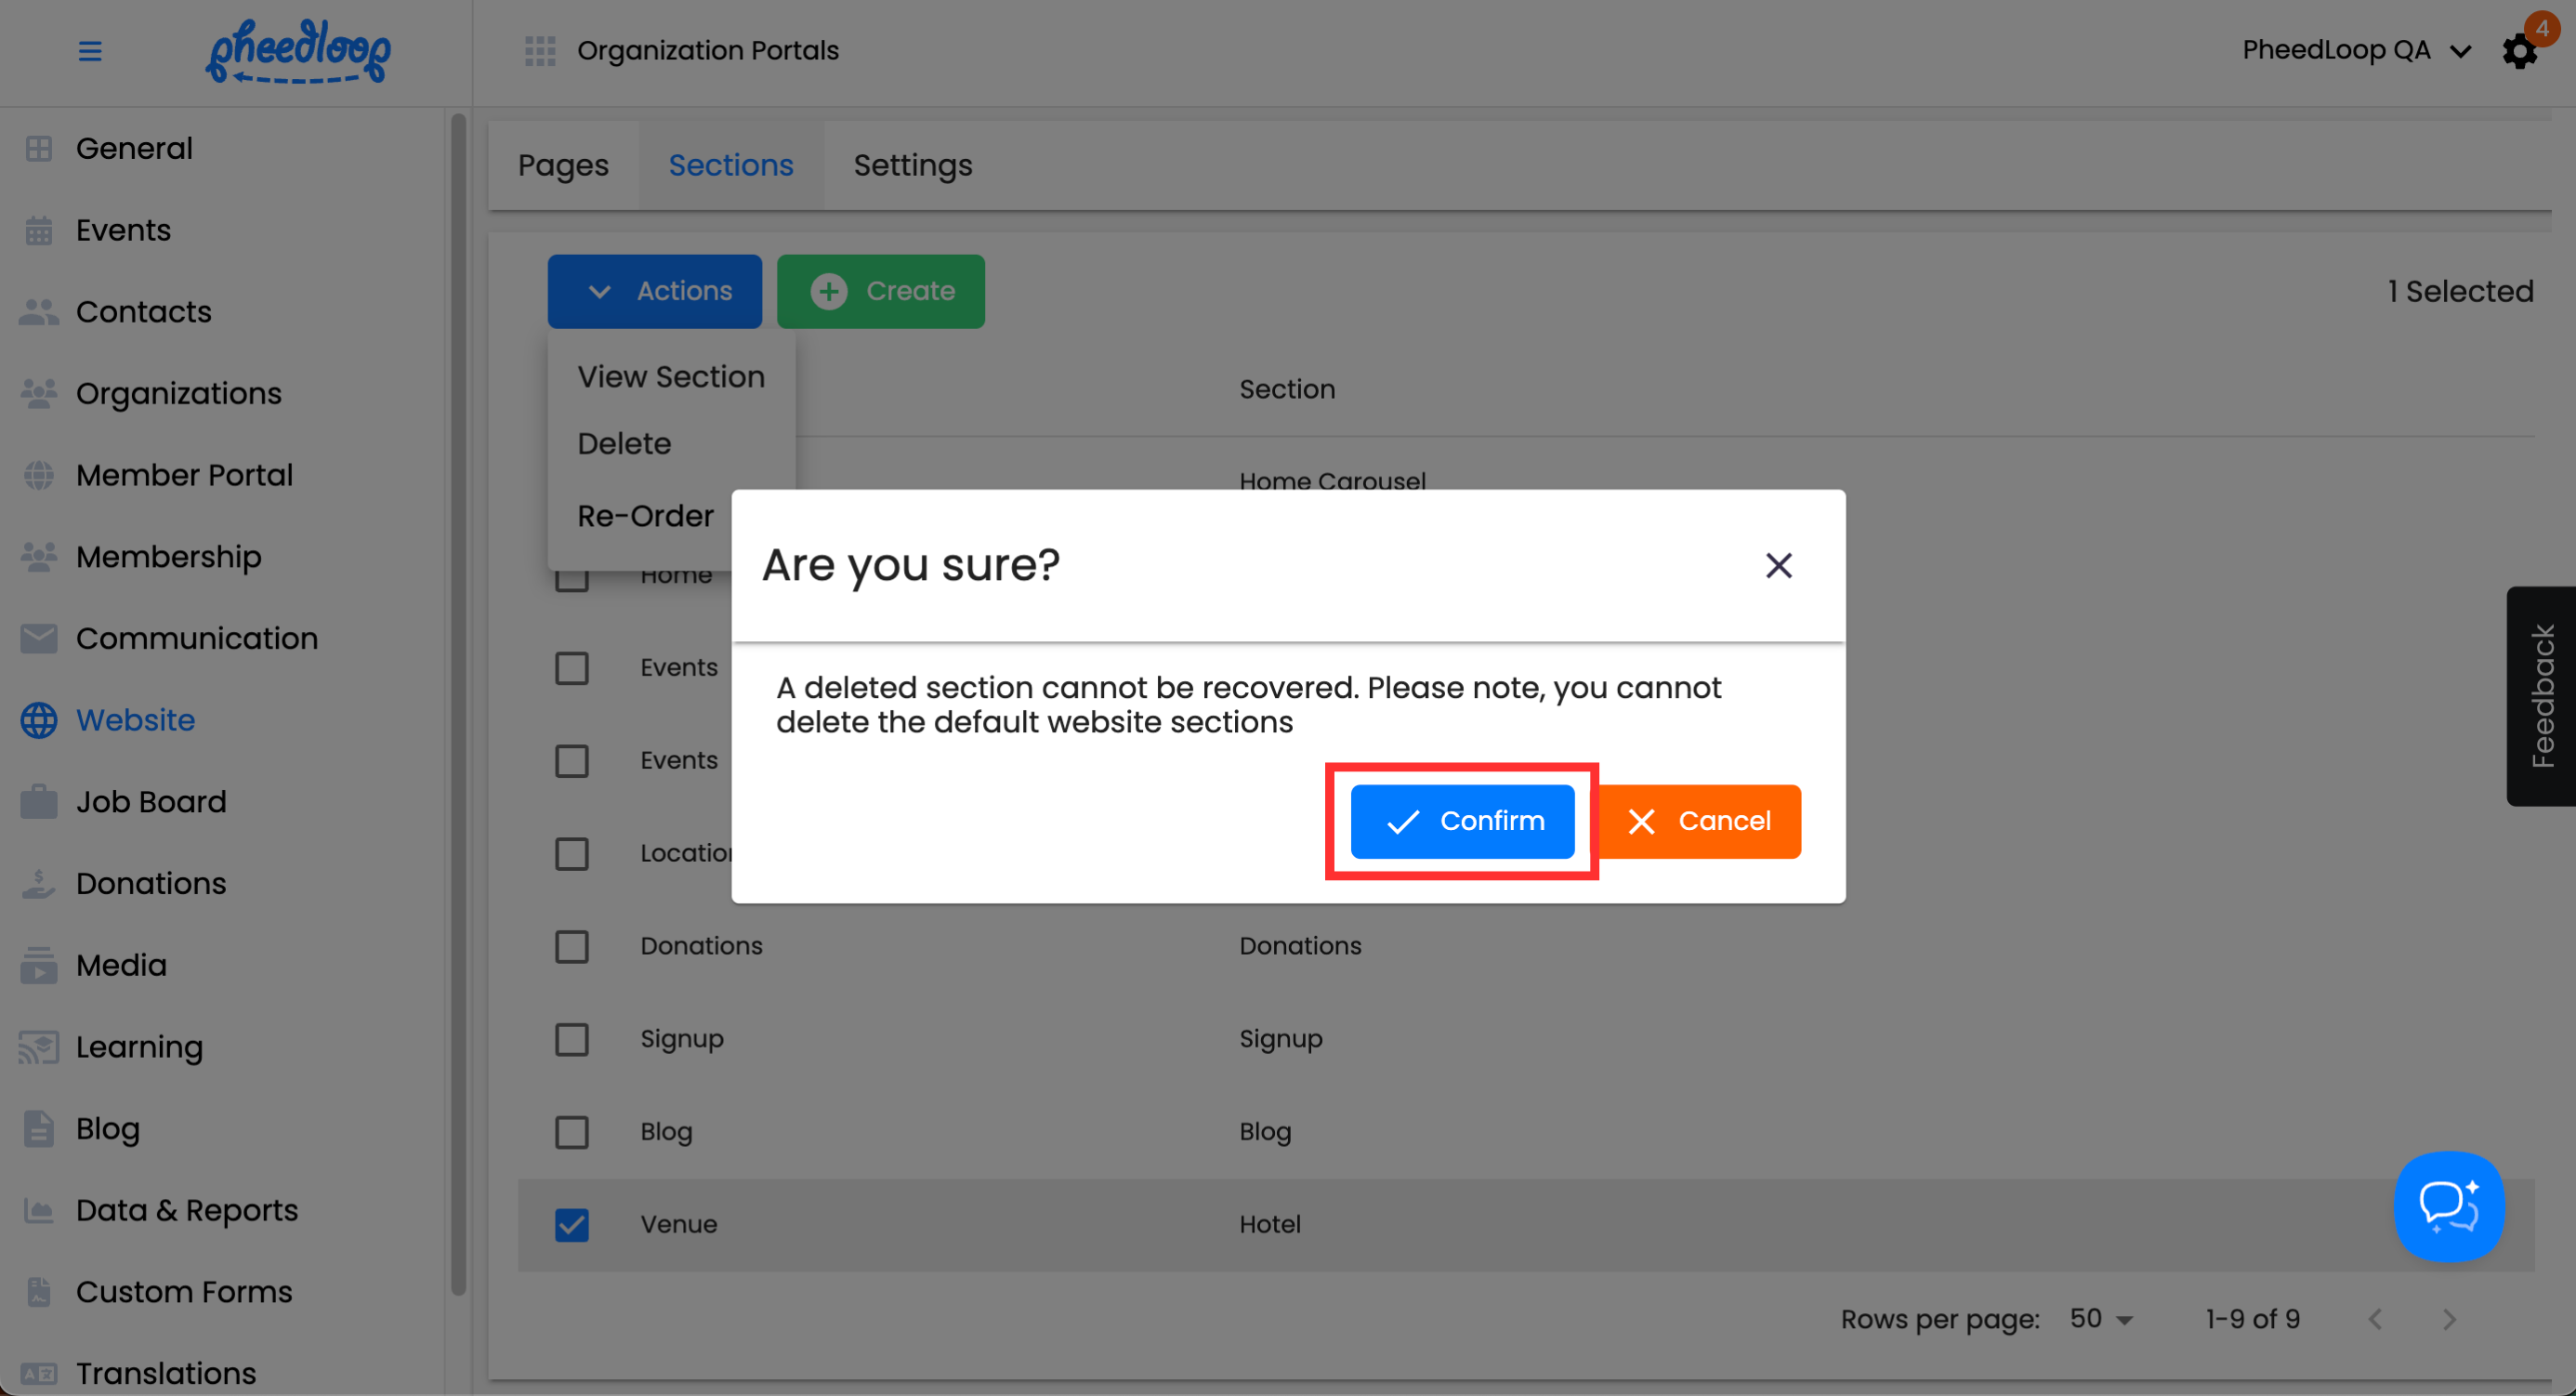
To Delete Sections
- From the Membership Dashboard, navigate to Website > Sections
- Select the checkbox of the section you wish to delete
-
Above the Sections table, select Actions > Delete
-
Select Confirm


To Reorder Sections
- From the Membership Dashboard, navigate to Website > Sections
-
Above the Sections table, select Actions > Re-Order
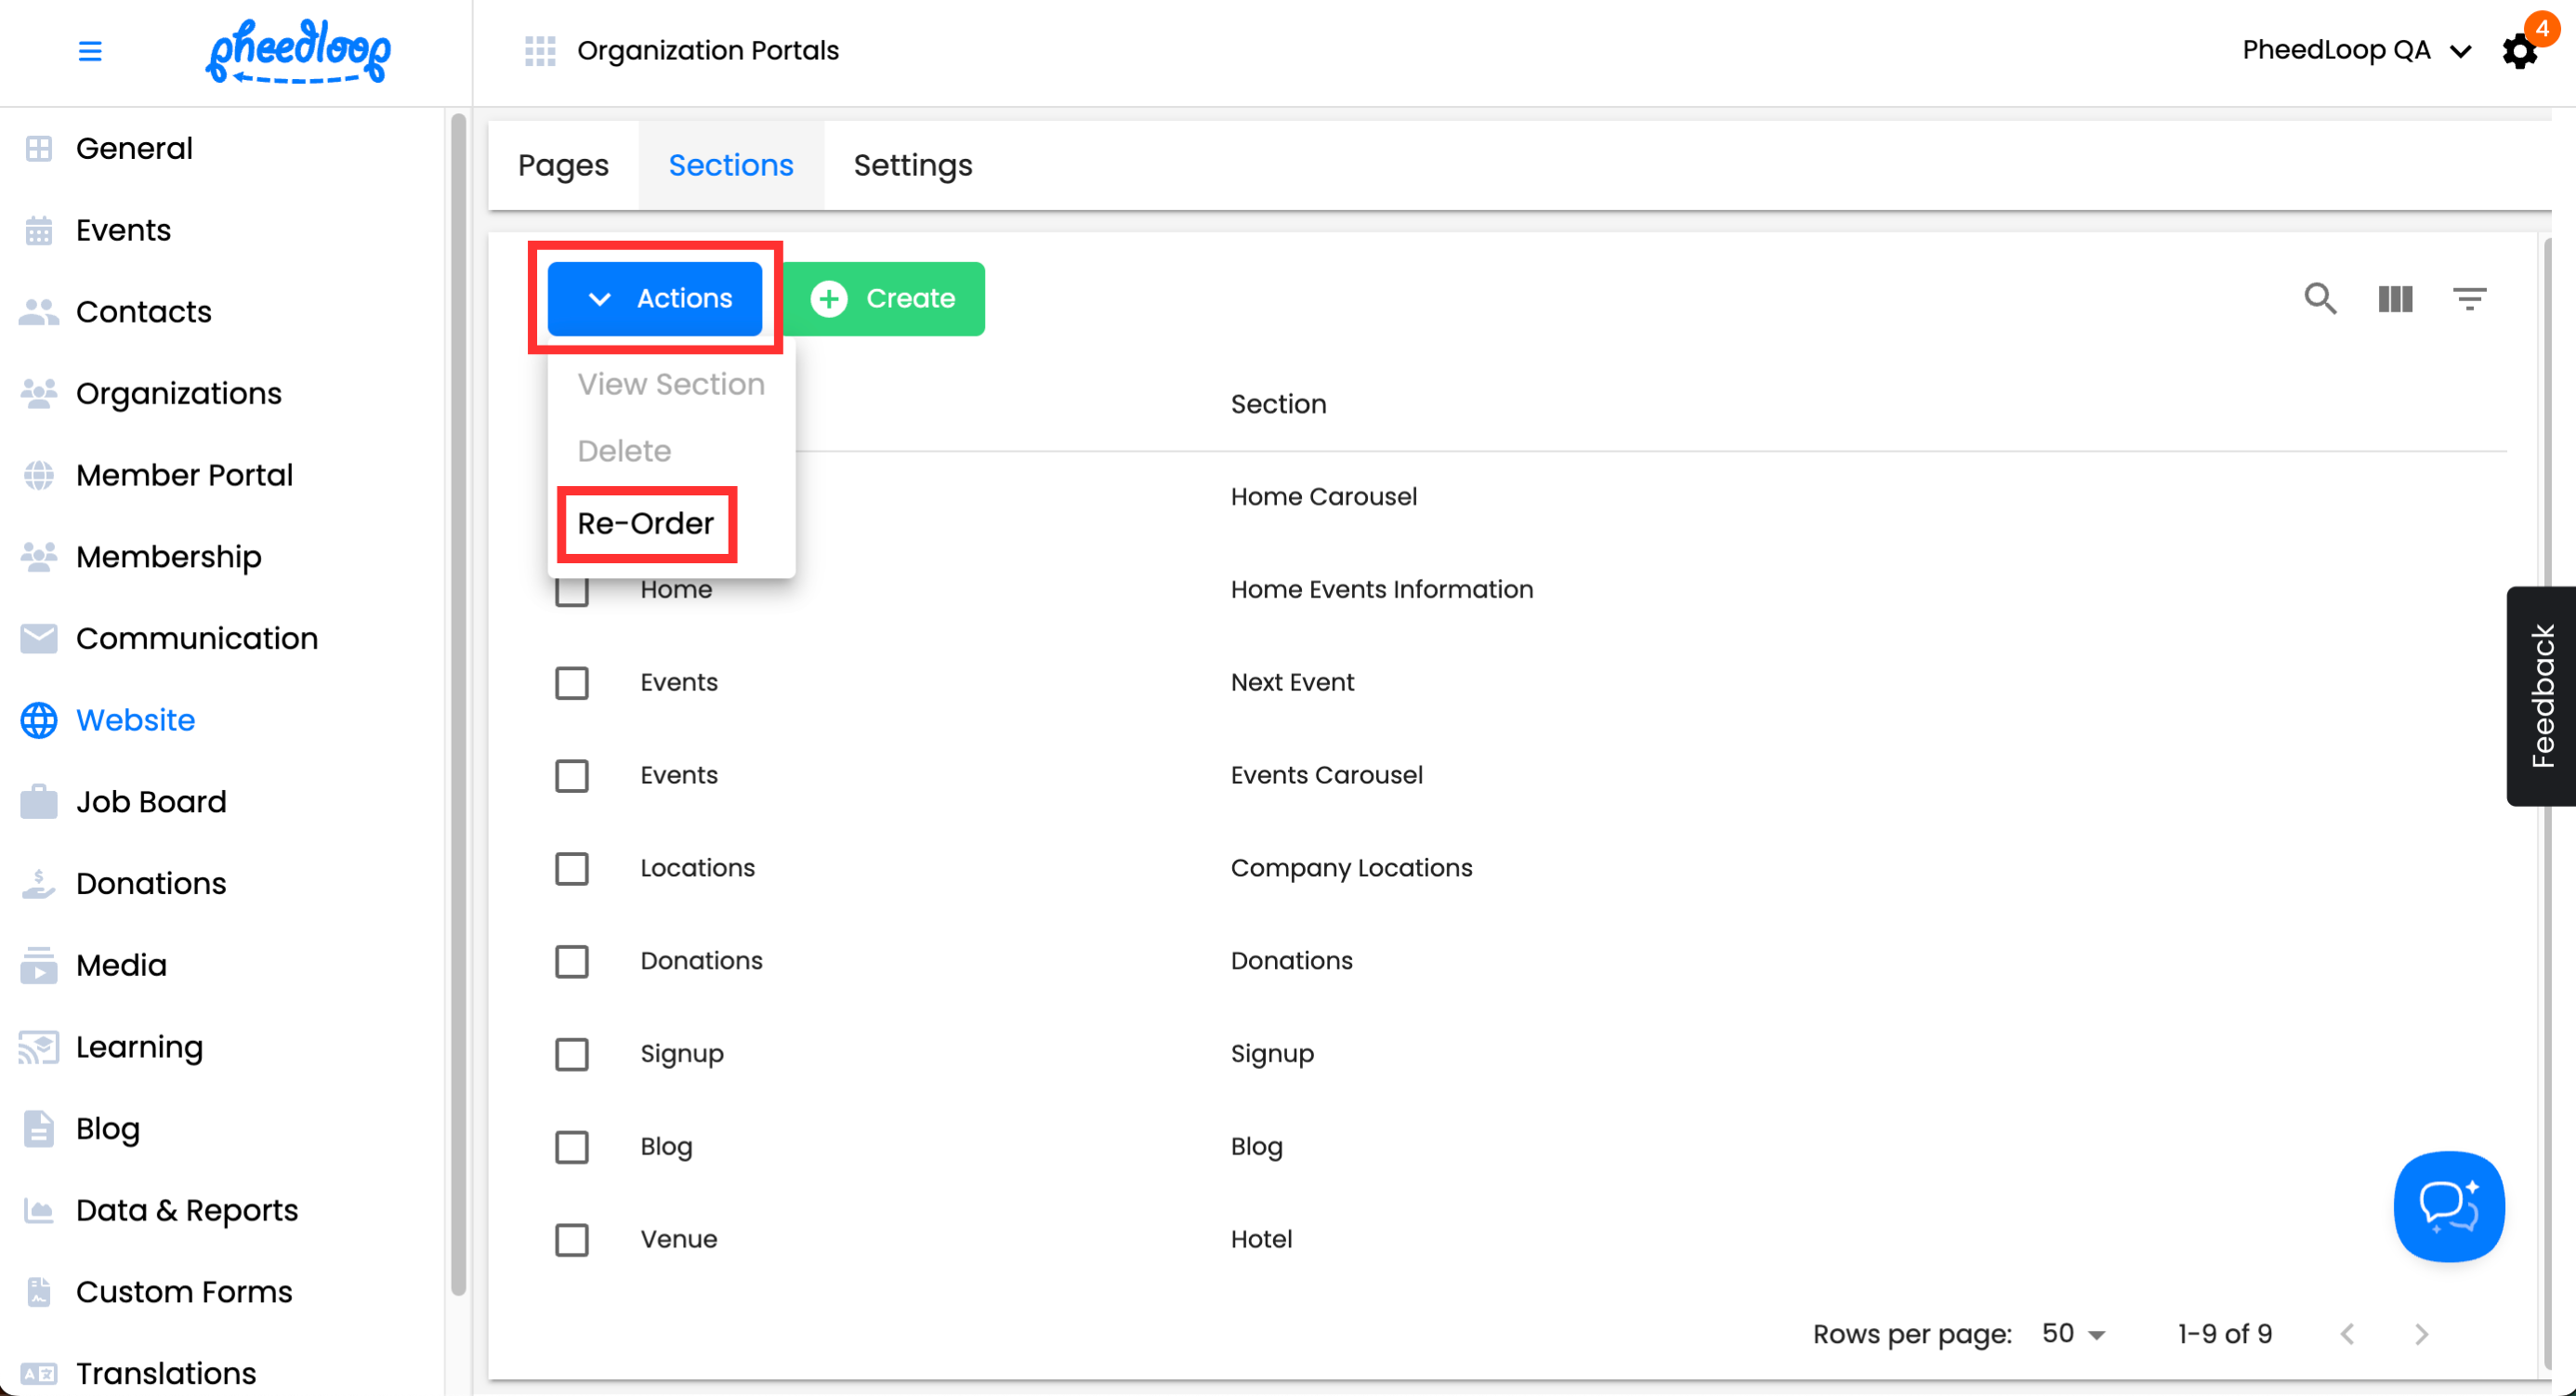
- Click and Drag the sections to your desired order
-
Select Save


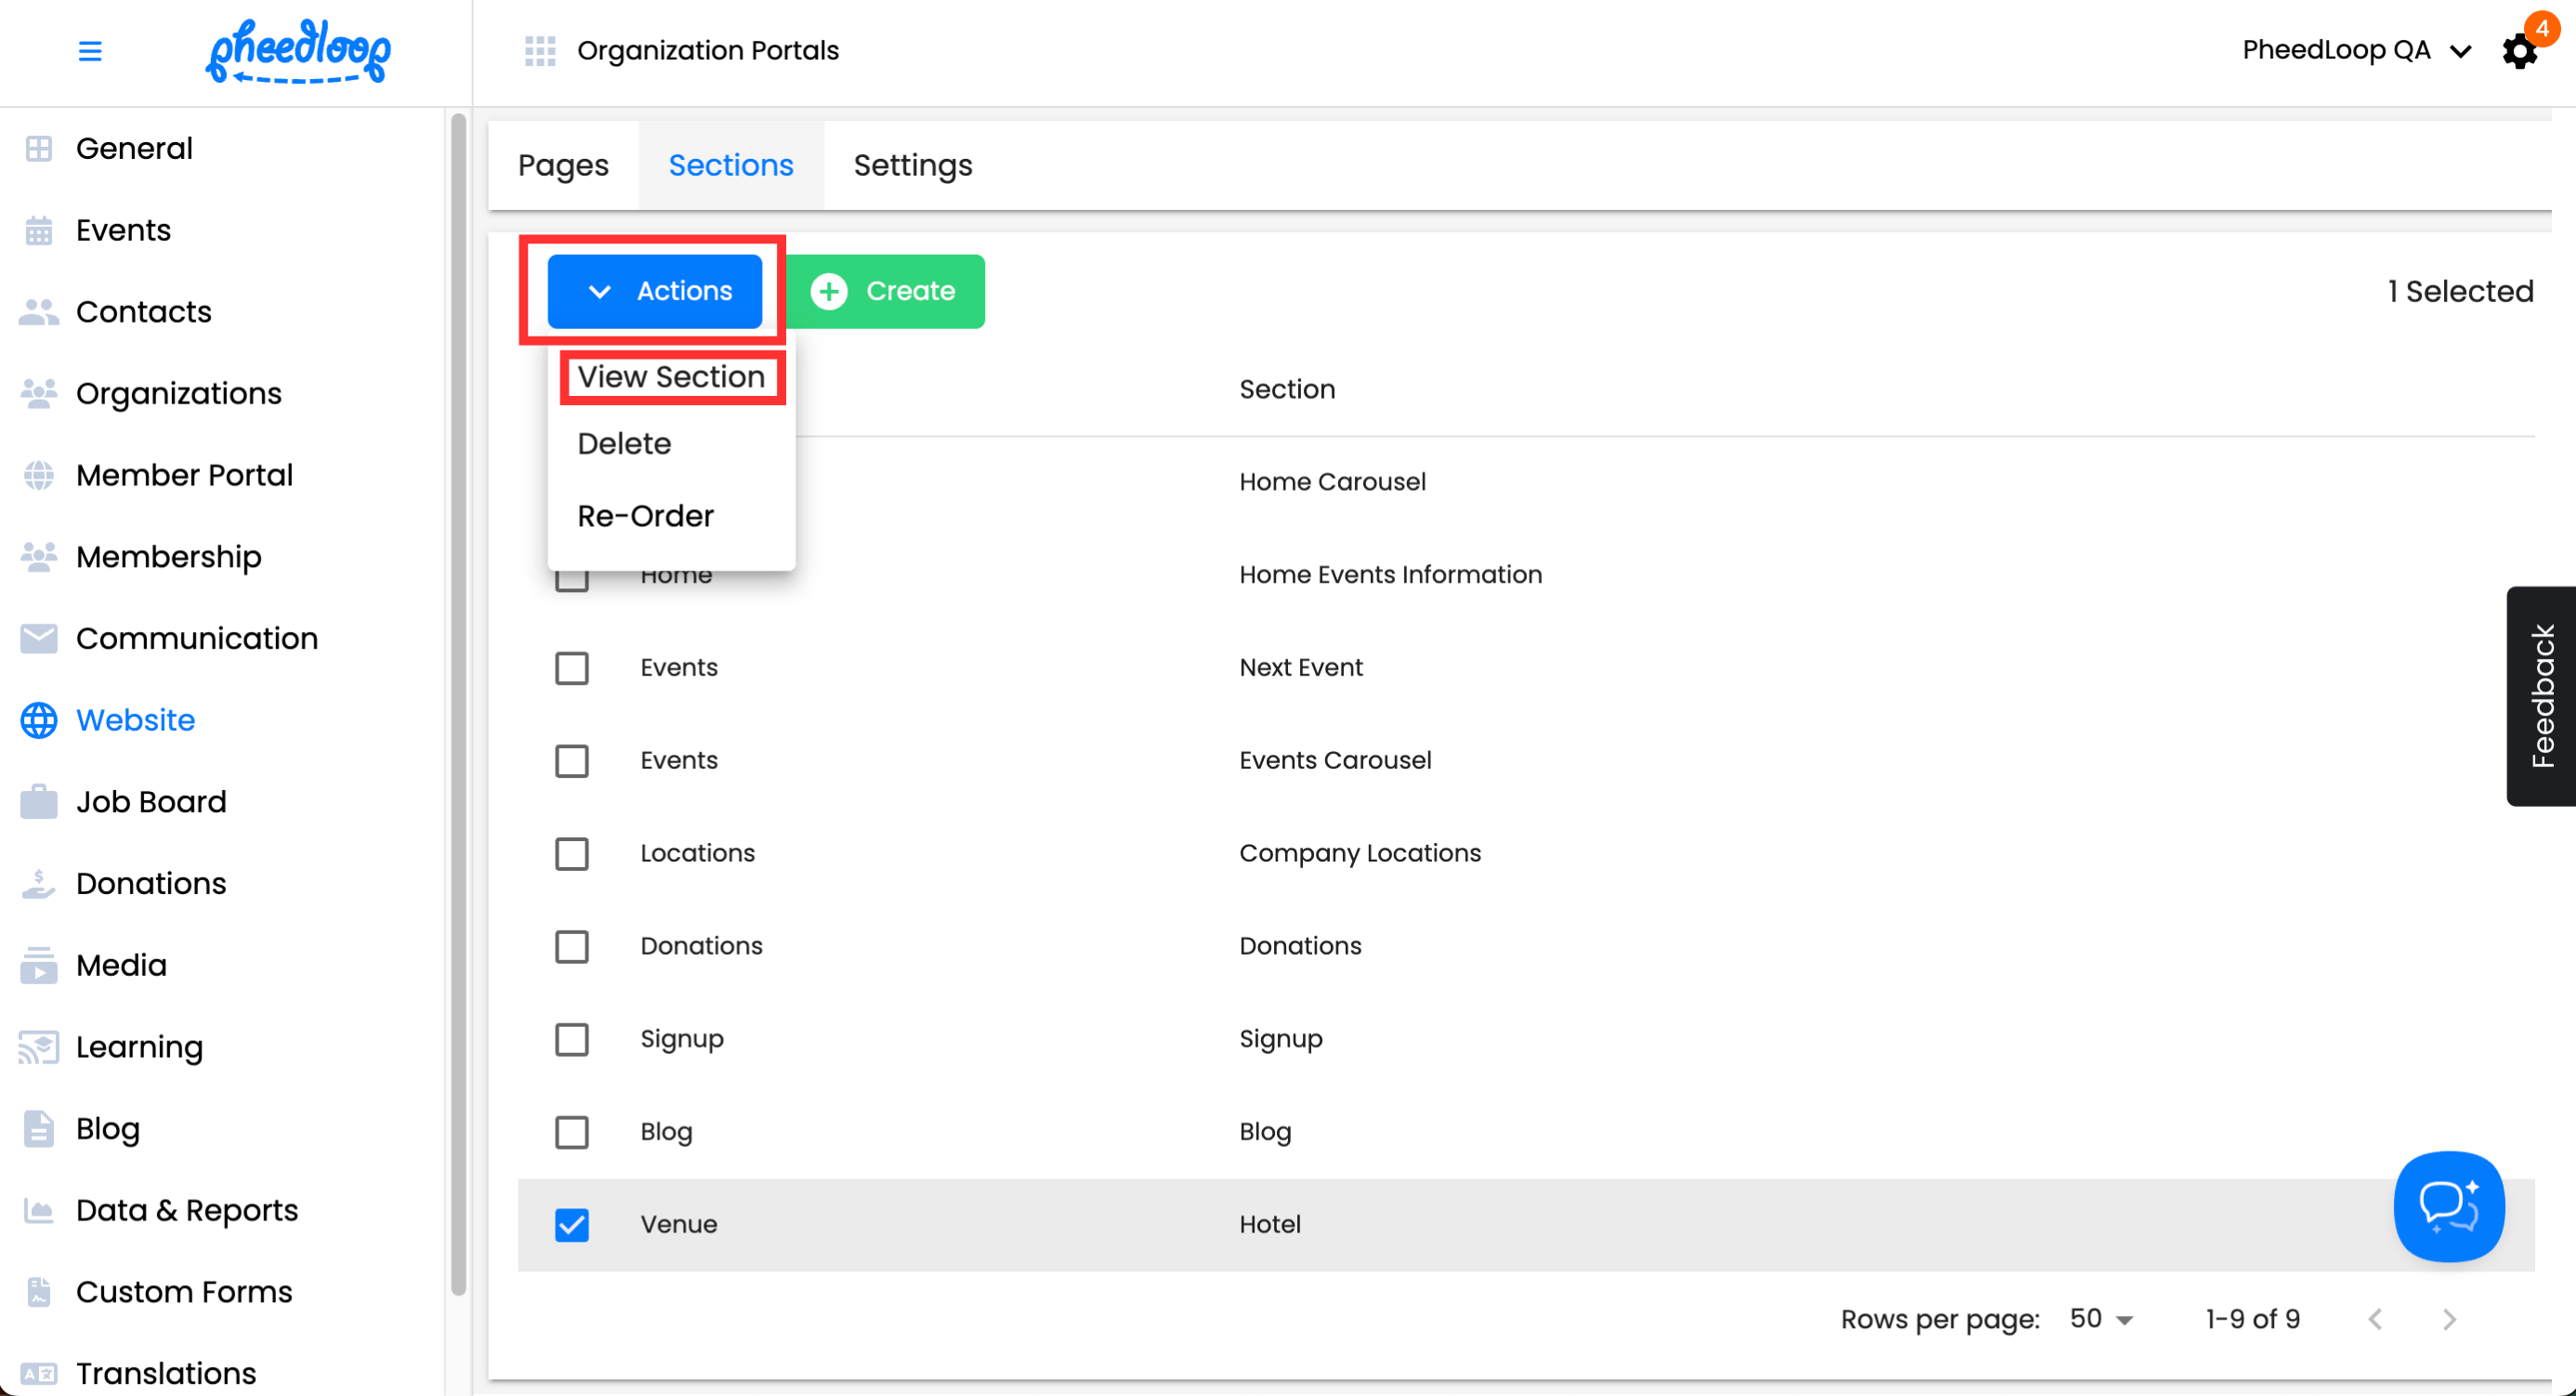
To View Sections
Event organizers can use the Event Dashboard to quickly access their desired sections.
- From the Membership Dashboard, navigate to Website > Sections
- Select the checkbox of the page you wish to delete
-
Above the Pages table, select Actions > View Section

Customizing Settings in the Organization Website
Many settings impact the Organization Website in the Membership Dashboard. Primarily, the settings will reside under General > Settings and Website > Settings.
Customizing Settings in the General Page
To access the settings under the General page:
-
From the Membership Dashboard, navigate to General > Settings
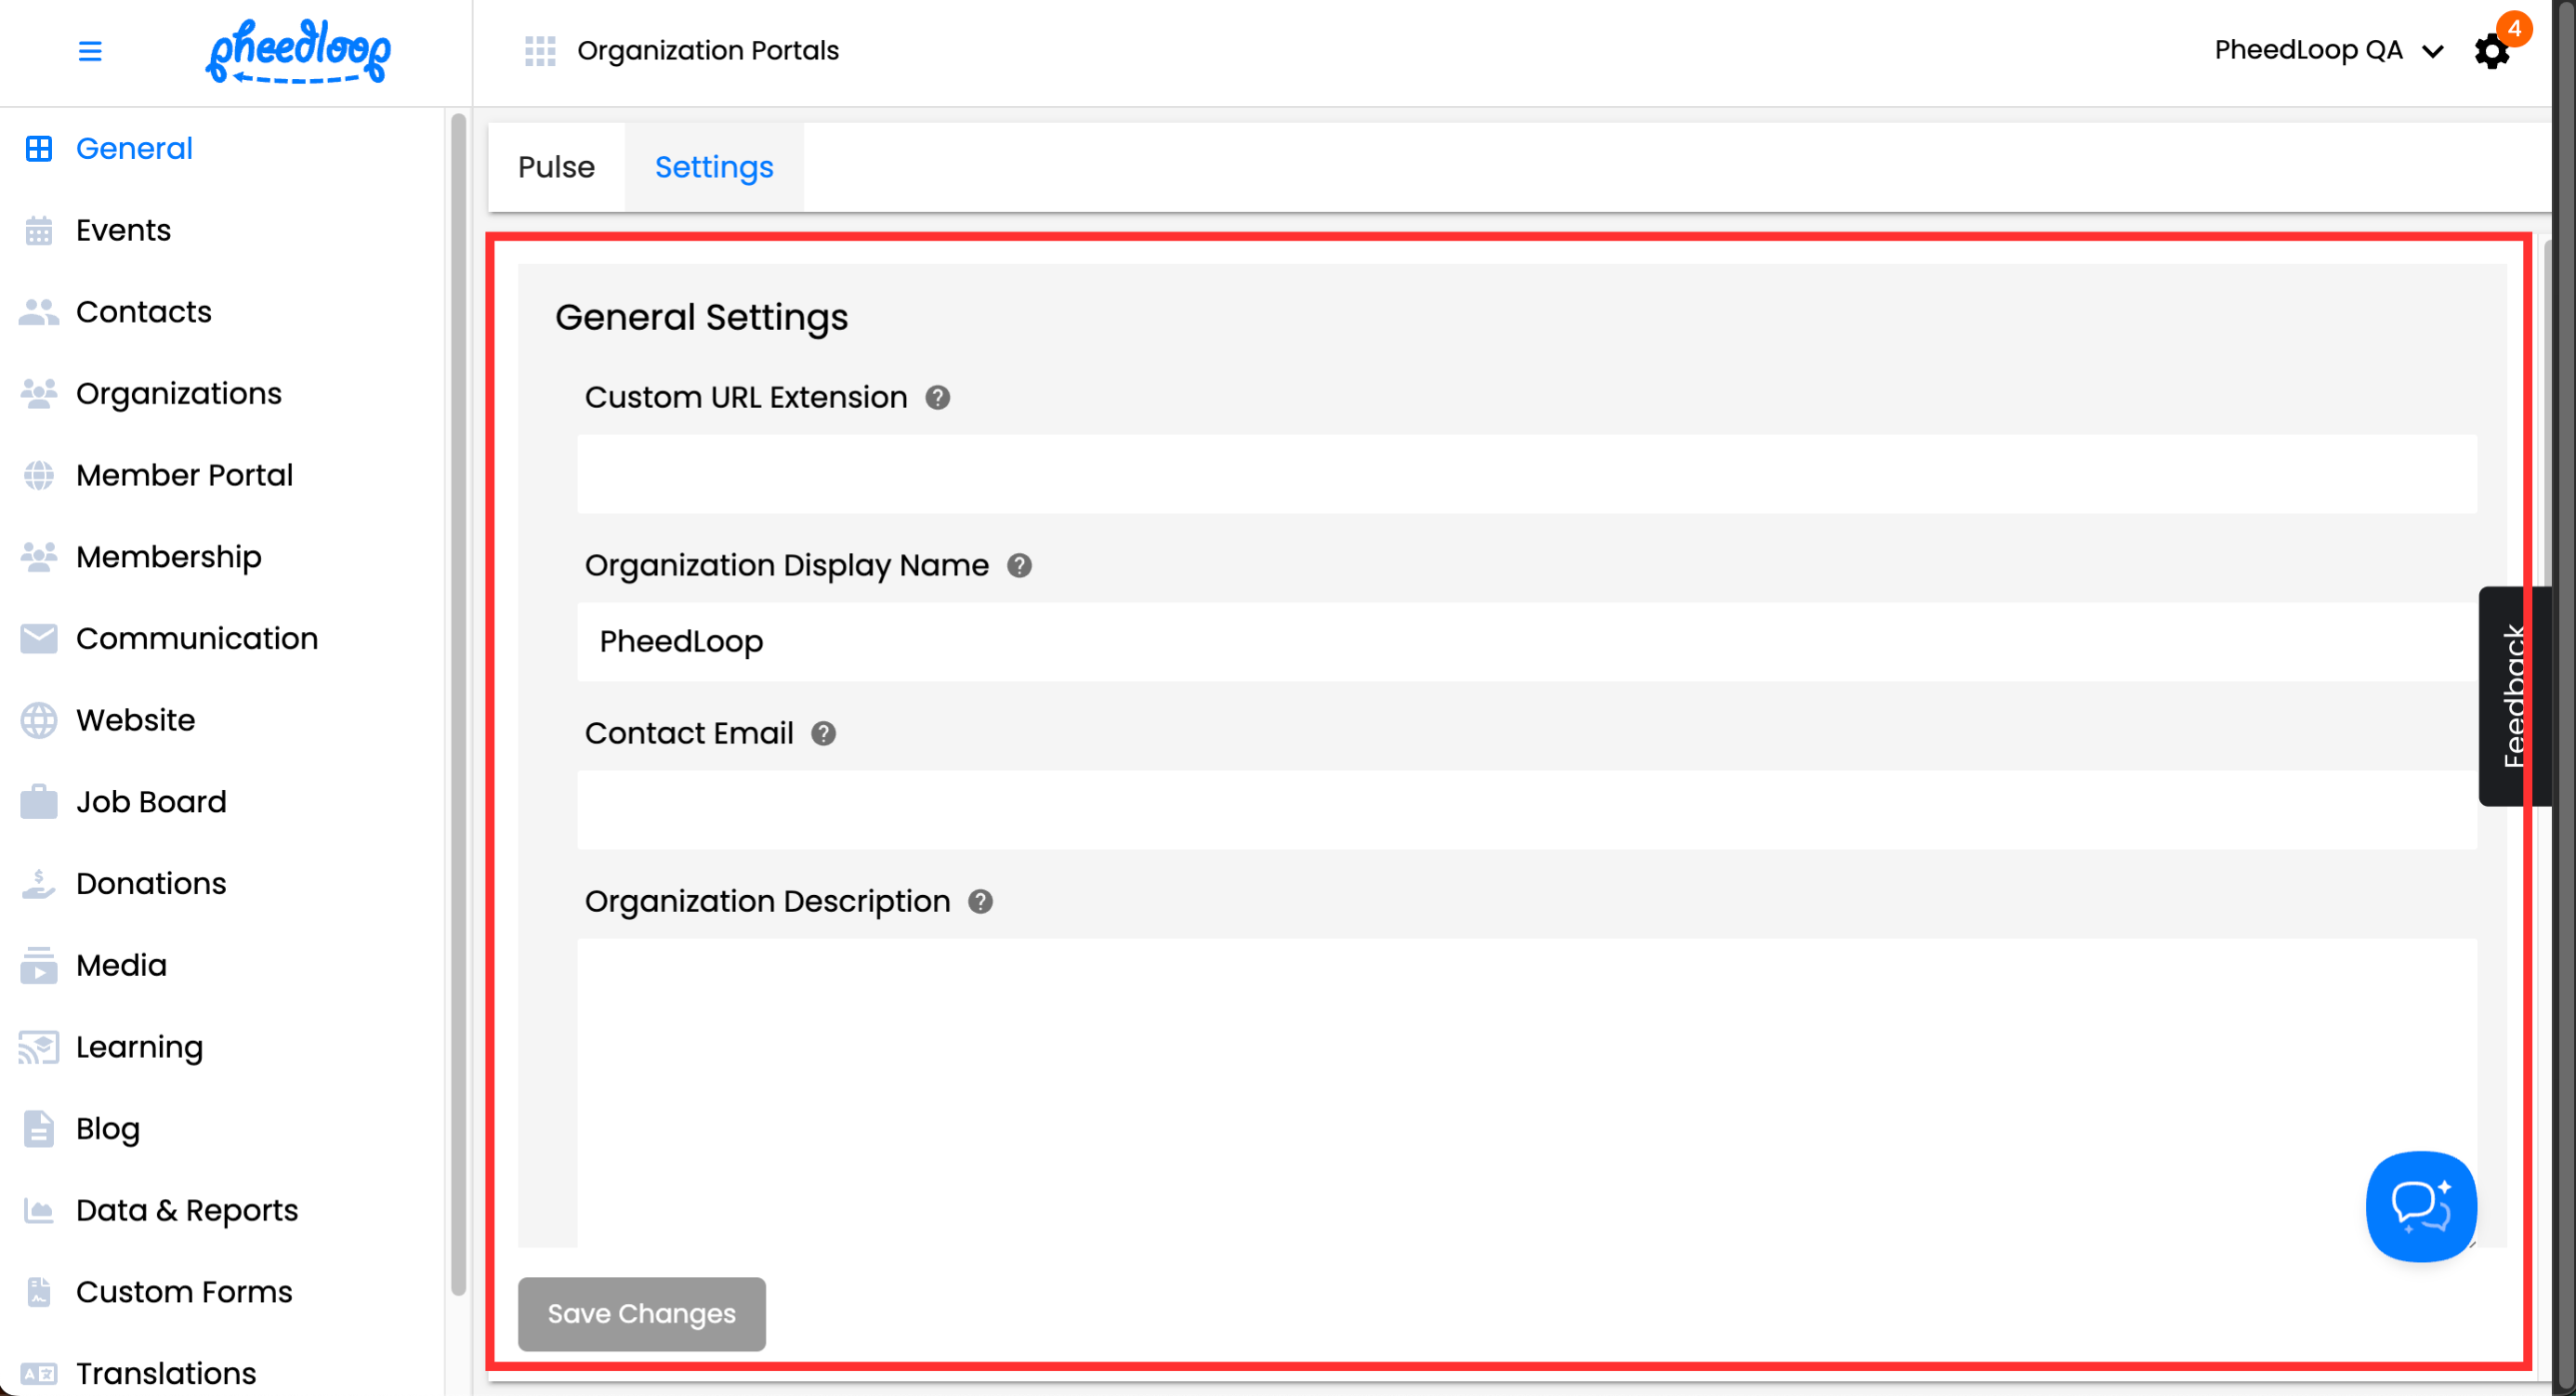

Please note that not every setting will affect the Organization Website.
General Settings
Organization Identity & Display
| Setting | Description |
|---|---|
| Custom URL Extension | Allows you to set a custom URL extension. If left blank, your organization code is used instead. It’s recommended not to update this more than once. |
| Organization Display Name | Adjusts the name displayed on the Organization Website and Portals. If blank, your account name will appear instead. |
| Organization Description | Appears next to the Event Logo on the Organization Website. |
Branding & Visual Elements
| Setting | Description |
|---|---|
| Color | Updates the color scheme of the Organization Website. |
| Organization Logo | Displays under the Organization Display Name on the Organization Website. |
| White Organization Logo | Appears in the footer of the Organization Website (bottom-right). |
| Organization Banner | Displays in the footer of the Member Portal only (not visible on the Organization Website). |
Contact & Regional Settings
| Setting | Description |
|---|---|
| Contact Email | Appears in the footer of the Organization Website so members can reach your organization. |
| Timezone | Controls the timezone displayed across the Organization Website and Member Portal, affecting all date and time fields. |
Accessibility
| Setting | Description |
|---|---|
| Disable Accessibility Widget in Websites and Portals | When enabled, removes the accessibility widget from both the Organization Website and Member Portal. |
Social Media Links
Social Media Links appear in the footer of the Organization Website, allowing members to access your social media pages.
| Setting | Description |
|---|---|
| Facebook Link | URL to your organization’s Facebook page. |
| LinkedIn Link | URL to your organization’s LinkedIn page. |
| X (formerly Twitter) Username | Enter your X/Twitter username. Clicking the X icon will take members to your profile. |
Customizing Settings in the Website Page
Accessing Website Settings
To access the settings under the Website page:
-
From the Membership Dashboard, navigate to Website > Settings
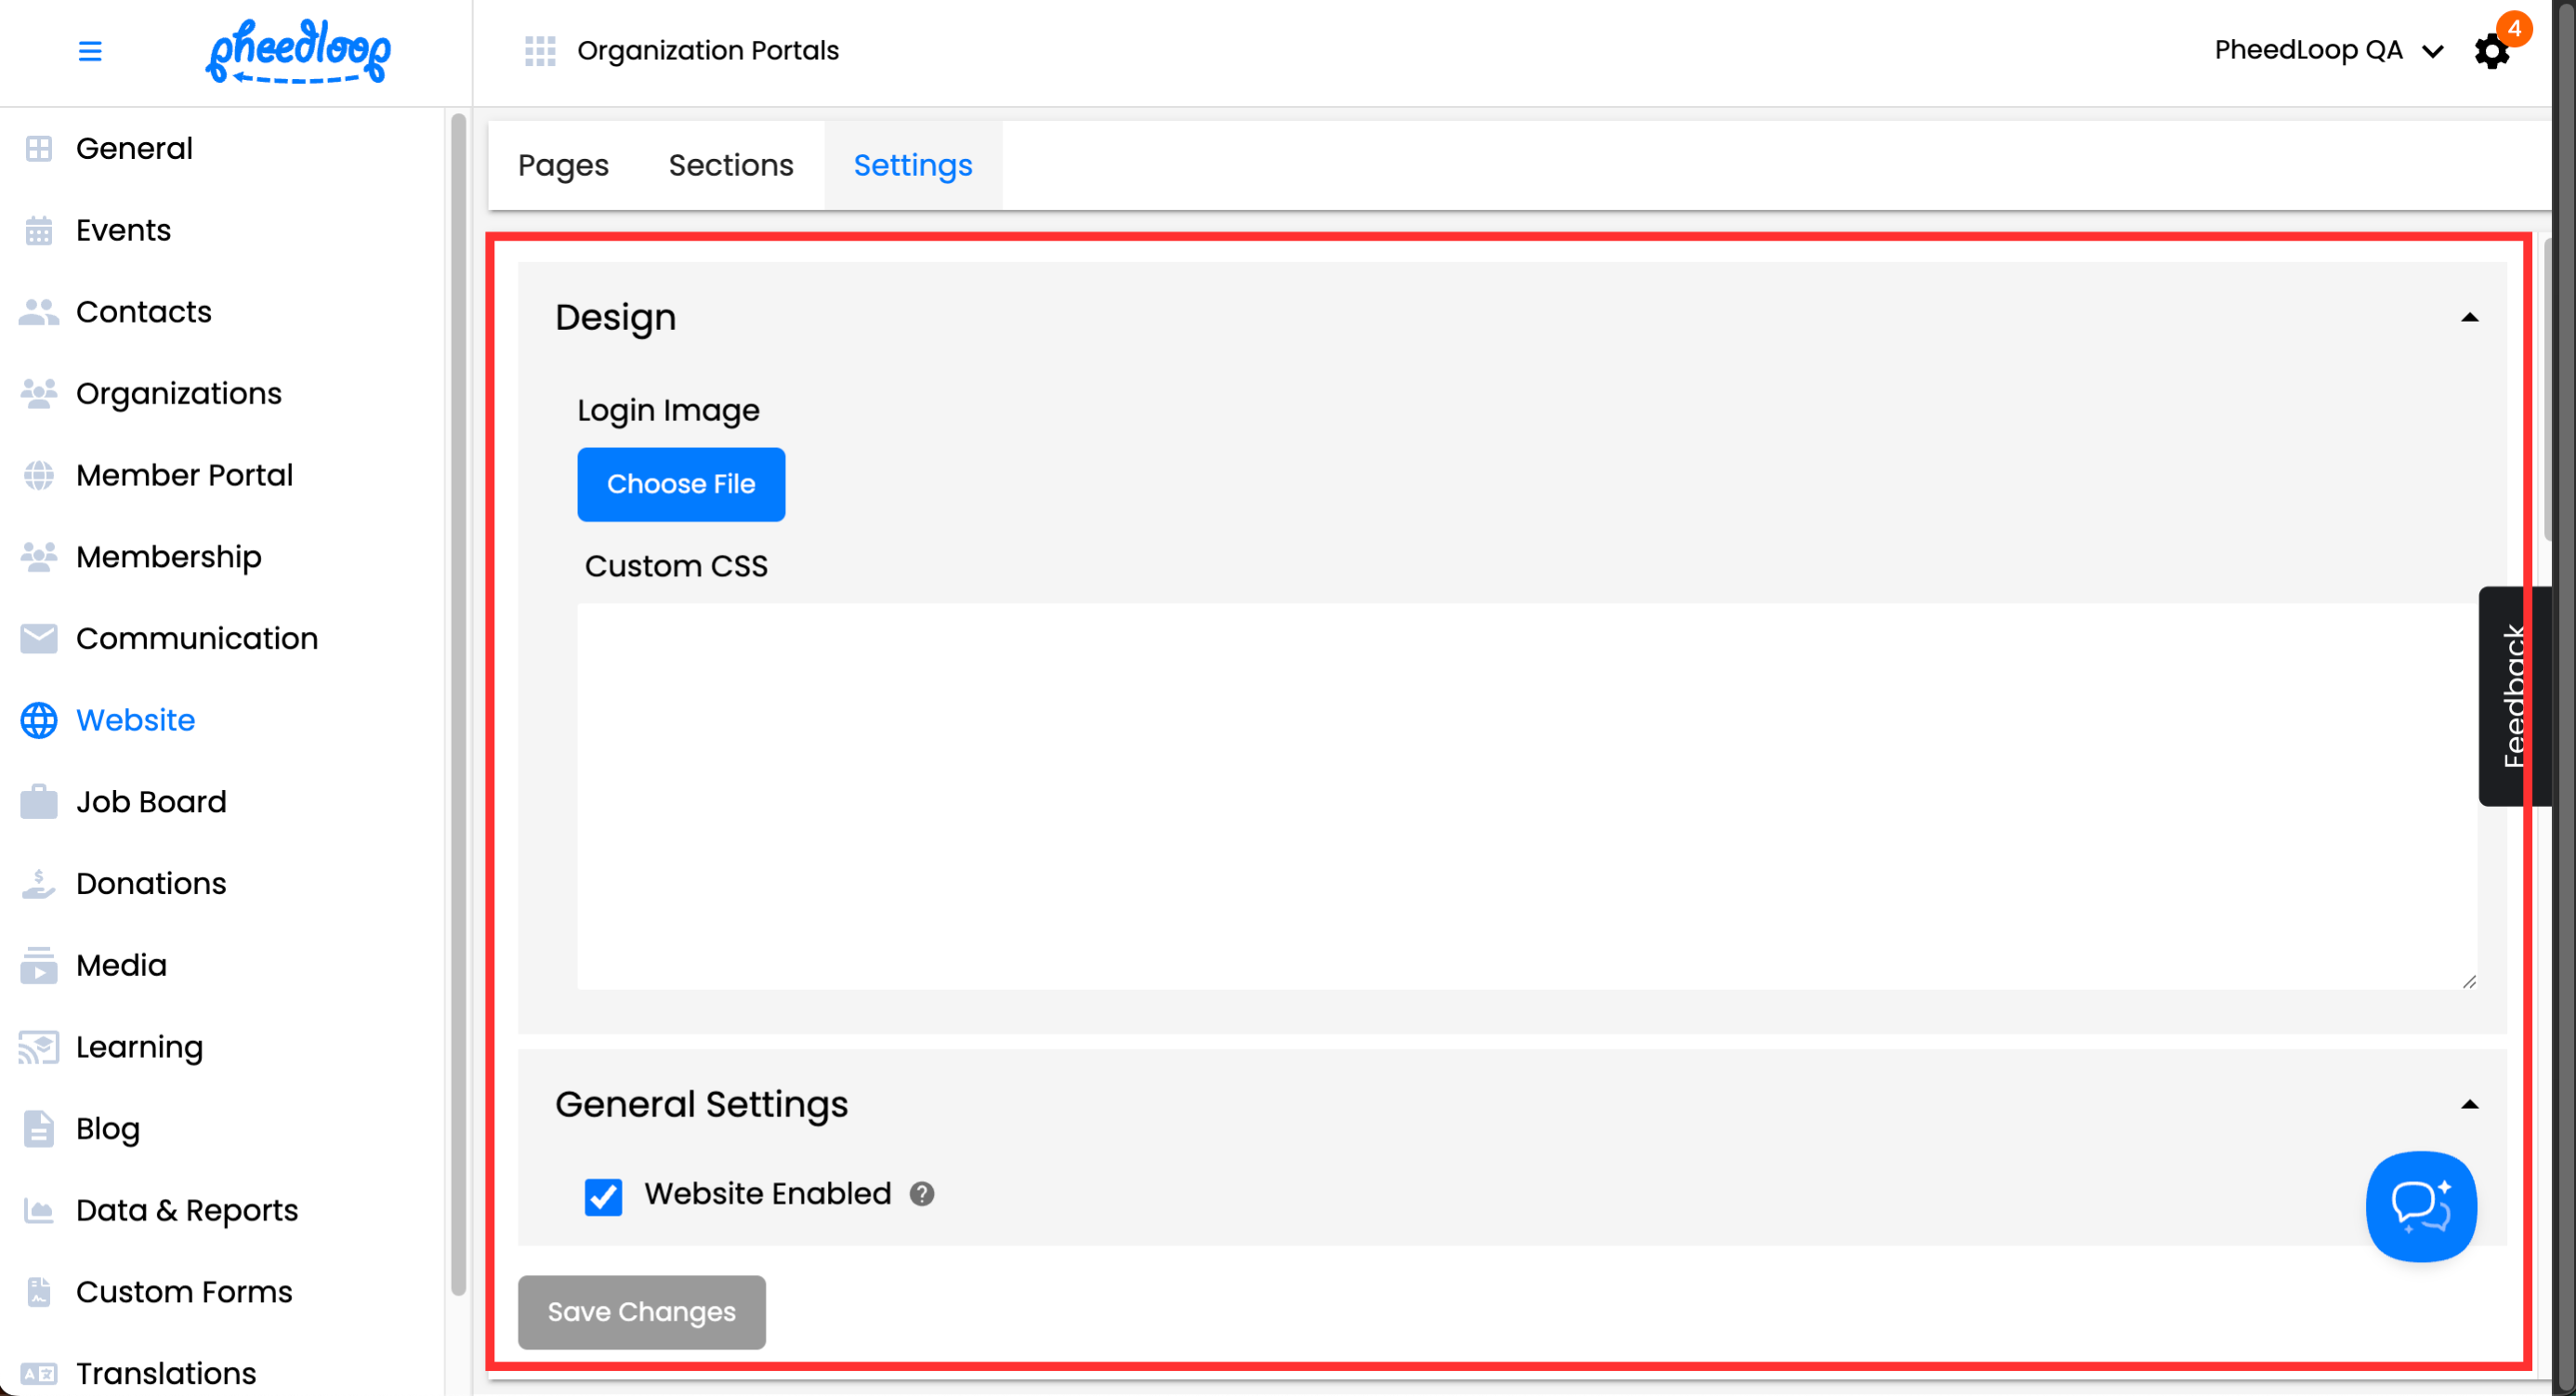

These settings control how your Organization Website looks and behaves. Some also affect the Member Portal.
Design
| Setting | Description |
|---|---|
| Login Image | Displays an image on the Member Portal login page. This does not appear on the Event Website. |
| Custom CSS | Allows you to add custom CSS that applies to the Organization Website. |
General Settings
| Setting | Description |
|---|---|
| Website Enabled | Disables access to the Organization Website when toggled off. |
| Hide Organization Logo | Hides the White Organization Logo from the Organization Website. |
| Hide Website Header | Removes the header from the Organization Website. |
| Hide Website Footer | Removes the footer from the Organization Website. |
Custom Script
| Setting | Description |
|---|---|
| Facebook Tracking ID | Input field for your Facebook Tracking ID. |
| Google Analytics Tracking ID | Input field for your Google Analytics Tracking ID. |
| Custom Script | Allows you to add custom scripts, typically for third-party analytics to track visitor engagement. |
Theme
Colors
| Setting | Description |
|---|---|
| Primary Color | Overrides the primary color set in General > Settings using a hex code. |
| Secondary Color | Sets the secondary color of the Organization Website. |
| Text Color | Sets the main text color across the Organization Website. |
| Contrast Text Color | Changes the color of header, footer, and title text. |
| Subtitle Color | Updates miscellaneous text elements, such as supporting details and search bar text. |
| Surface Color | Sets the surface color used throughout the Organization Website. |
| Background Color | Defines the background color of the Organization Website. |
| Border Color | Sets the color of borders around text fields. |
Typography
| Setting | Description |
|---|---|
| Font Size (Small) | Sets the size of small text. |
| Font Size (Medium) | Sets the size of medium text. |
| Font Size (Large) | Sets the size of large text. |
| Font Size (Title) | Sets the size of title text. |
| Font Size (Subtitle) | Sets the size of subtitle text. |
Border Styling
| Setting | Description |
|---|---|
| Border Radius | Adjusts the curvature of standard borders. Requires a value followed by “px.” |
| Small Border Radius | Adjusts the curvature of small borders. Requires a value followed by “px.” |
Customizing Events in the Organization Website
The Organization Website comes with an events page for Members to view all upcoming events created by the organization. The nearest upcoming event will be displayed at the top of the page. Clicking on the Register Now button will take you to the event website’s registration page where you can sign up for the event.
The Events page has a search bar which can be used to find events as well as a filter option which can be used to find events with similar topics, formats, and credits.
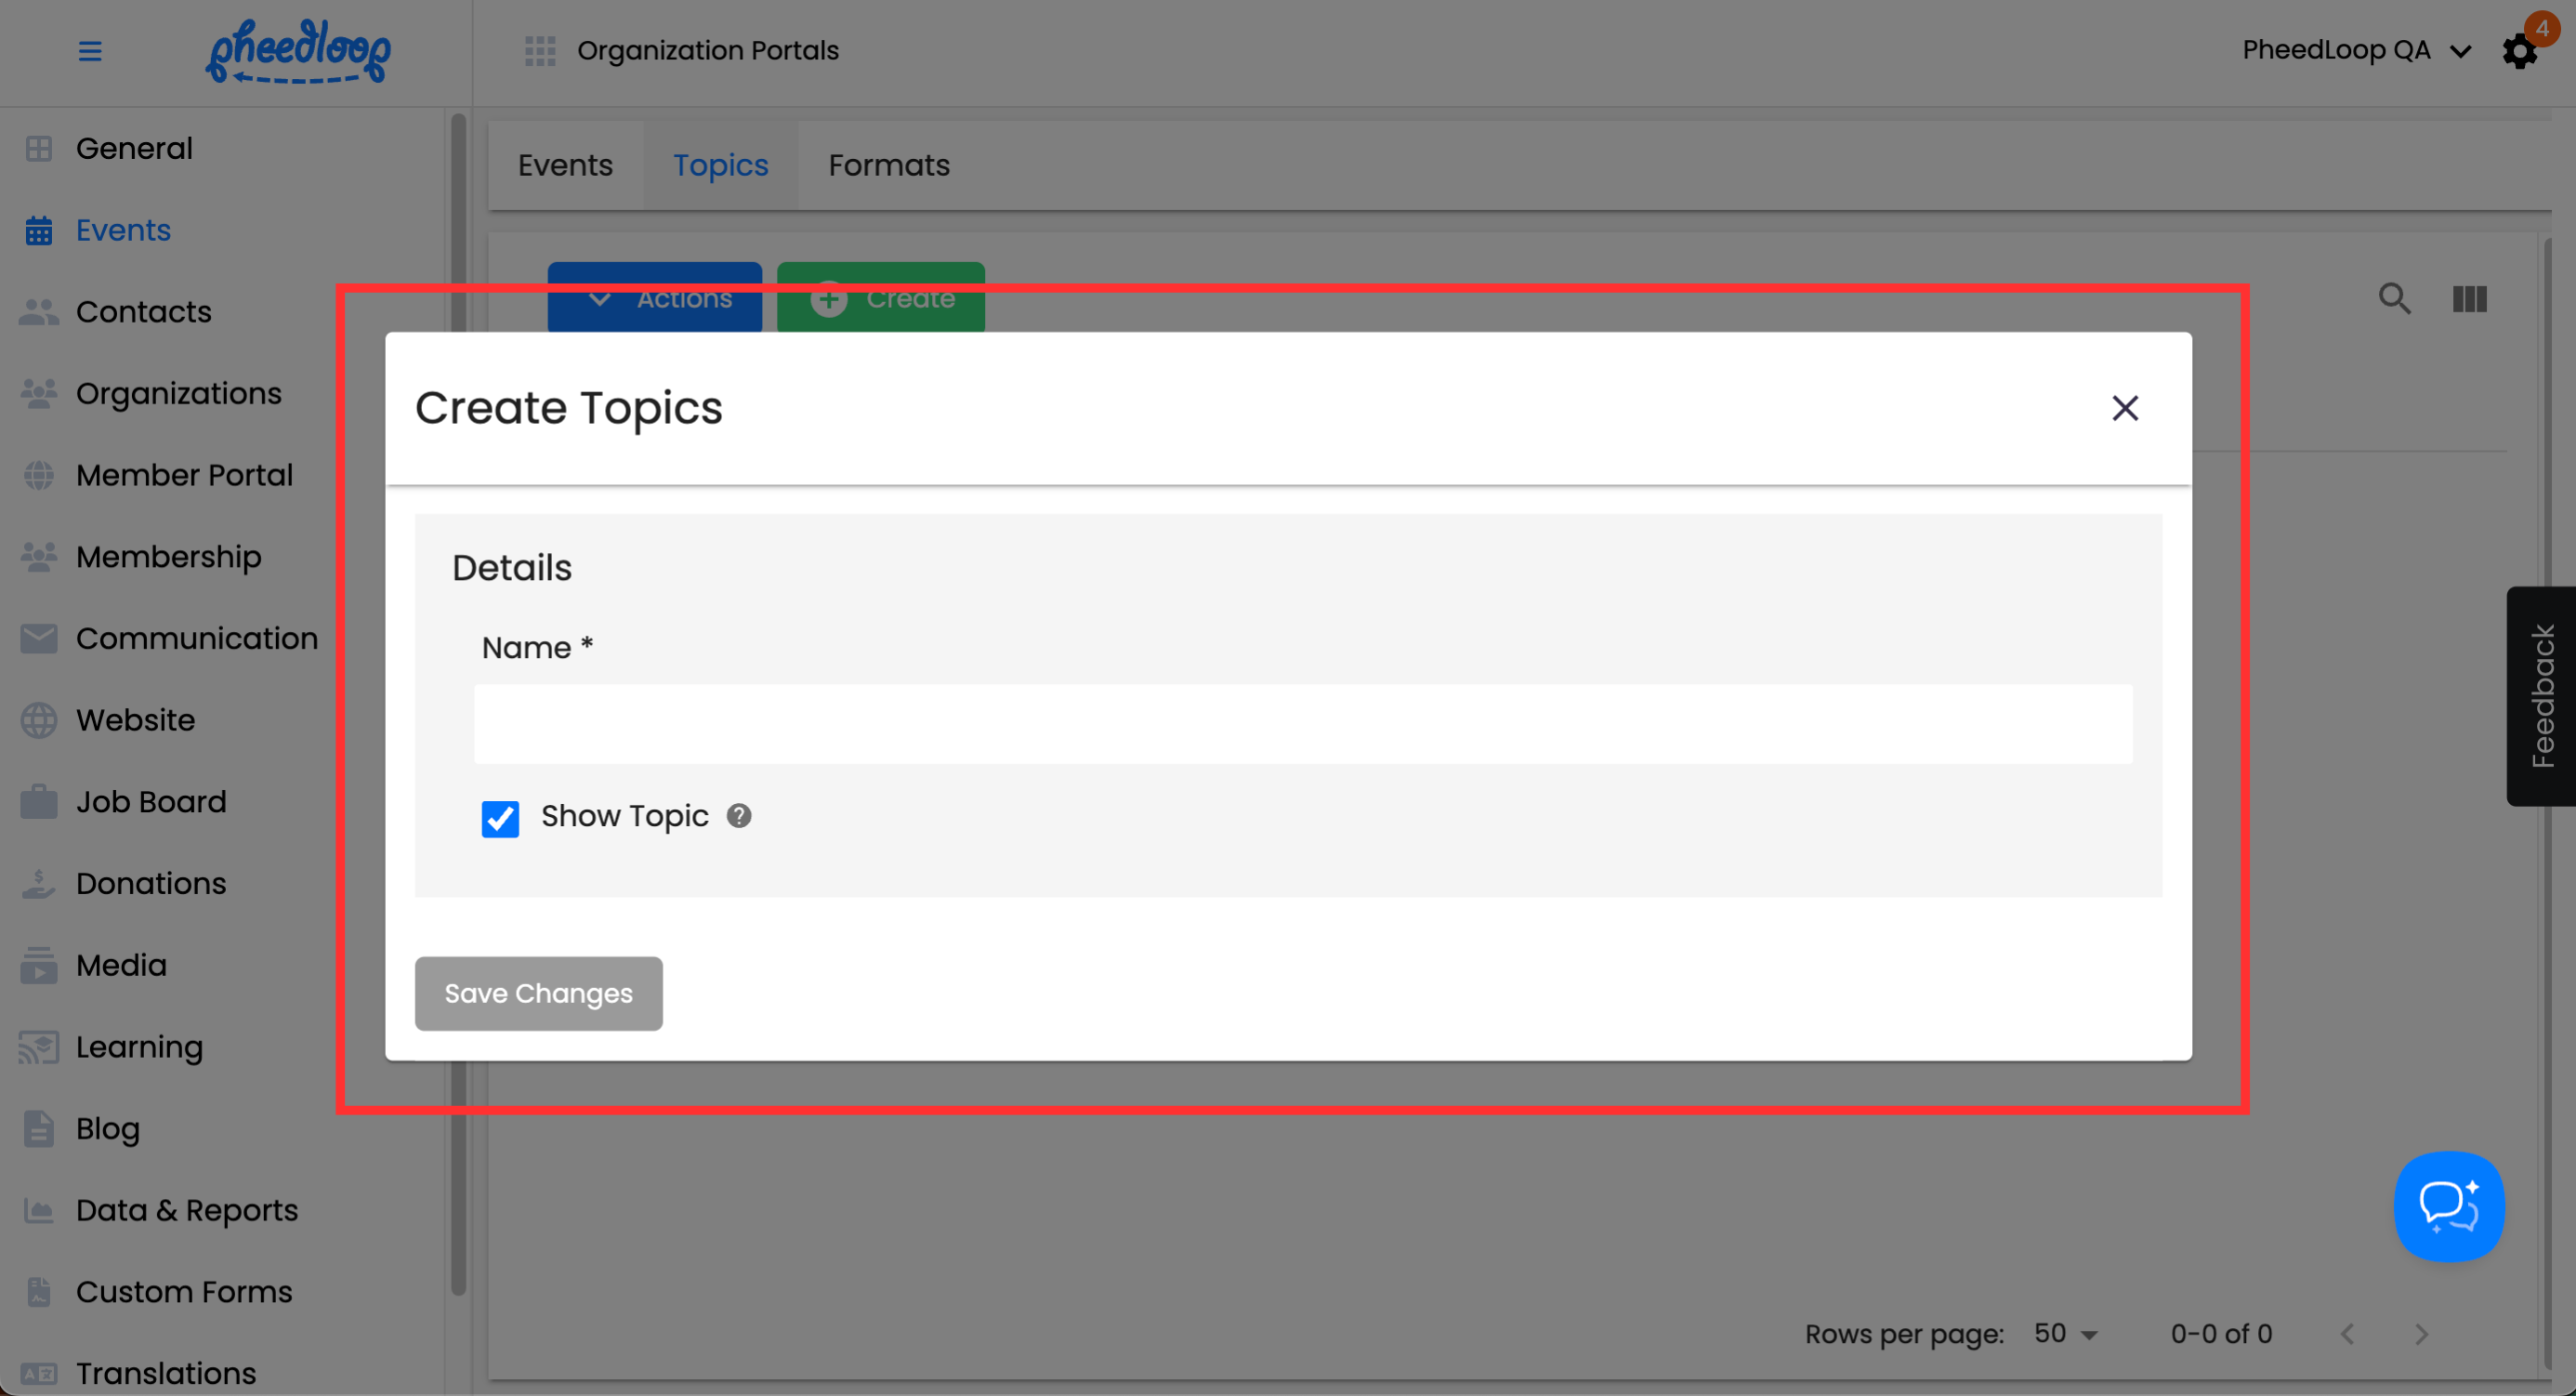
Adding Topics
- From the Membership Dashboard, navigate to Events > Topics
-
Above the Topics table, select Create
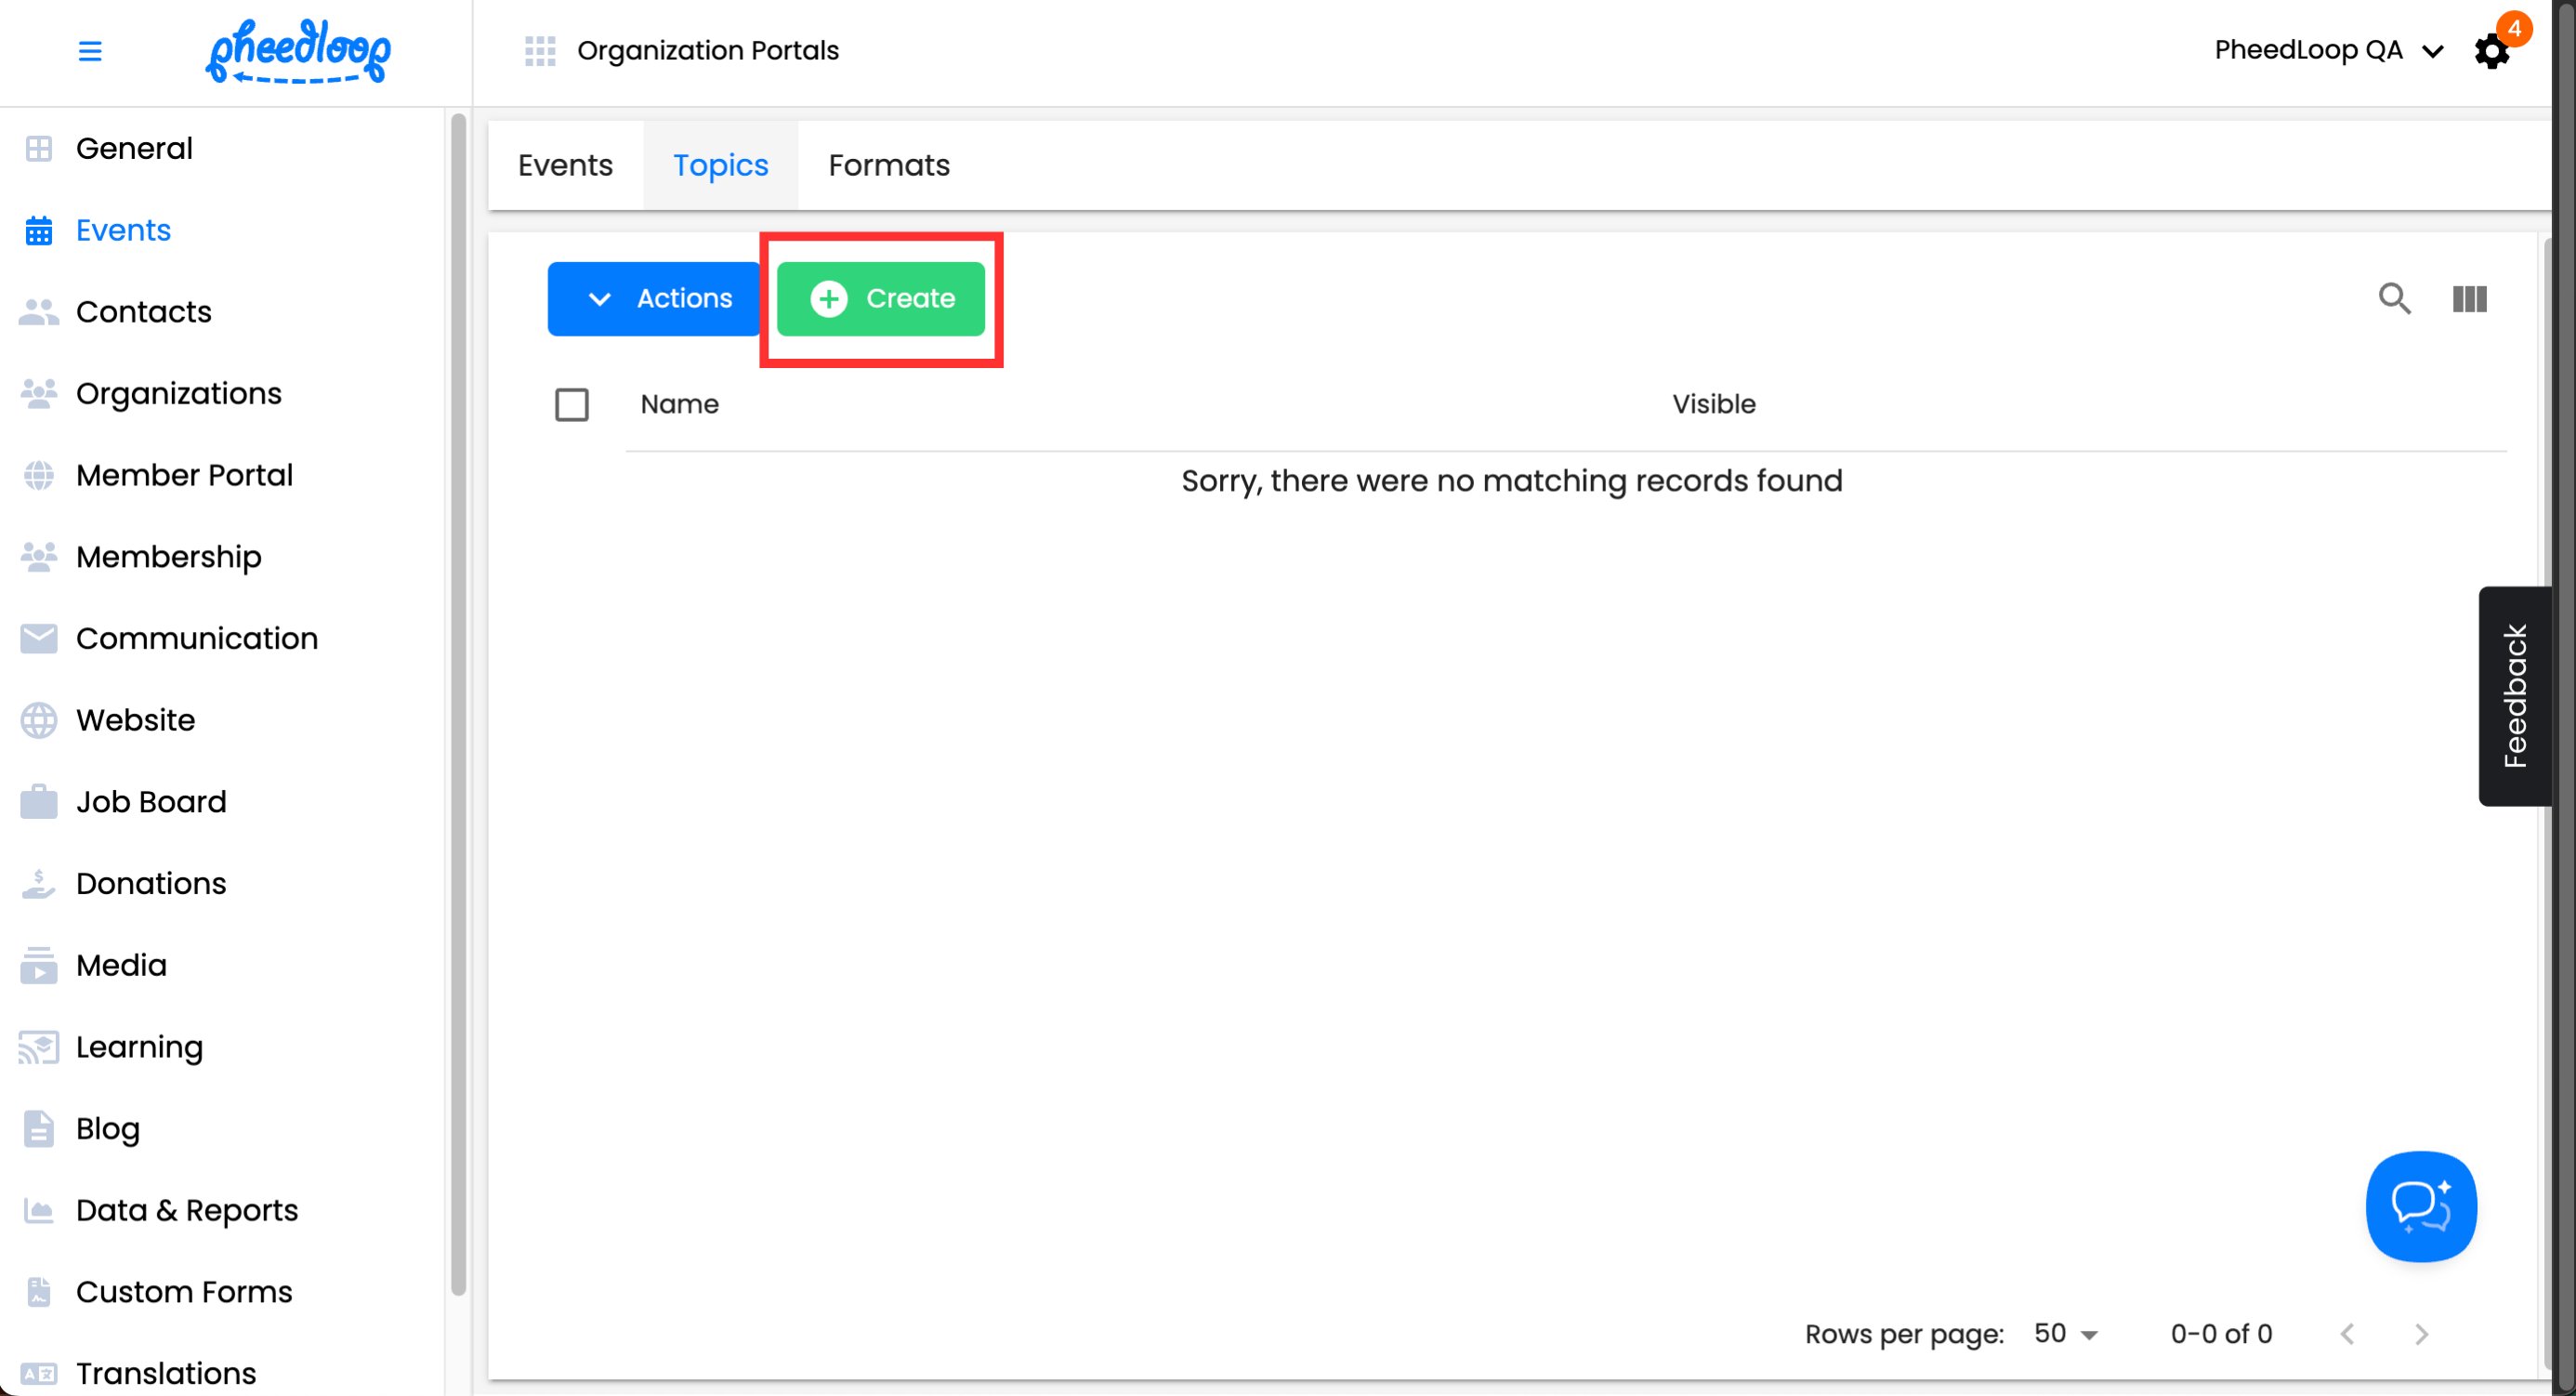
- Under the Name field, enter the name of the topic
- Toggle on the Show Topic field to display the topic in the Organization Website
-
Select Save Changes


Adding Formats
- From the Membership Dashboard, navigate to Events > Formats
-
Above the Formats table, select Create

- Under the Name field, enter the name of the format
- Toggle on the Show Format field to display the format in the Organization Website
-
Select Save Changes


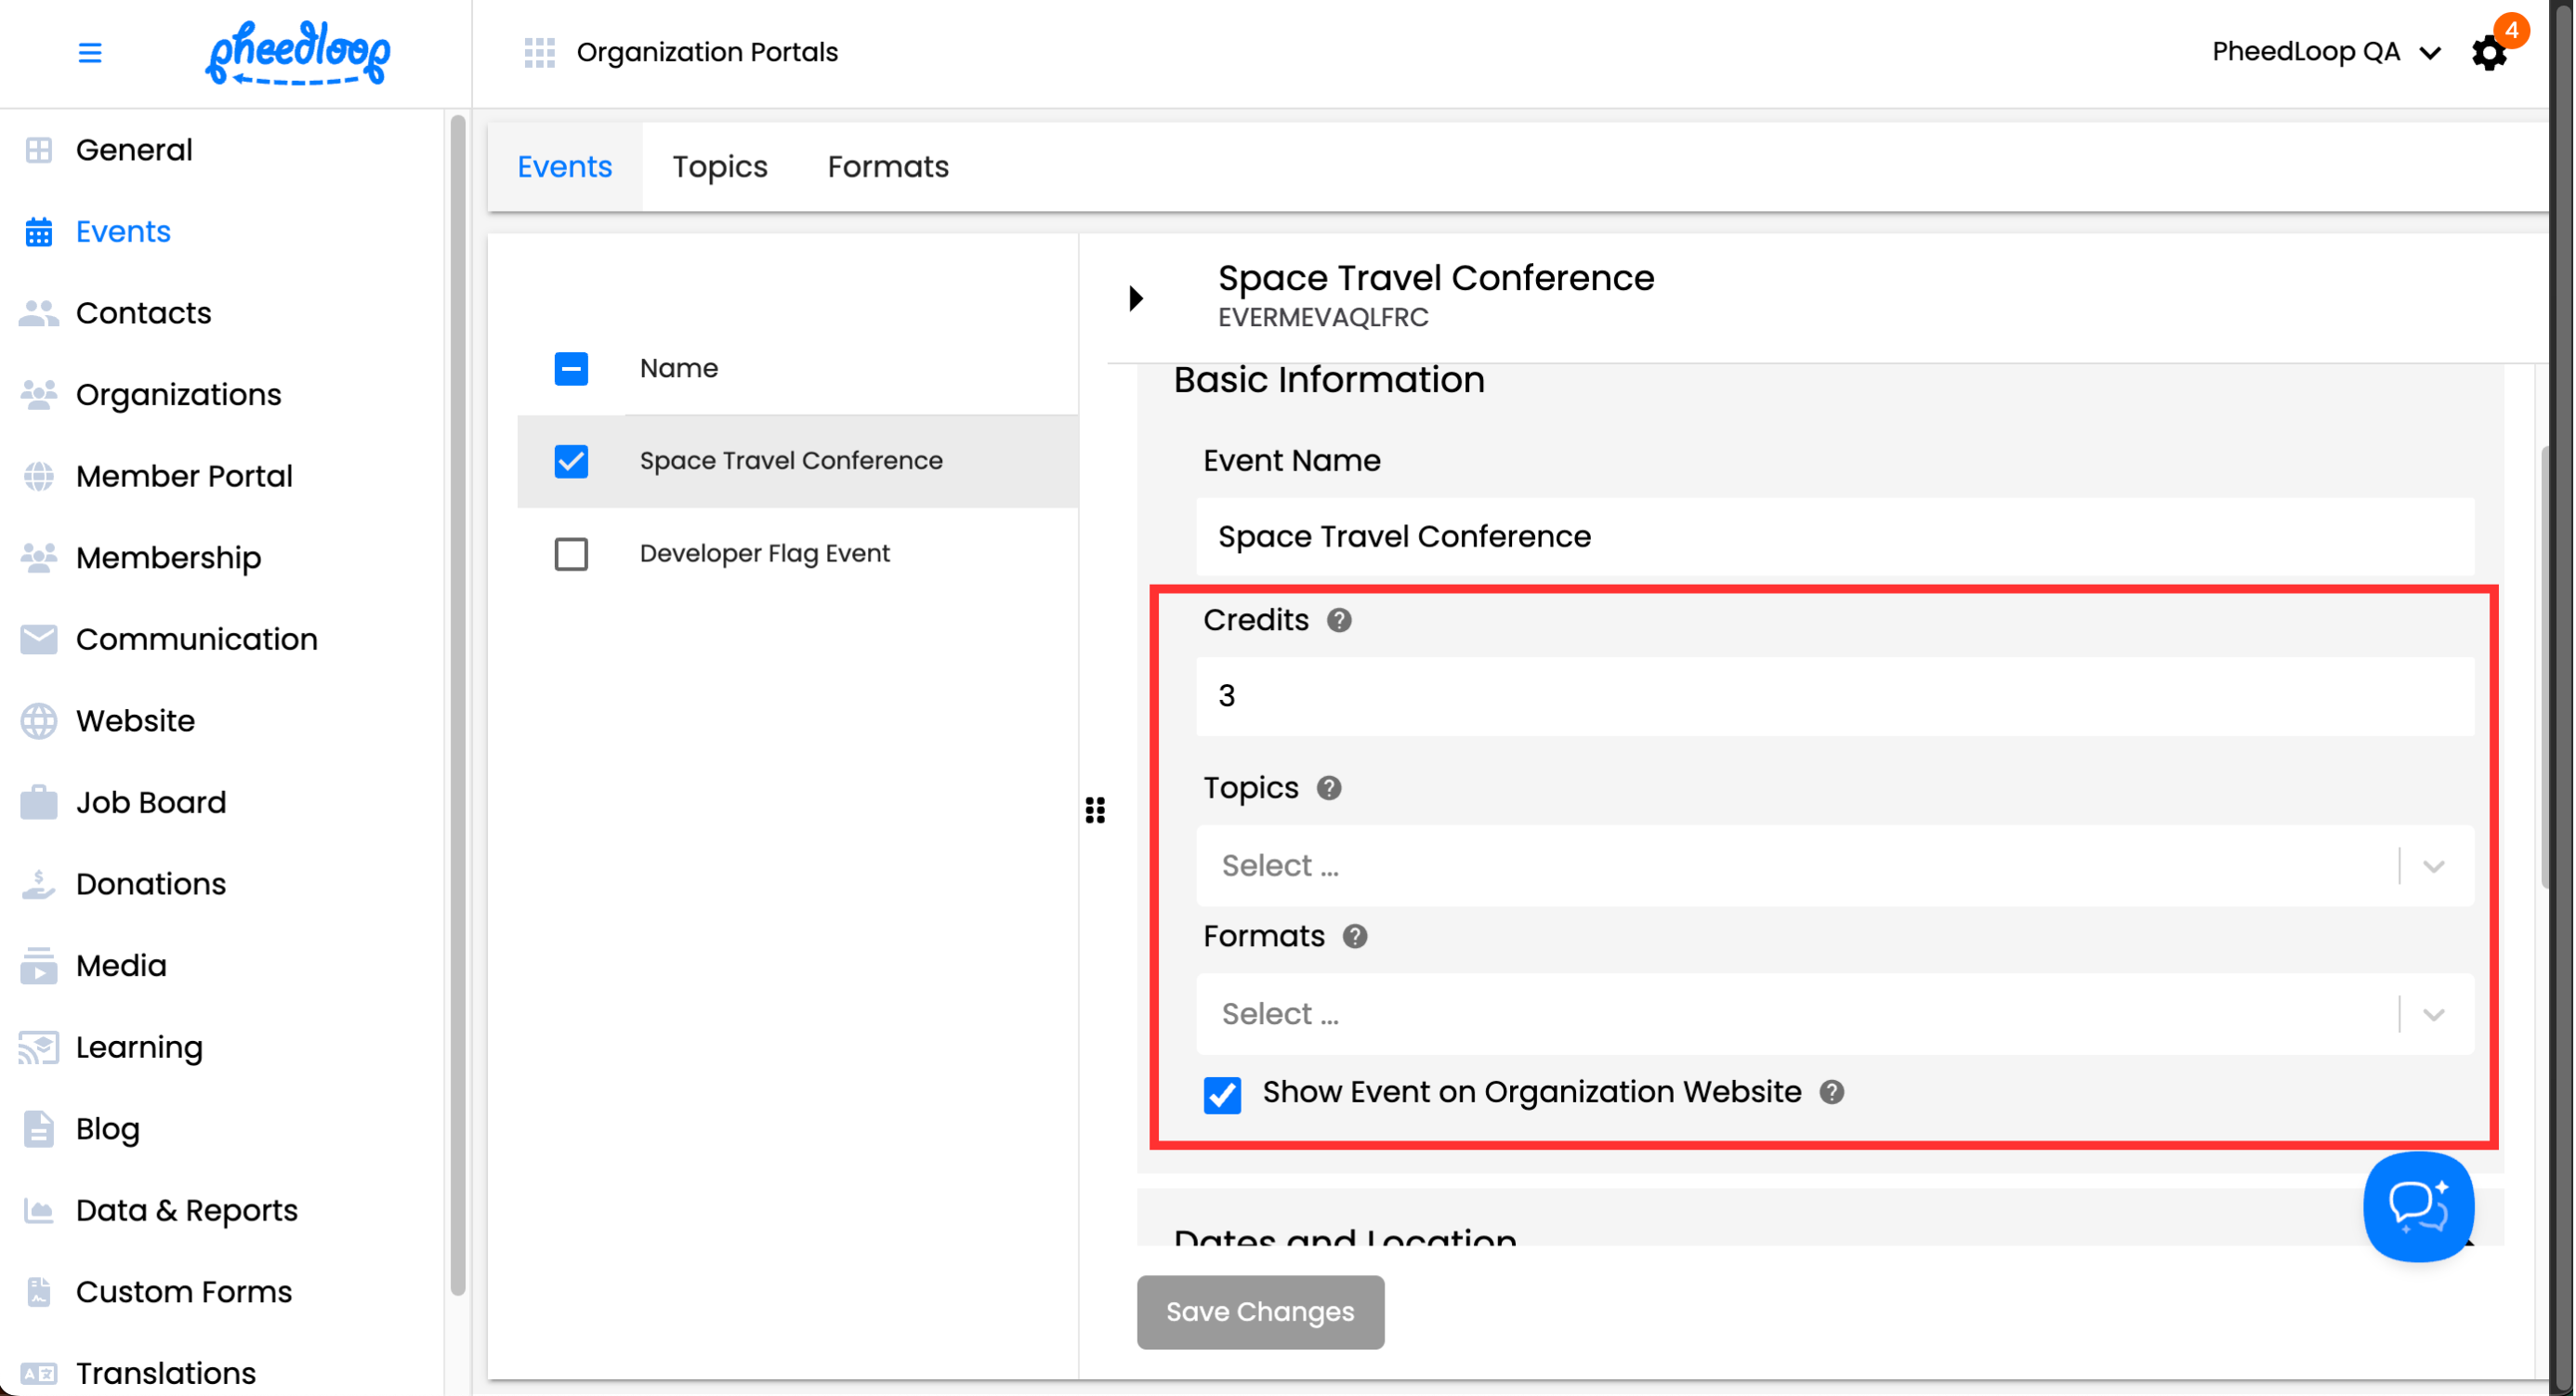
Assigning Topics, Formats, and Credits for Events
Once the Topics and Formats have been created in the Membership Dashboard, they can now be assigned to events on an individual basis. Multiple topics and formats can be assigned to a single event.
- From the Membership Dashboard, navigate to Events > Events
- Select the event you wish to enter
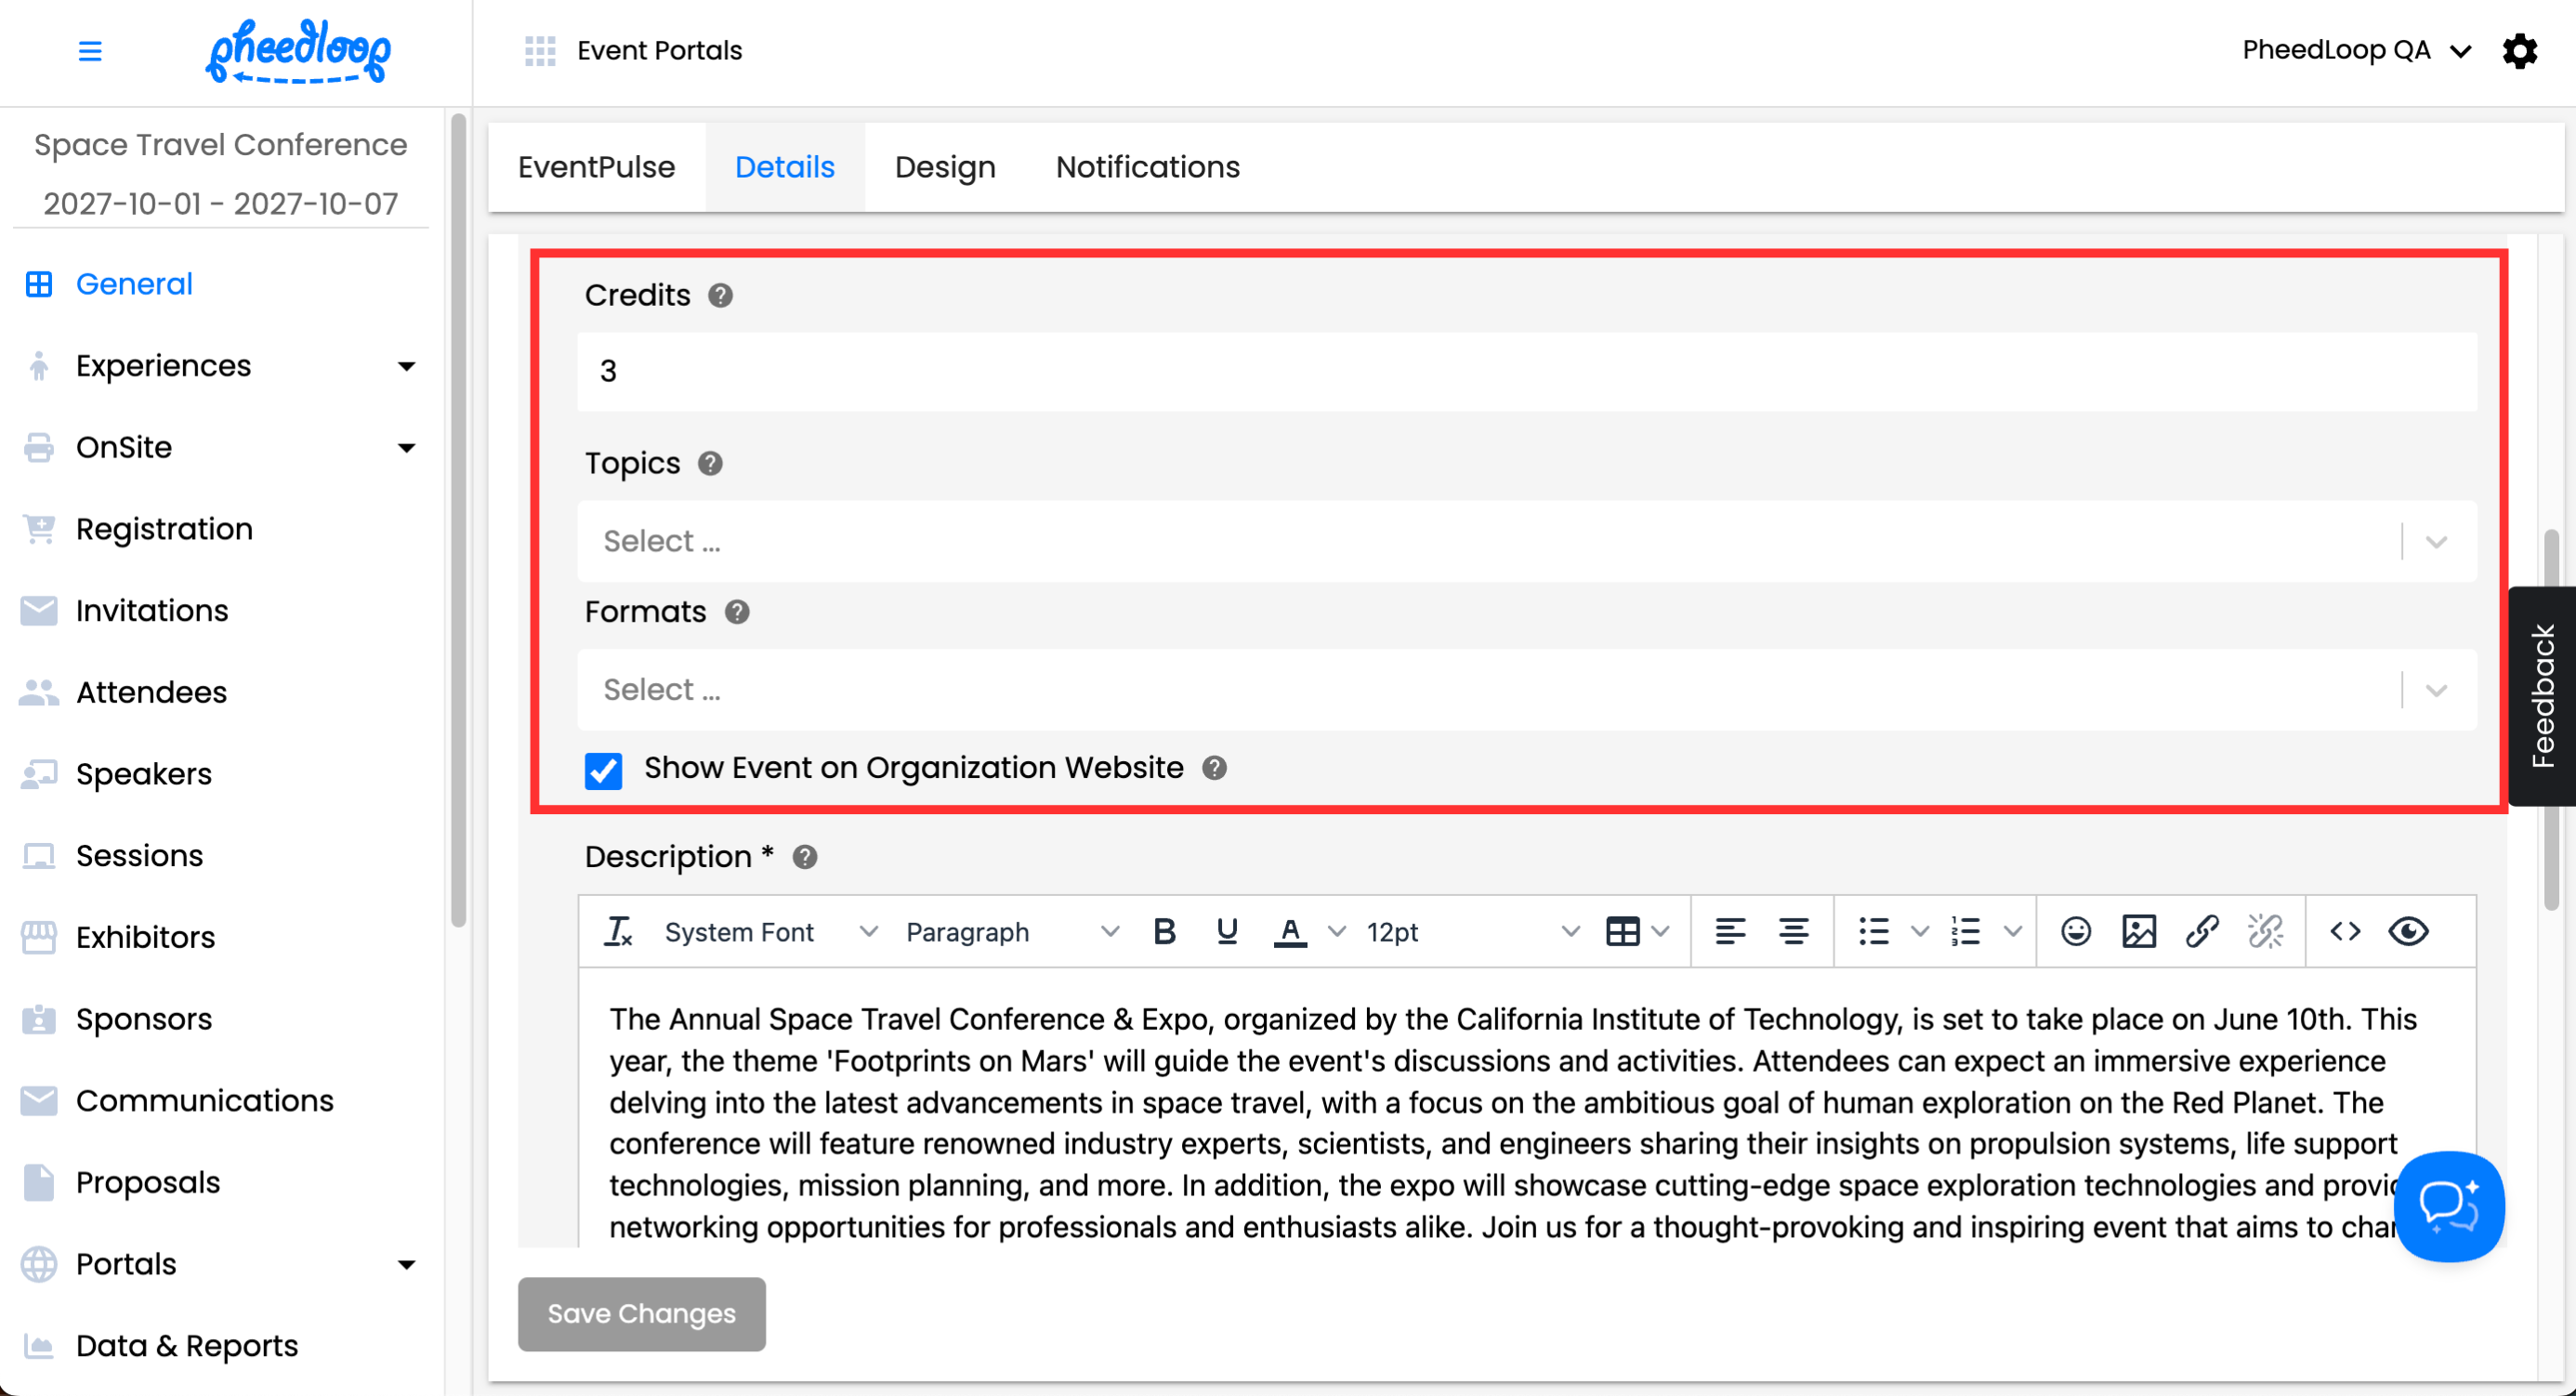
- Under the Credits field, enter the number of credits attendees will receive upon attending the event
- Under the Topics field, select the topics to be assigned to the event
- Under the Formats field, select the formats to be assigned to the event
- Toggle on the Show Event on Organization Website checkbox to display the event in the Organization Website
-
Select Save Changes

Assigning Credits, Topics, and Formats within the Event Dashboard
Credits, Topics, and Formats will appear in the Event Dashboard once assigned in the Membership Dashboard. These items can be reassigned as necessary within the Event Dashboard. Credits, Topics, and Formats will only appear in the Event Dashboard and not in any of the front-end portals for the event.
- From the Event Dashboard, navigate to General > Details
- Scroll down to Basic Information
- Under the Credits field, enter the number of credits attendees will receive upon attending the event
- Under the Topics field, select the topics to be assigned to the event
- Under the Formats field, select the formats to be assigned to the event
- Toggle on the Show Event on Organization Website checkbox to display the event in the Organization Website
-
Select Save Changes