Configuring a custom Email and Website Domain on GoDaddy
Please note use of this feature requires the Whitelabel Domain and/or Whitelabel Email Domain Organization Power-Up.
If your organization has access to GoDaddy and the necessary PheedLoop power-ups, you can easily configure your website and email domains by following the steps outlined in this article. By default, event websites and automated emails will include "PheedLoop" in the URL. However, you can customize this by using a domain provider to set up a unique URL. Once configured, attendees will see your custom domain whenever they visit the event website or receive automated emails, as long as it is registered with GoDaddy.
Buying a Website or Email Domain from a Domain Provider
For custom domains to function, the event administrator must purchase a domain from GoDaddy or another domain provider. They will also need access to their GoDaddy account to edit DNS records. This article assumes that the domain is already set up and ready for use.
Configuring the Website and Email Domain in PheedLoop
Please note, that only one website domain and one email domain can be associated per PheedLoop account.
To Edit the Website Domain
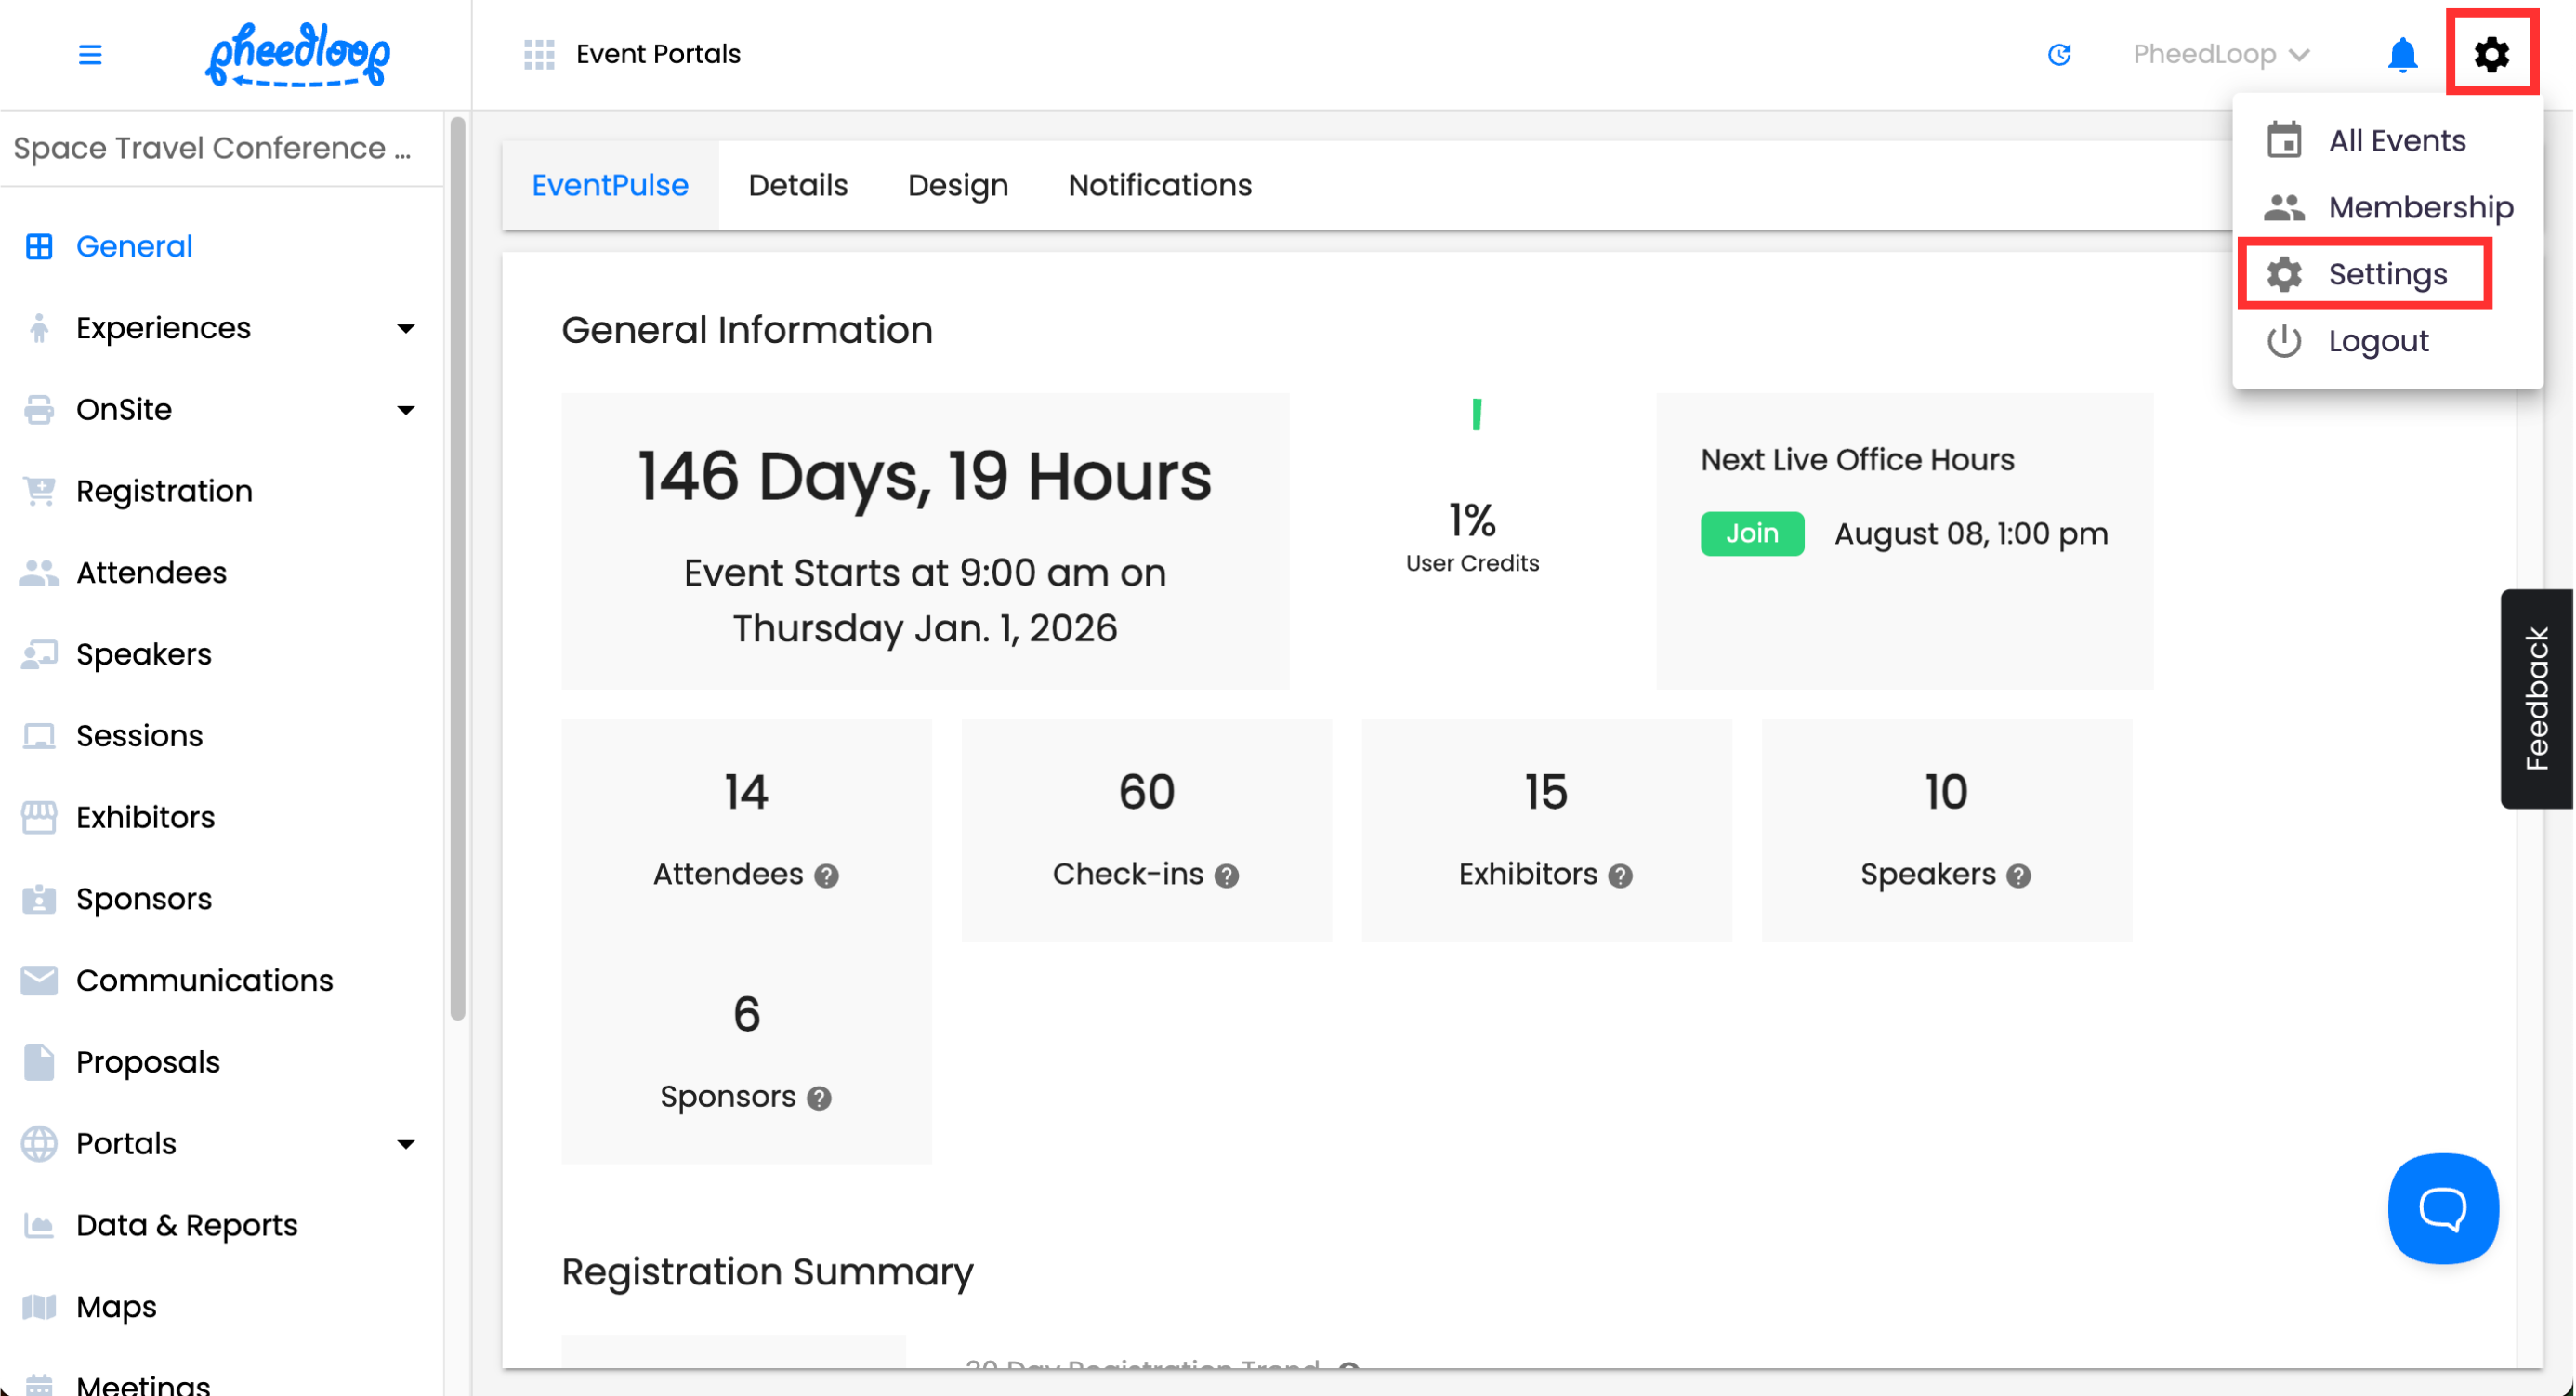
- From the Event Dashboard, select your account email on the top right corner and navigate to Settings
- Navigate to Domains > Website Domain
- Enter the domain URL under Custom Domain. Please ensure you do NOT enter www. in front of your domain.
- Under the Default Event field, select the event you wish for visitors to be redirected to whenever they visit the link
- Select Save Changes
- Select Refresh to receive the CNAME records for DNS

If you would like to undo your Website Domain Configuration, select Remove. Please note, this is not an instantaneous process and will require a few minutes to take effect.
To Edit the Email Domain
Please note, the email domain will always include “no-reply” before the @ sign (e.g. no-reply@example.com)
From the Event Dashboard, select your account email on the top right corner and navigate to Settings

- Navigate to Domains > Email Domain
- Enter the name for your email provider under the Custom Email Username field
- For example, if you put 'info' under this field, the provider will appear as 'info@[domain].com. If there is nothing under this field, it will default to 'no-reply' as the name.
- Enter the domain URL under Custom Domain
- Under the Sender Business Address field, enter your organization's business address in plae of PheedLoop's default header
- Select Save Changes
Select Refresh to receive the CNAME records for DNS
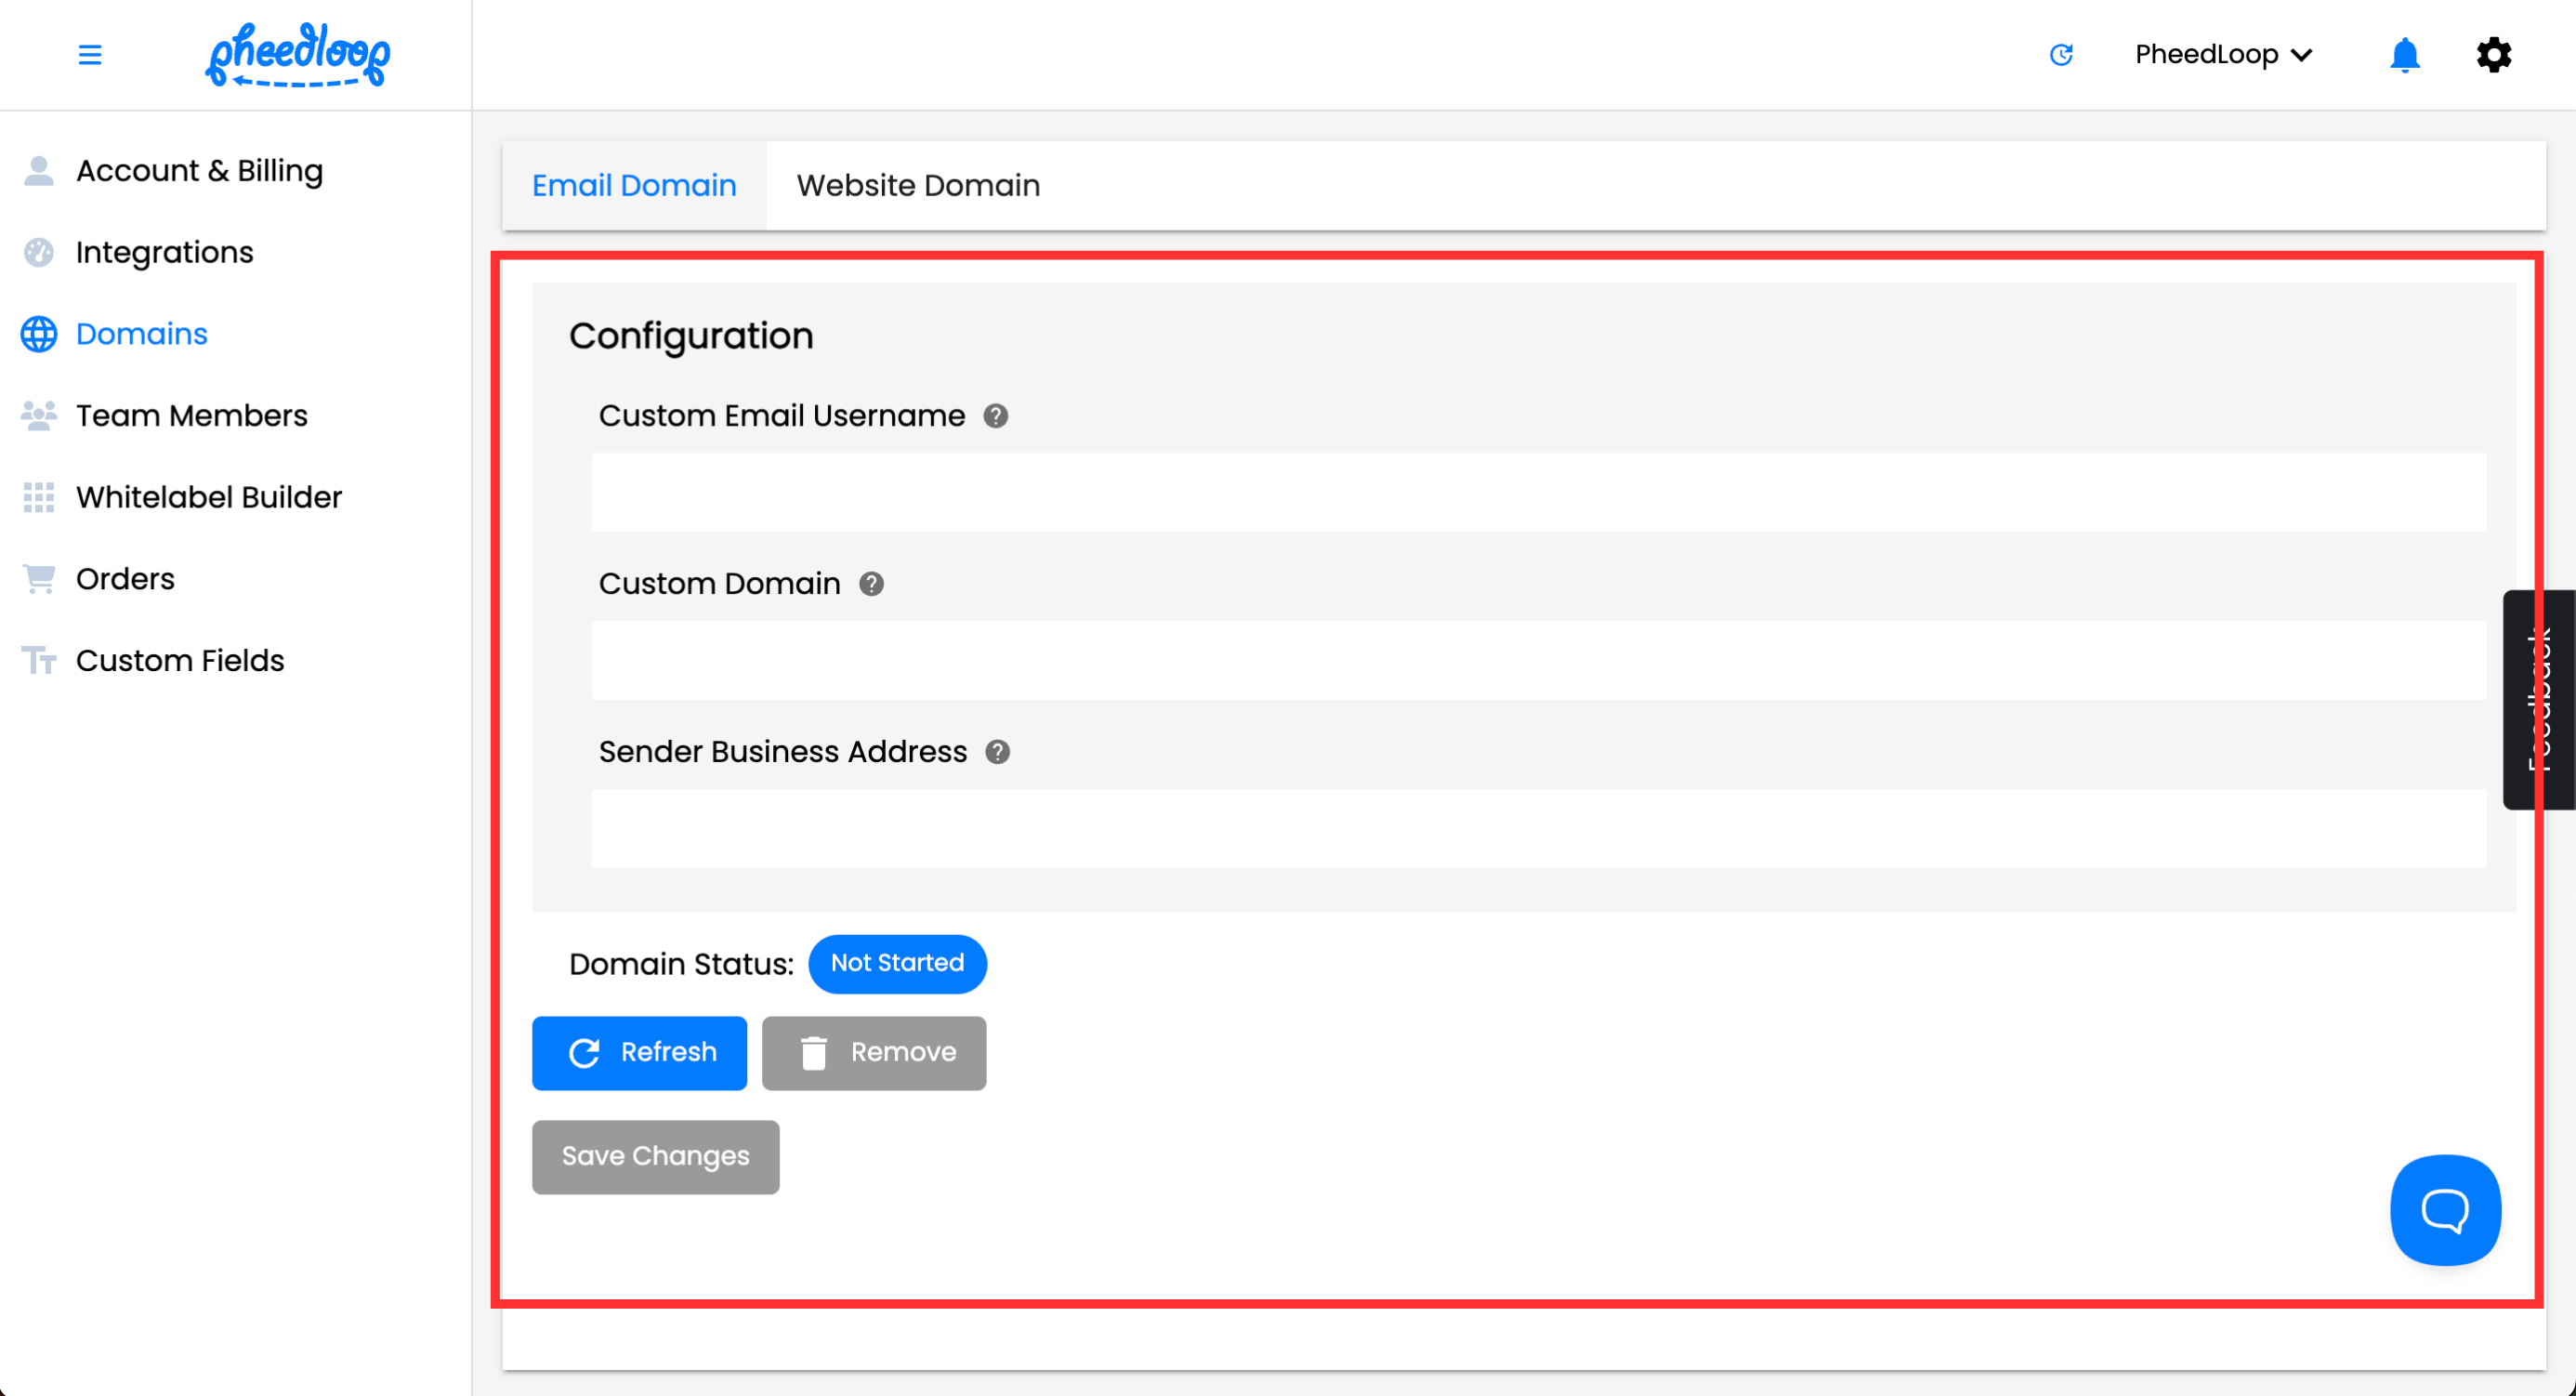

The domain should now update and the Domain Status should read Configured. If no changes are apparent, please select the Refresh button. If you would like to undo your Website Domain Configuration, select Remove. Please note, this is not an instantaneous process and will require a few minutes to take effect.
Setting up DNS Records
Once the domain configuration is successful, a message will appear at the bottom of the page telling you to set the following DNS records on your domain. You will need to copy the CNAME into your domain provider.
The instructions for setting your DNS records are the same whether you are using an Email Domain or Website Domain.
- From the GoDaddy, click on your name on the top right corner and select My Products

- Select the Site you wish to use

- From the Website dashboard, navigate to Domain > DNS and select Add New Records

- Under Type, select CNAME
- Under Name, copy and paste the Record name/host from PheedLoop’s event dashboard
- Under Value, copy and paste the Record value from PheedLoop’s event dashboard
- Select Save

Domain changes can take a few minutes to configure. Once done, the Domain Status should read Complete.
Testing your Email Domain
To confirm this works, we recommend sending out a test announcement. If everything is set, the email domain should now appear instead of the standard no-reply@pheedloop.com email. For instructions on how to send out an announcement, please review our Customizing Sending and Automating Announcements article.
Testing your Website Domain
To confirm your new domain works as intended, we recommend visiting the URL. Once entered, it should take you to the Event Website. In addition, custom domains can be used to reach the Sponsor Portal, Exhibitor Portal, and anywhere else that uses the site.pheedloop.com domain.
- From your Portal, copy the Path past your domain name
- Enter your Custom Domain on your address bar
- Hit Enter on your keyboard