Setting Up Membership Bundles
Just as Attendees can register for an event, members can purchase a membership organization through PheedLoop’s organization website. To purchase, the user will need to purchase a Membership Type at checkout. For instructions on how to create membership types, please review our Getting Started with Membership Management article.
Along with Membership Types is the option to create Membership Bundles which are a collection of Membership Types that users can purchase. This minimizes the number of clicks needed to purchase several Membership Types.
To create a Membership Bundle
- From the Membership Dashboard, navigate to Membership > Bundles
Above the Bundles table, select Create
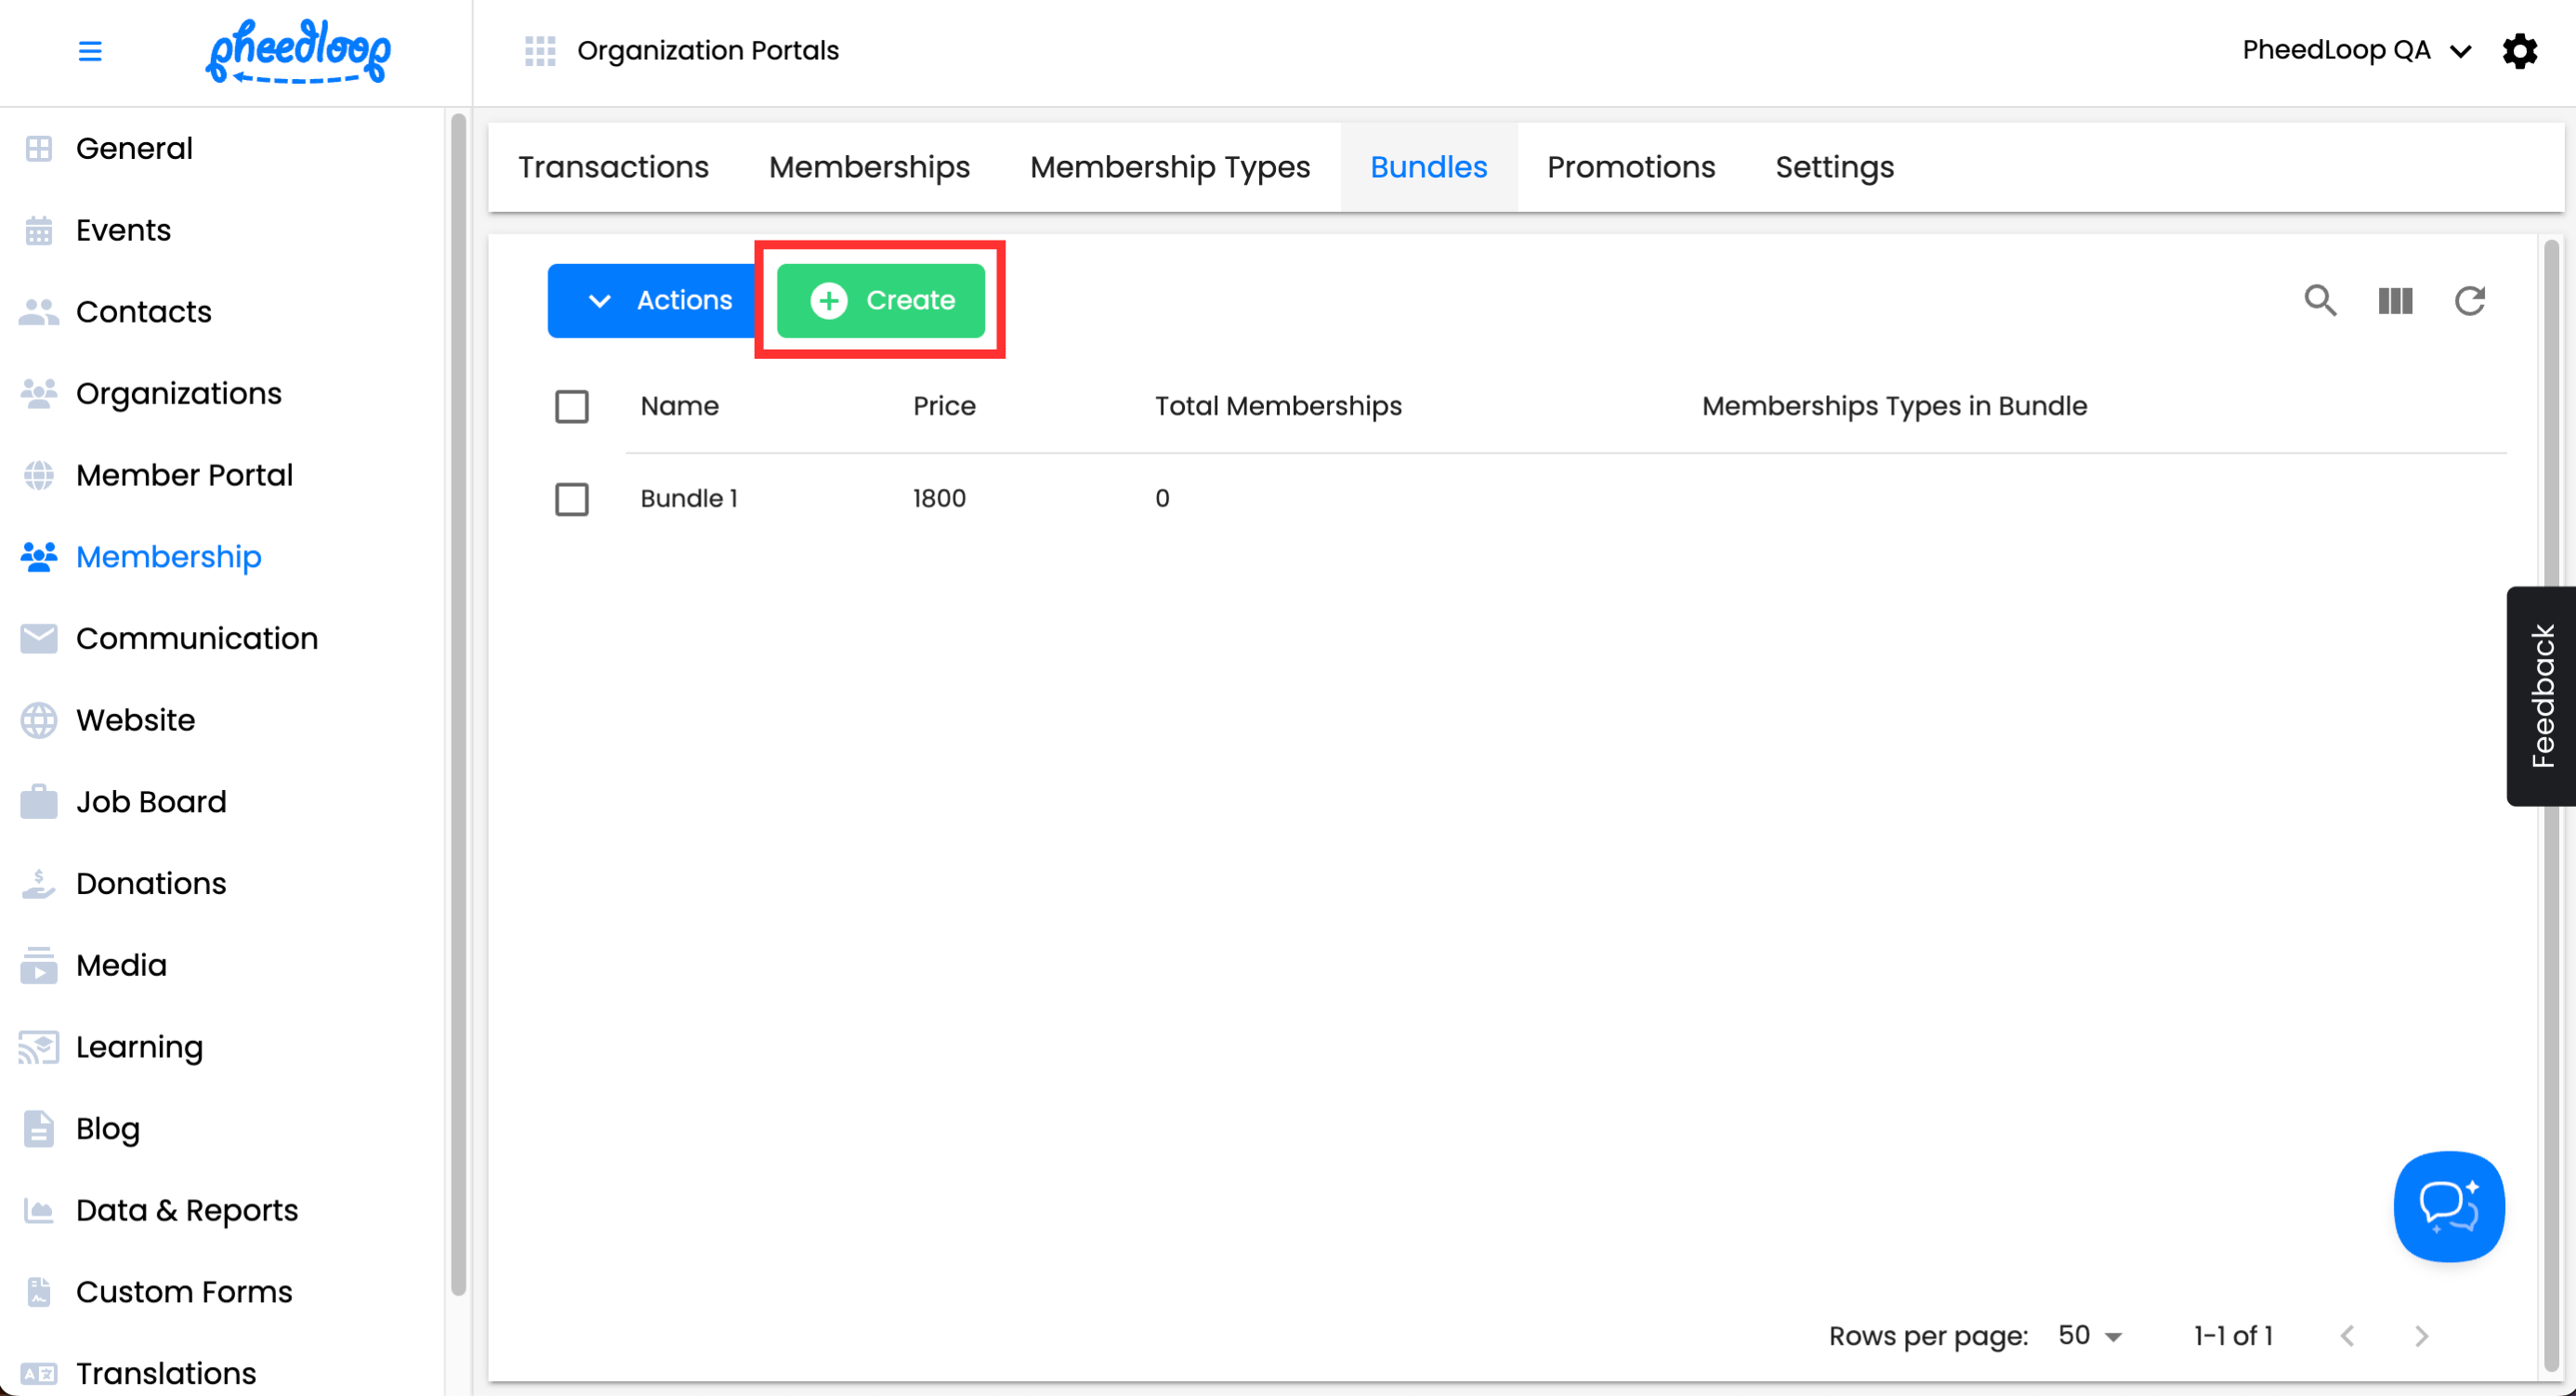

You will now be taken to the editor form for Membership Bundles. Only the Name and Price fields are necessary
Details

| Setting | Description |
|---|---|
| Name | Enter the name of your bundle. |
| Price | Enter the price of your bundle. |
| Thumbnail | Click Choose File to upload an image representing your bundle. |
| Expiry Date | Enter the date the bundle will expire. |
Privacy

| Setting | Description |
|---|---|
| Protected Membership Bundle | Toggle this on to hide the bundle from the registration process. |
| Access Link | After saving with Protected Membership Bundle enabled, a button called Access Link will appear. Click it to copy the URL, which can be shared with members to make the bundle available for purchase.
|

Availability

| Setting | Description |
|---|---|
| Start Date | Enter the date when the bundle becomes available for purchase. |
| End Date | Enter the date when the bundle will no longer be available for purchase. |
| Start Time | Enter the time when the bundle becomes available for purchase. |
| End Time | Enter the time when the bundle will no longer be available for purchase. |
| Lock Selection at Checkout | Toggle this on to make the bundle visible at checkout but not purchasable. |
Once configured, select Save Changes to create your Bundle.
Adding Membership Types into the Membership Bundle
Once your Membership Bundle is created, you can now add the desired Membership Types to go along with the Membership Bundle.
- From the Membership Dashboard, navigate to Membership > Bundles
- Select the Membership Bundle you wish to edit
- Navigate to the Bundle Packages tab
Select Add New Package for each Membership Type you wish to add to the bundle

- Under the Membership Type field, select the Membership Type you wish to include as part of the bundle
- Under the Quantity field, enter the number of copies the bundle will include
- Select the Assign to Purchaser checkbox to assign the Membership Type(s) to the purchaser
Select Save Changes
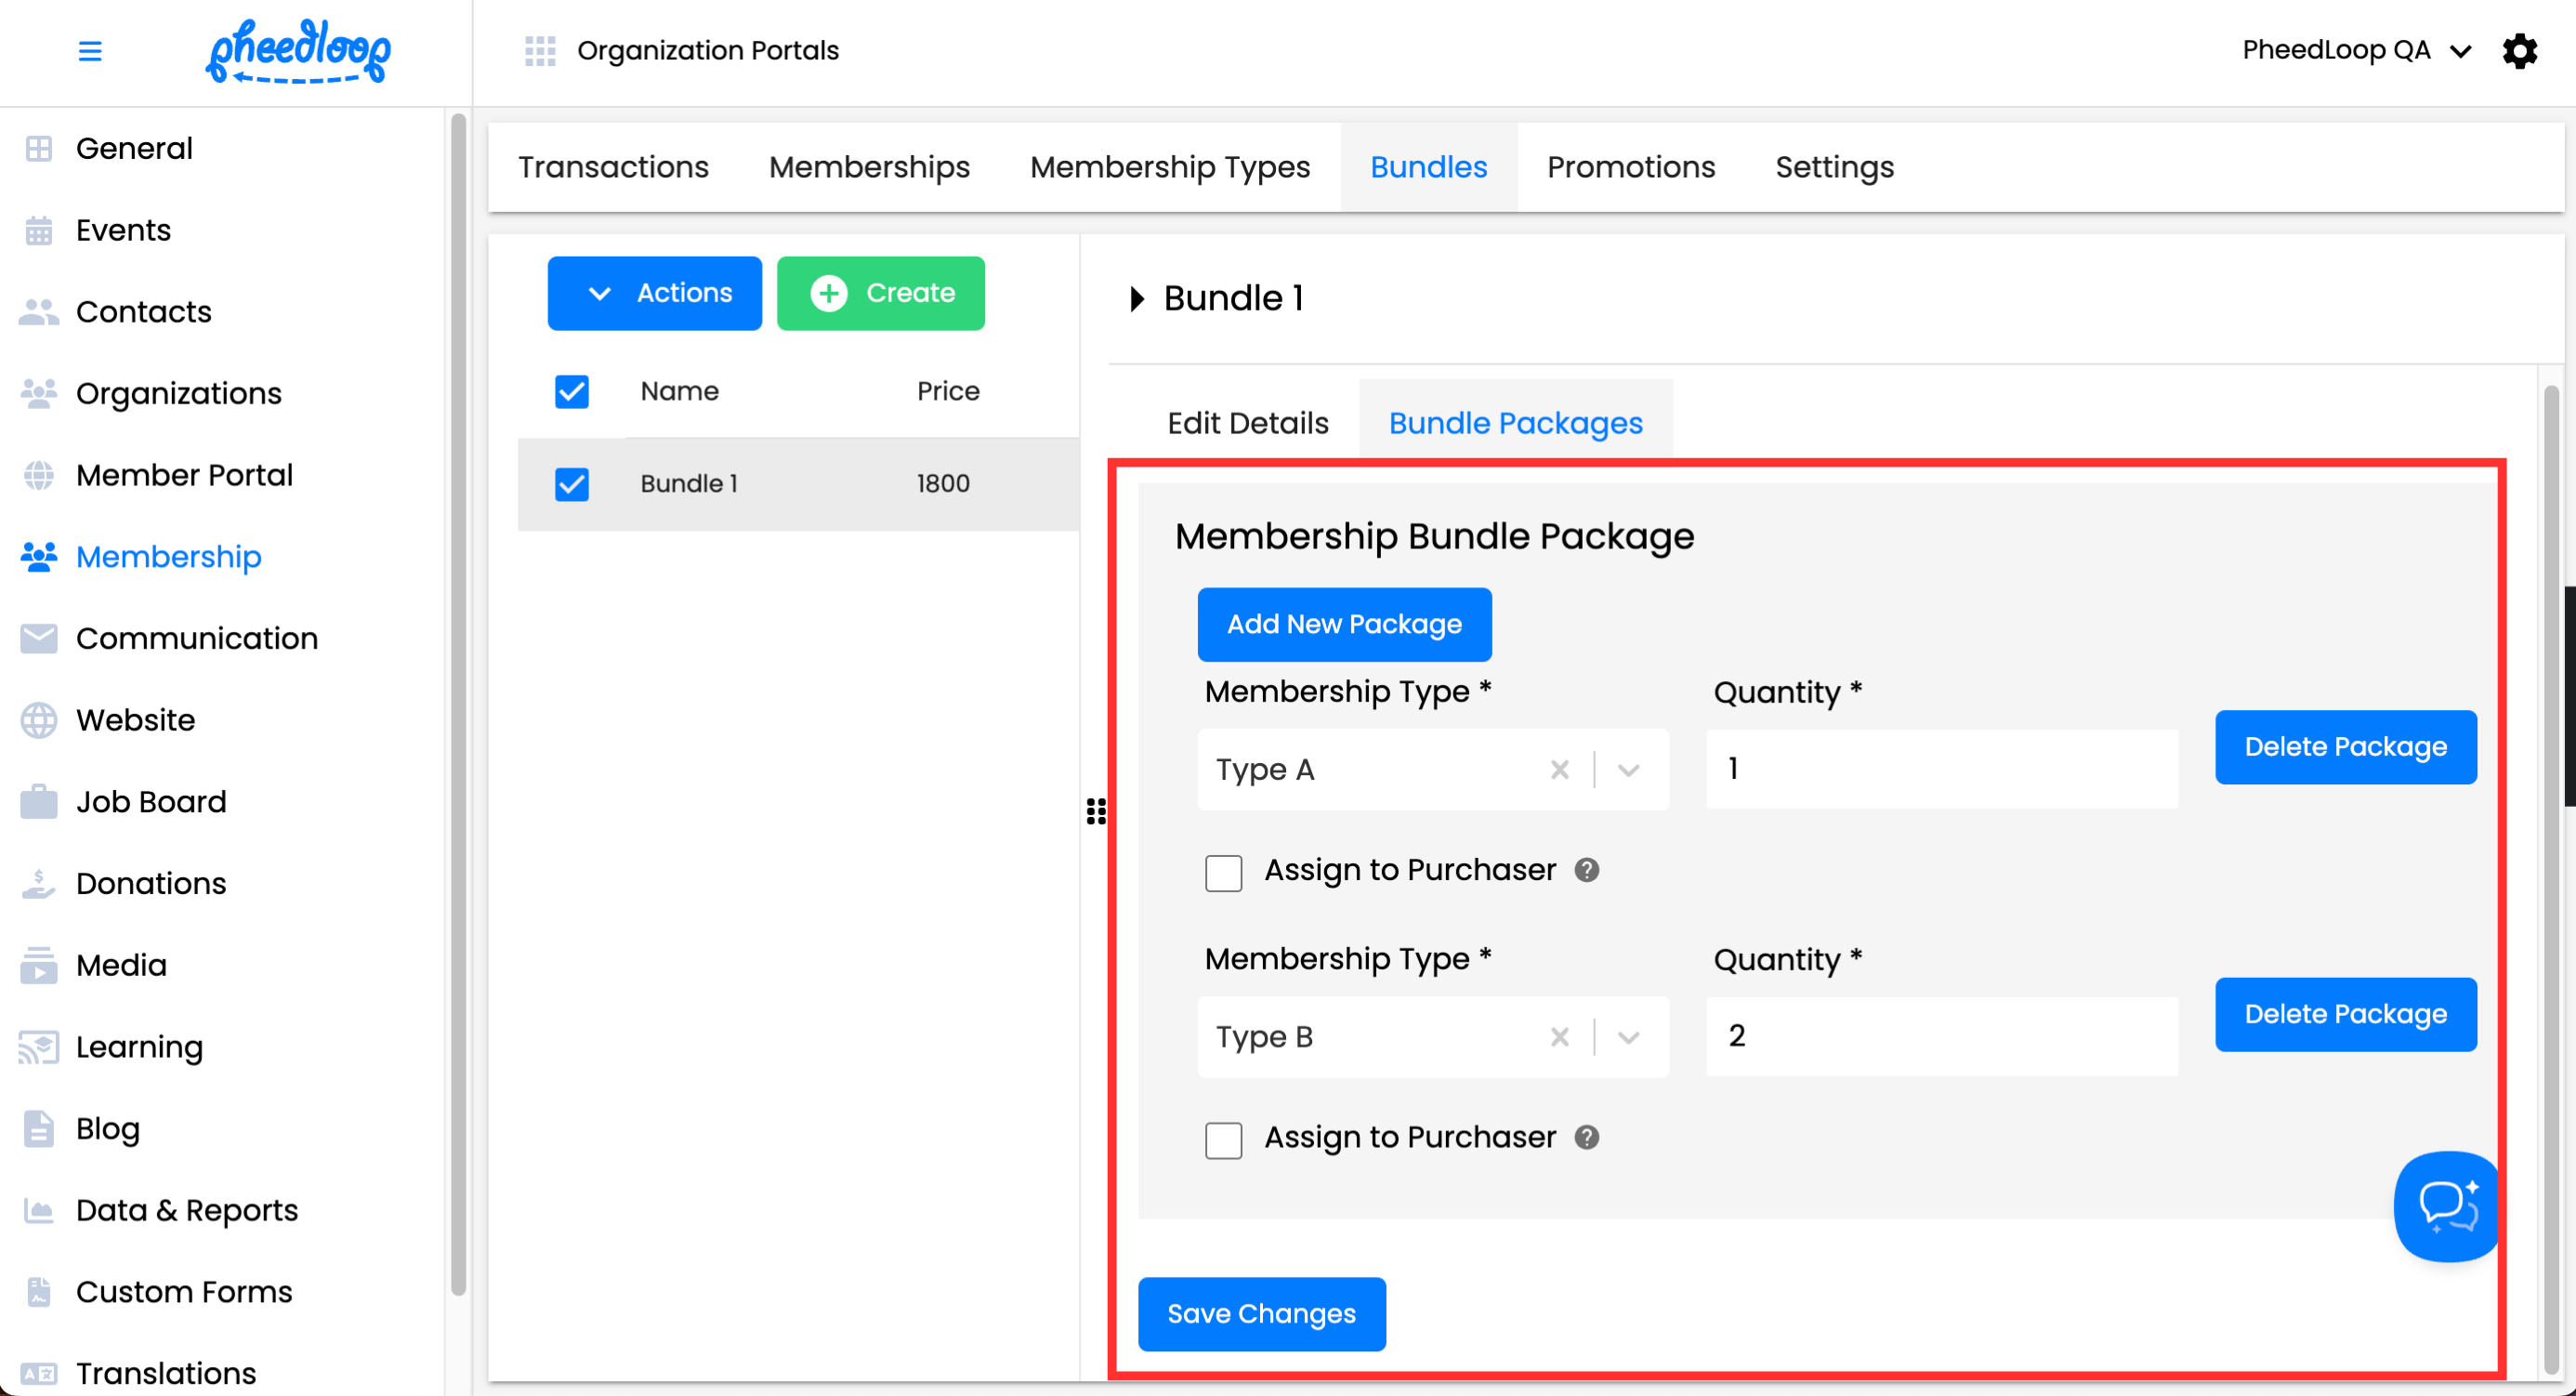


The Membership Types will now be included as part of the Membership Bundle. If you have made a mistake or otherwise changed your mind on a Membership Type, you can remove it by selecting Delete Package.
Deleting Membership Bundles
Membership Bundles can be deleted at any time if they are no longer necessary.
- From the Membership Dashboard, navigate to Membership > Bundles
- Above the Bundles table, select Actions > Delete
Select Confirm


Pulling Data for Membership Bundles
Tracking what Attendees have purchased can be easily done through our Custom Reports feature.
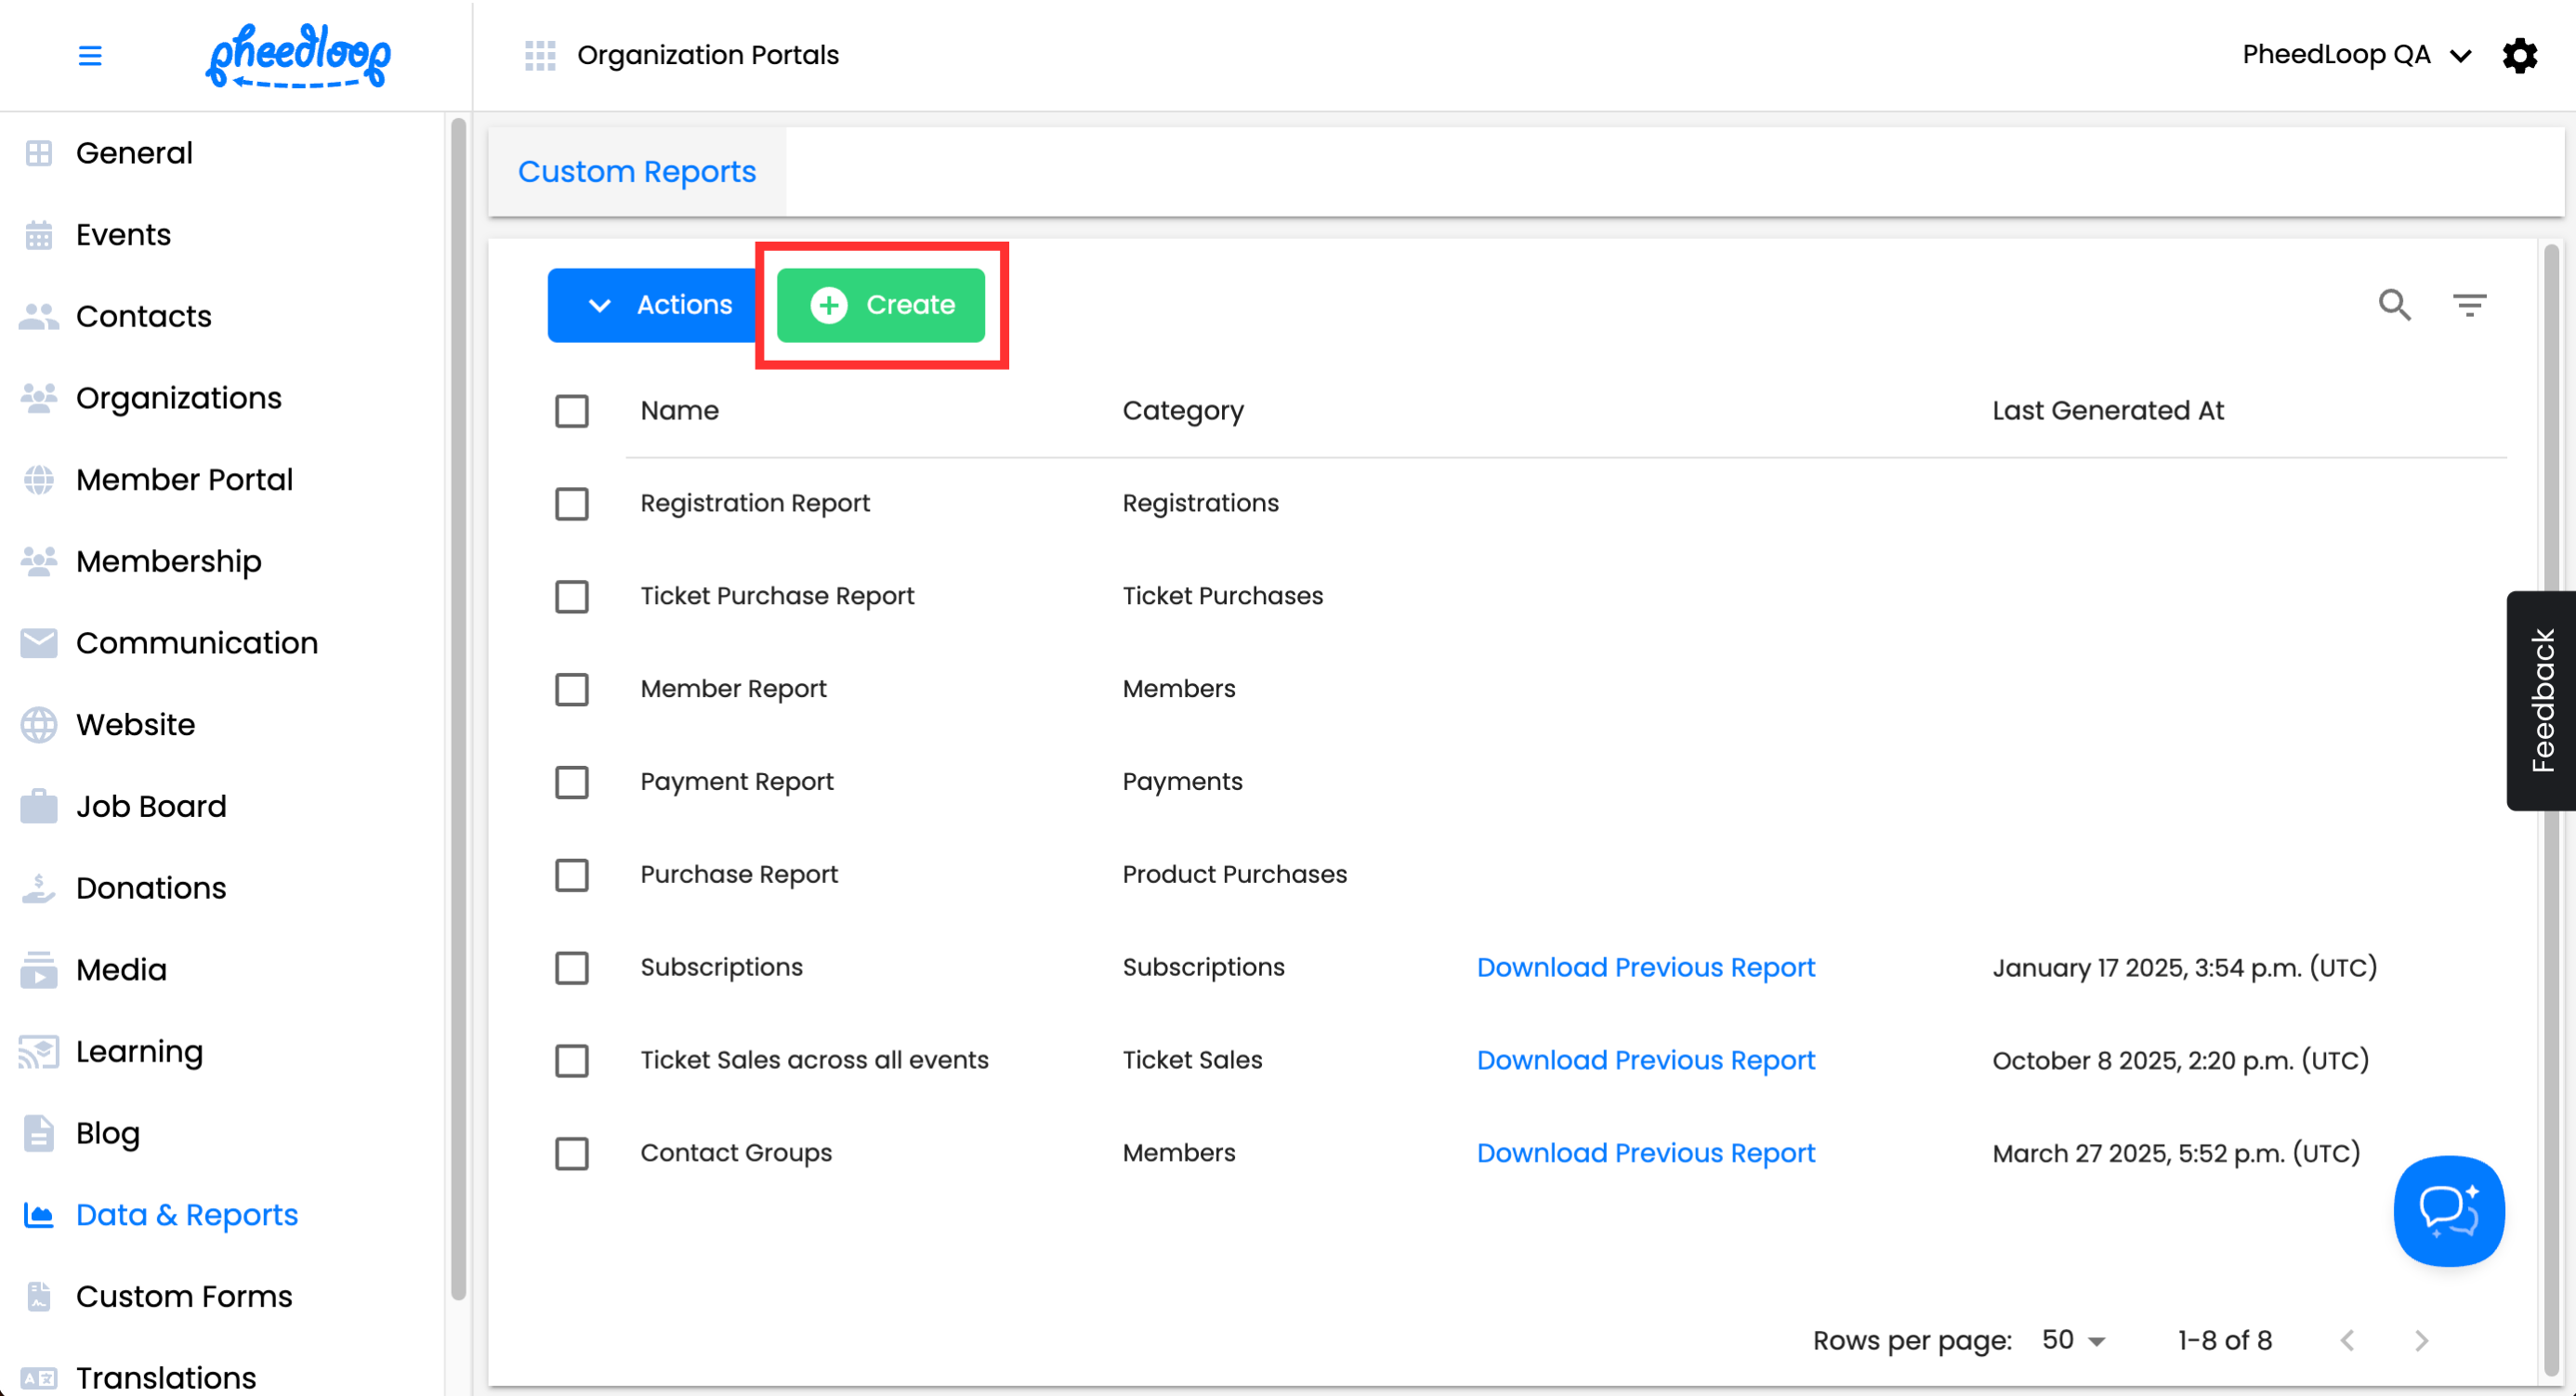
- From the Membership Dashboard, navigate to Data & Report > Custom Reports
Above the Custom Report table, select Create
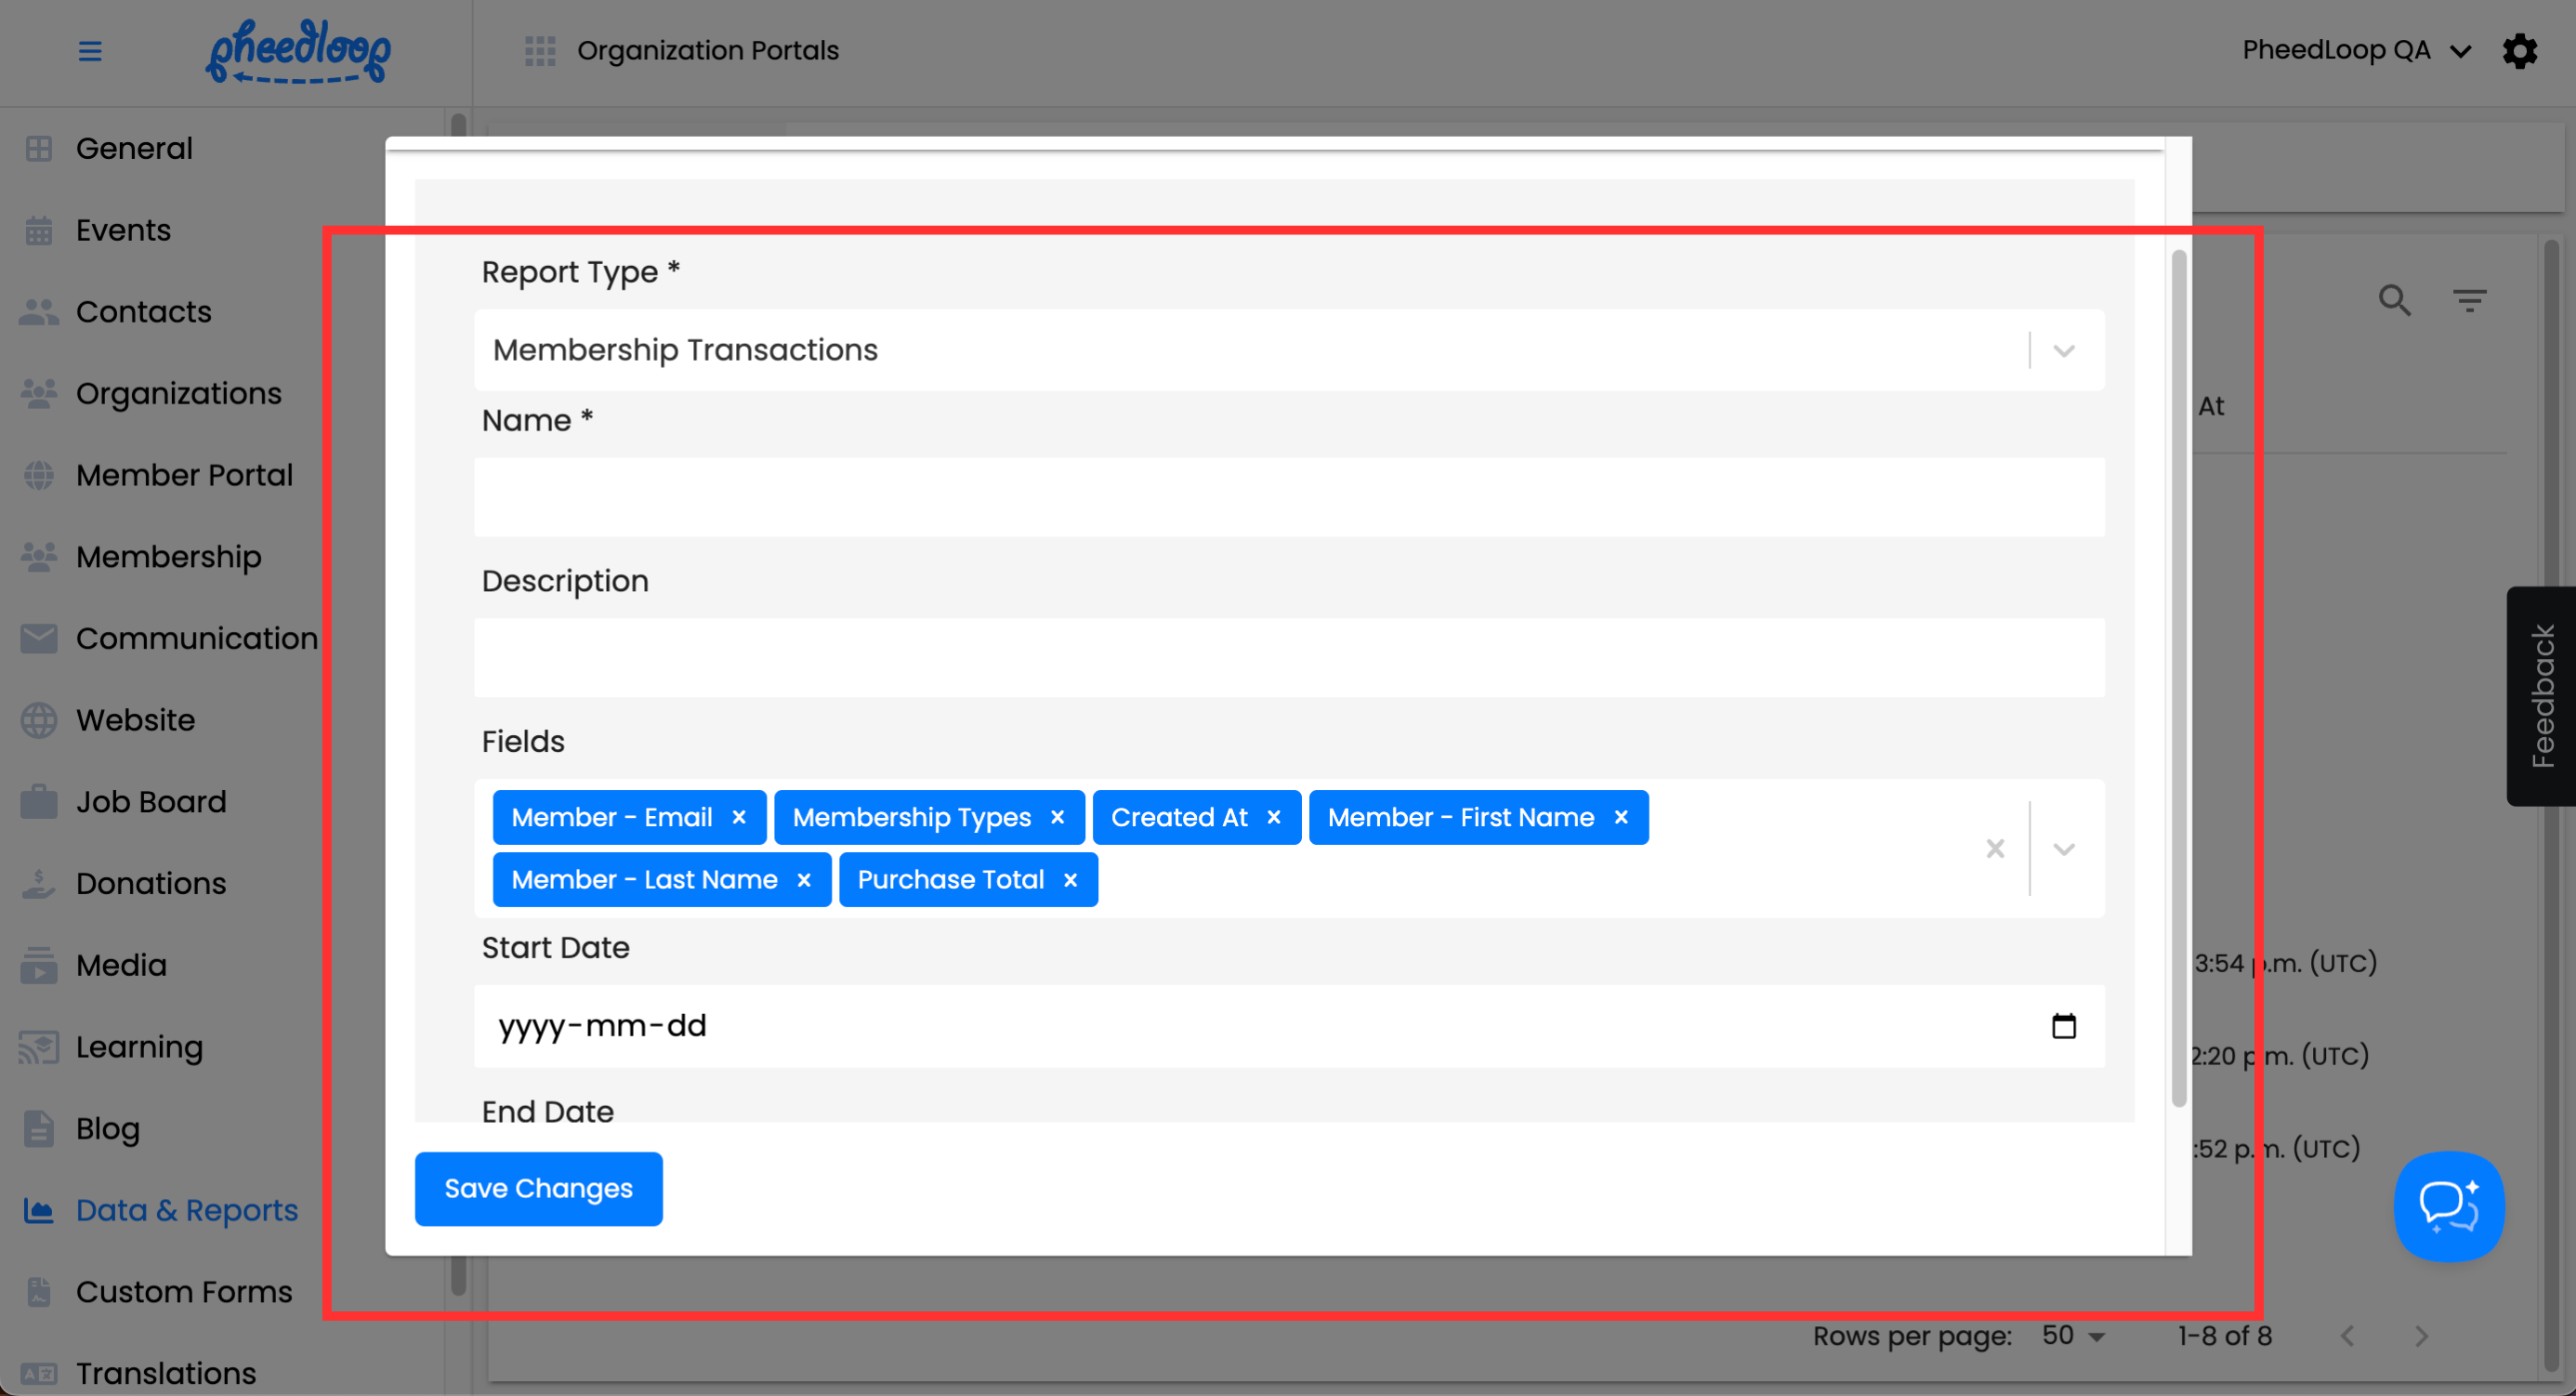
- Under the Report Type field, select Membership Transactions
- Under the Name field, enter the name for your report
- Under the Description field, optionally enter a description or leave this field blank
- Under the Fields field, we recommend including the following along with any other field you may be interested in
- Member - Email
- Membership Types
- Created At
- Use the Start Date and End Date fields to
Select Save Changes


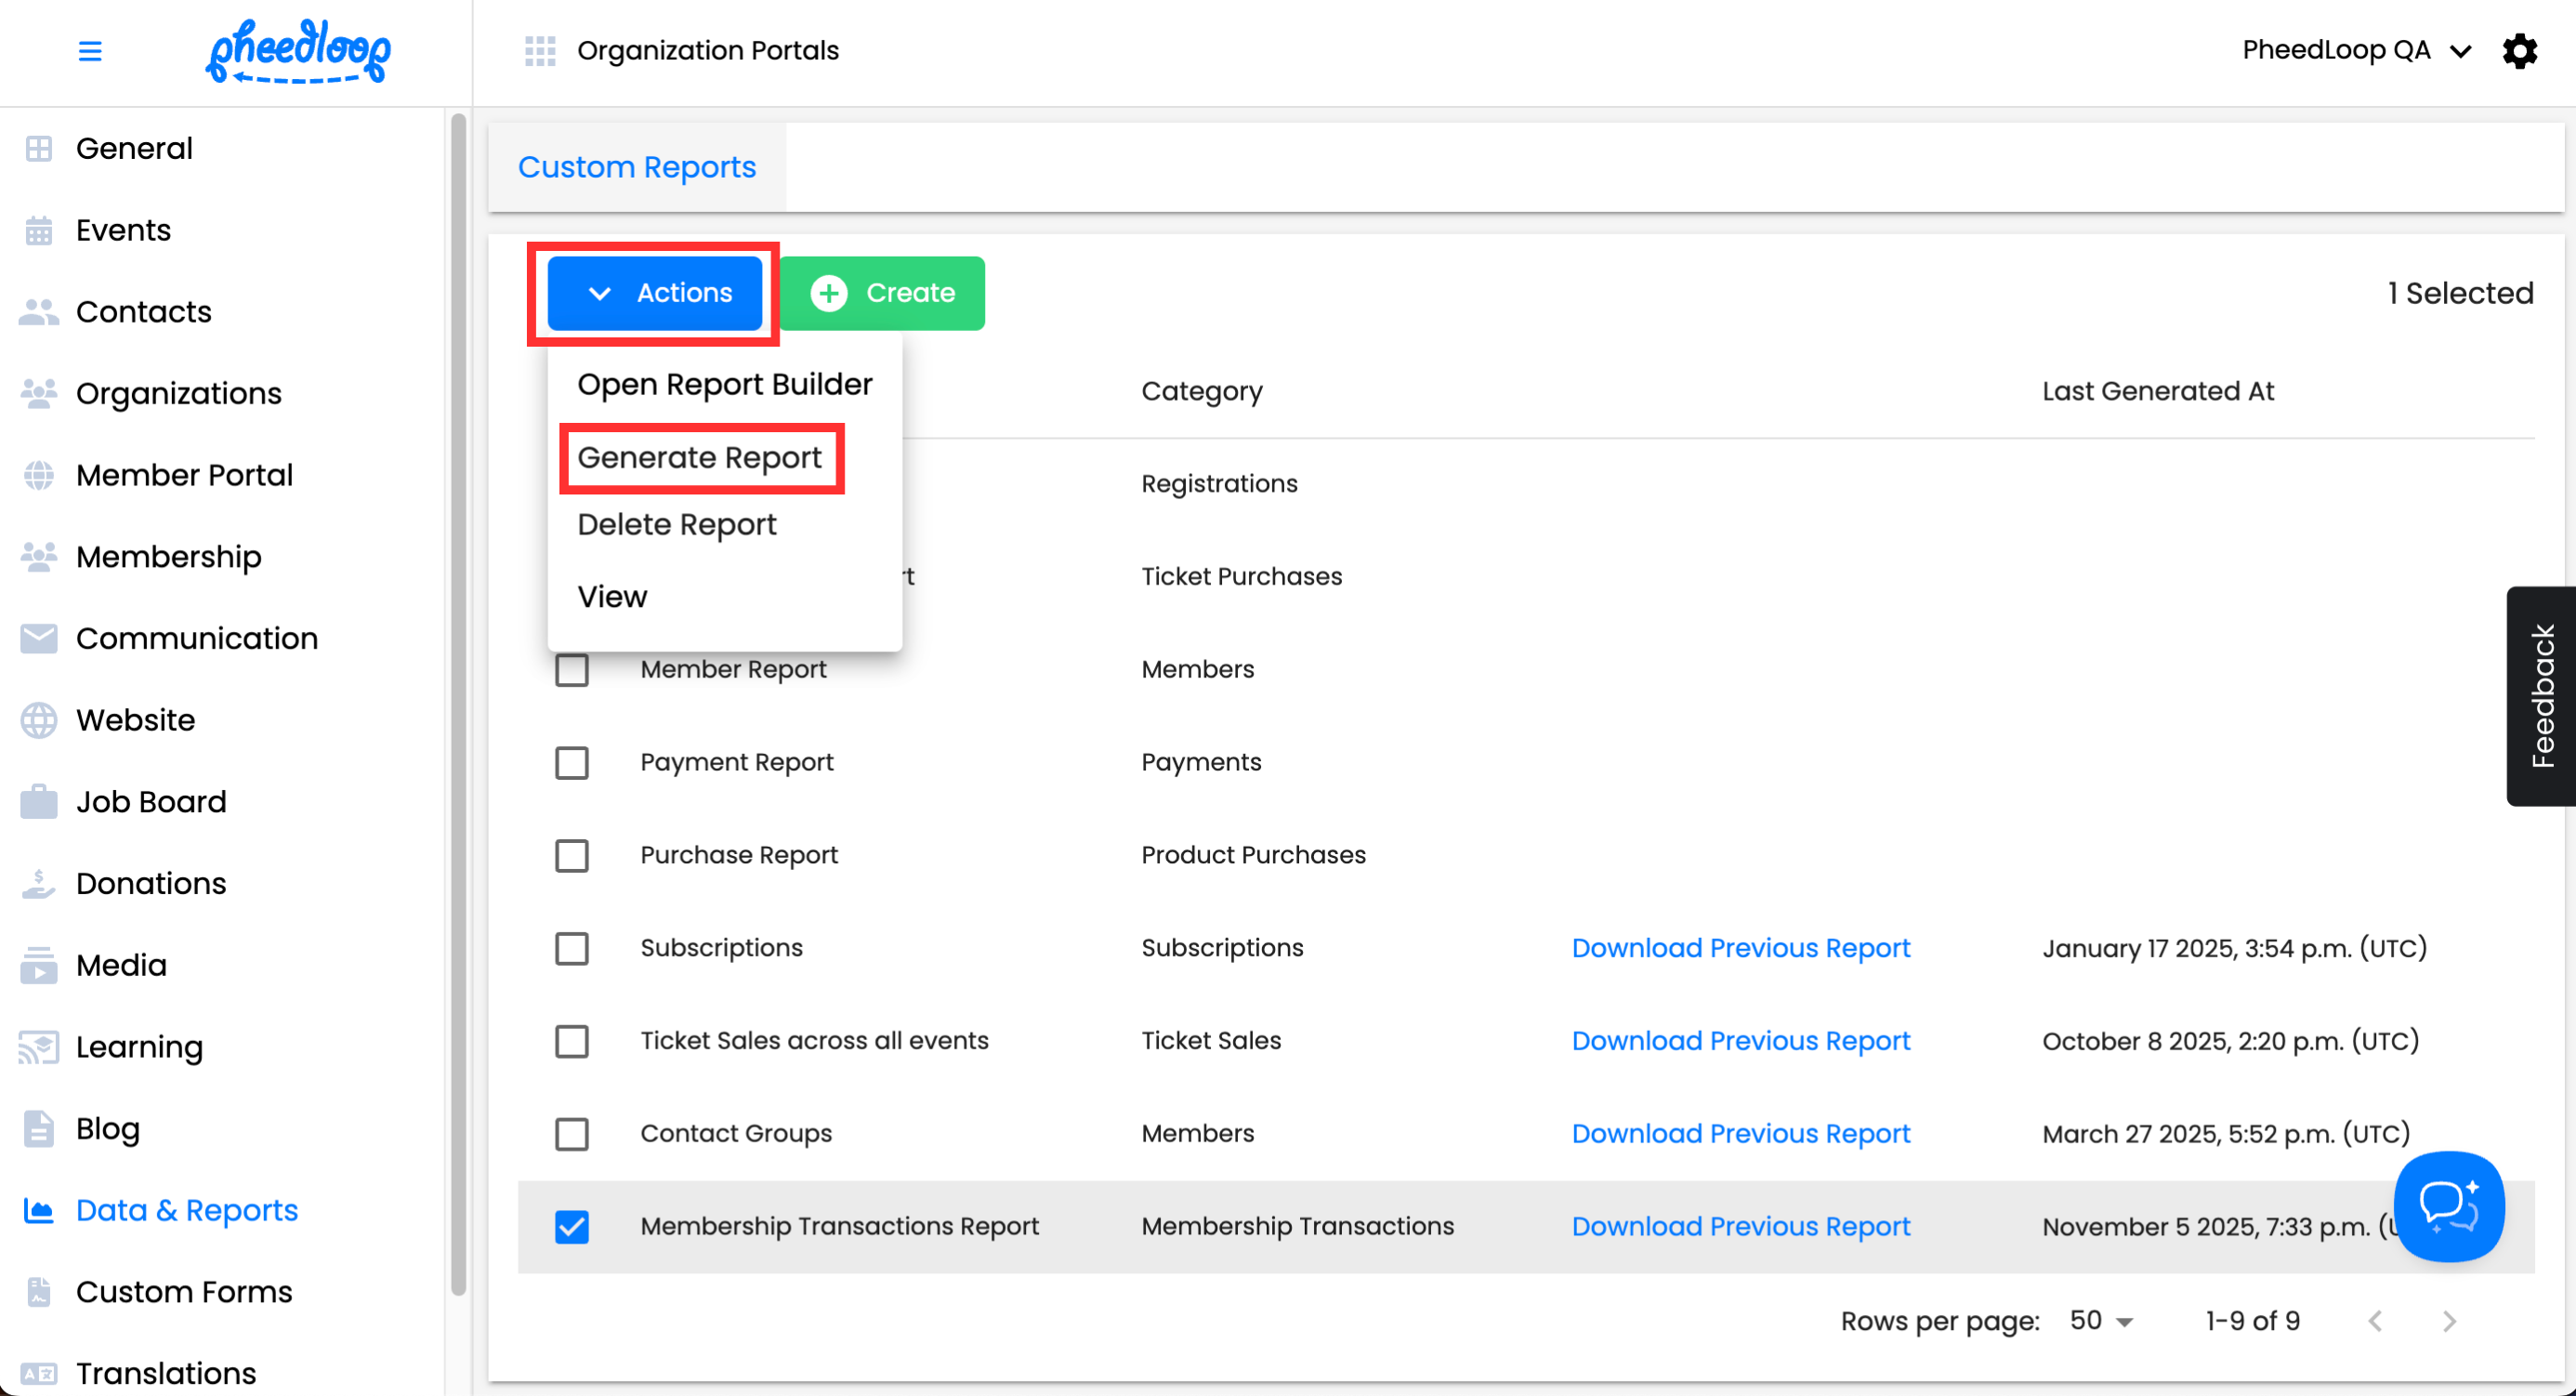
Now that your report is created, you can generate the report and export it for further analysis.
- From the data table, select the newly created report and click into the Actions > Generate Report
Alternatively, you may click into the View button to view the report inside of the dashboard.
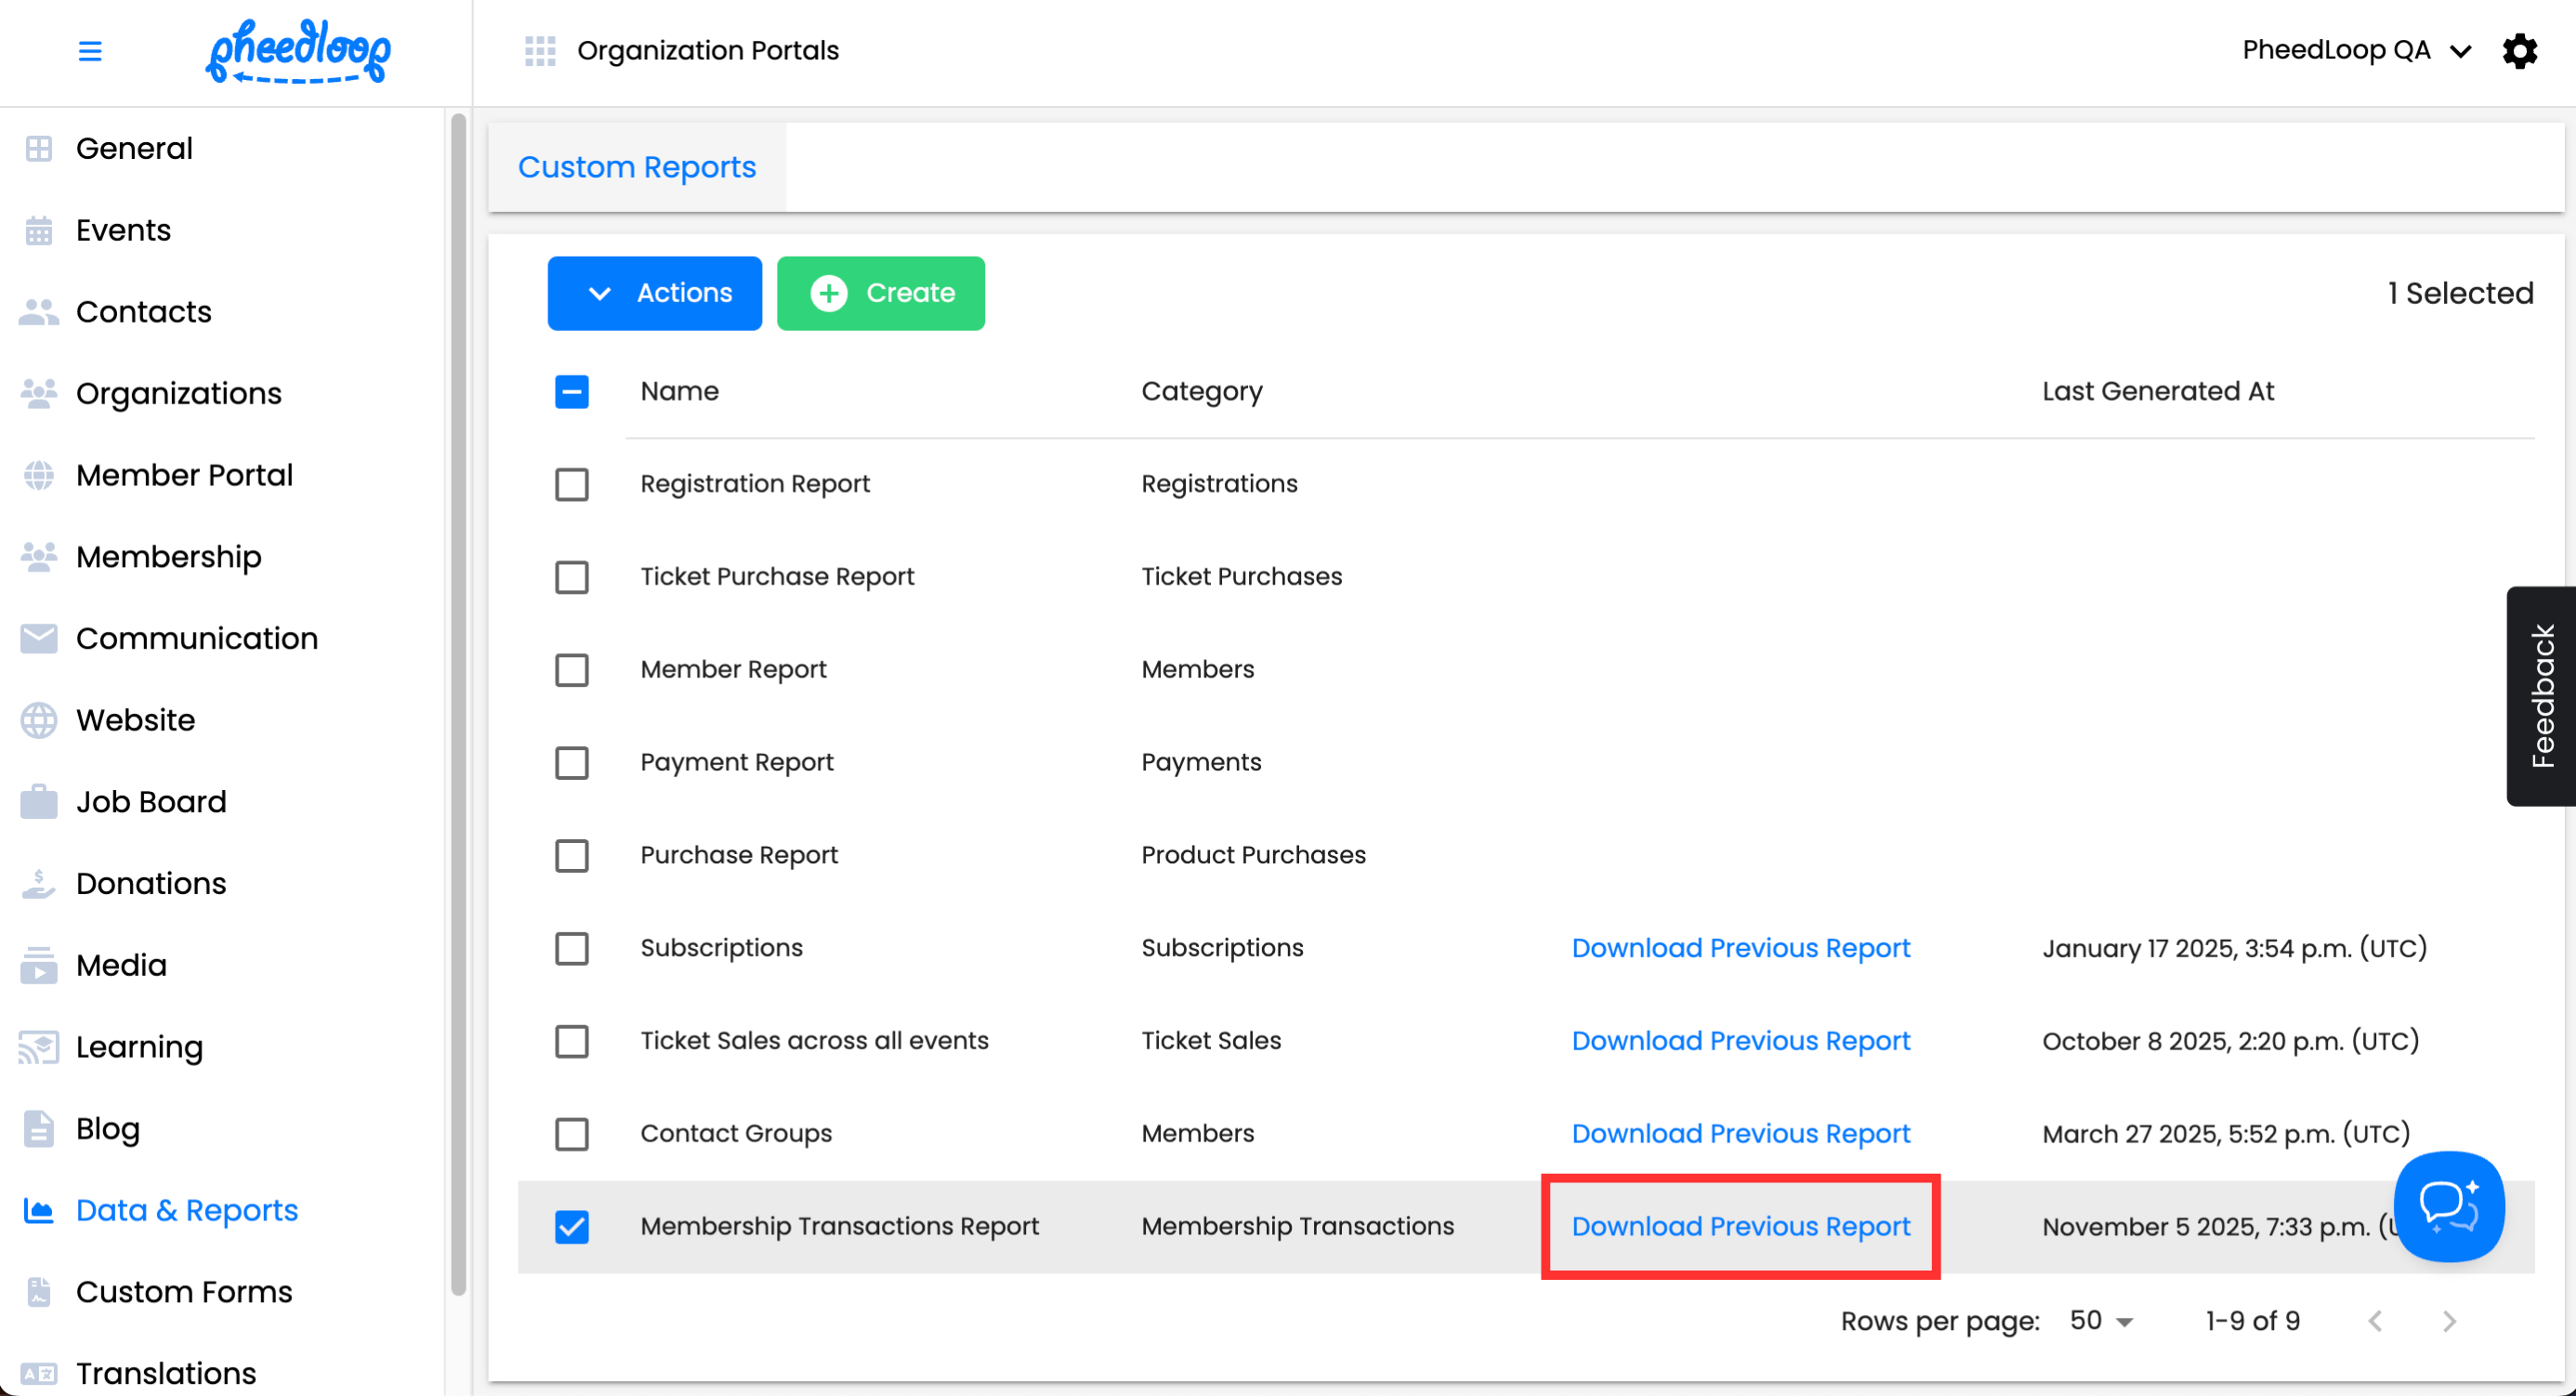
The report will automatically download in your browser. Additionally, a Download Previous Report button will be visible once the report is ready. You can always click back into this button to download the last generated version of this report.


If you would like to learn more about Custom Reports, please consider reviewing our Creating Custom Reports for Data and Analytics article.