How to Create and Send Announcements for Membership Management
One of the many features the Membership and Event Dashboard share are Announcements. This feature allows you to send notifications to all or select members.
This article focuses on sending announcements through the Membership Dashboard. For instructions on how to send announcements through the Event Dashboard, please review our Customizing Sending and Automating Announcements article.
Creating an Announcement
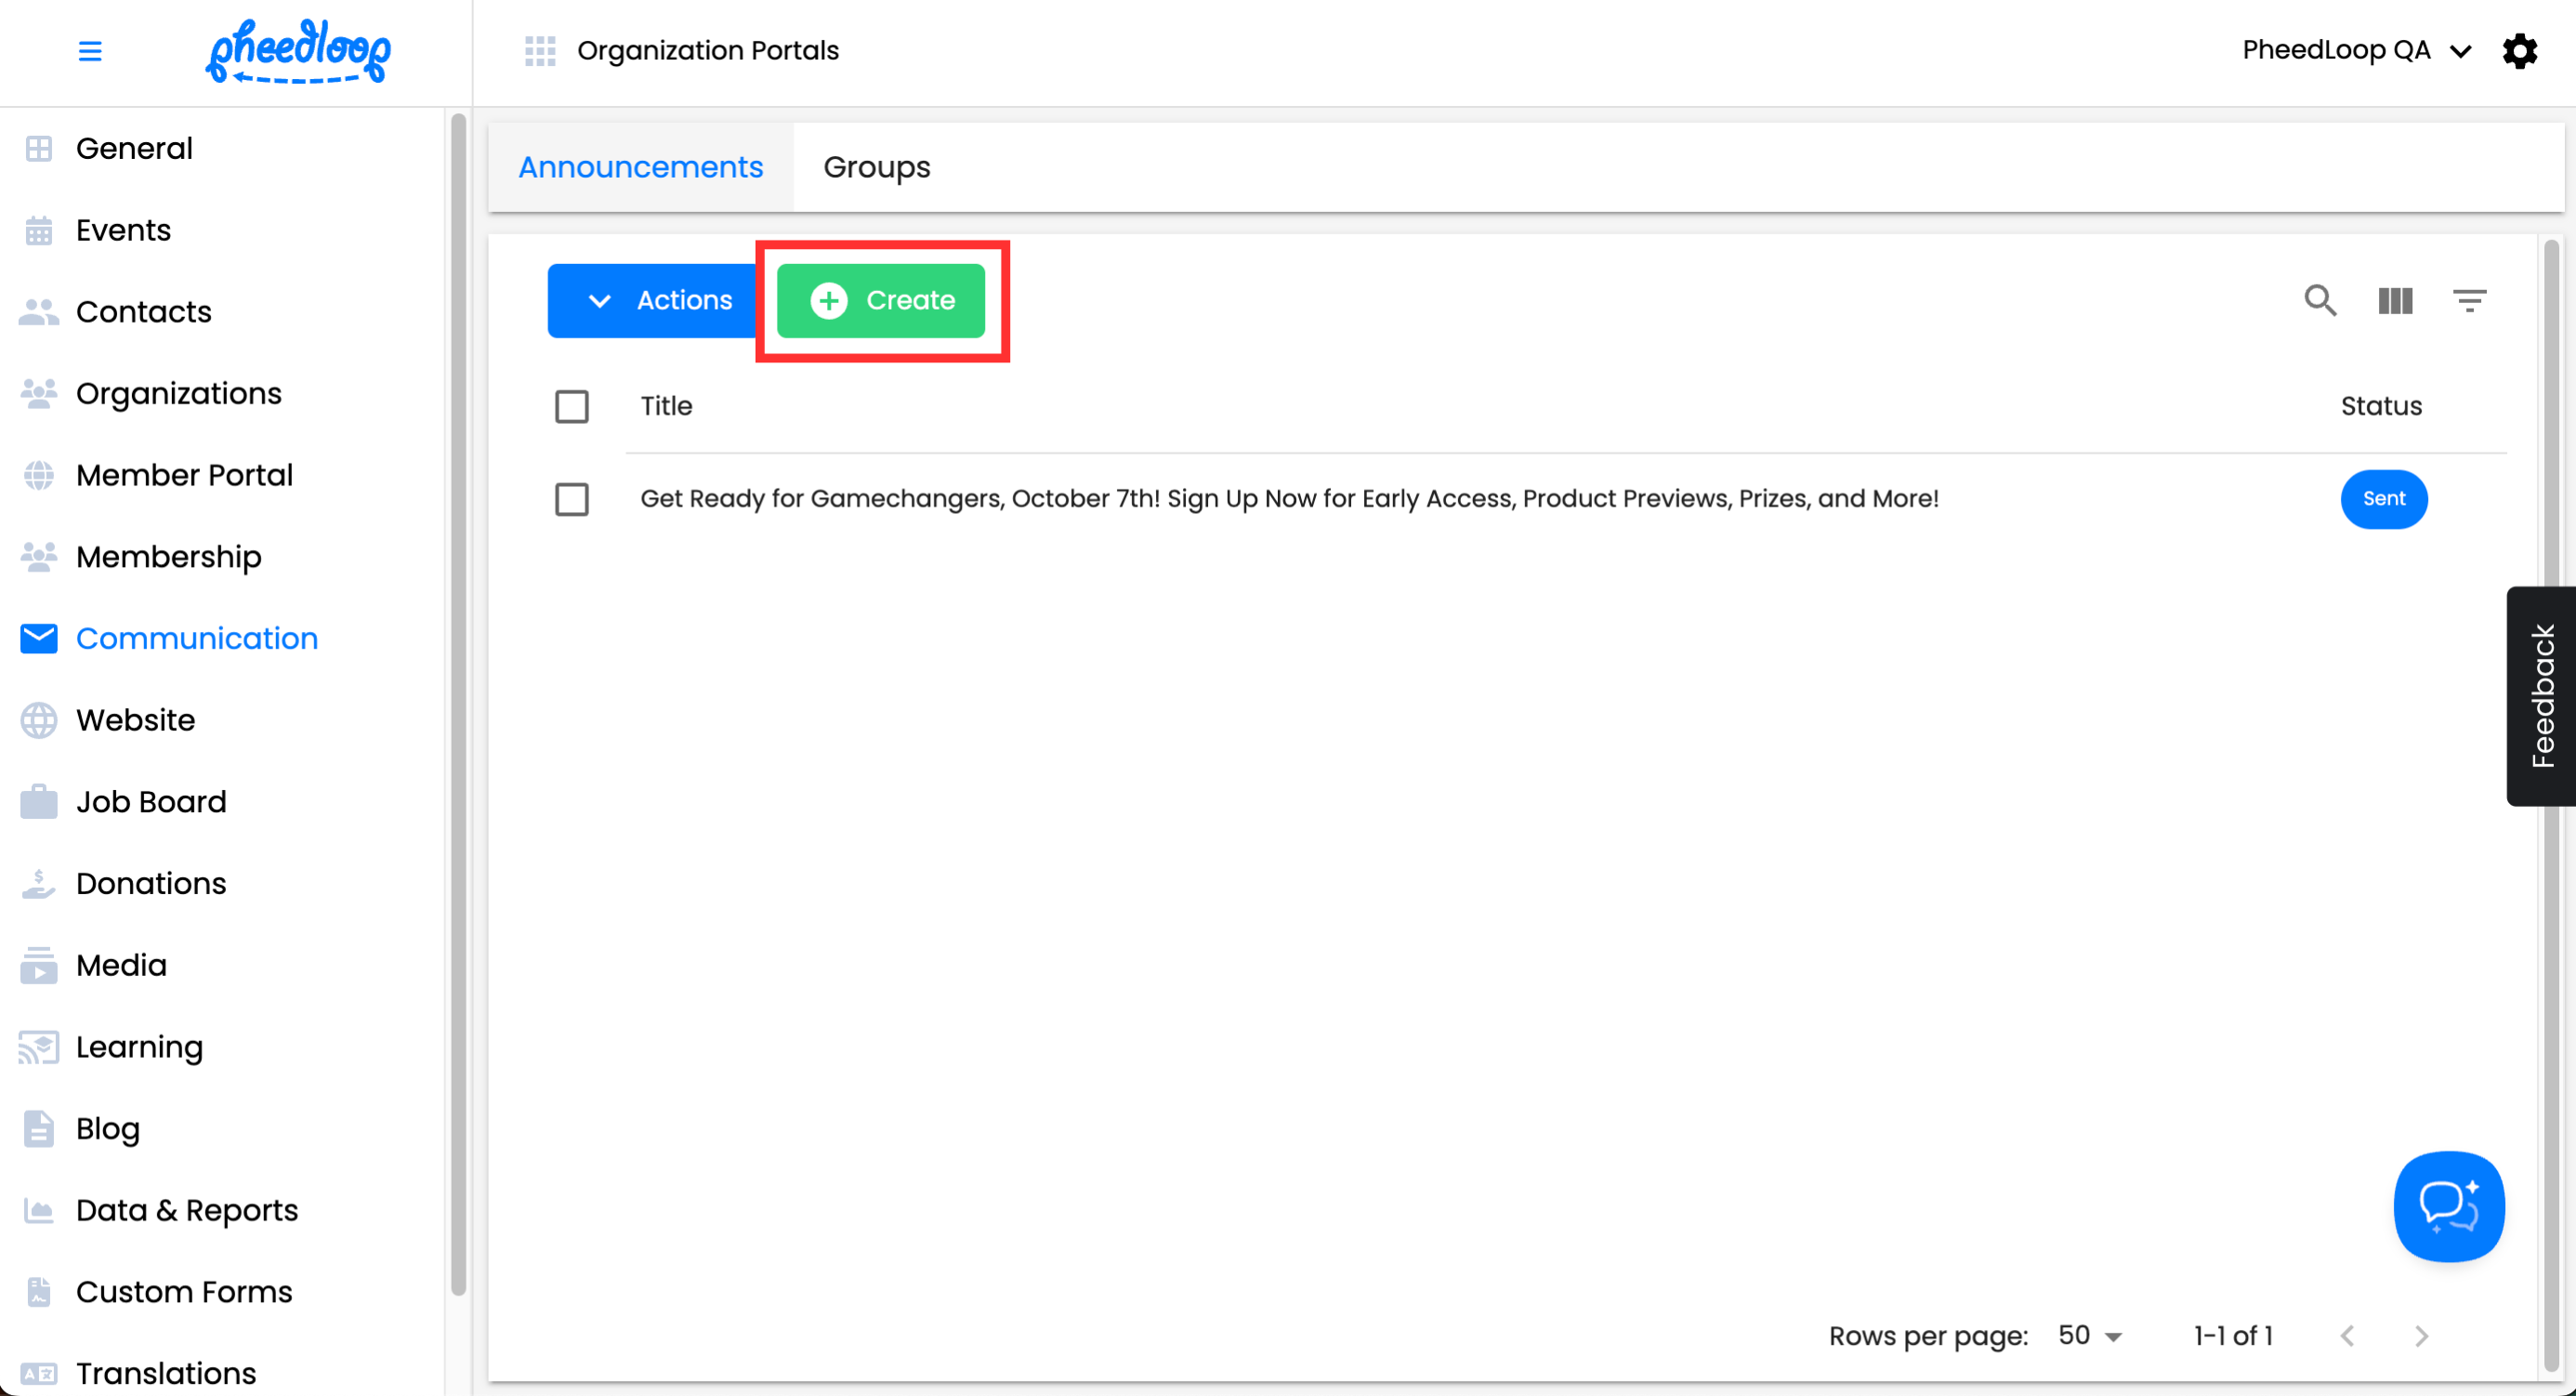
- From the Membership Dashboard, navigate to Communications > Announcements
-
Above the Announcements table, select Create
- Under Subject, enter a title
- Under Body, enter the subject of the announcement
-
Select Save As Draft
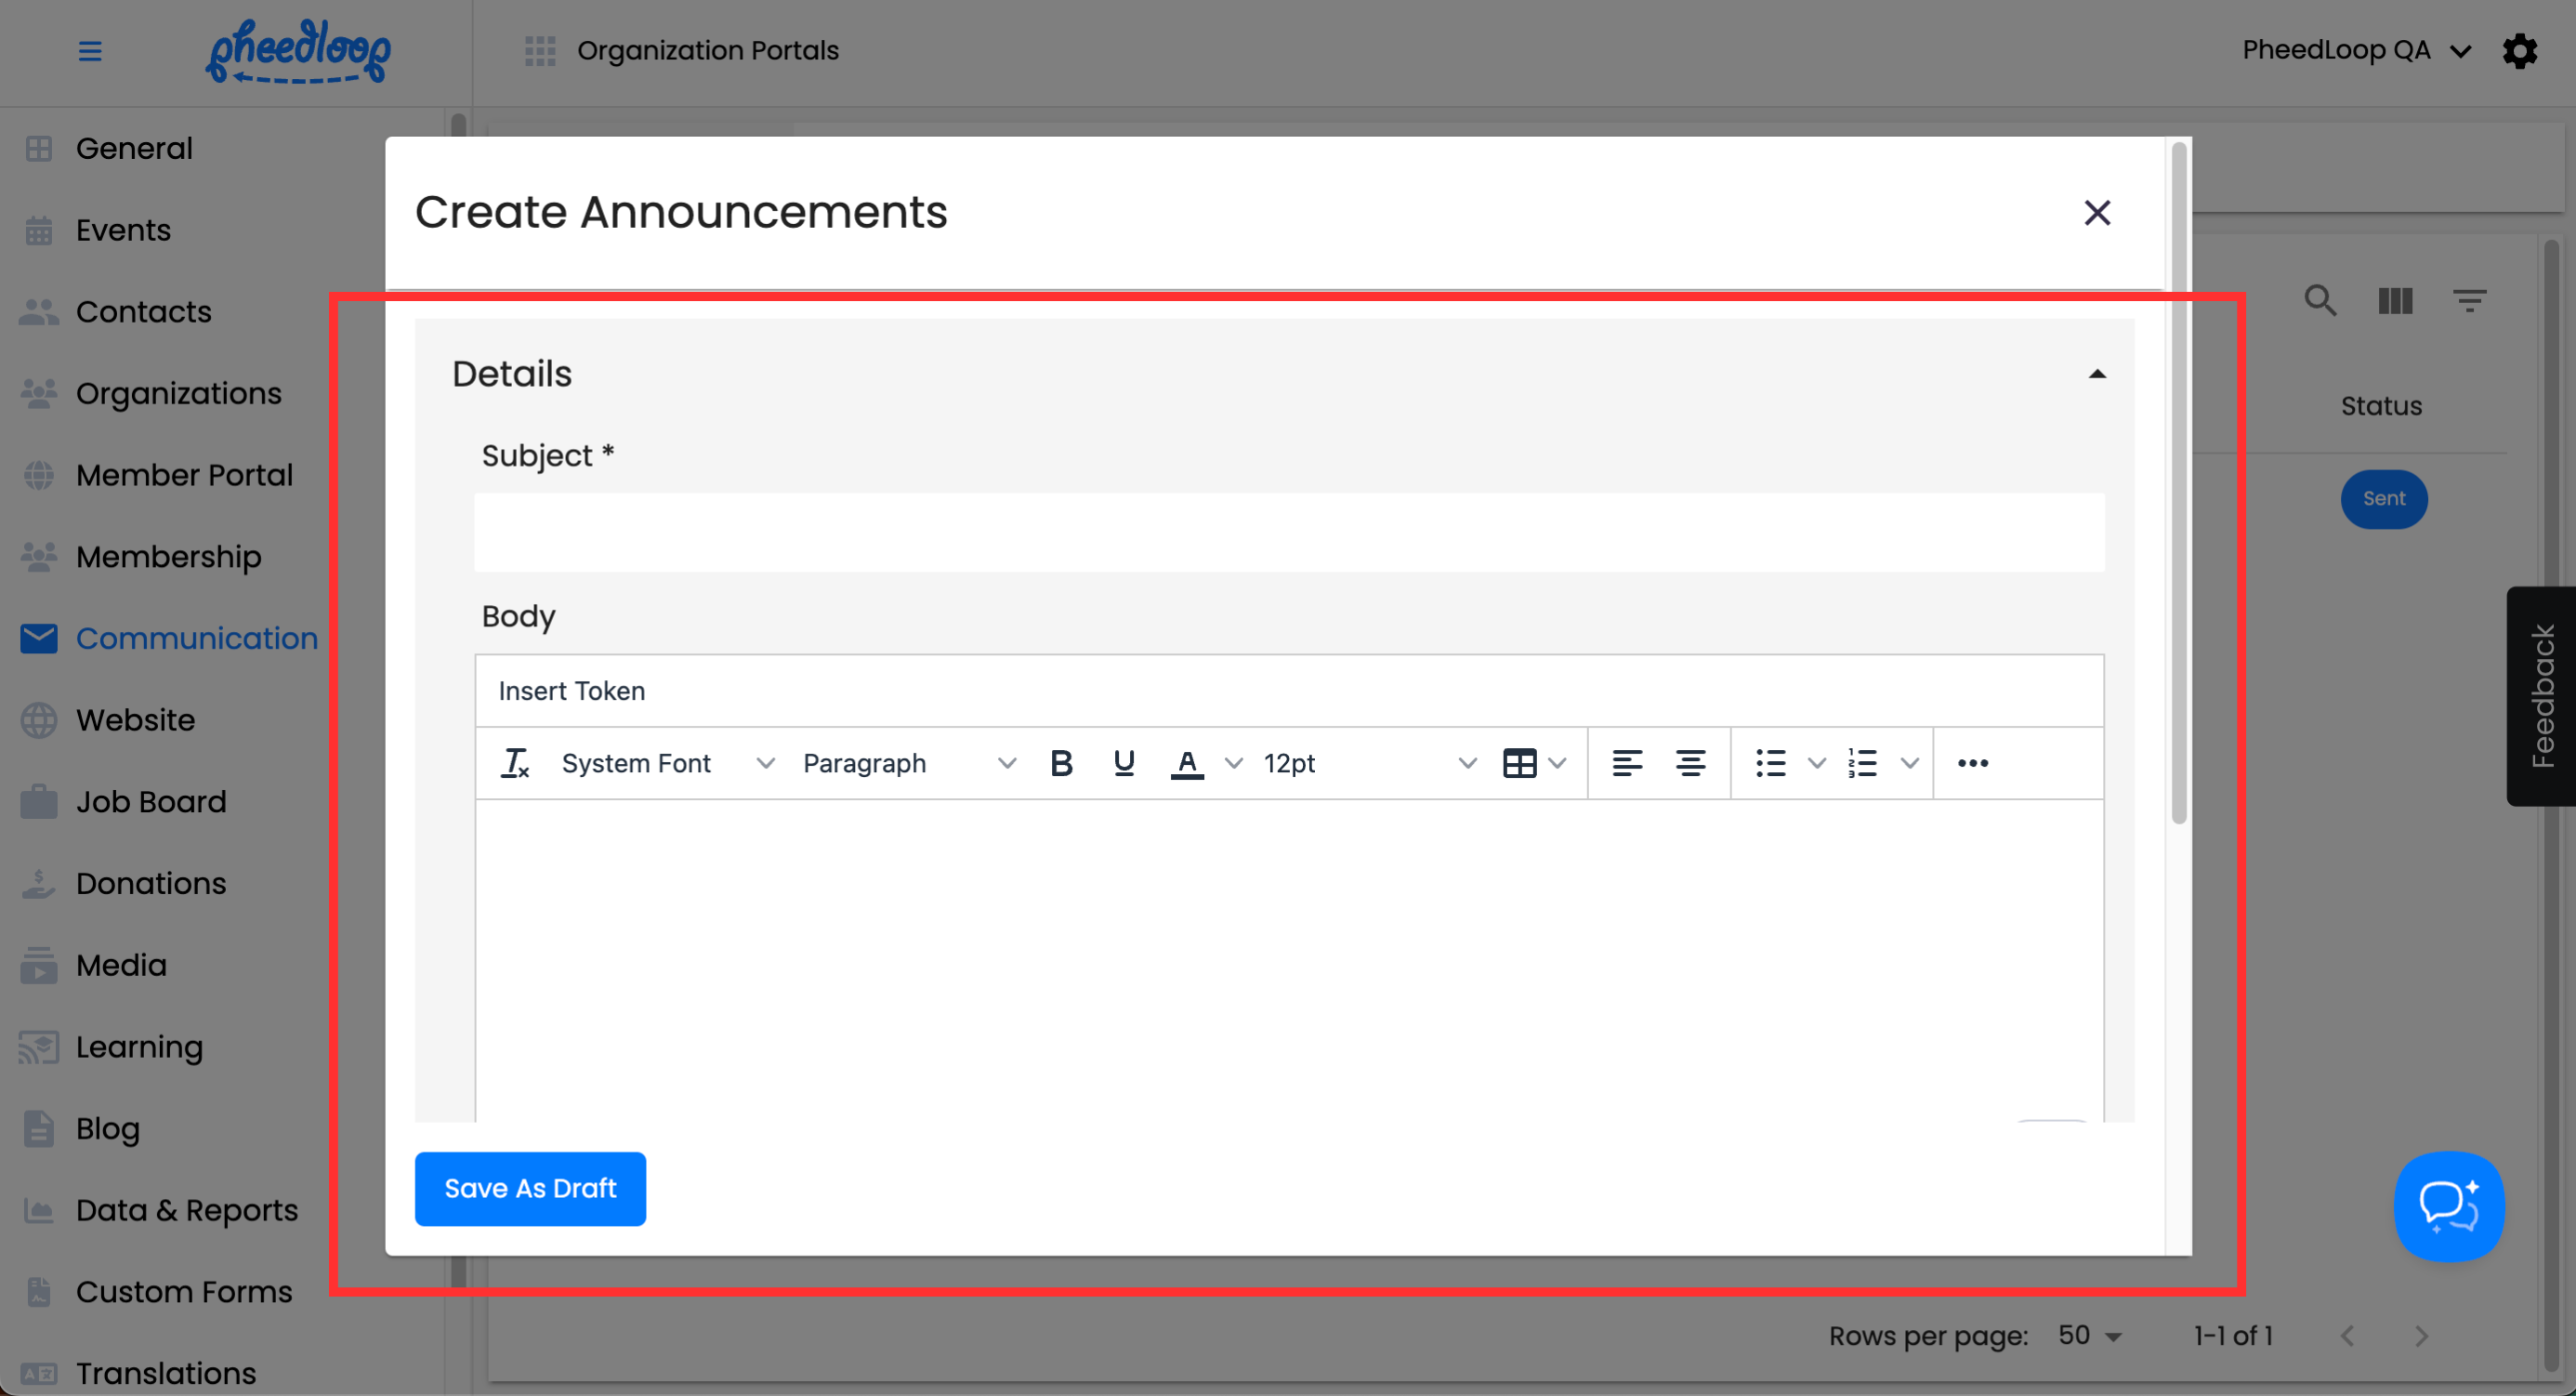


Only the Subject field is mandatory to create an announcement. While the other fields are optional, we strongly encourage making use of other settings as necessary.
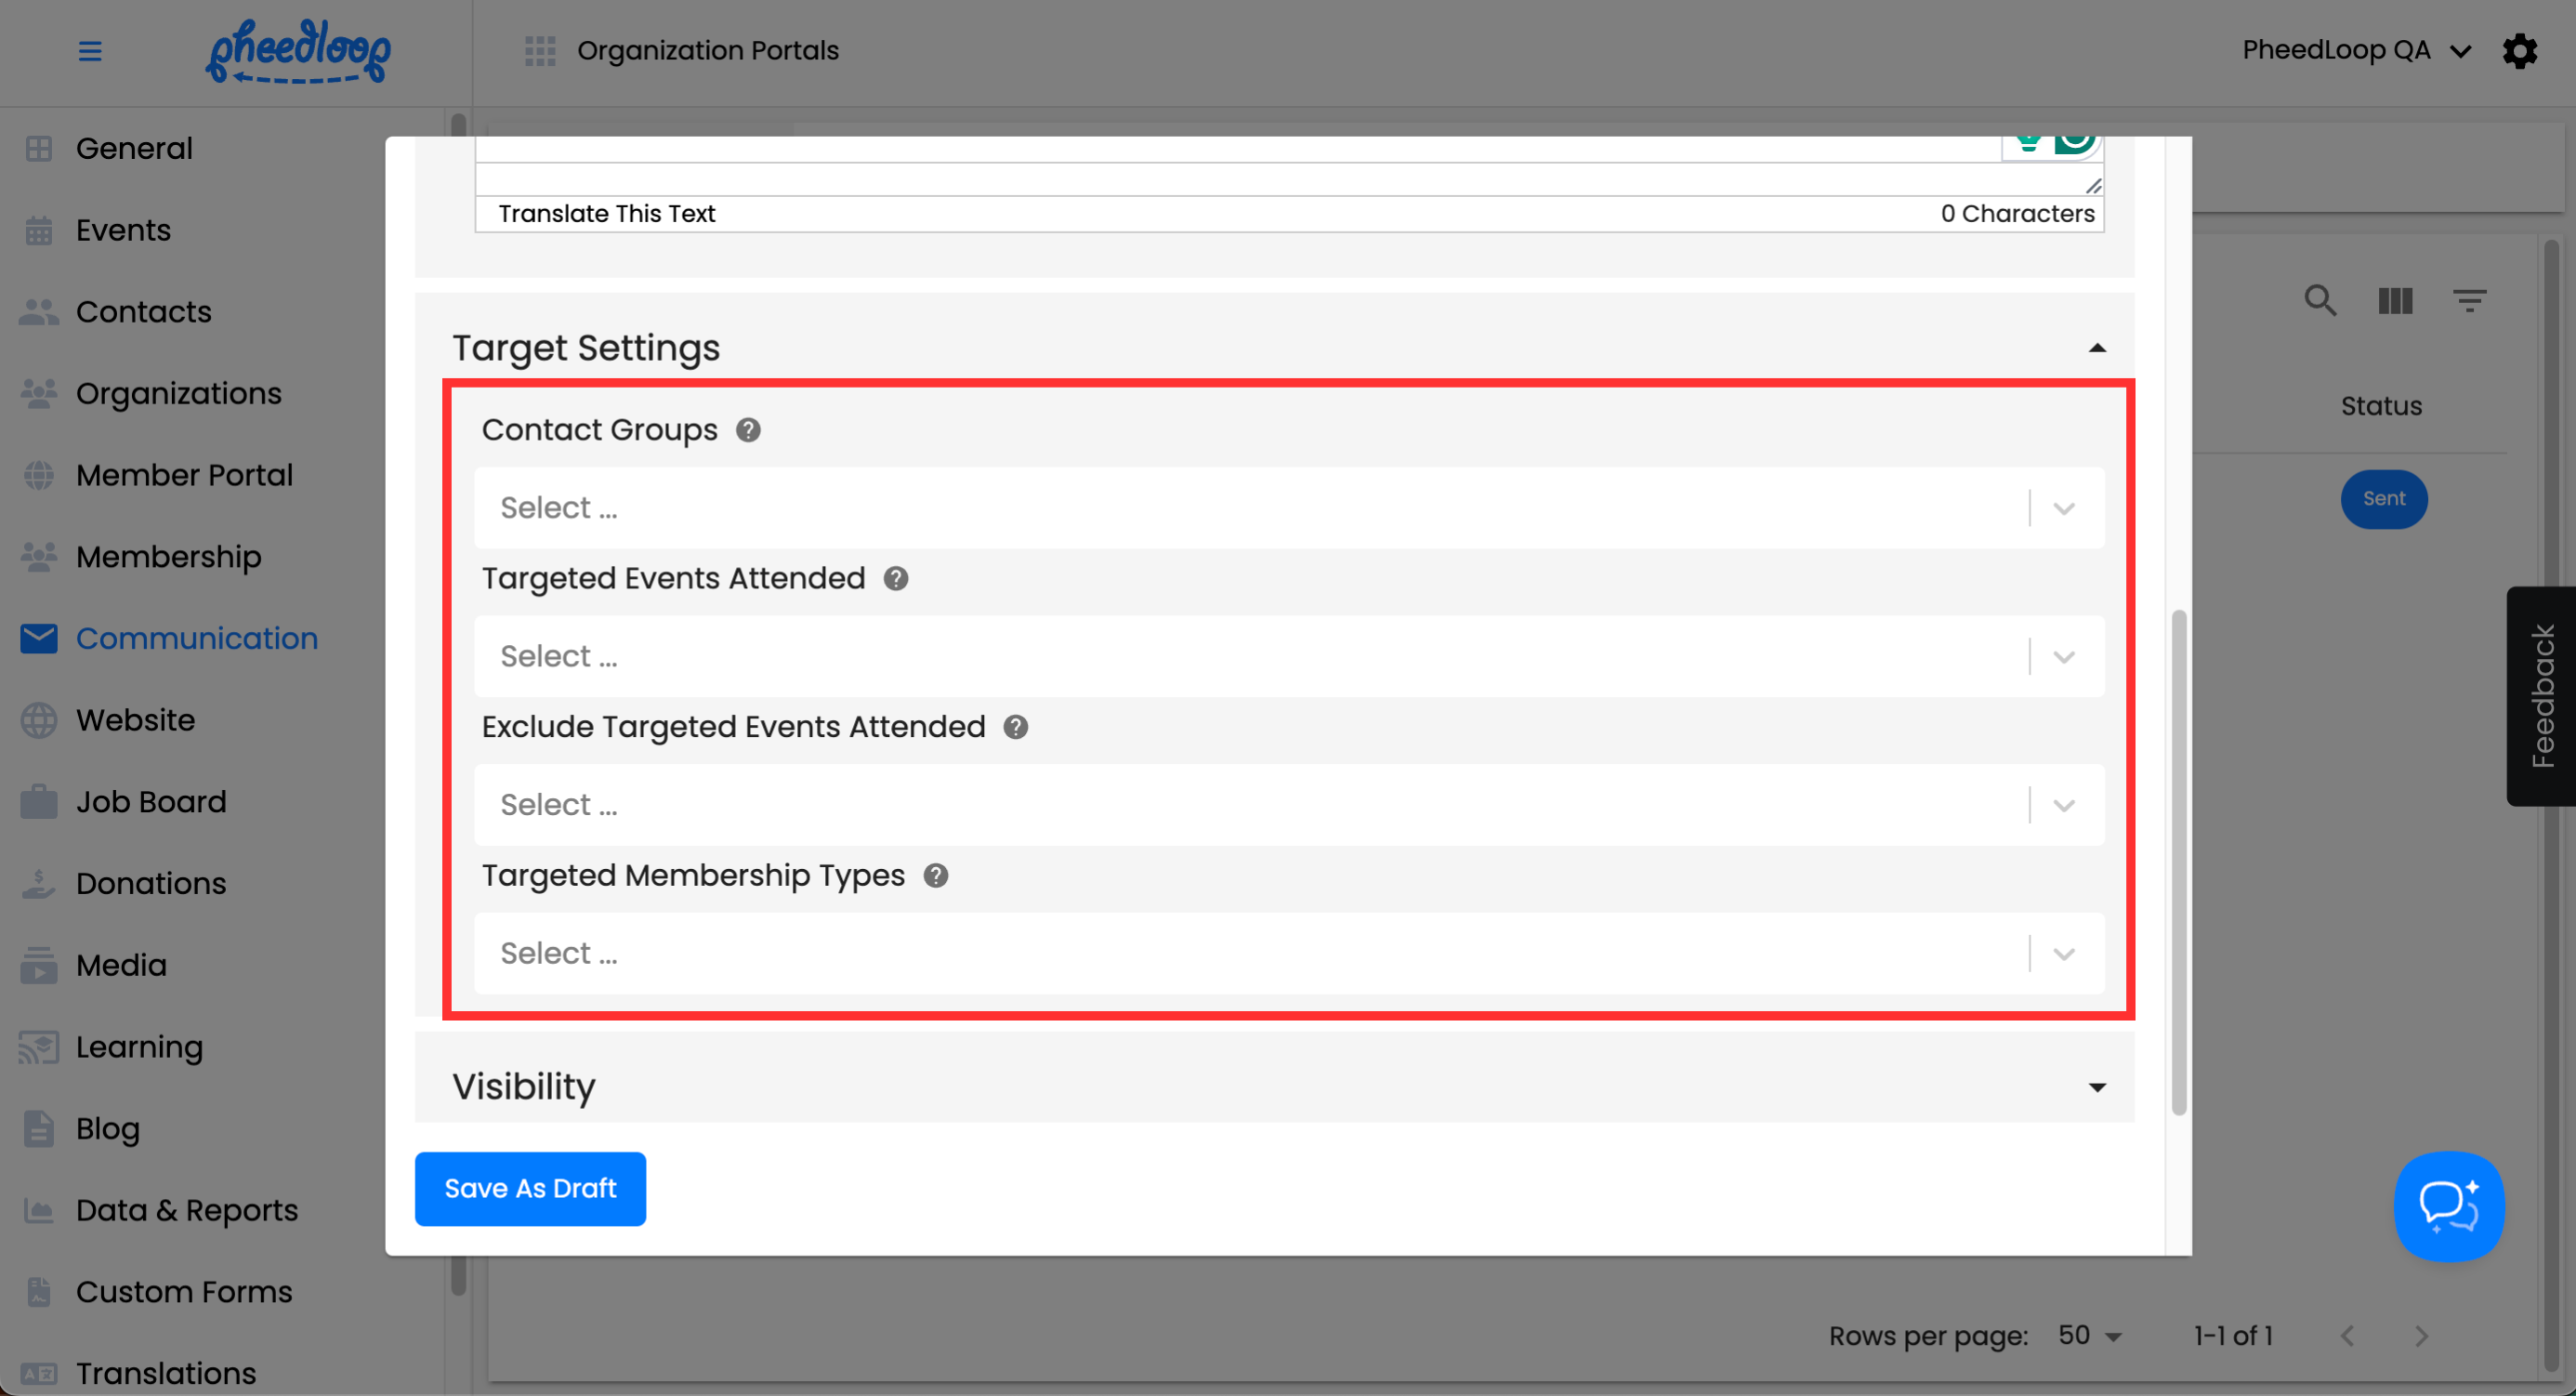
Target Settings
| Setting | Description |
|---|---|
| Contact Groups | Selecting this option will cause the announcement to only be sent to the included groups. For more information on Contact Groups, please review the How to Add Contact Groups article. |
| Targeted Events Attended | Selecting this option will cause the announcement to only be sent to the specified events. |
| Exclude Targeted Events Attended | This option serves the opposite function of Targeted Events Attended. Any events included in this field will not receive the announcement. |
| Targeted Membership Types | Selected Membership Types can be set to receive the announcement. Any Membership Types not included in this field will not receive the announcement when it is sent. |
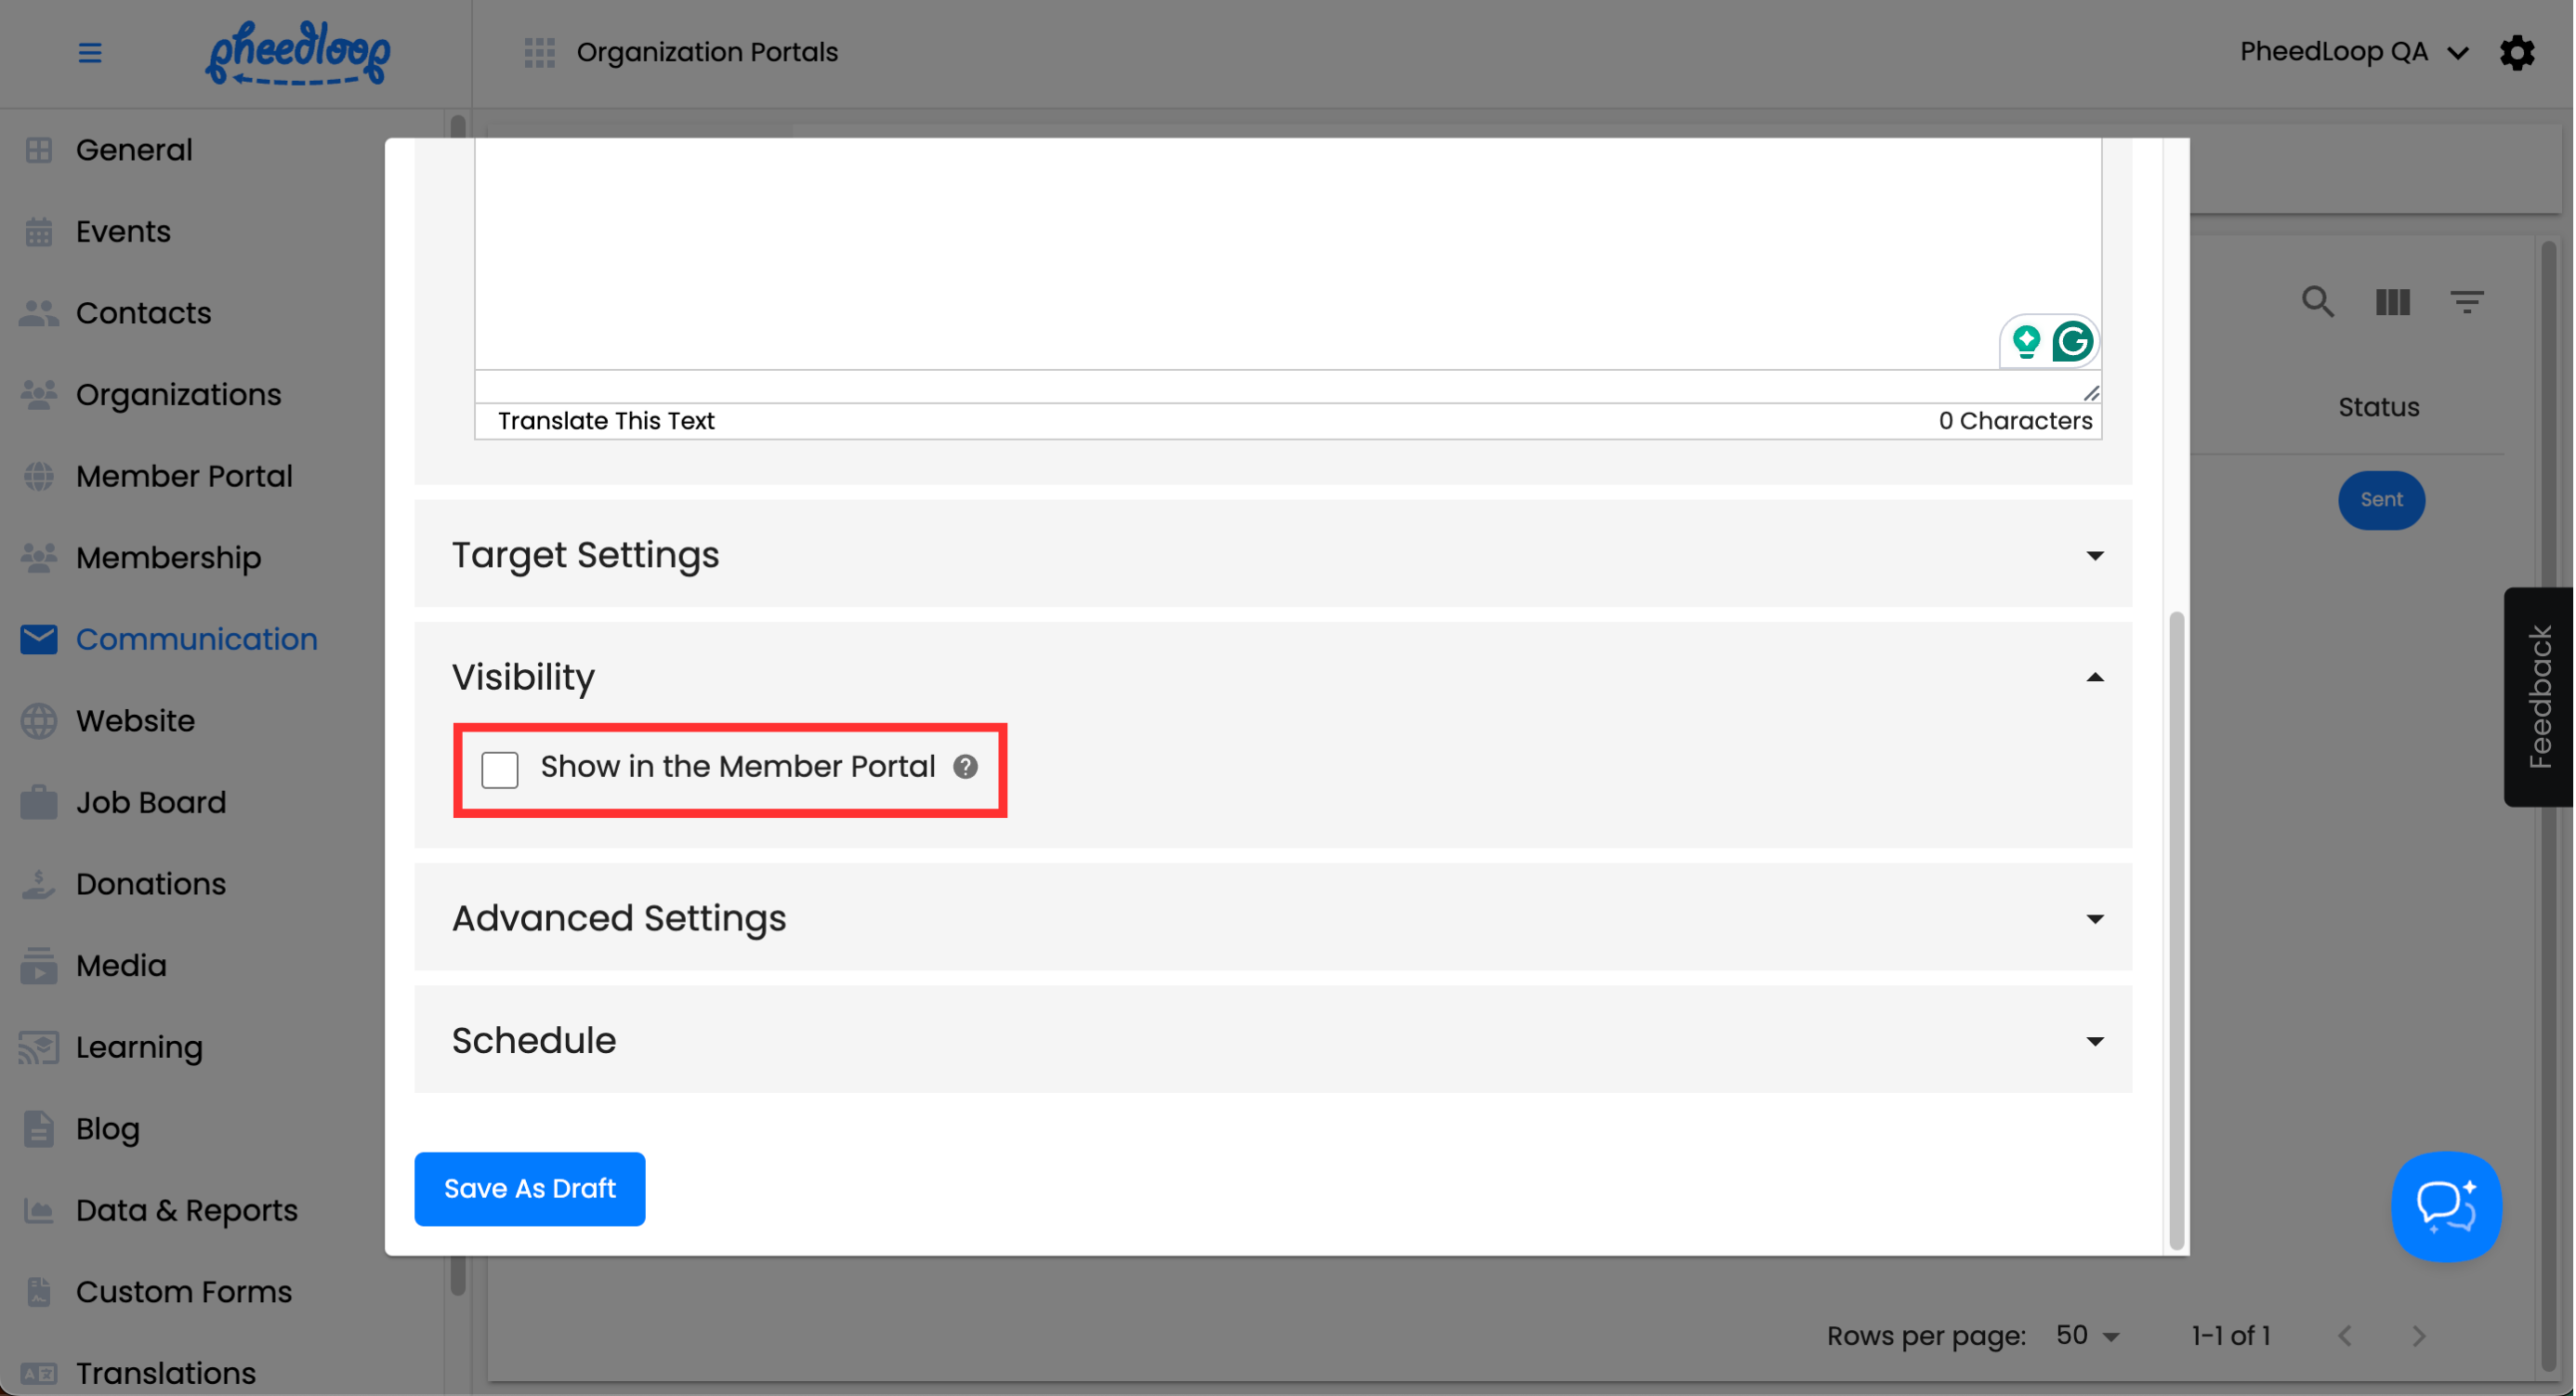
Visibility
| Setting | Description |
|---|---|
| Show in Member Portal | If toggled on, the announcement will appear on the Member Portal. If toggled off, the announcement will not be present in the Member Portal. |
Advanced Settings
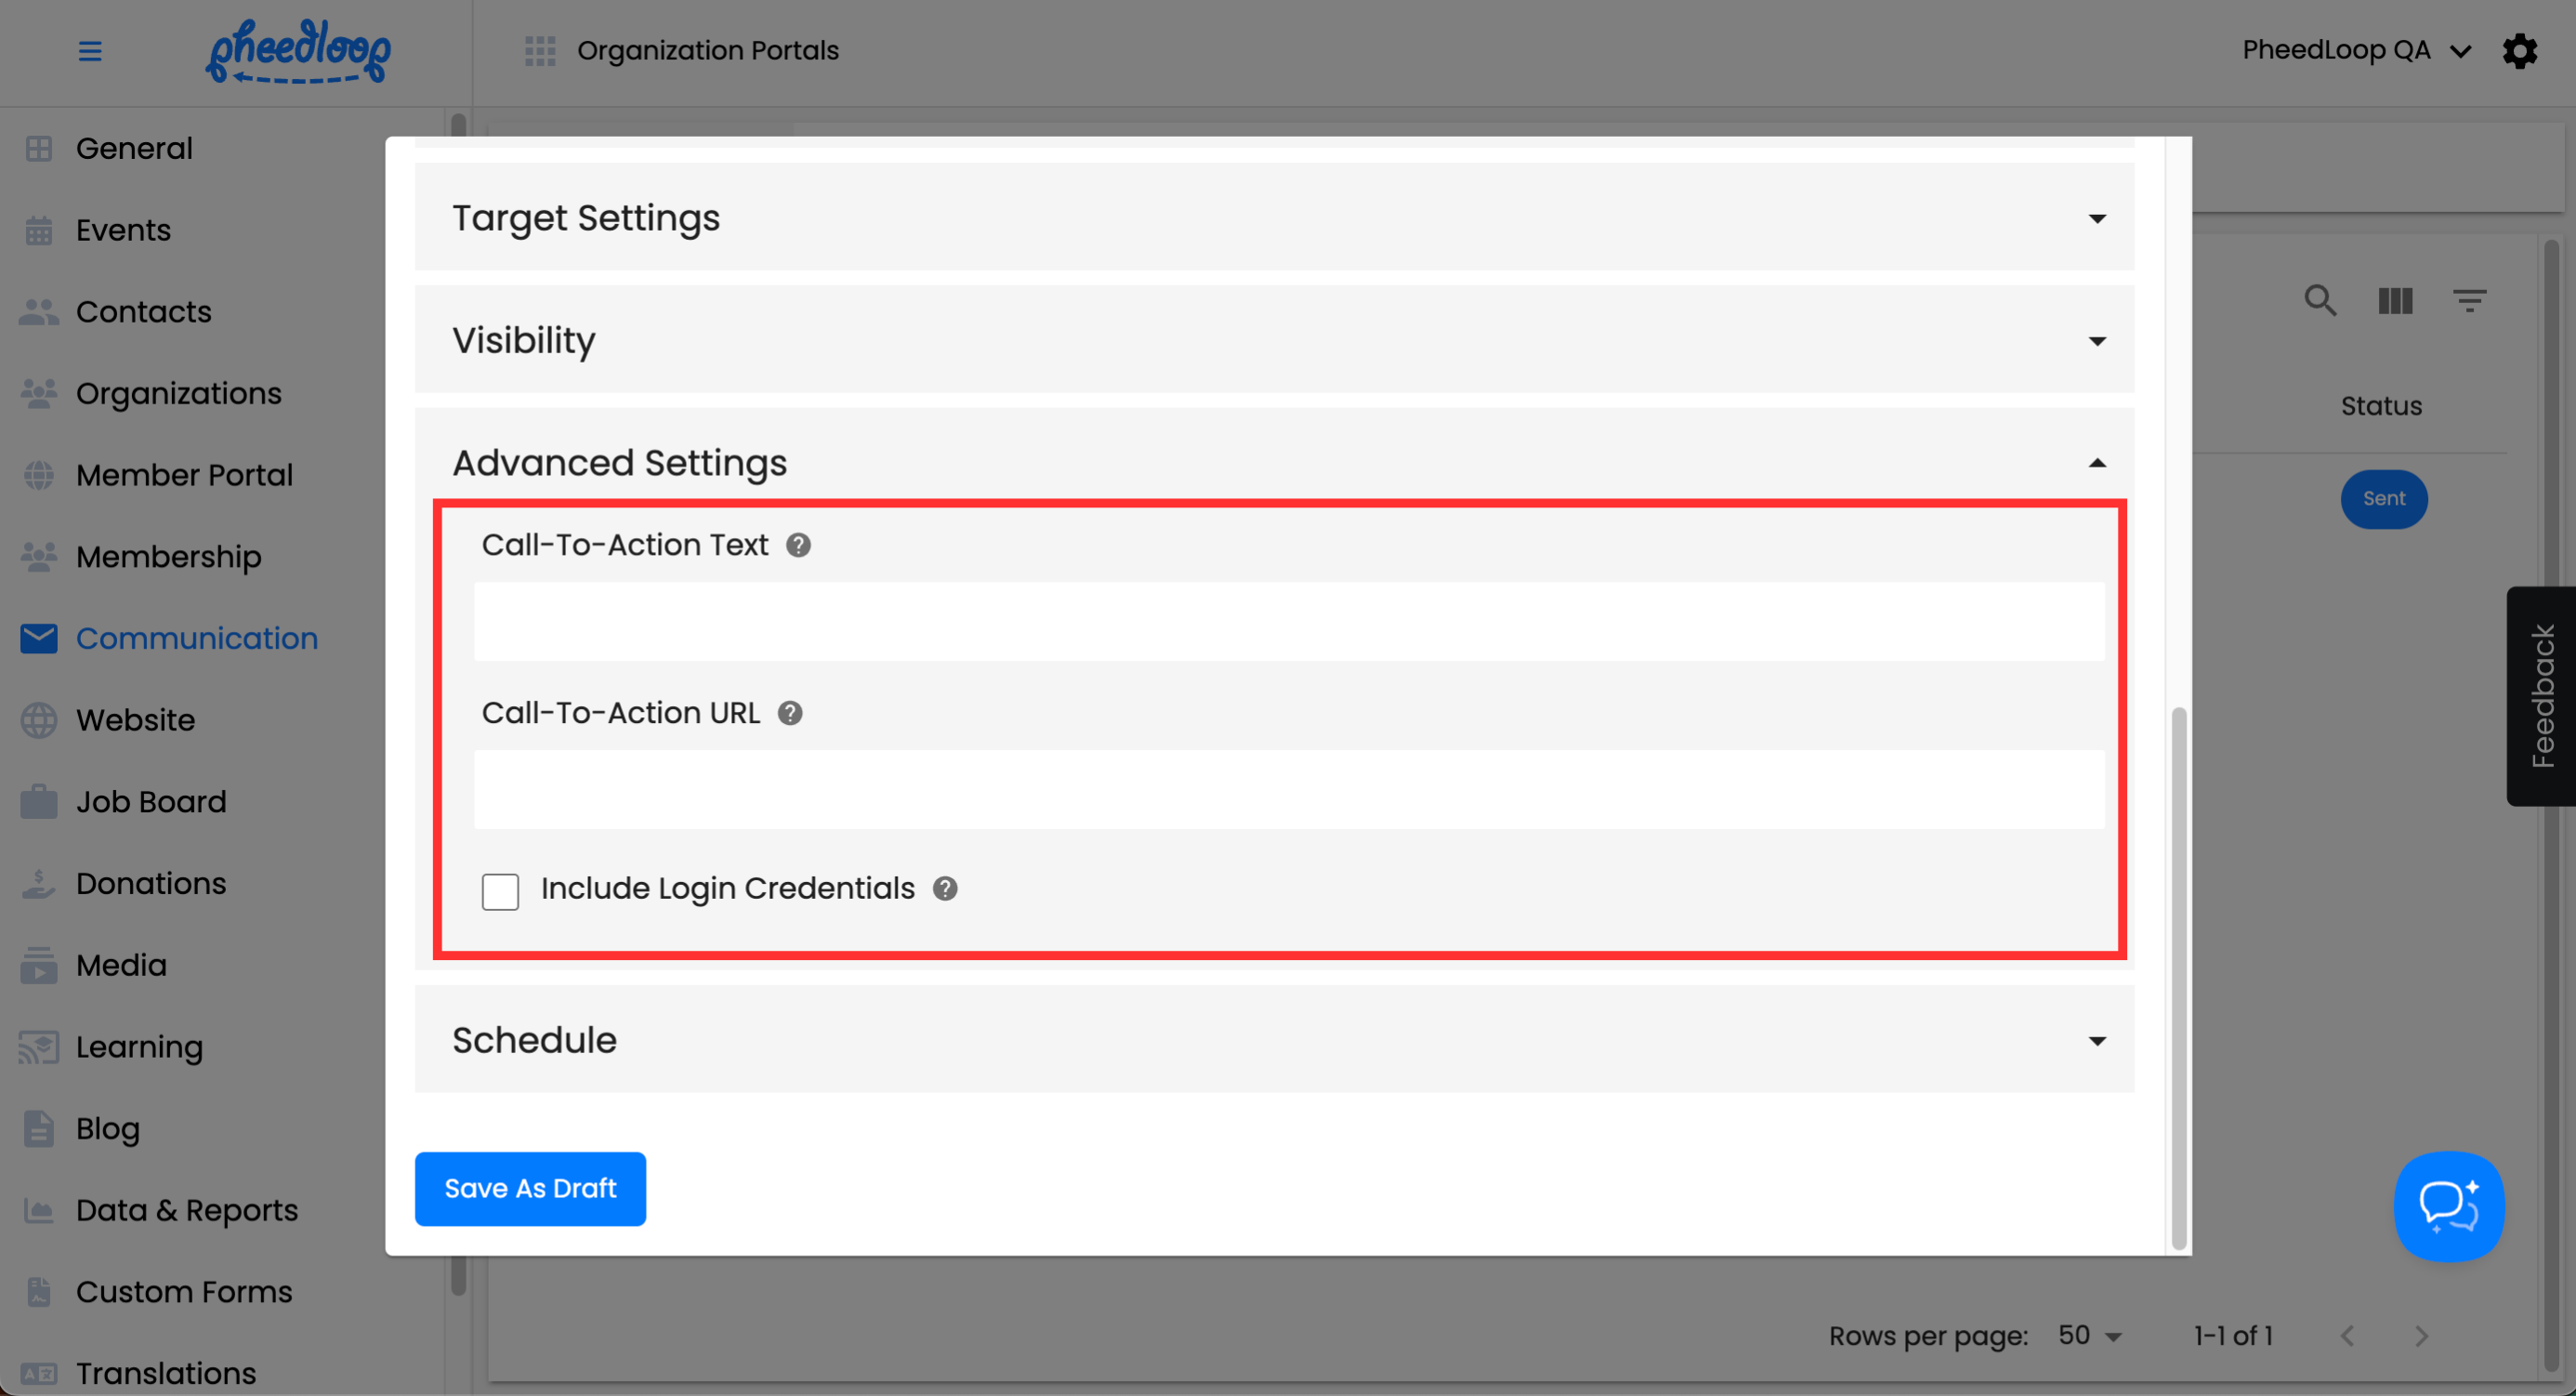
| Setting | Description |
|---|---|
| Call-To-Action Text | This field edits the text on the button. There is a limit of 50 characters for each button. |
| Call-To-Action URL | This field edits the link the button leads to. URLs must be complete, including https:// , for the button to function properly. |
| Include Login Credentials | This option includes the attendee’s login credentials within the announcement. |
Schedule
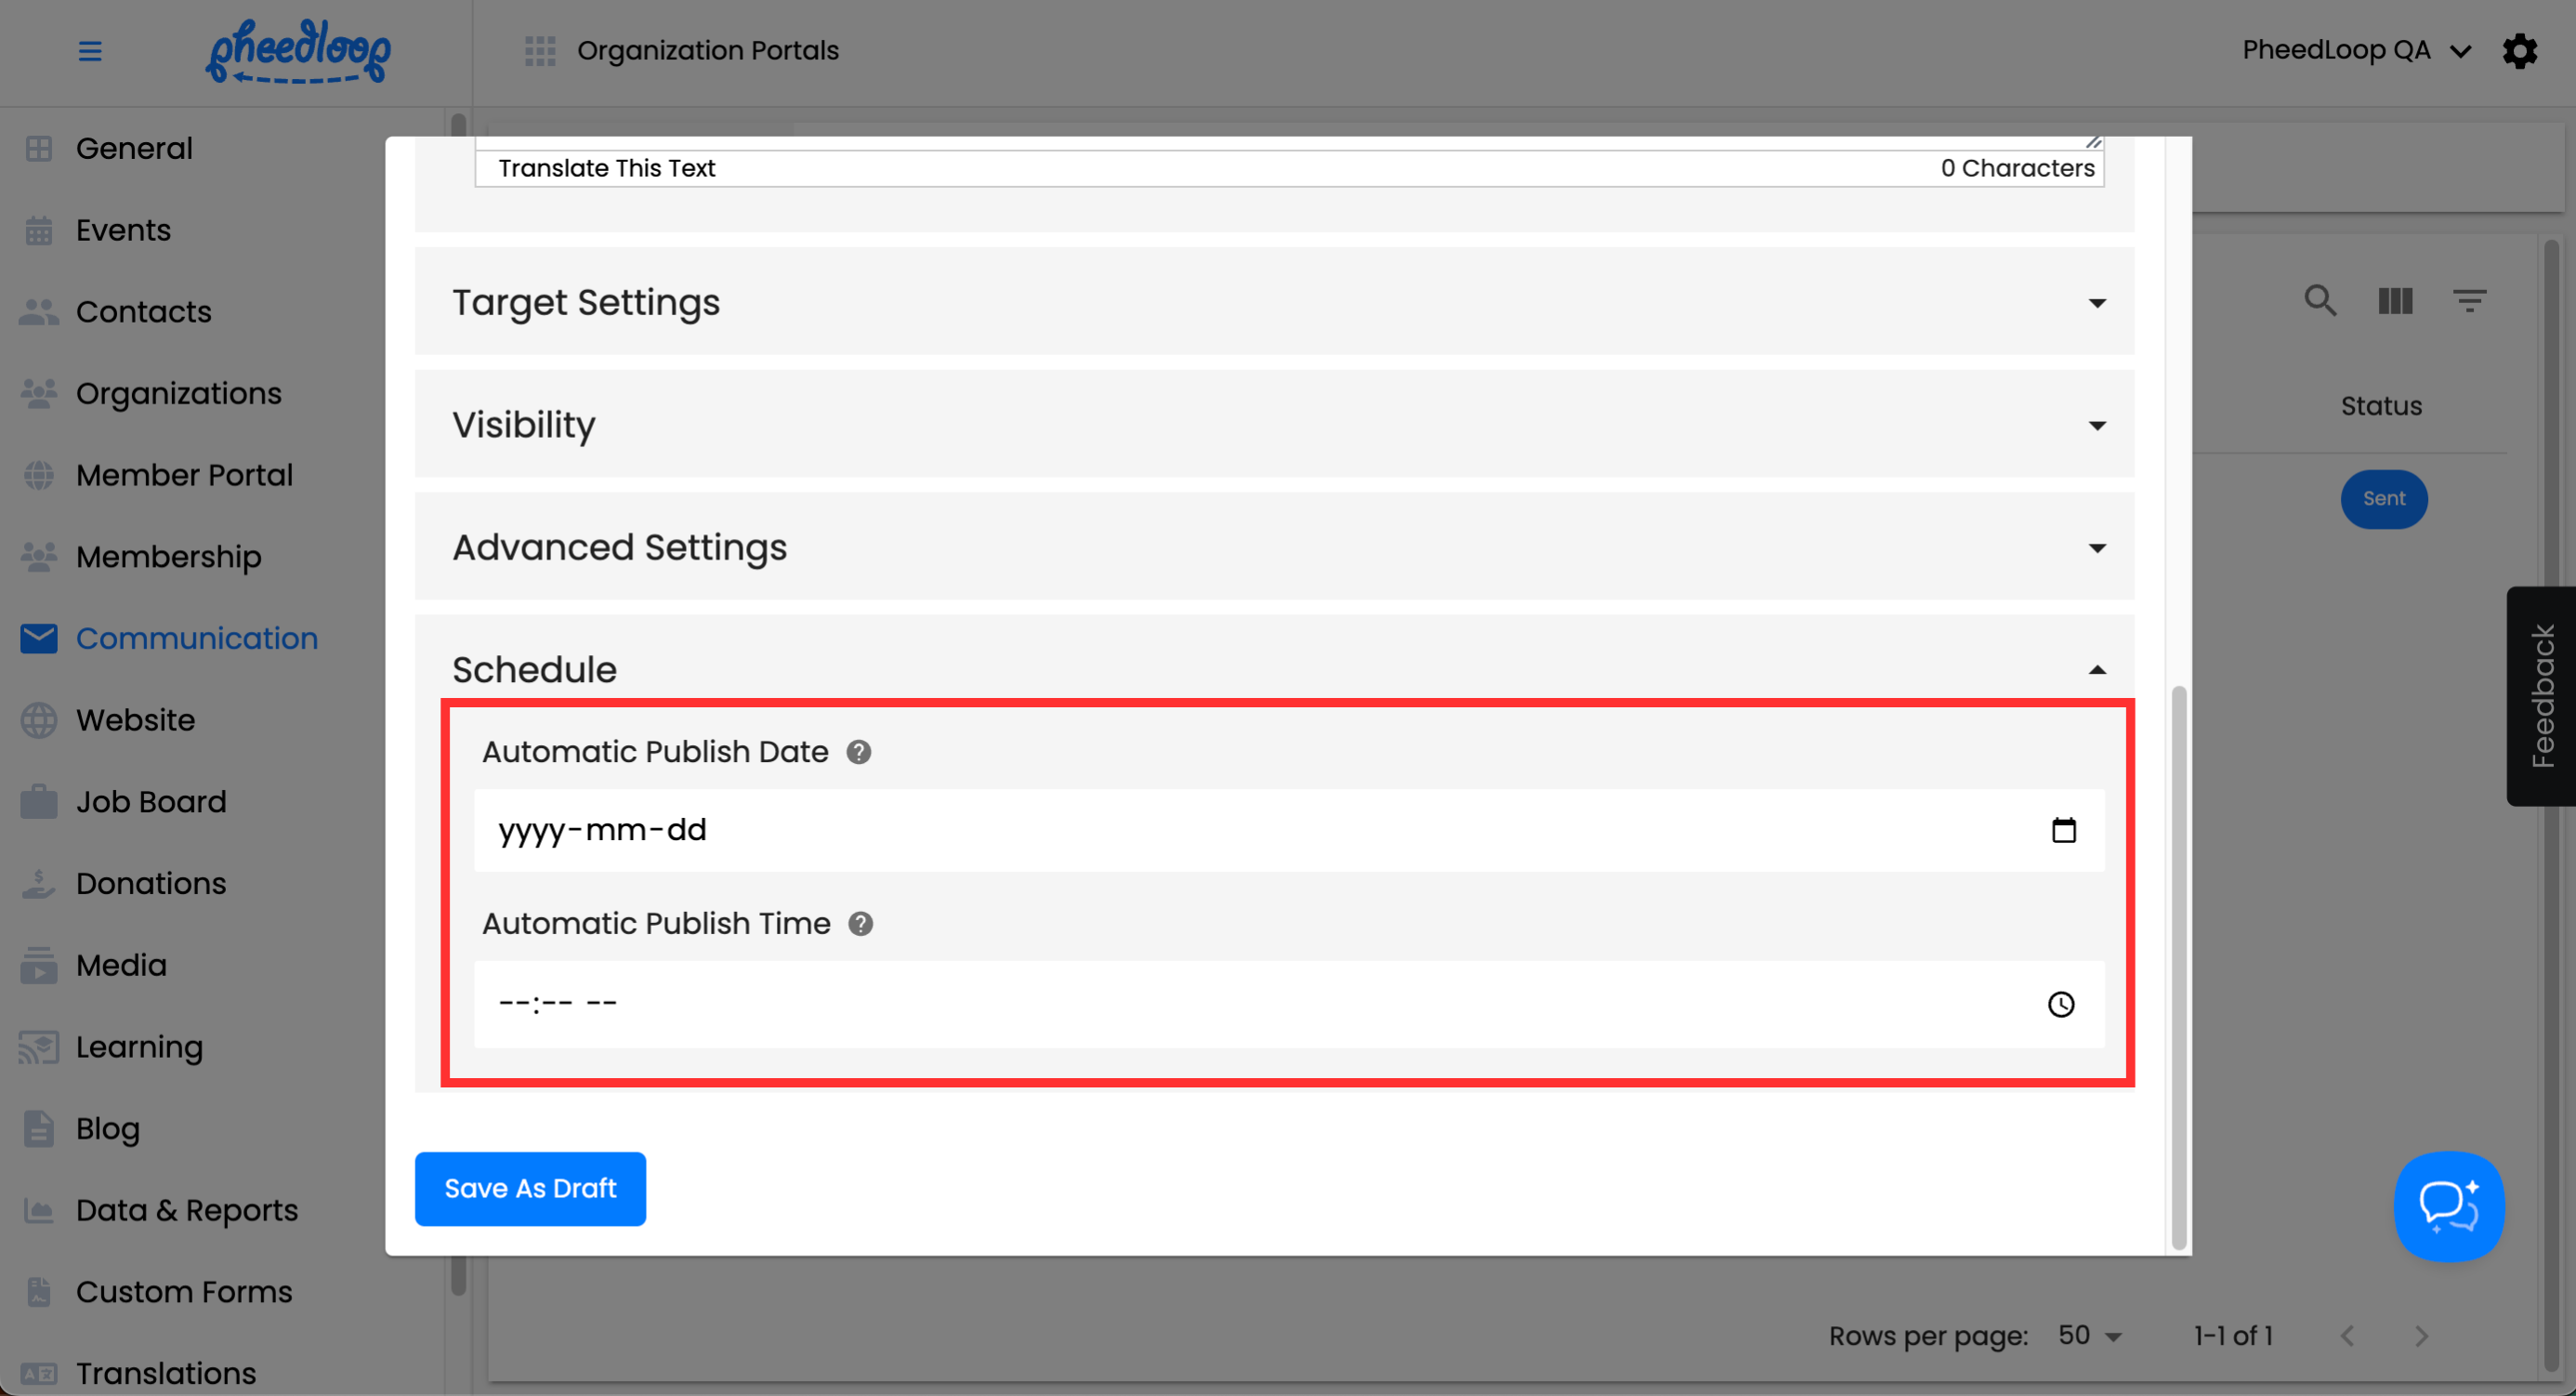
| Setting | Description |
|---|---|
| Automatic Publish Date | Automatically publishes the announcement on the specified date. |
| Automatic Publish Time | Automatically publishes the announcement at the specified time. |
Sending Announcements
Announcements can be sent in the same way as in the Event Dashboard.
- From the Membership Dashboard, navigate to Communications > Announcements
- Select the checkbox of the announcement(s) you wish to send
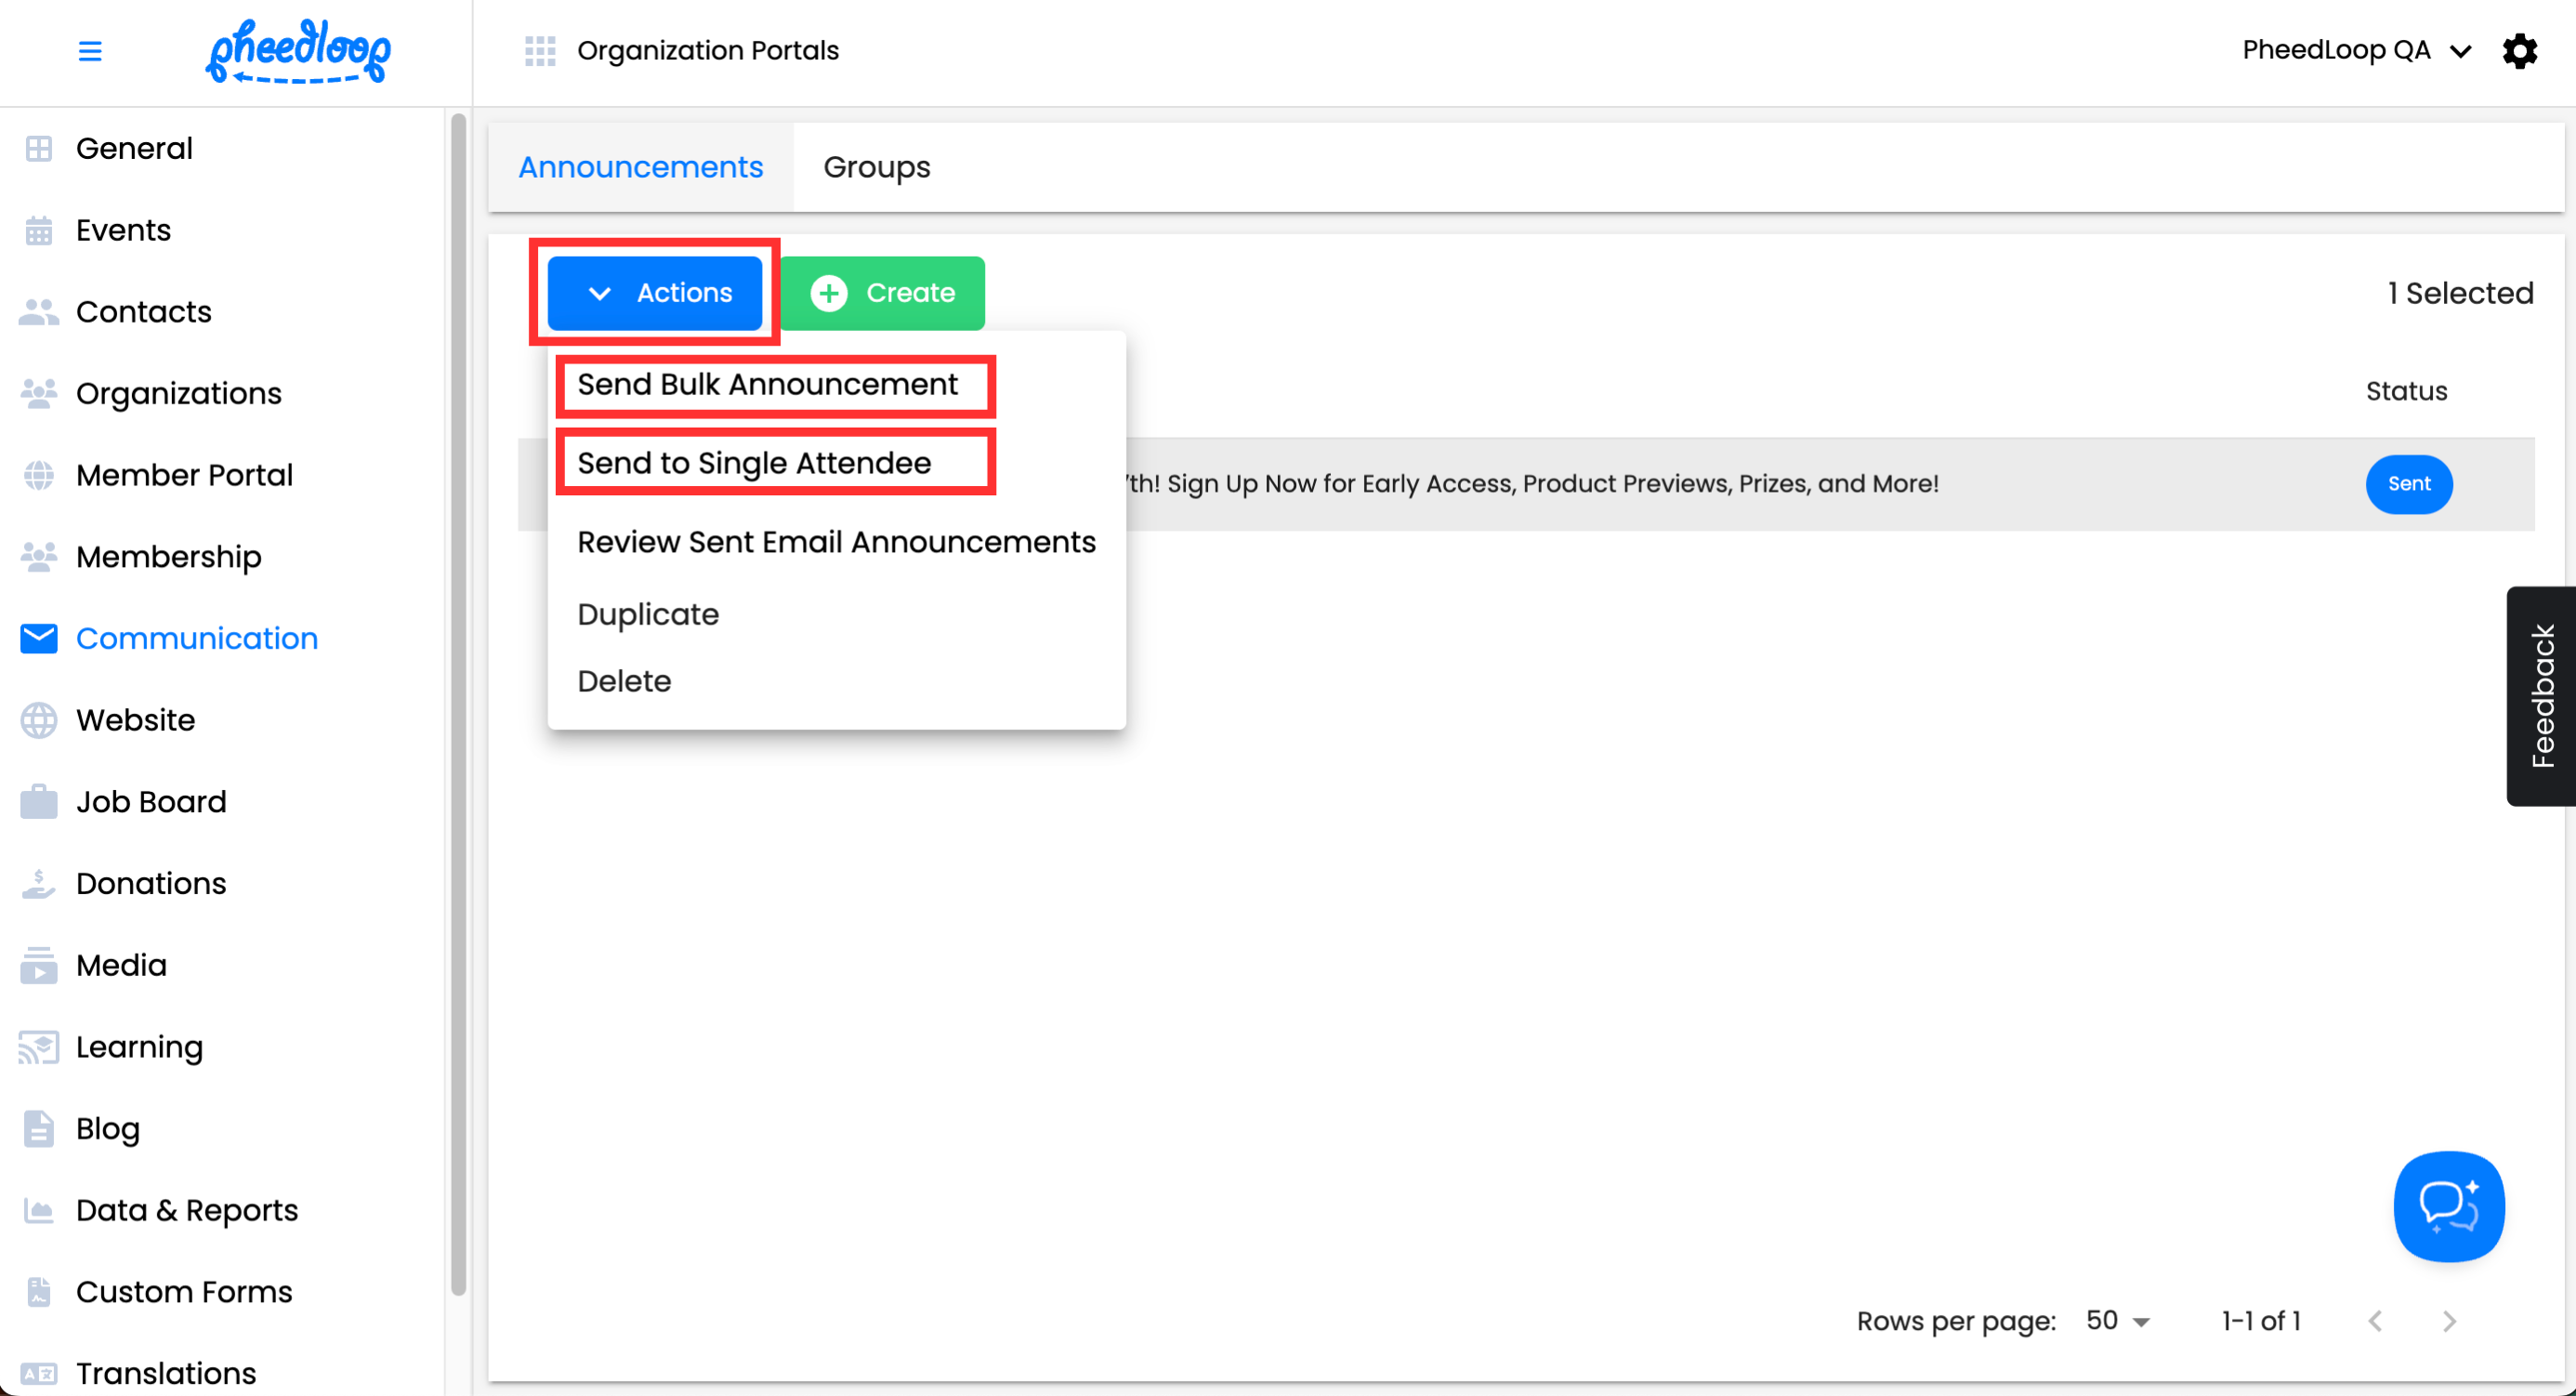
- Above the Announcements table, select Actions > Send Bulk Announcement or Send to Single Attendee
- Select Send Bulk Announcement to send the announcement to all members of your organization.
-
Select Send to Single Attendee to send the announcement to one member of your organization.
-
Select Send


The announcement will now be delivered to the email address of the member(s). To review what emails have been delivered, select Review Sent Email Announcements from the Actions dropdown. This setting will also confirm whether the member has opened the email or clicked the call to action button in the Opened and Clicked columns, respectively.