How Courses Work
Courses are the primary way for Members to engage with the Learning Management System. Members can enroll in courses from the Learning Portal and download their certificates upon completion of the course.
Creating a course from the Membership Dashboard
Please note, the organization account must be connected to a financial integration such as Stripe in order for Members to pay for courses with a credit card.
- From the Membership Dashboard, navigate to Learning > Courses
Above the Courses table, select Create
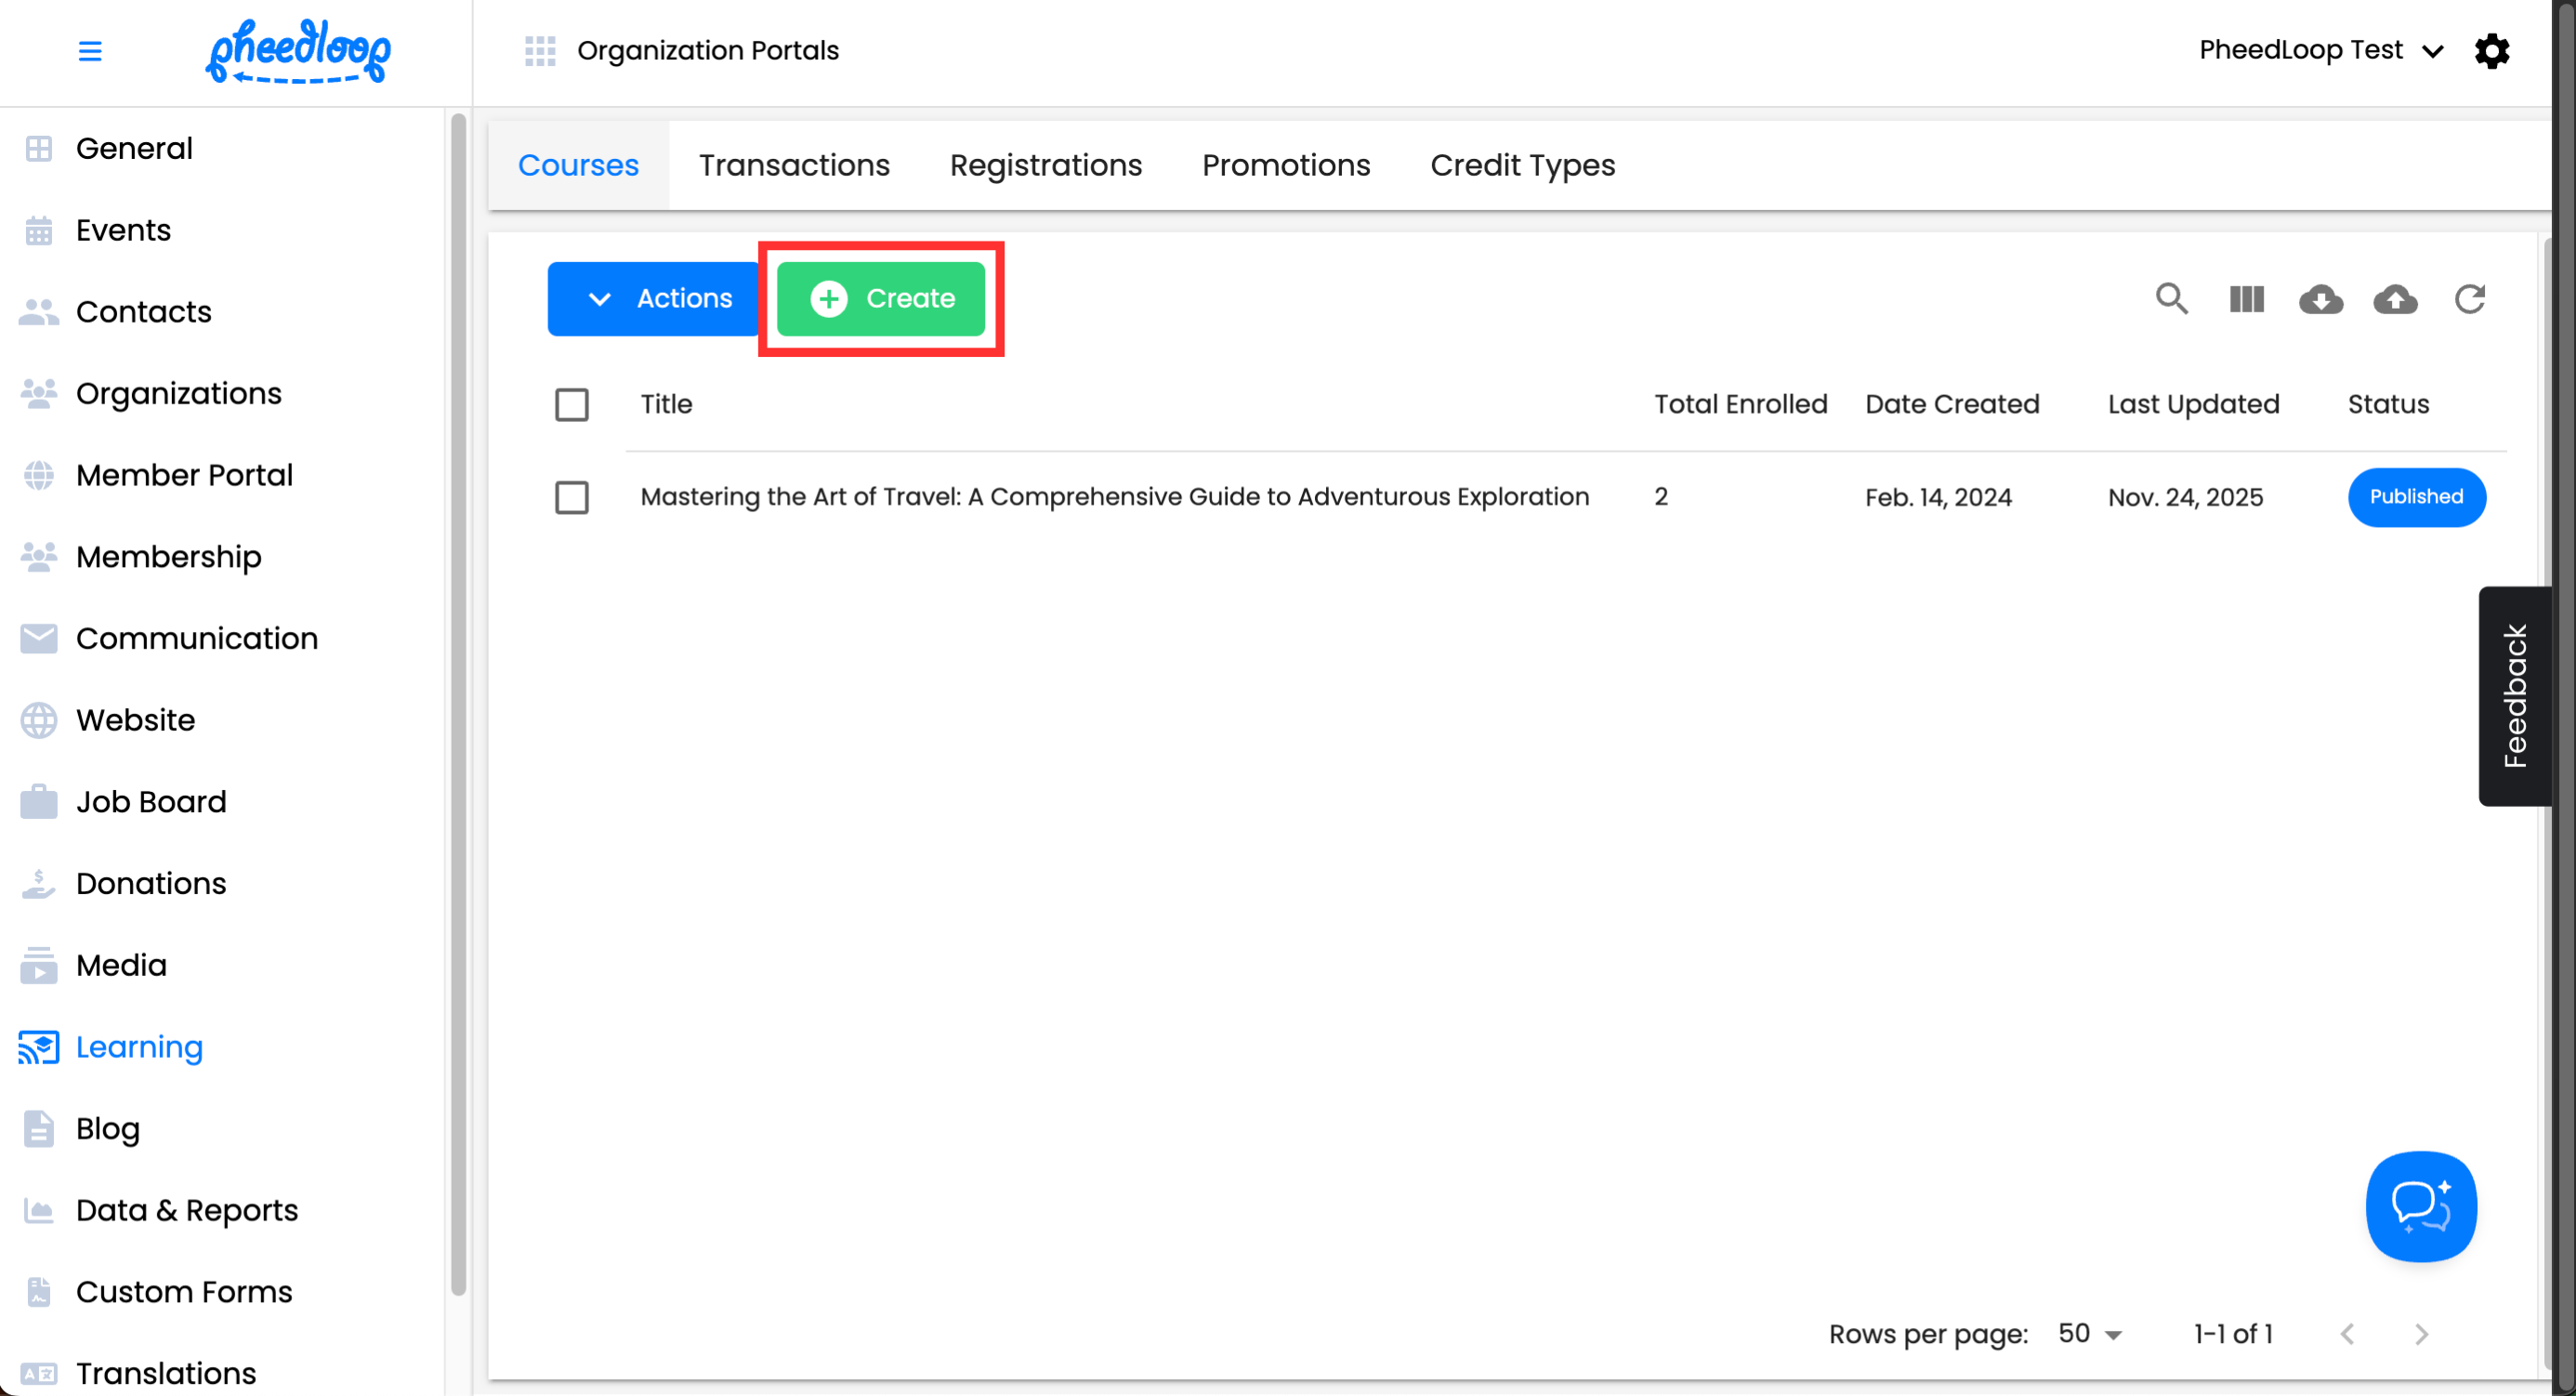

You will now see the Course editor form, which can be used to create your course.

| Setting | Description |
|---|---|
| Title | Enter the name of the course. |
| Description | Enter the description for the course. |
| Active | Toggle this on to make the course available for members to view and enroll in. |
| Price | Enter the amount members must pay to enroll in the course. |
| Enrollment Capacity | Enter the maximum number of members allowed to enroll in the course. |
| Introductory Video or Banner | A video or banner that serves as the introduction to the Course. More information will be shared below this table. |
| Instructors | Select the Member who will serve as the instructor for the course. The instructor must be added to the Membership Dashboard. |
| External Video Link | If provided, this link will be used as the course introductory video. If not provided, the course video will be used. |
As part of the course creation process, you are also able to upload an introductory video for your course.
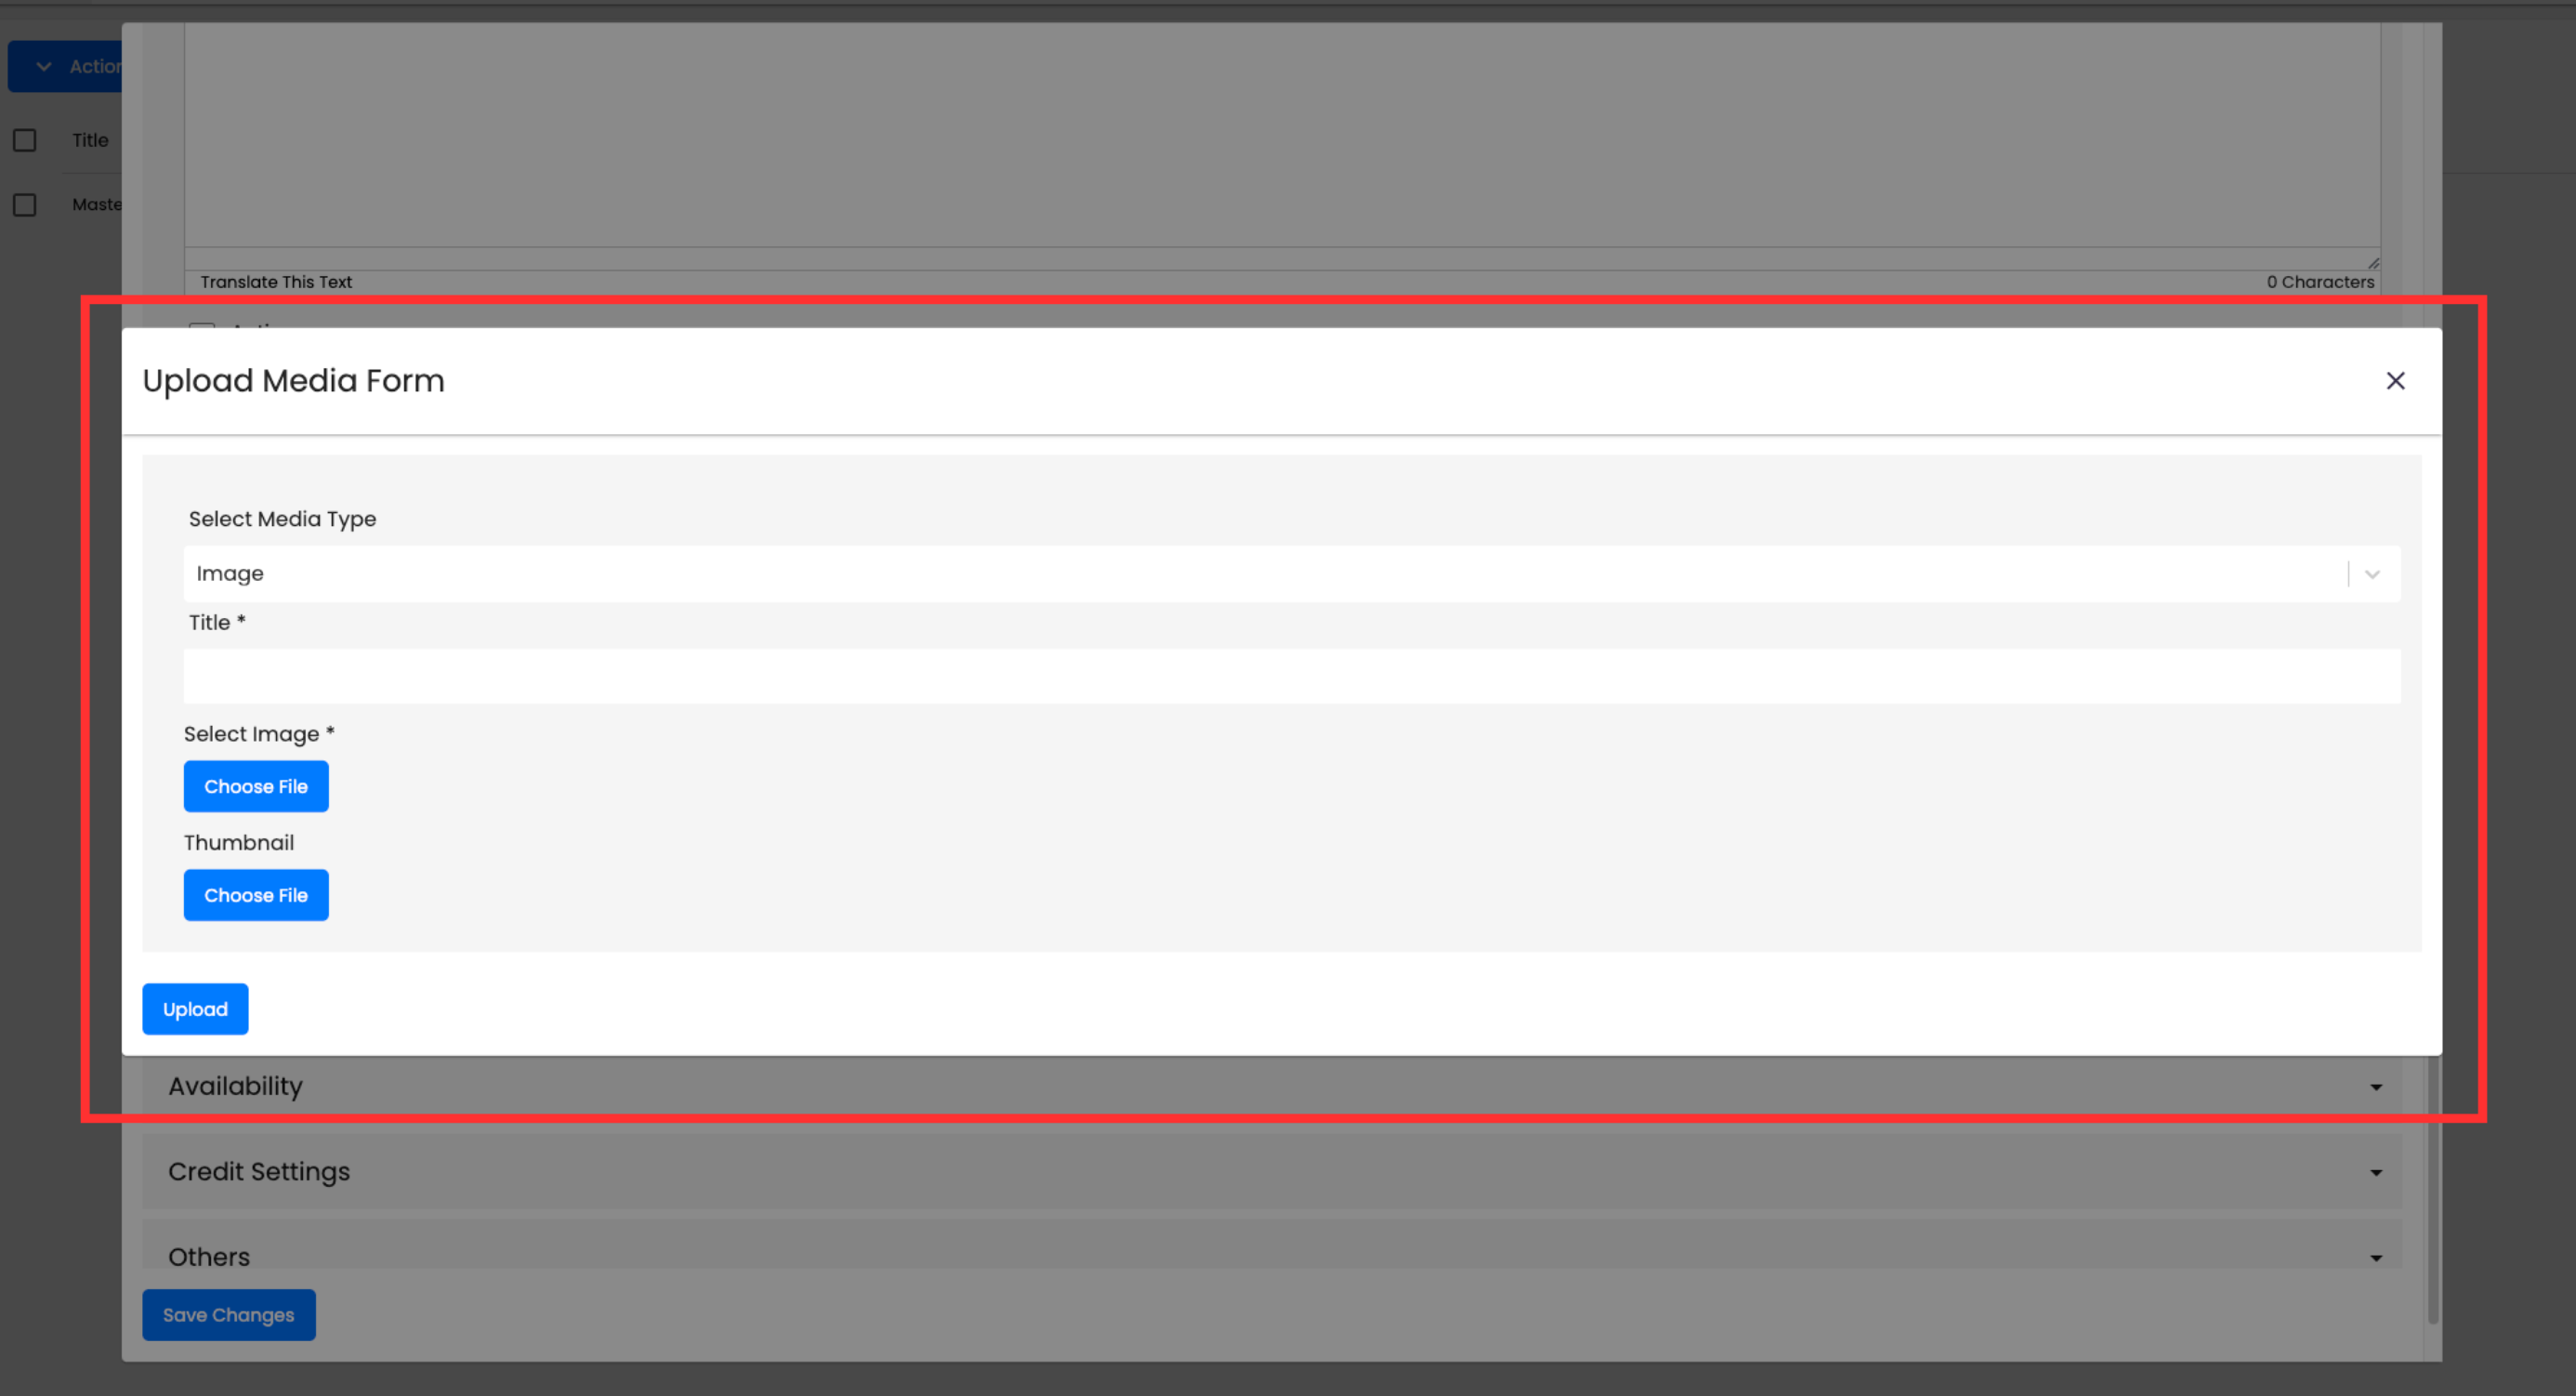
Under the Introductory Video or Banner field, select the media uploaded by your organization to be displayed along with the course, or select Upload New Media to create your own

- Under the Select Media Type field, select Image, Video, or PDF to determine what format the file will be uploaded in
- Under the Title field, enter a name for the file
- Under Select Image or Select File, select Choose File to upload your file
- Under Thumbnail, select Choose File to upload a preview image for the file
Select Upload


Availability

| Setting | Description |
|---|---|
| Registration Start Date | Enter the date when registration becomes available. |
| Registration End Date | Enter the date when registration will close. |
| Registration Start Time | Enter the time when registration becomes available. |
| Registration End Time | Enter the time when registration will close. |
| Access Start Date | Enter the date when course content becomes available. |
| Access End Date | Enter the date when course content will no longer be accessible. |
Credit Settings

| Setting | Description |
|---|---|
| Credit Type | Select the Credit Type that will be awarded upon completion of the course. |
Others

| Field | Description |
|---|---|
| Allowed Membership Types | Select the Membership Types a member must have in their account before they can enroll. |
| Automatic Enrollment of Membership Types | Select the Membership Types that will automatically enroll a member in the course. |
| Disable Fast-Forwarding Video | Toggle this checkbox on to prevent members from using playback controls for lesson videos. |
| XAPI Webhook | Enter the URL for any third-party webhook your organization wants to use. |
Once configured, select Save Changes to create your course.
Utilizing the Course Builder
With the course completed, individual lessons and forms can be added to the course with Course Builder. WIthin a course, there are modules and each module has lessons inside them.
- From the Membership Dashboard, navigate to Lessons > Courses
- Select the checkbox of the course you wish to edit
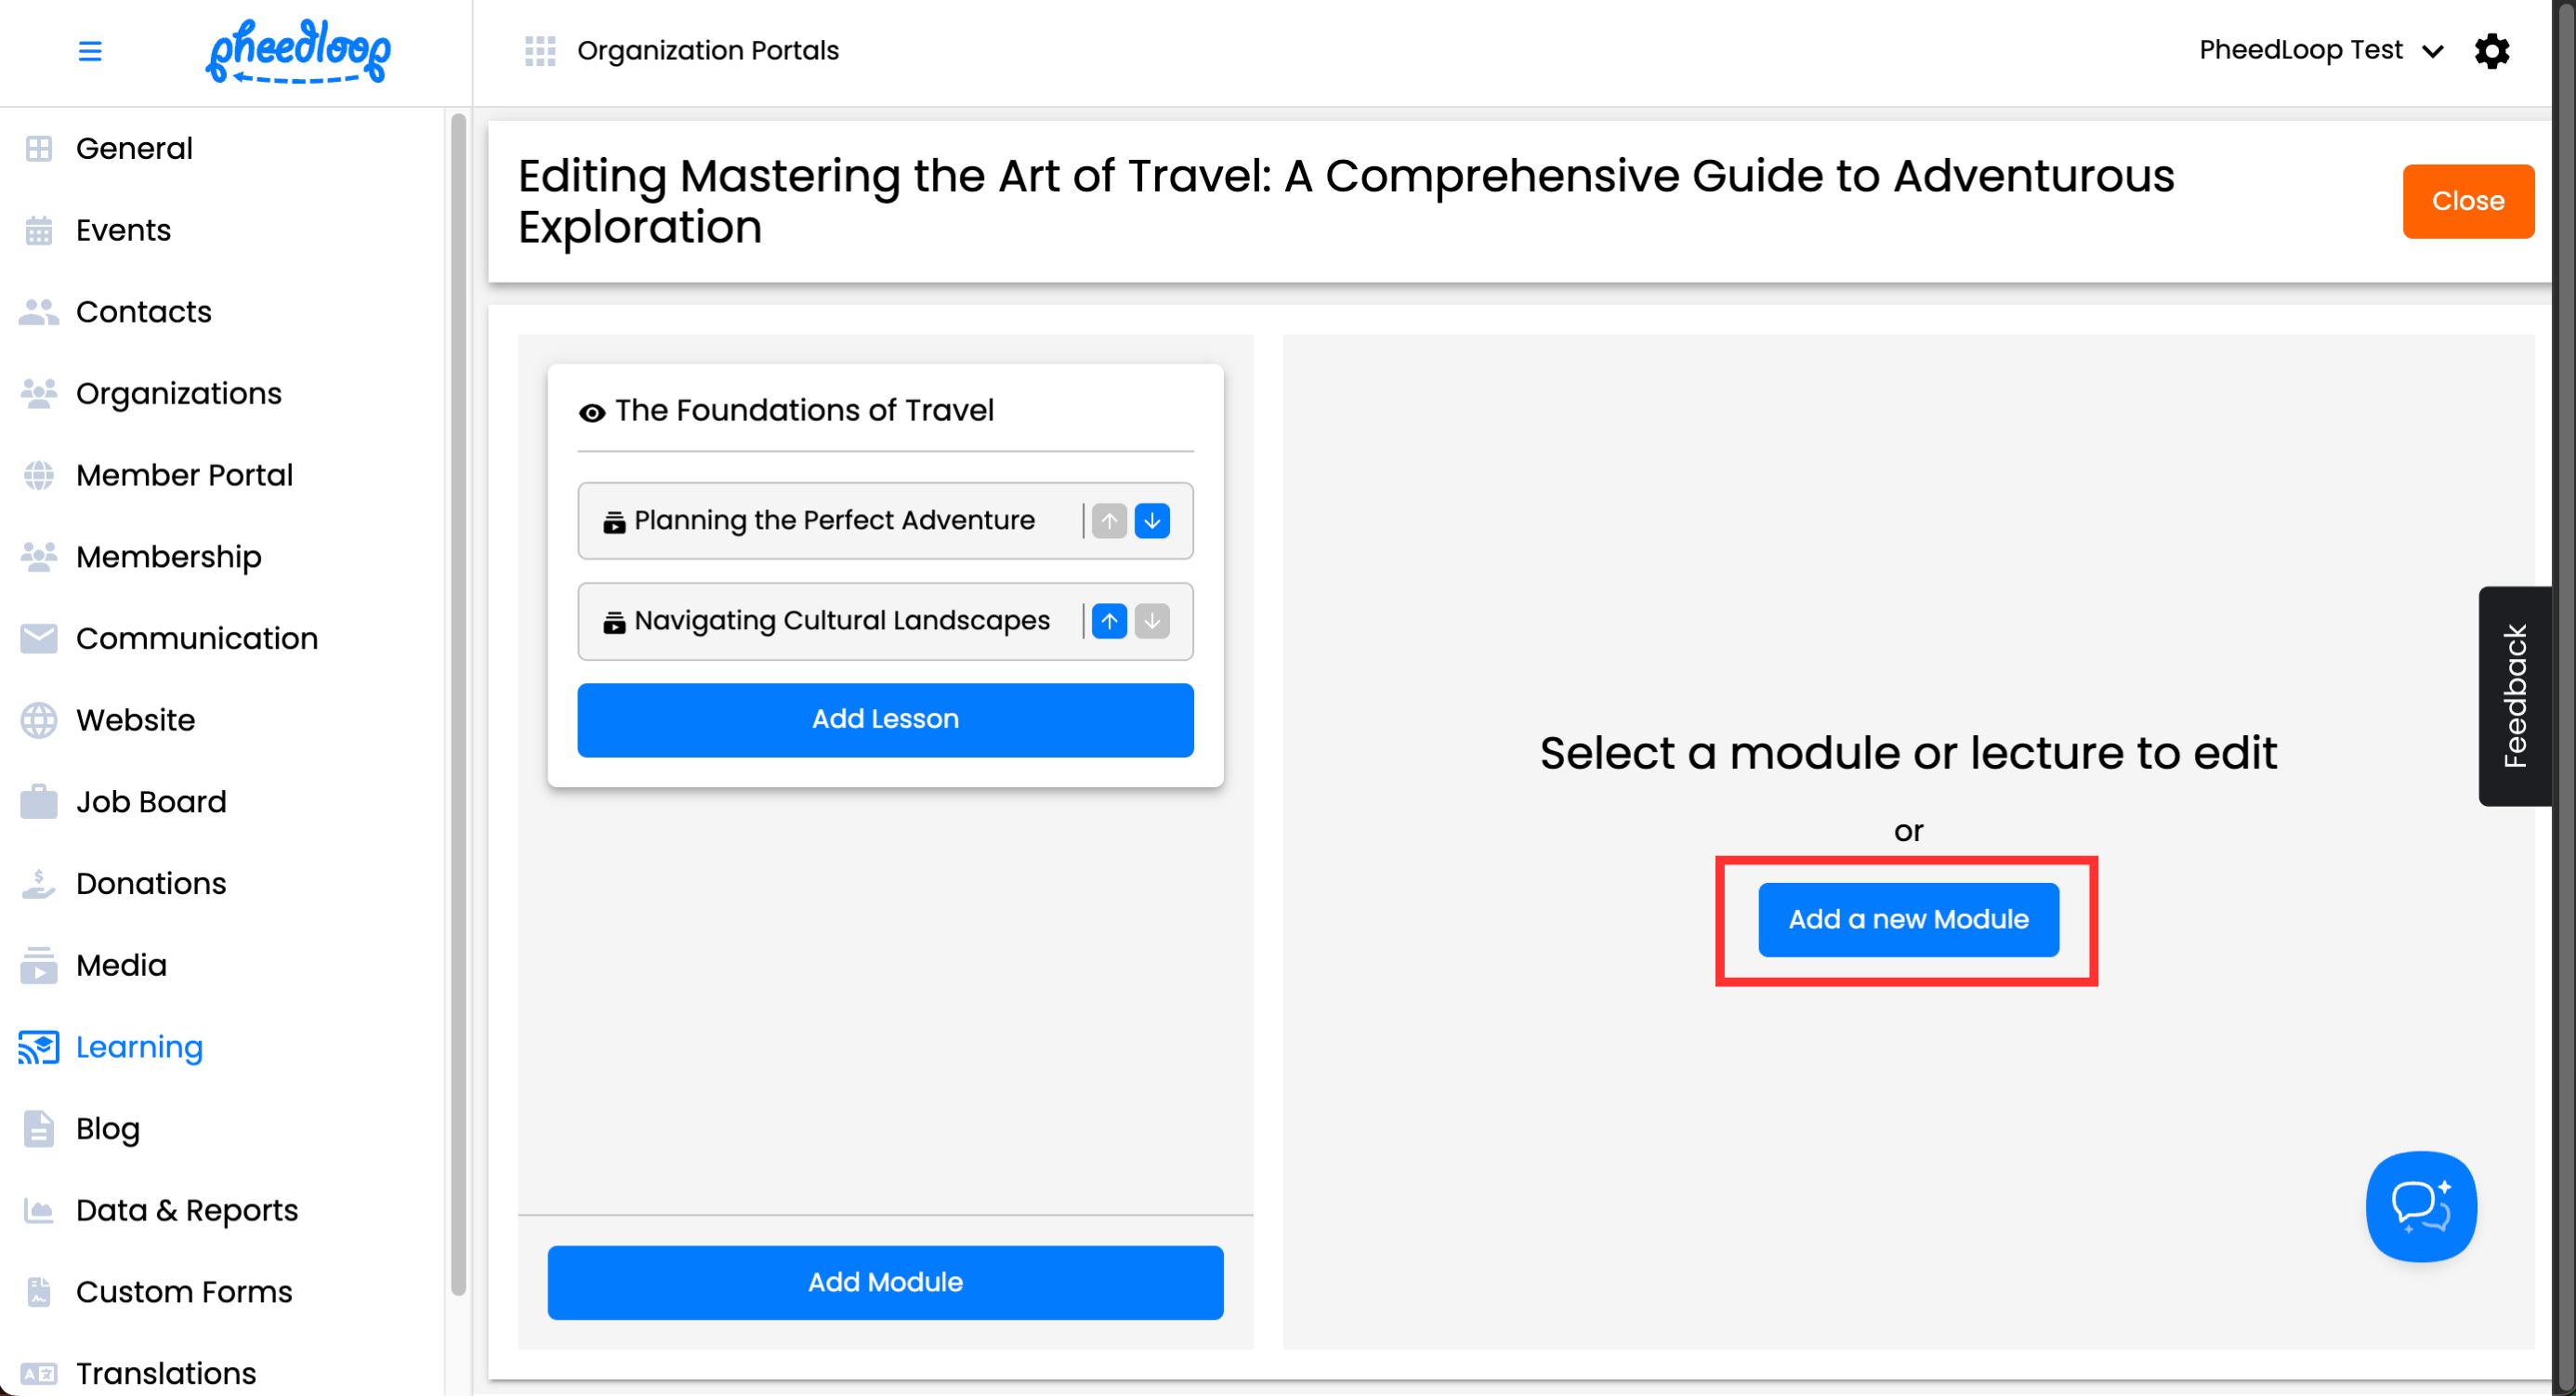
Above the Courses table, select Actions > Open Course Builder

Select Add a New Module
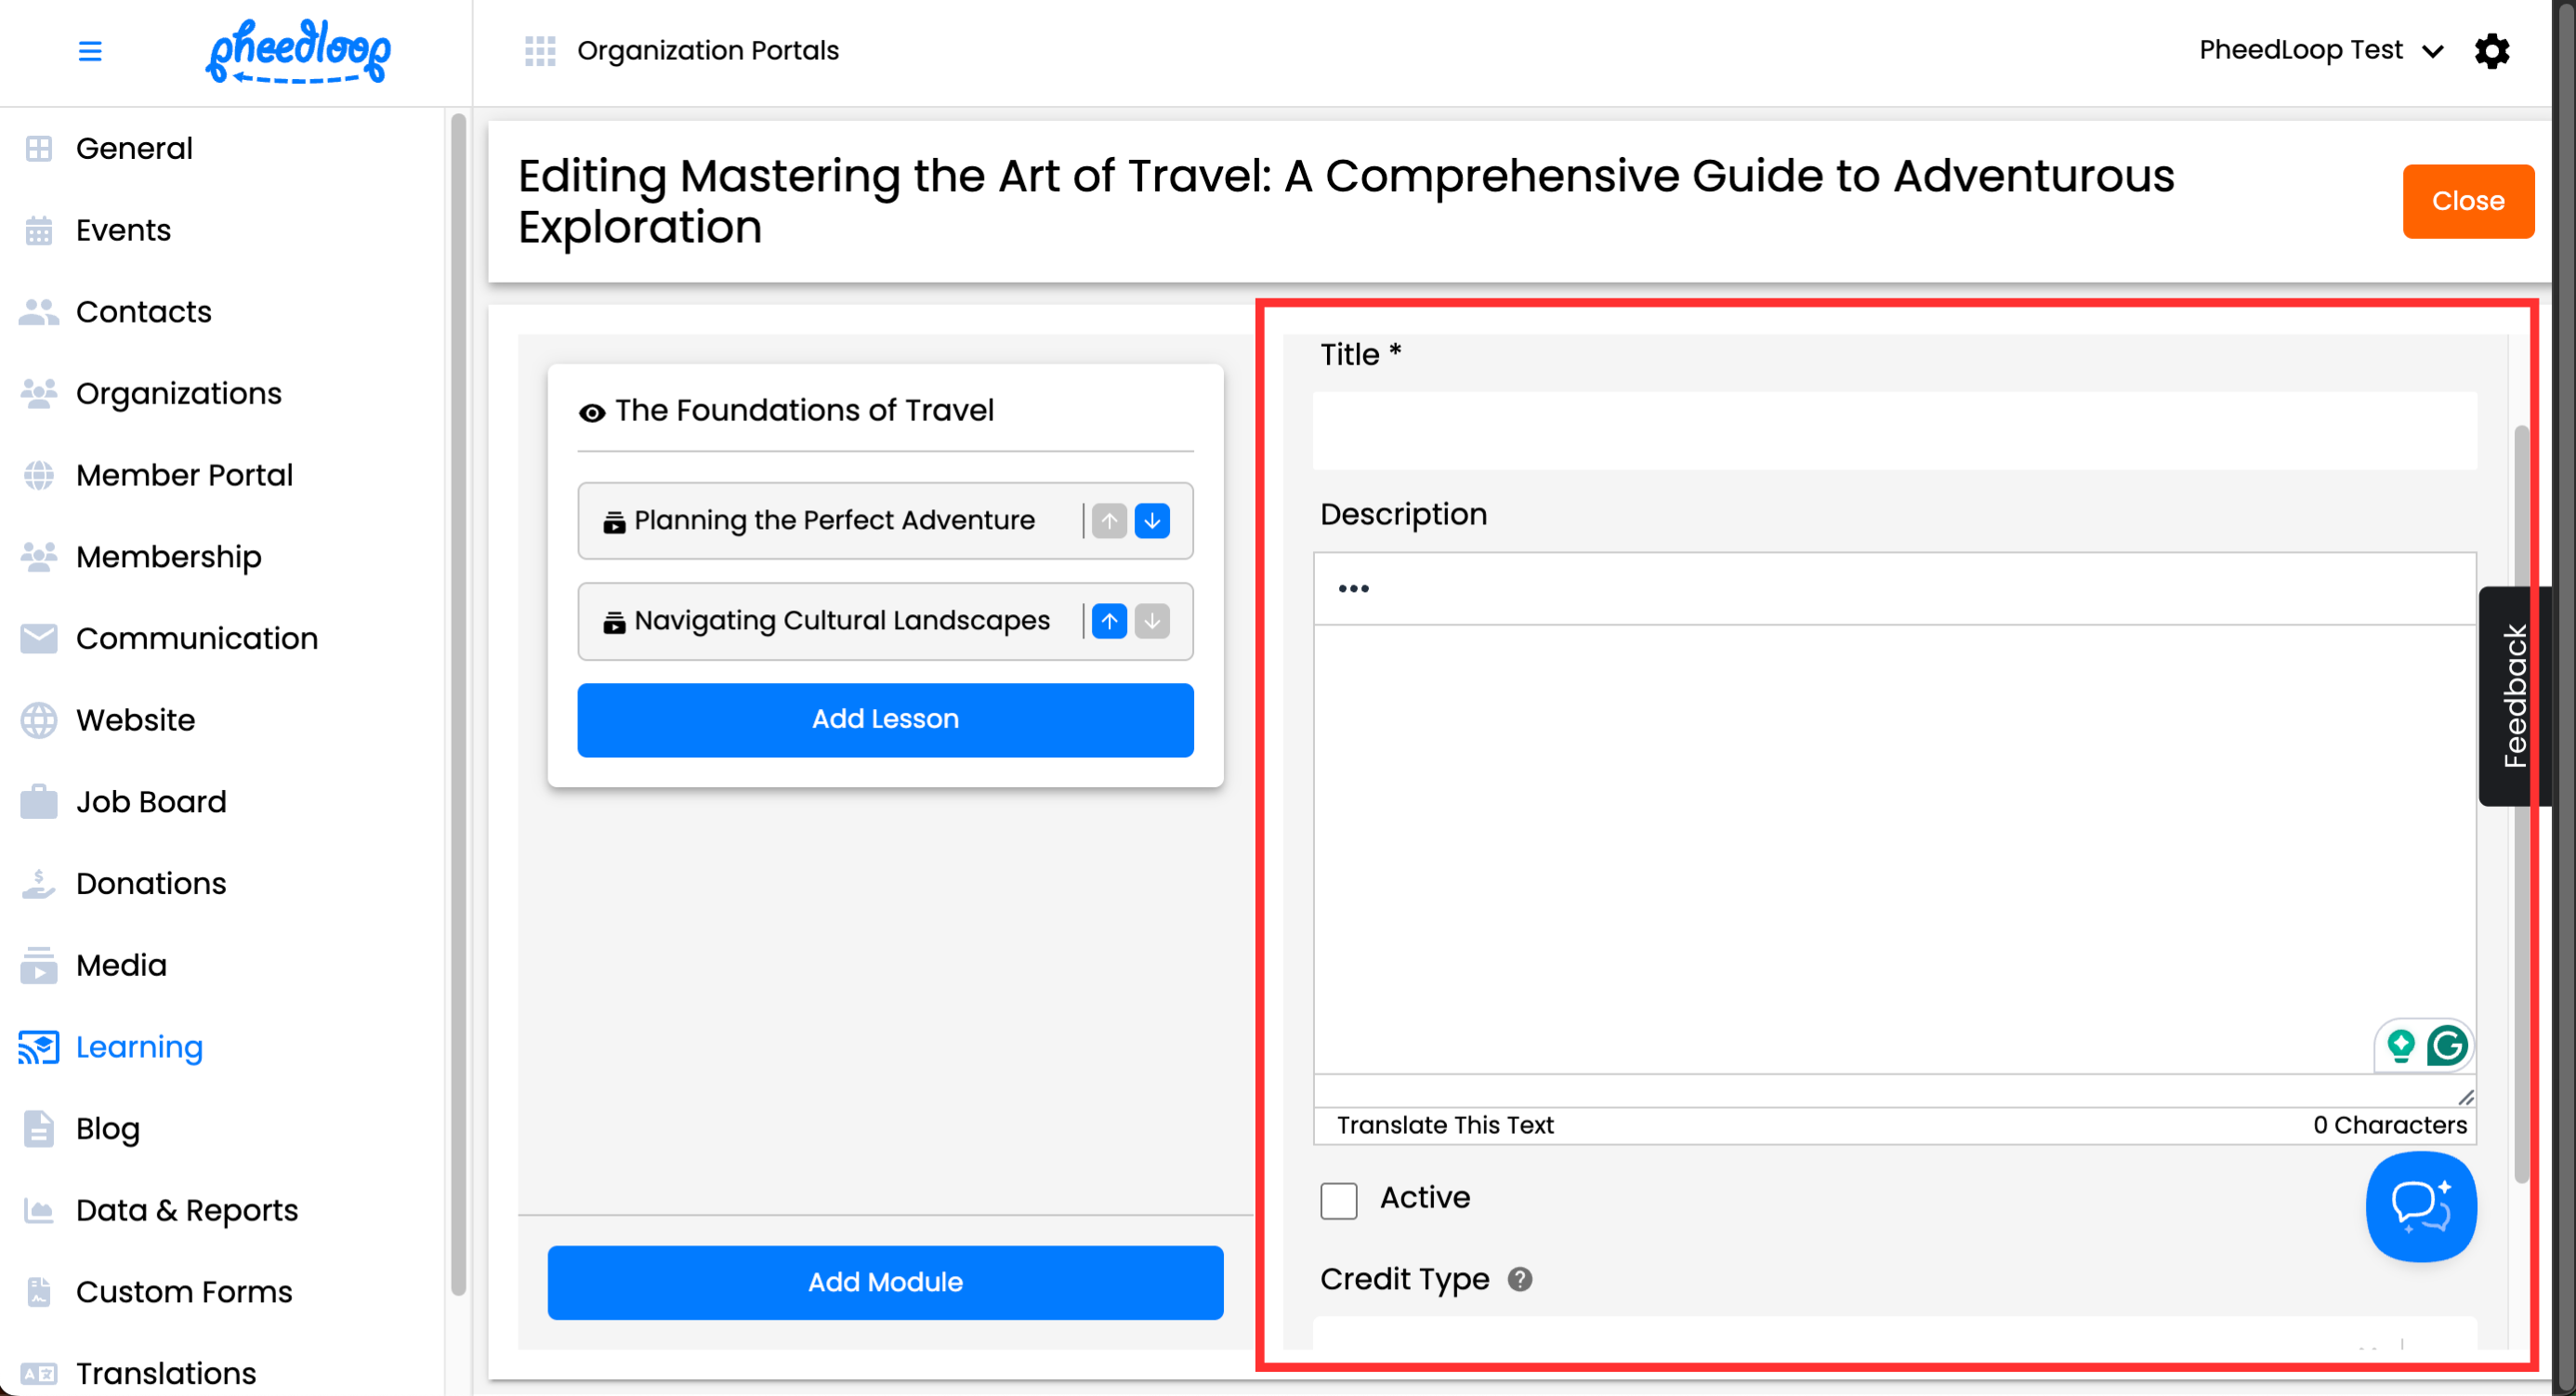
- Configure the following settings as required:
- Under the Title field, enter a name for the course
- Under the Description field, enter the description for the course
- Toggle on the Active checkbox to make the course available for Members to view and enroll in
- Under the Credit Type field, select the Credit Type to be awarded upon completion of the lesson
Select Create Module


The module will now be added to your course. You can further add lessons or forms for Members to complete.
- From the Course Builder, select Add Lesson > Add a Form or Add Lesson
- Select Add a Form if you wish to create a form for Members to fill out.
- Select Add Lesson if you wish to create a lesson

You will see different settings depending on which option you choose.
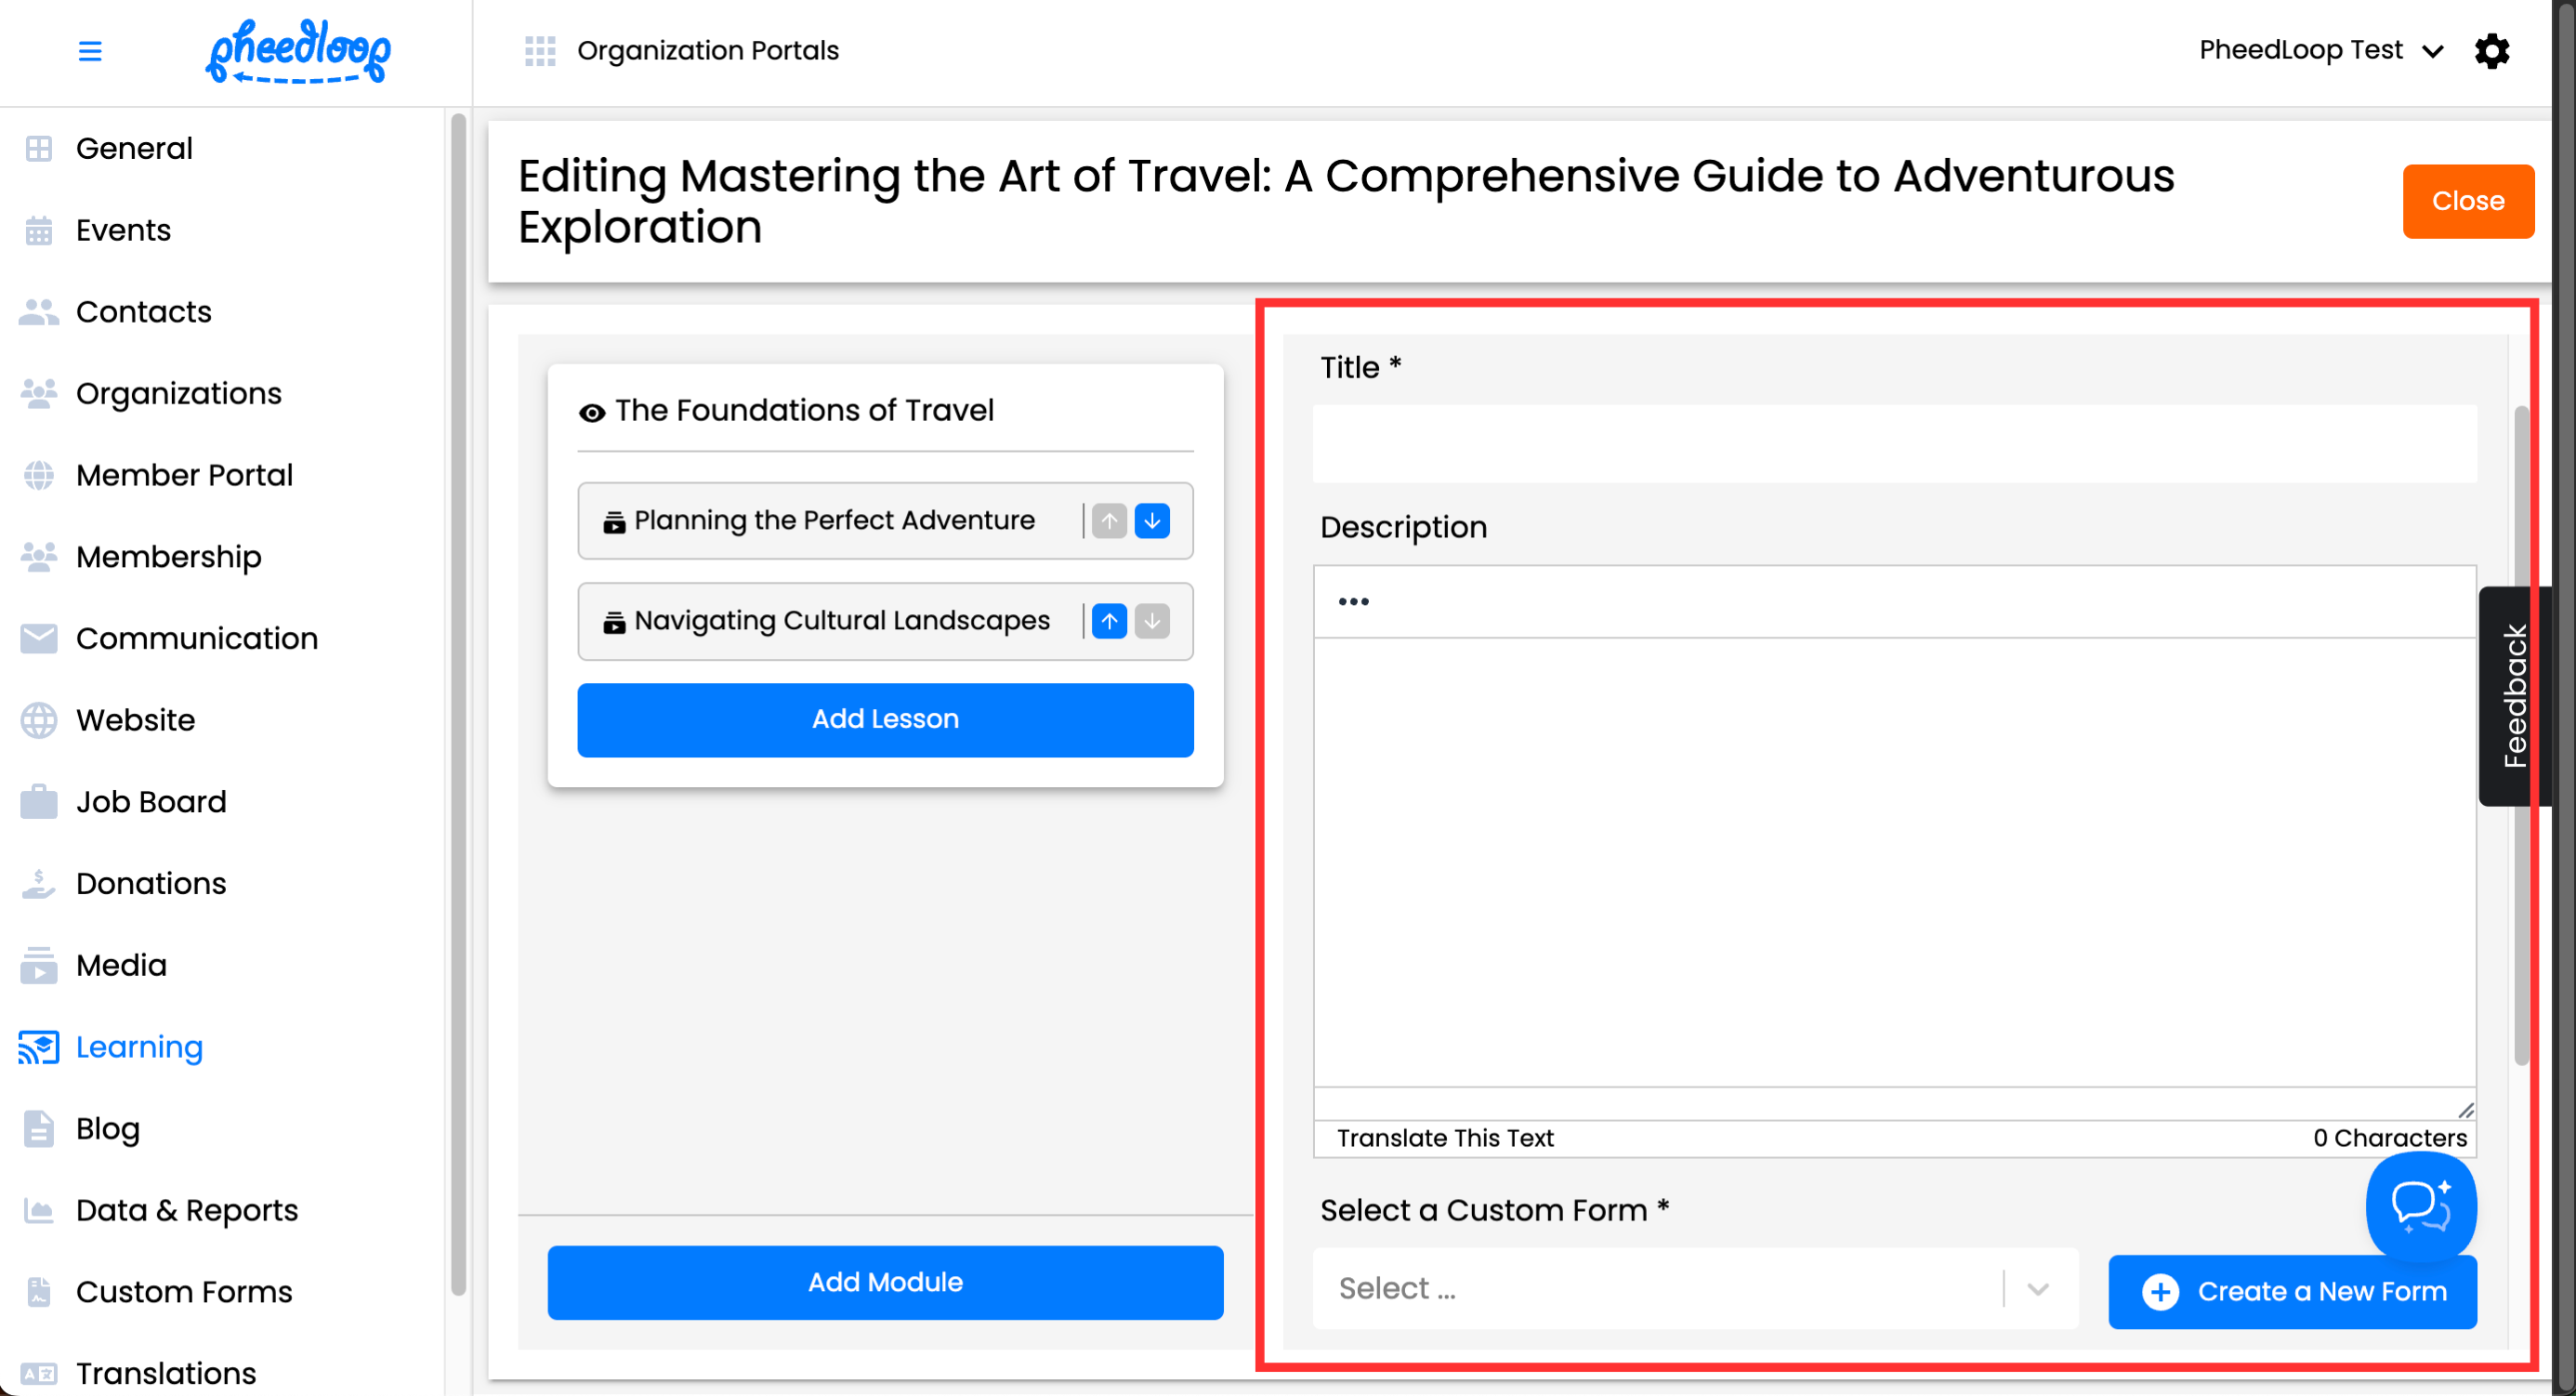
Add a Form
- Under the Title field, enter a name for the lesson
- Under the Description field, enter a description for the lesson
- Under the Select a Custom Form field, select a custom form created by your organization or select Create a New Form to make your own
- Under the Name field, enter a name for the form you wish to create.
- Under the Category field, select Quiz.
- Under the Description field, enter any additional information you wish to pass off to Members
- Select Add Question to begin creating your questions.
- Select Save Changes to create your form
- For instructions on how to create a form for forms, please review our How Quizzes Work article.
- Toggle on the Lock Form Resubmission checkbox to prevent resubmissions
- Under the Credit Type field, select the credit type to award the Member for completing the form
Select Create Lesson or Save Changes (if editting a lesson)

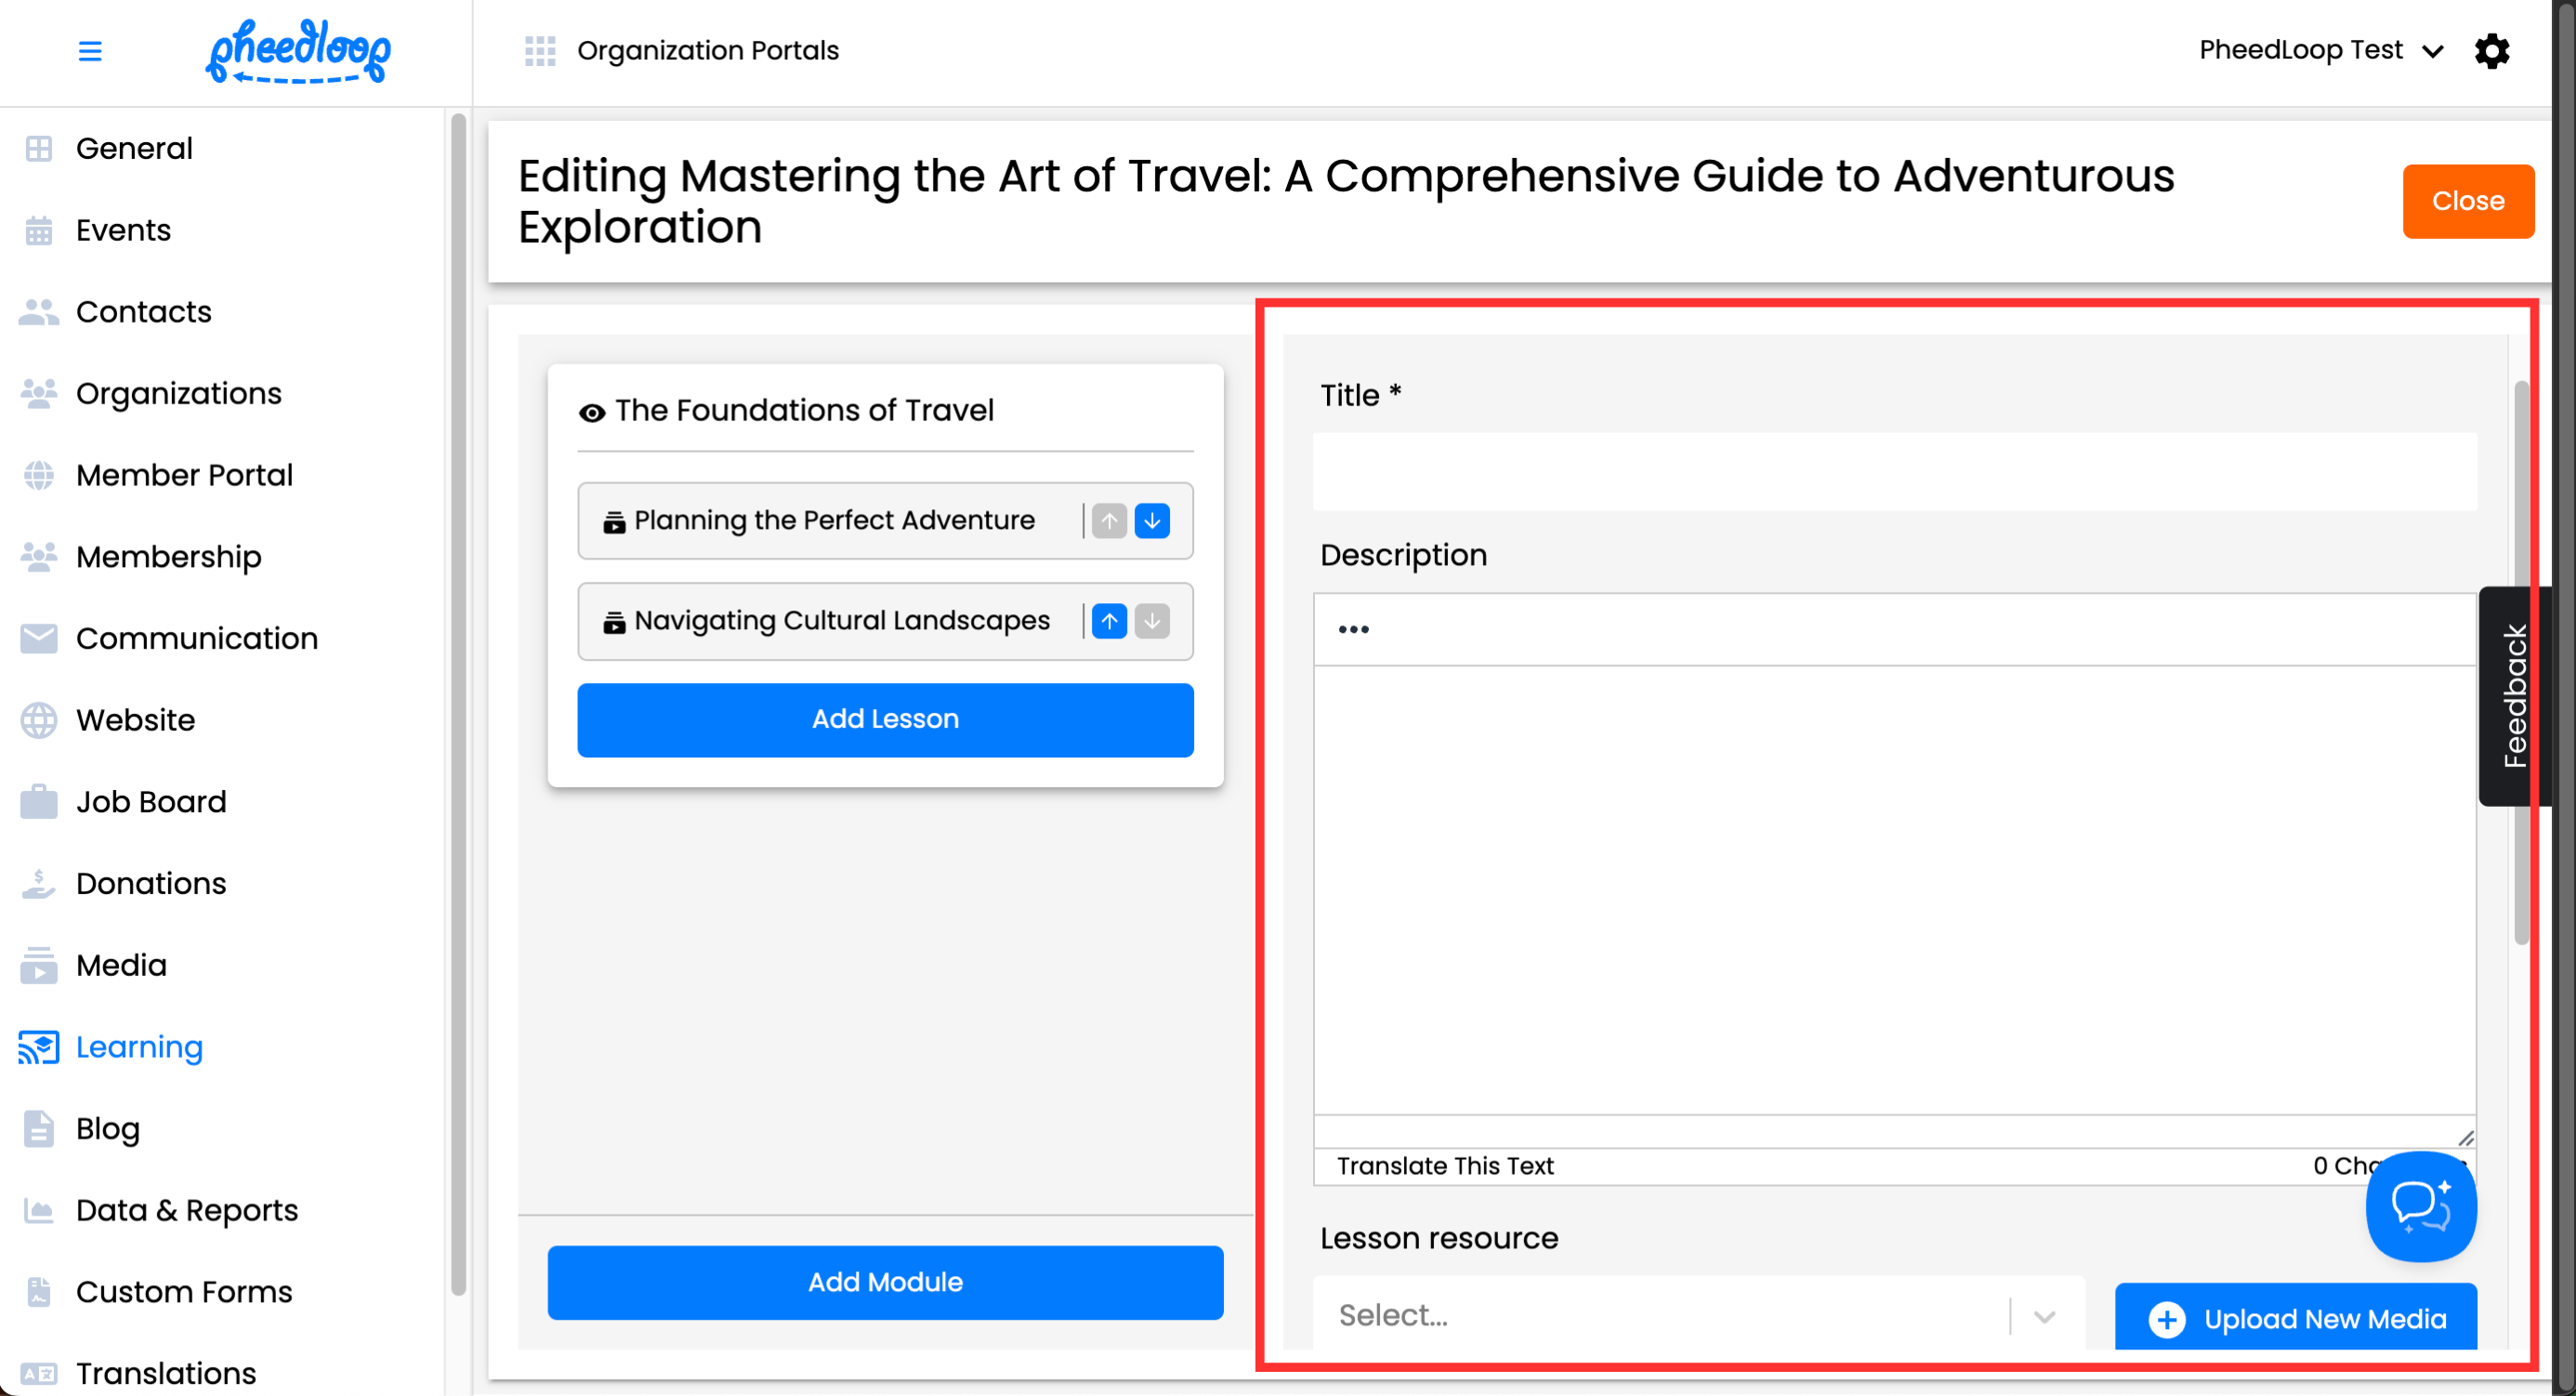
Add Lesson
- Under the Title field, enter a name for the lesson
- Under the Description field, enter a description for the lesson
- Under the Lesson Resource field, select one of the resources uploaded by your organization or select Upload New Media to create a new resource
- Under the Select Media Type field, select Image, Video, or PDF to determine what format the file will be uploaded in.
- Under the Title field, enter a name for the file.
- Under Select Image or Select File, select Choose File to upload your file. Please note, video files have a maximum of 1GB.
- Under Thumbnail, select Choose File to upload a preview image for the file.
- Select Upload.
- Under the External Video Link field, enter link to a third party video if preferred
- Please note this will override whatever is added in the Lesson Resource field.
- Under the Lesson Quiz field, select the quiz you wish to include as part of the lesson
- For instructions on how to create a quiz for lessons, please review our How Quizzes Work article.
- Under the Credit Type field, select the credit type to award the Member for completing the lesson
Select Save Changes

Rearranging Lessons in the Membership Dashboard
Lessons can be easily arranged by selecting the up or down arrows to move the lesson. Moved lessons are saved automatically.

Enrolling in a Course
We recommend enrolling in the course as a test to ensure everything works properly.
- From the Learning Portal, navigate to Browse
- Select Add for the course(s) you wish to test
- Under the Discount Code field, enter a promotion code if configured for your Learning Portal
- Under the Payment Method field, select the payment method you wish to pay by
Select Checkout


You will now be taken to the success page, confirming you have been enrolled in the course.
Deleting a Course
Courses can be removed from the Membership Dashboard if necessary.
- From the Membership Dashboard, navigate to Learning > Courses
- Select the checkbox of the course you wish to delete
Above the Courses table, select Delete
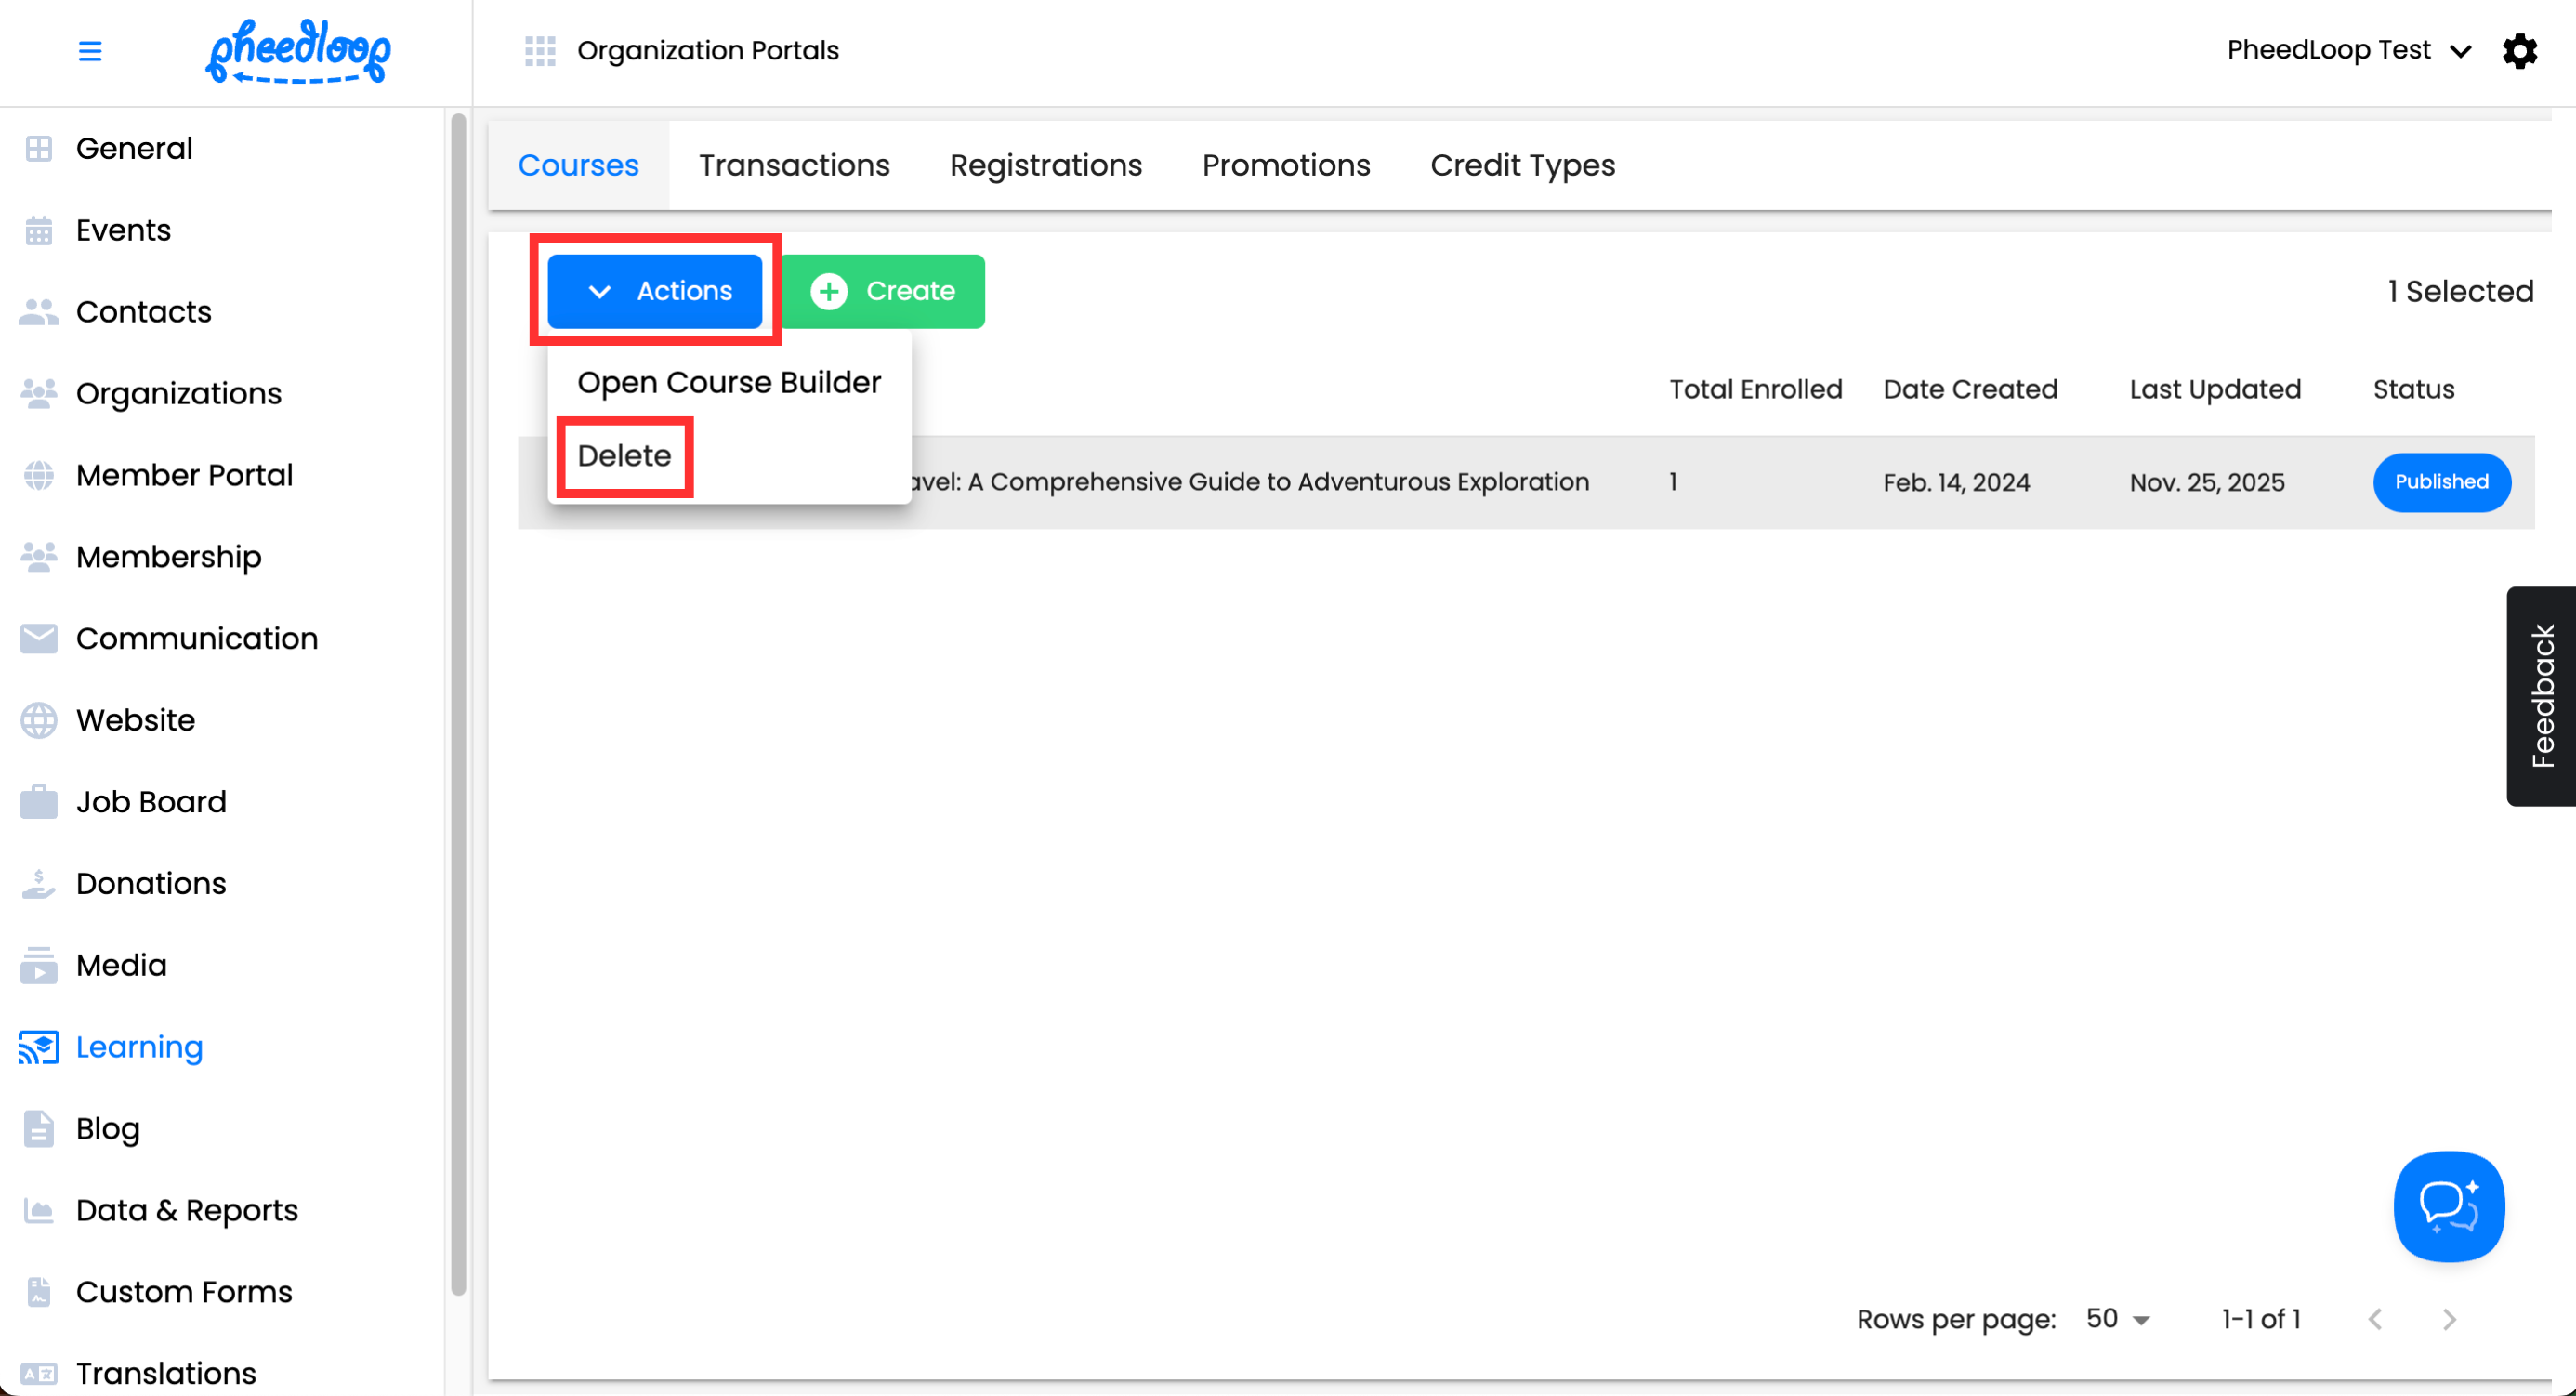
Select Confirm


