How to Create, Duplicate or Clone Events
Events in PheedLoop can get pretty detailed and comprehensive over the many weeks and months of effort you put into them, and chances are the next event you're planning is quite similar. Especially when it comes down to the general settings, graphics, and more. You'll likely have different content and slightly different branding, but your settings in particular are ones you've fine tuned and would certainly like to re-use.
Enter PheedLoop's event duplication features, which make it extremely easy to copy loads of information when creating a new event, as well as later on (copying data from previous events).
Note: Duplicating and copying data from events is not a two-way sync, it's a copy function. The only exception is attendee profiles and their profile information.
Creating an Event
Whether you are new to PheedLoop or a returning client, creating an event for your organization is a simple process.
Step 1 - Logging in to dash.pheedloop.com
If you haven’t already done so, login to dash.pheedloop.com to proceed. Once logged in you’ll be taken to the home page.
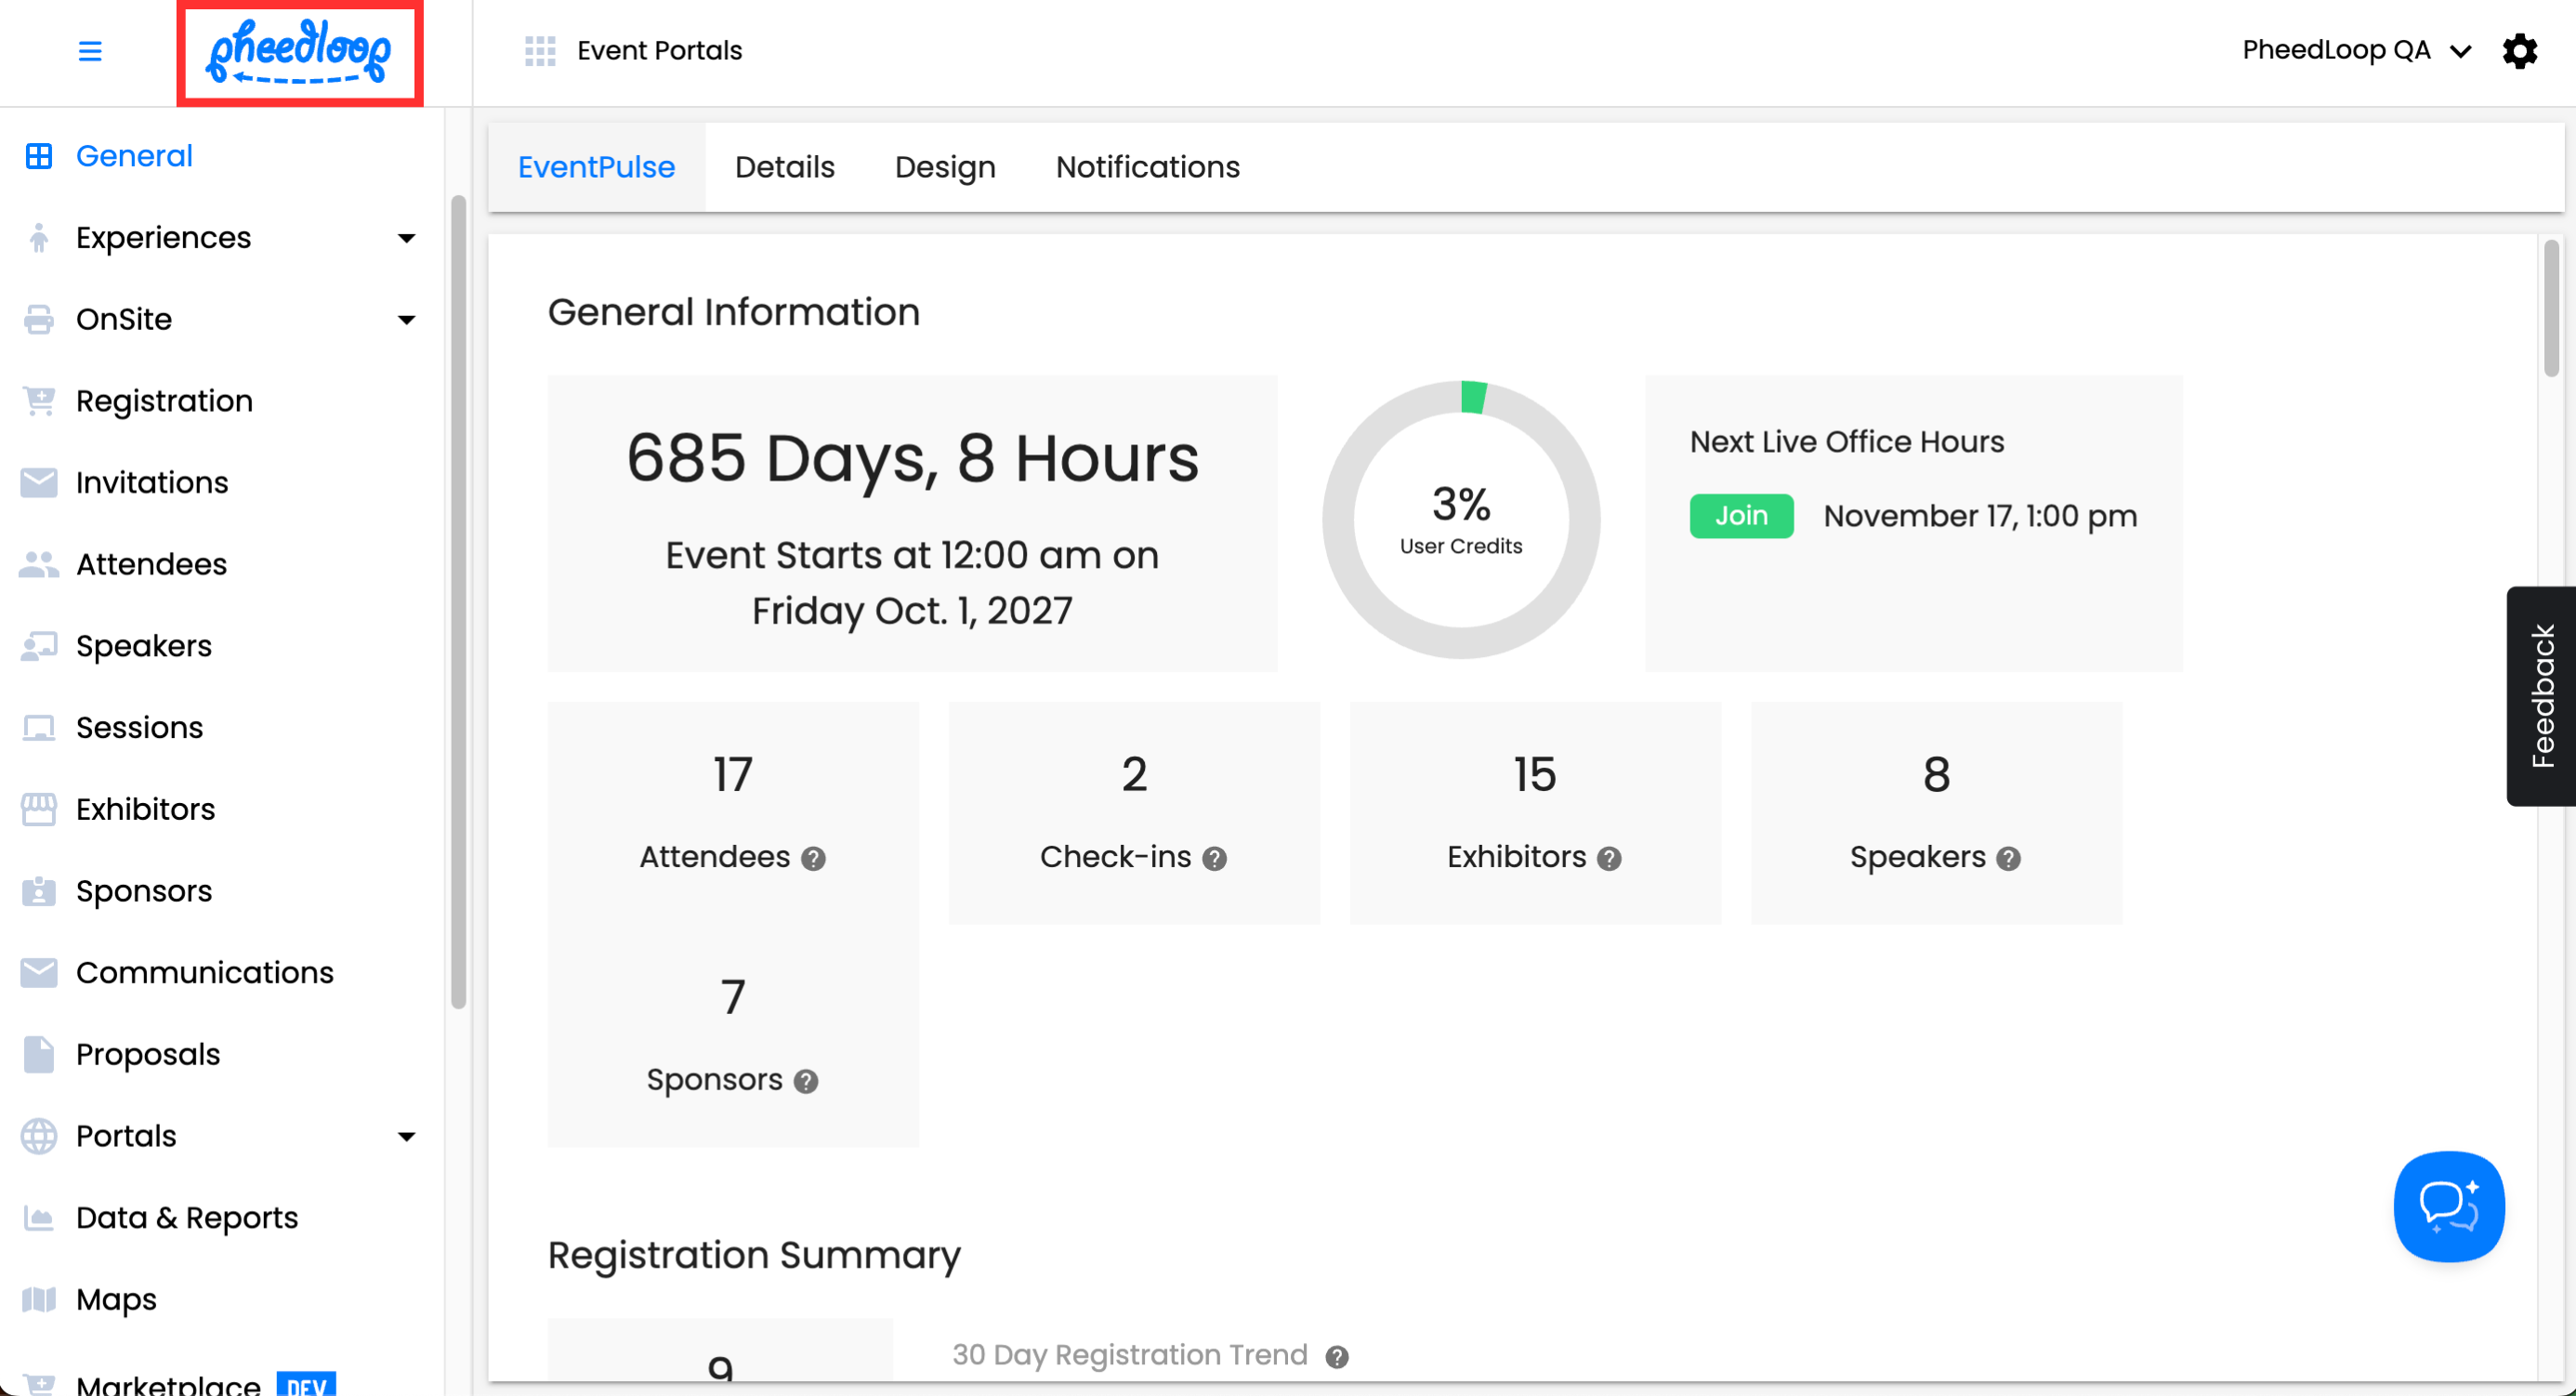
Accessing the homepage from the Event Dashboard
If you are already logged into PheedLoop, you can access the dashboard's homepage by selecting the PheedLoop icon on the top left corner of your screen.
Step 2 - Creating your Event
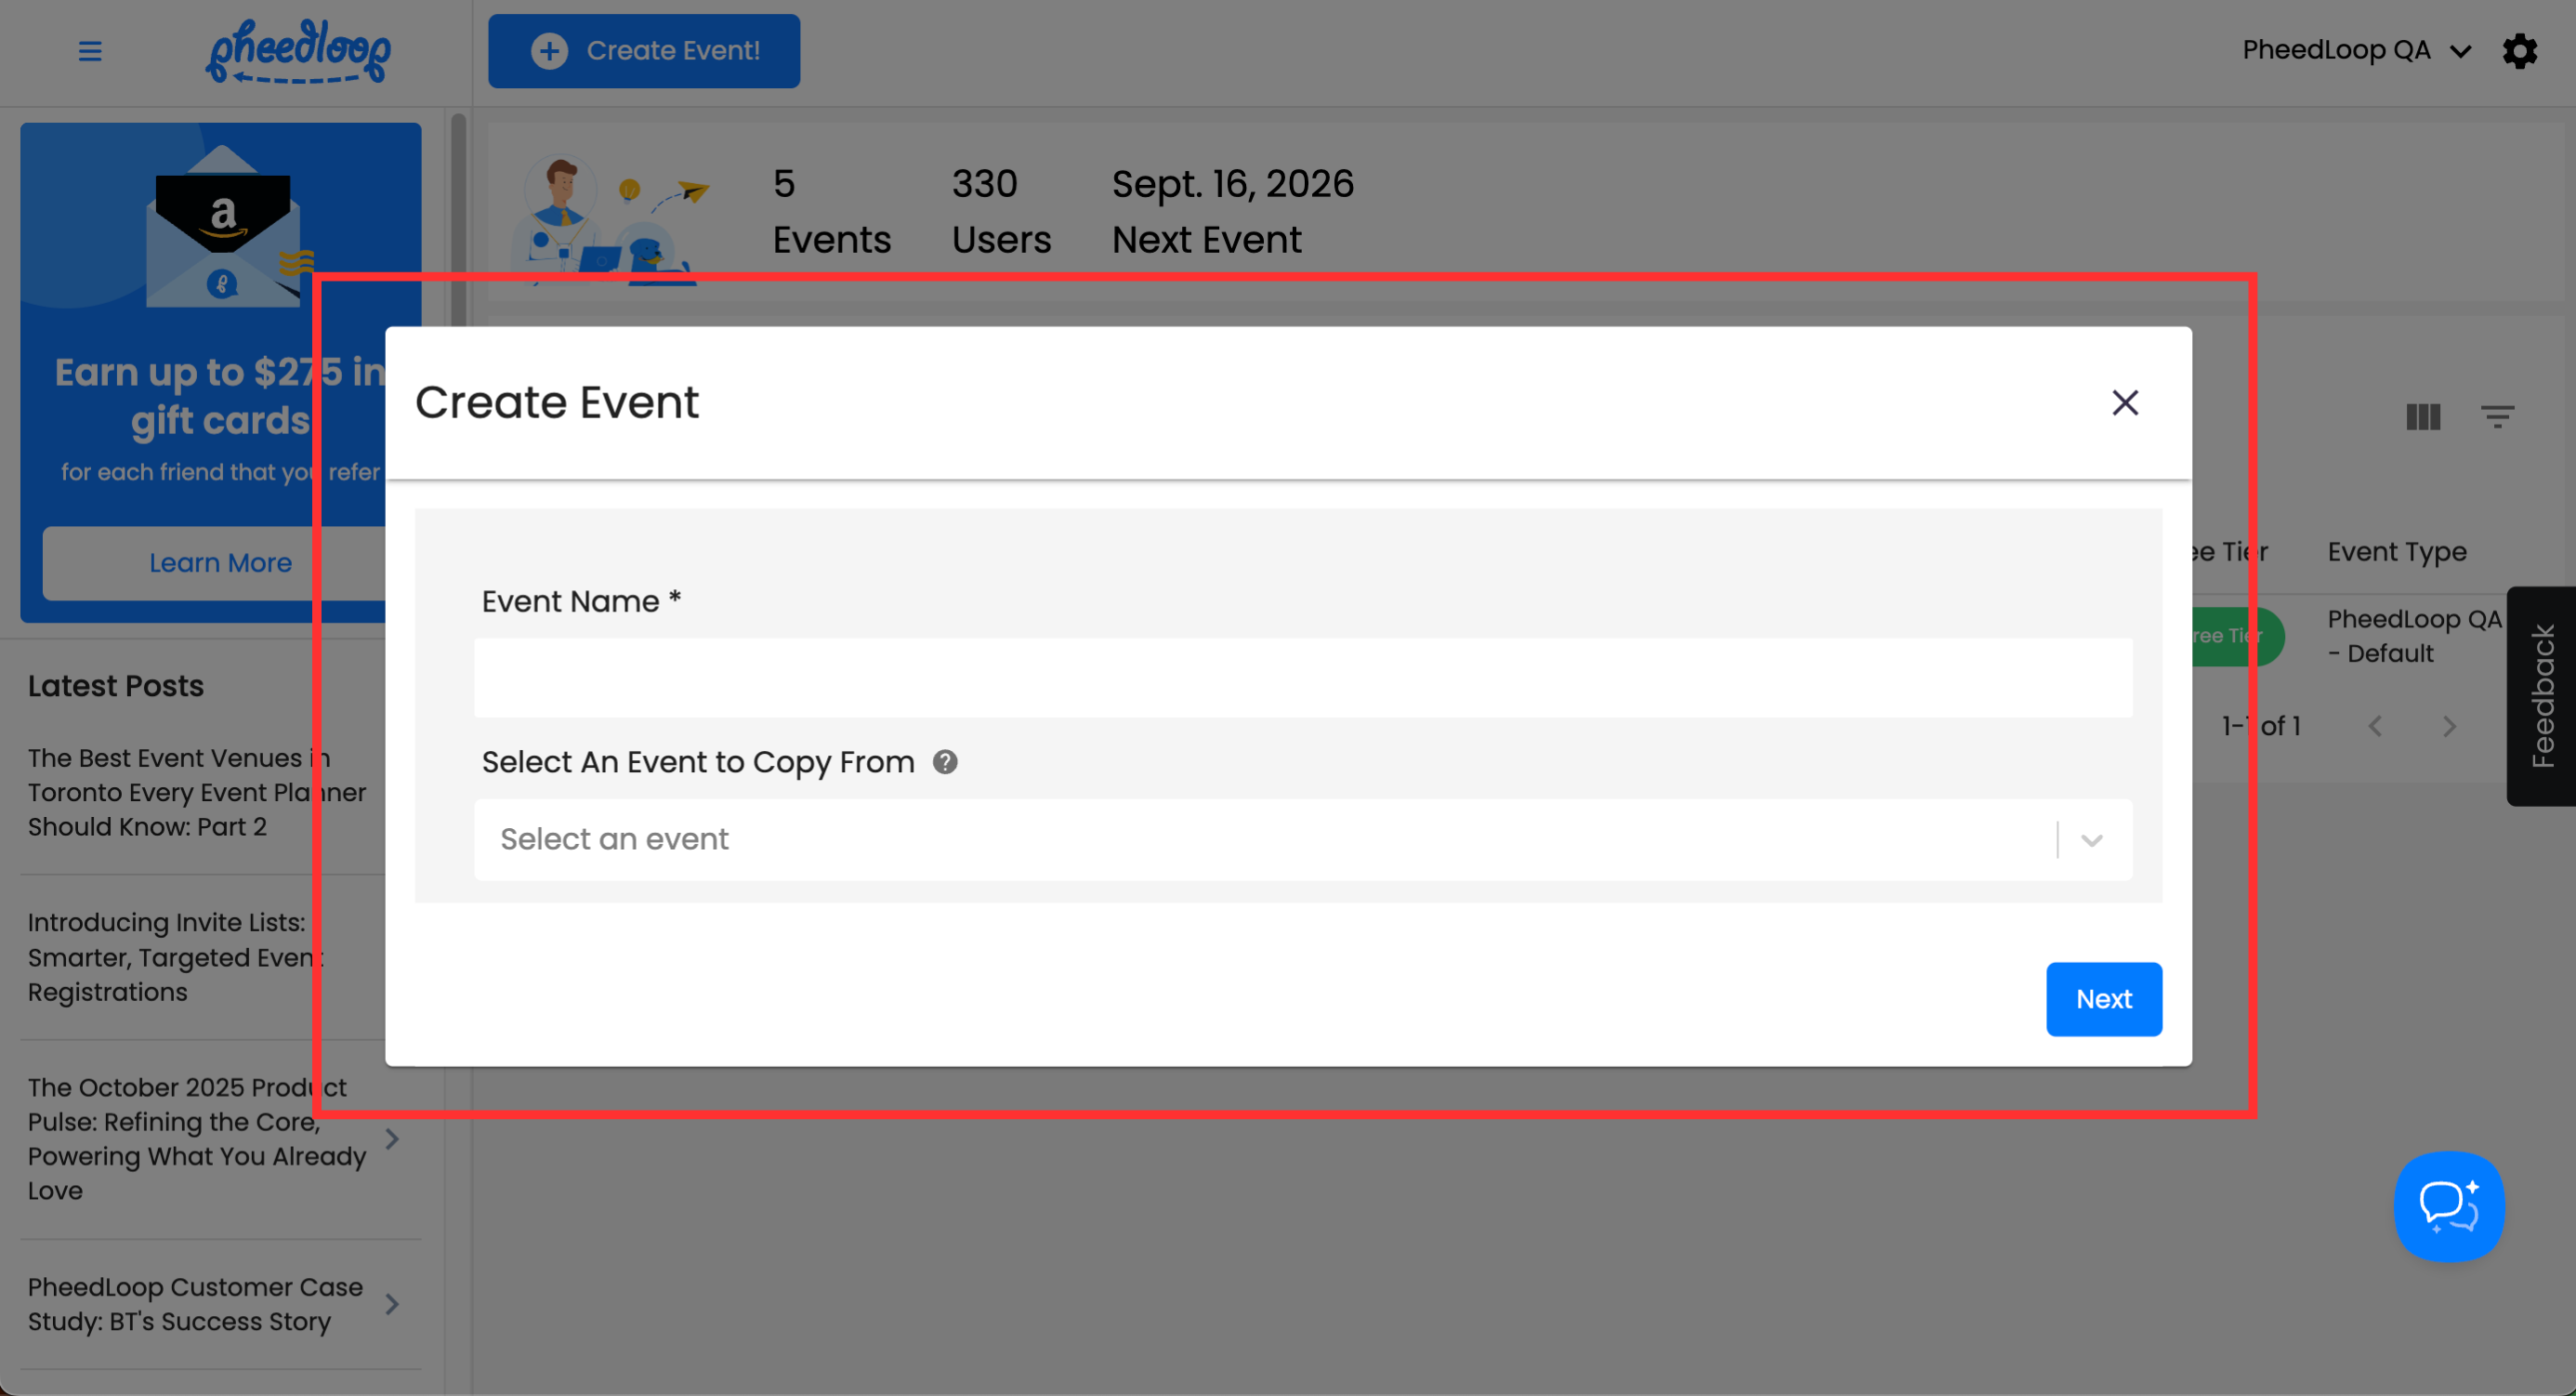
The options for copying will be available in the Event Creation window.
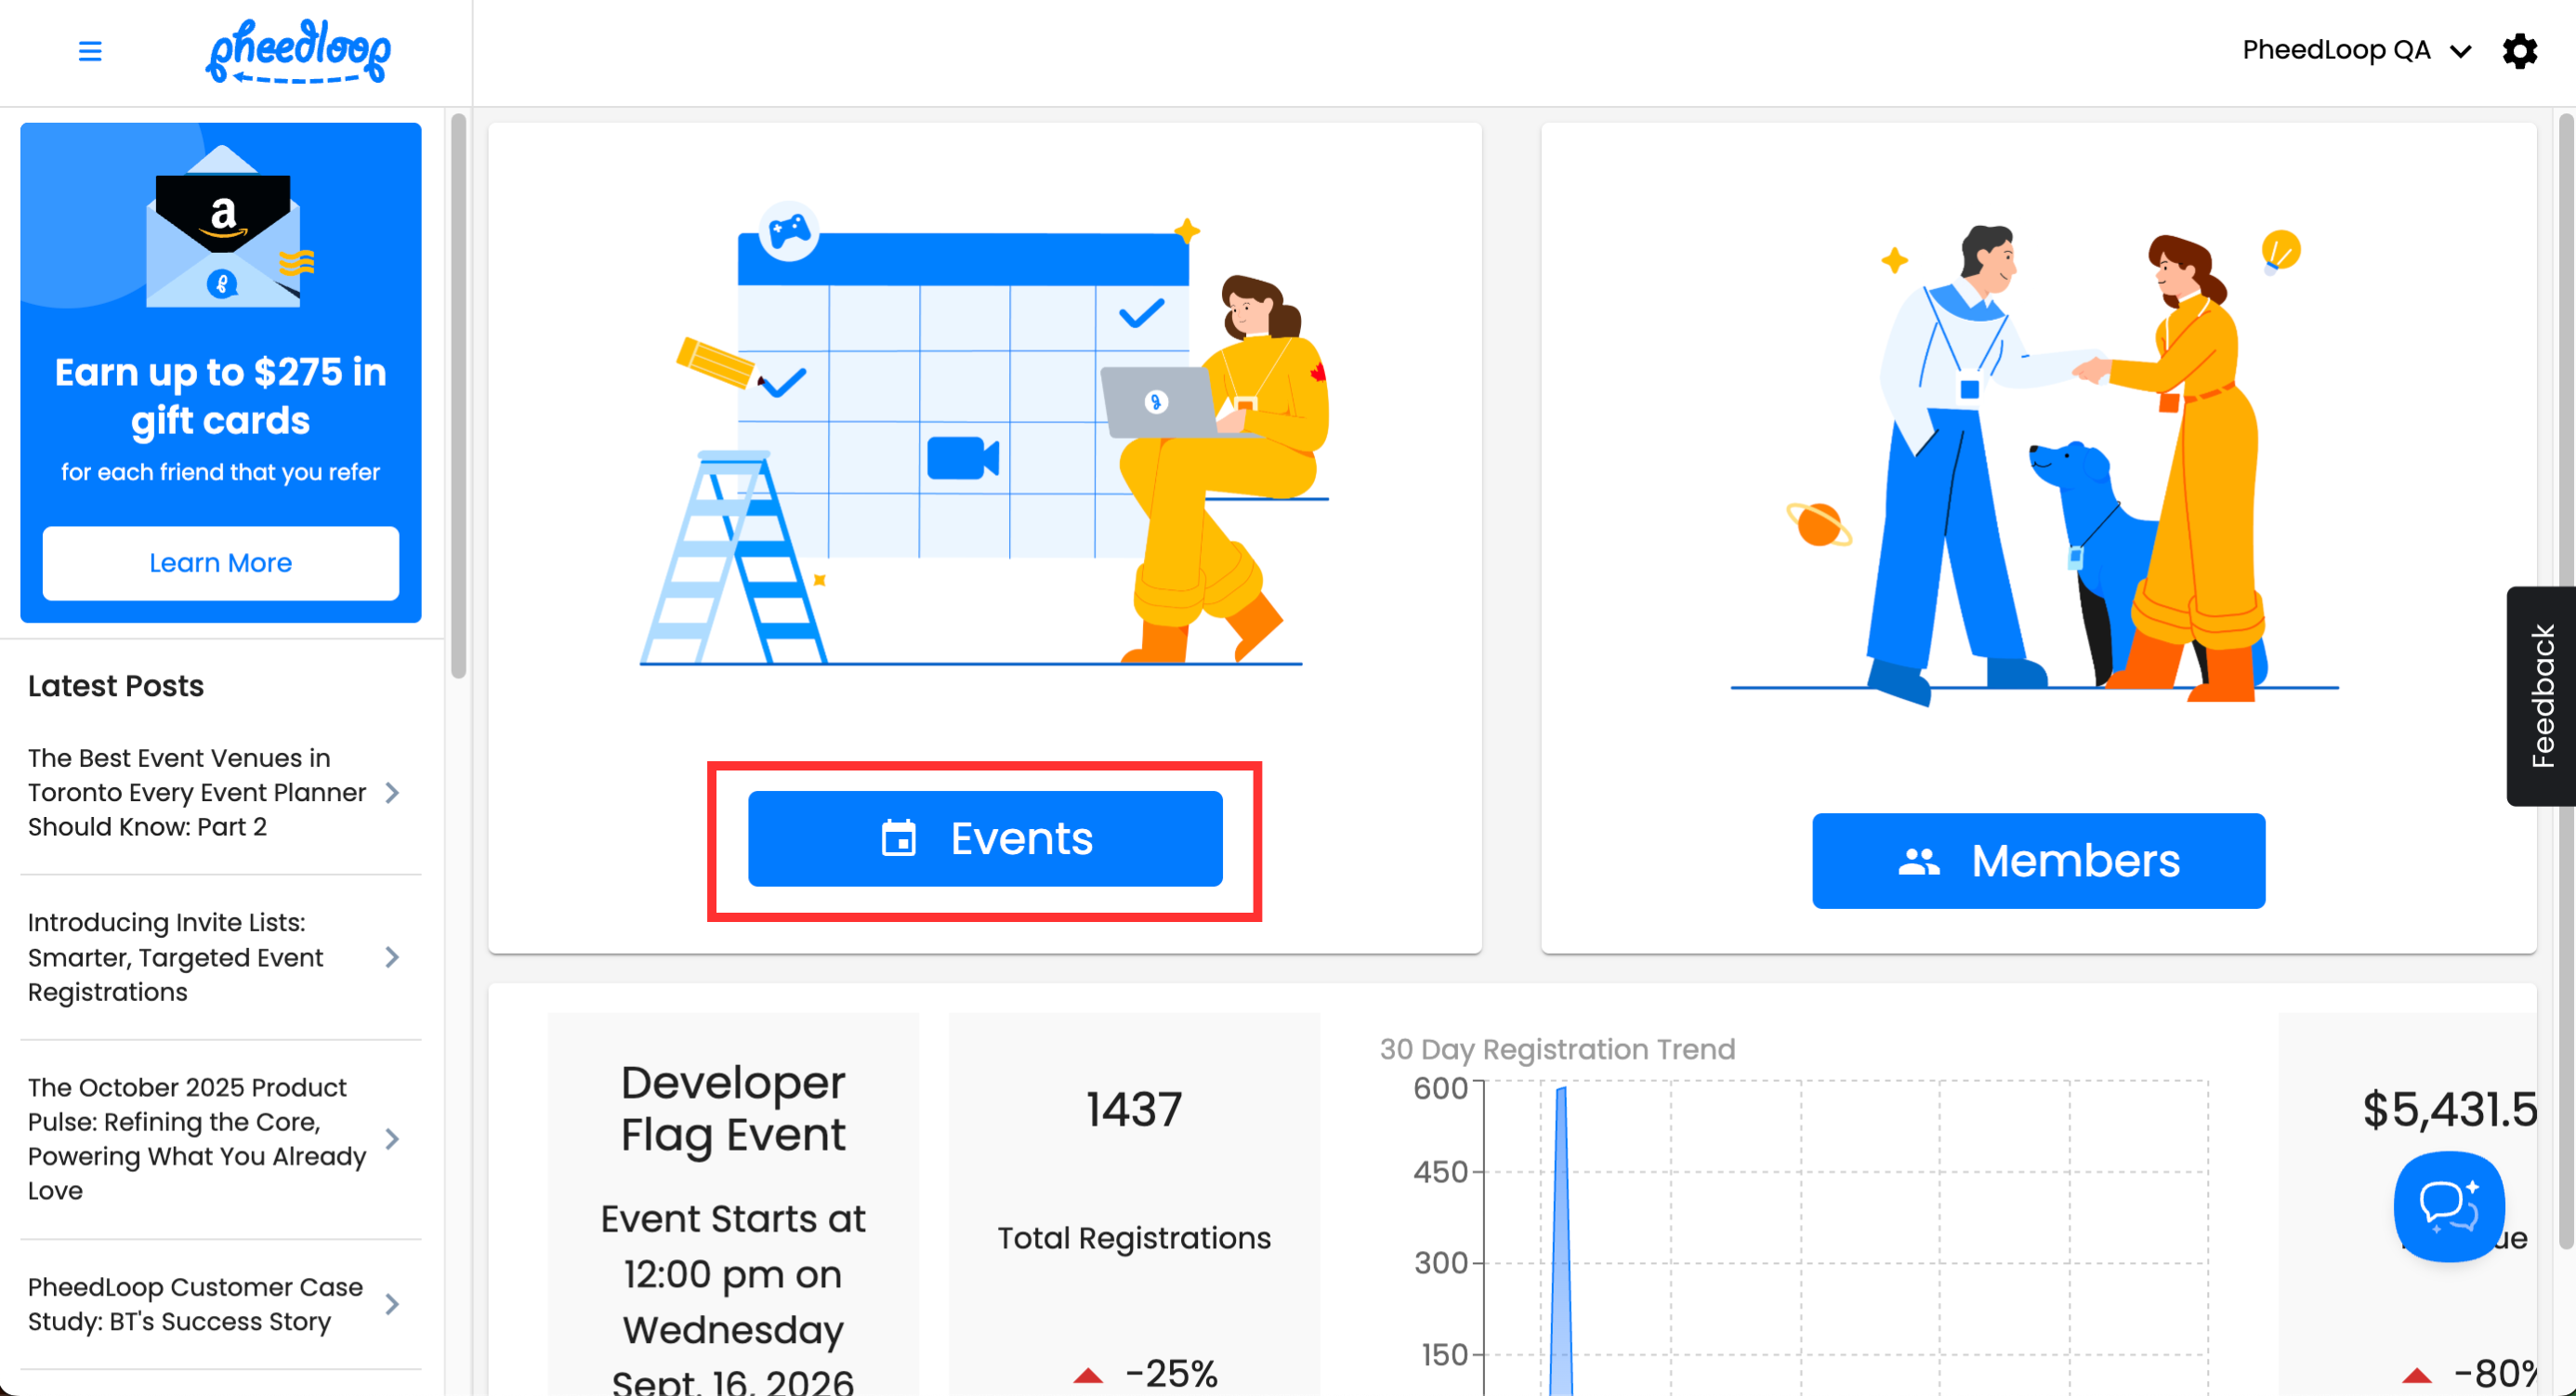
From the Homepage, navigate to Events
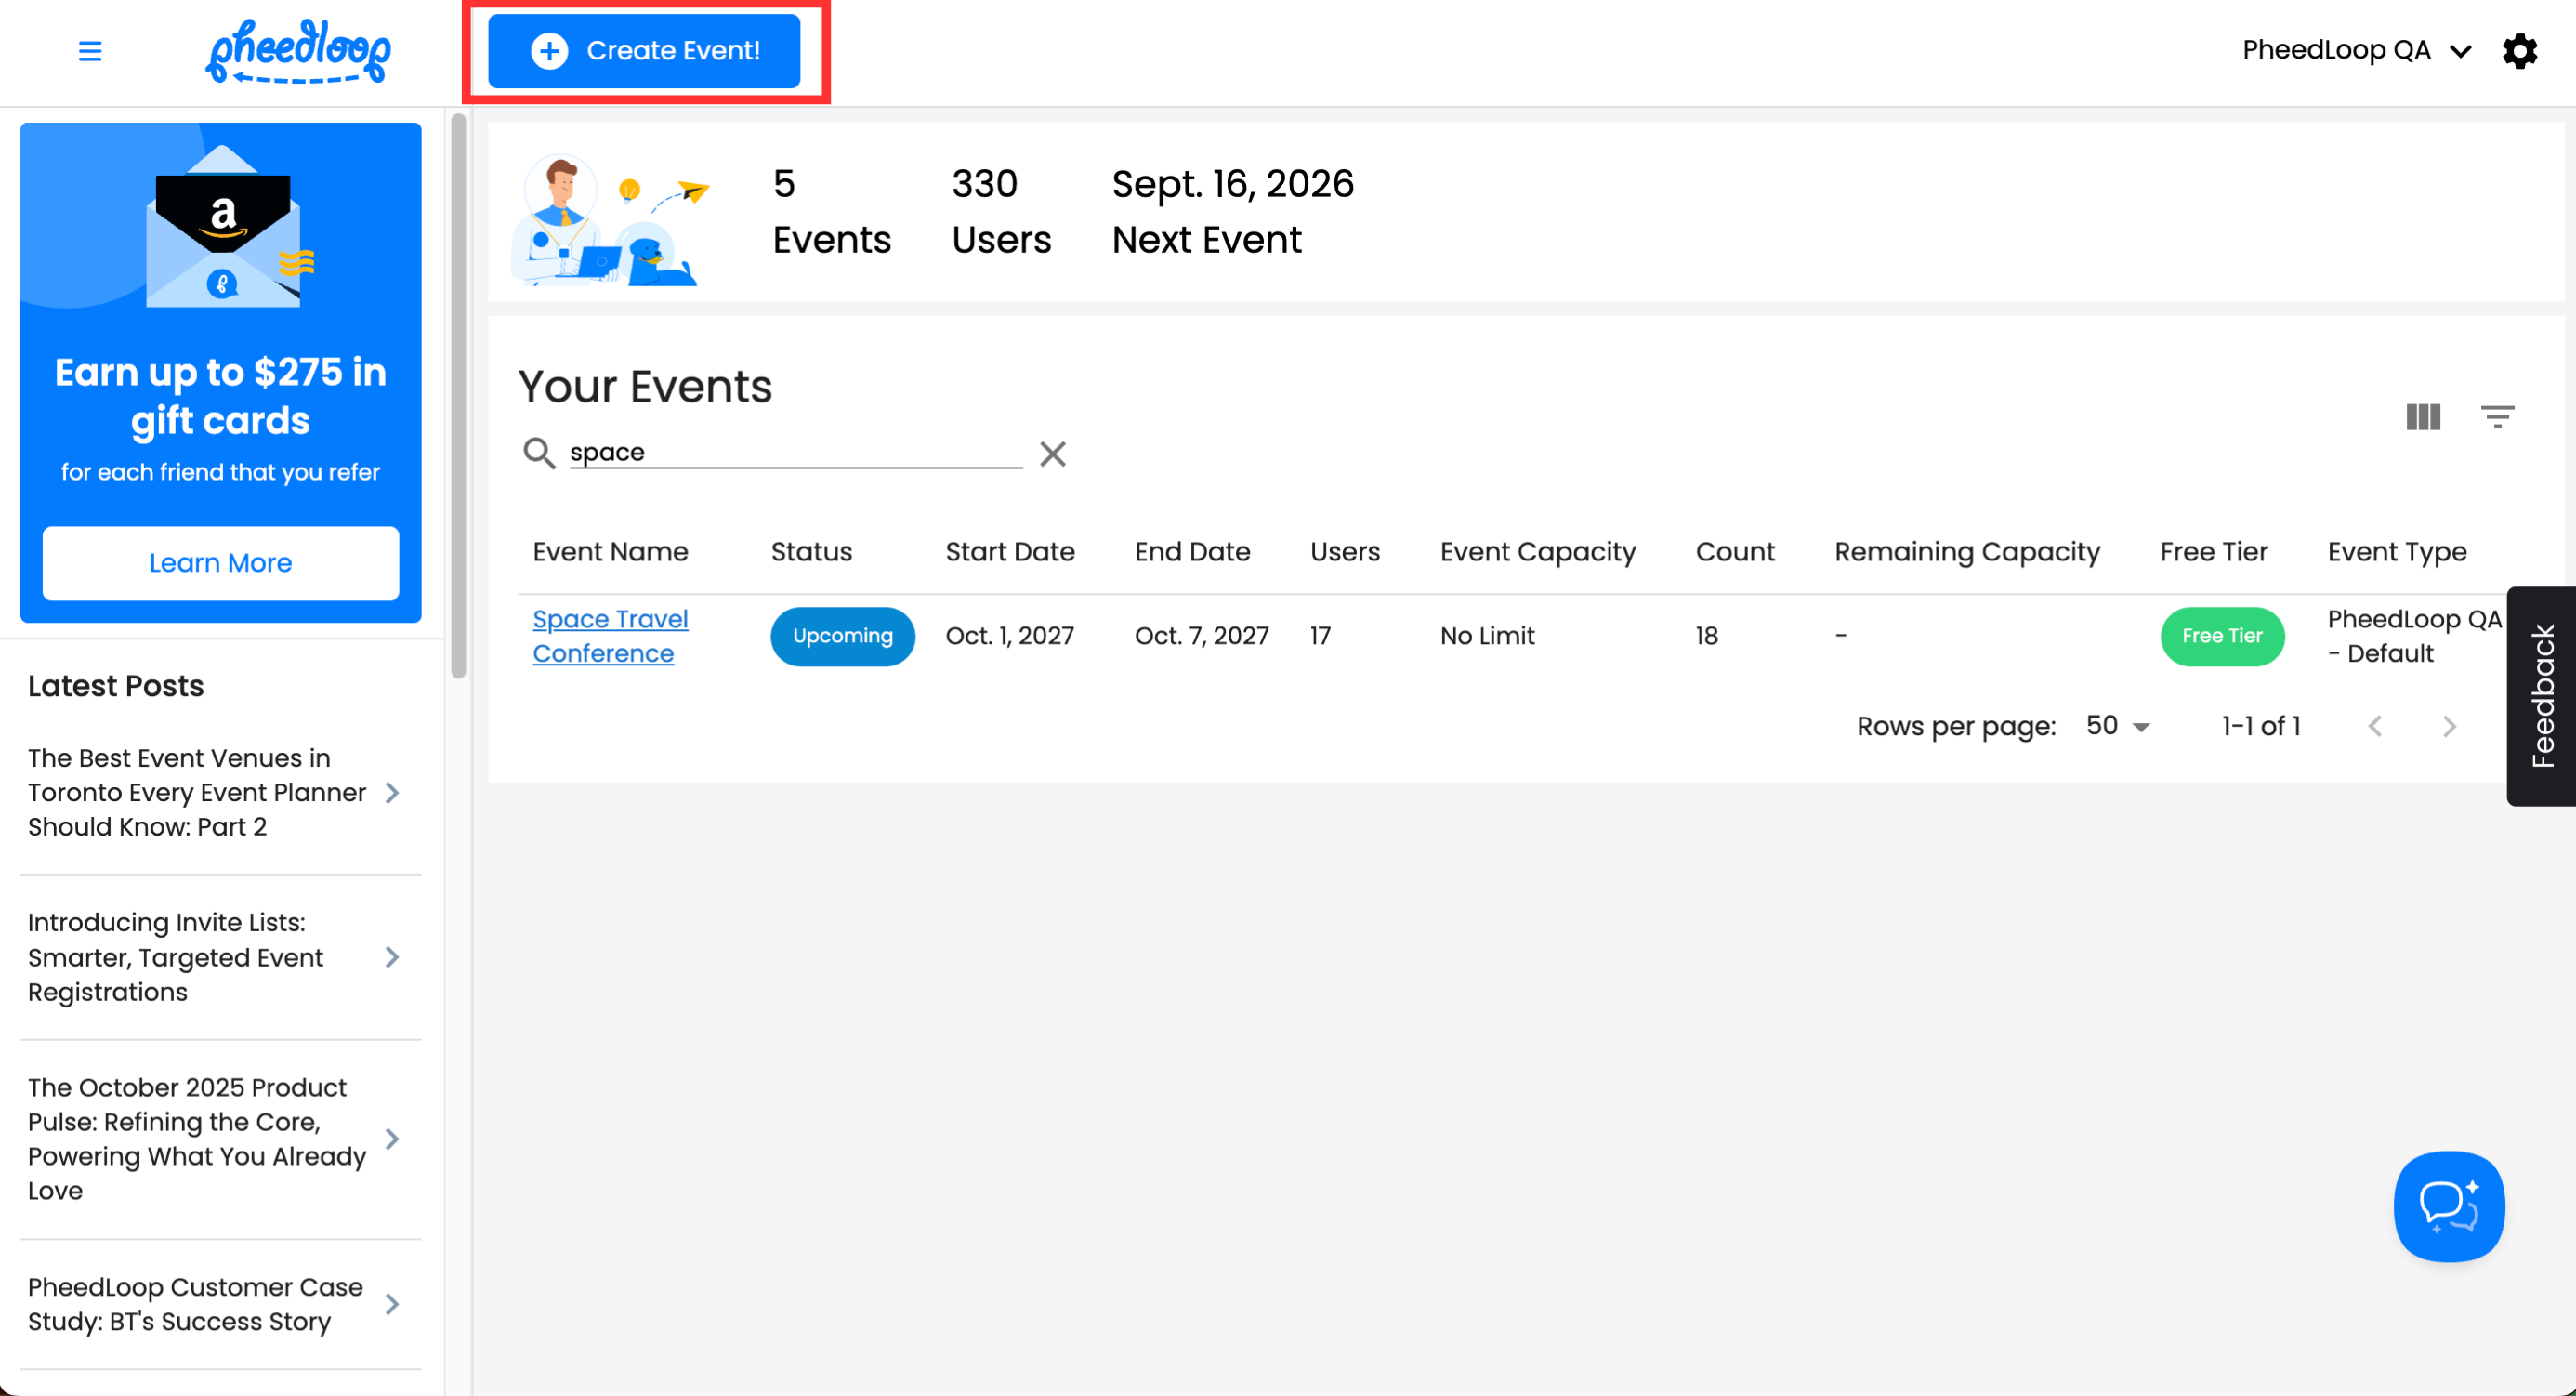
On the top left corner of the page, select Create Event!
- Under the Event Name field, enter the name of your event
- Under the Select An Event to Copy From field, select an event to copy data from
Select Next
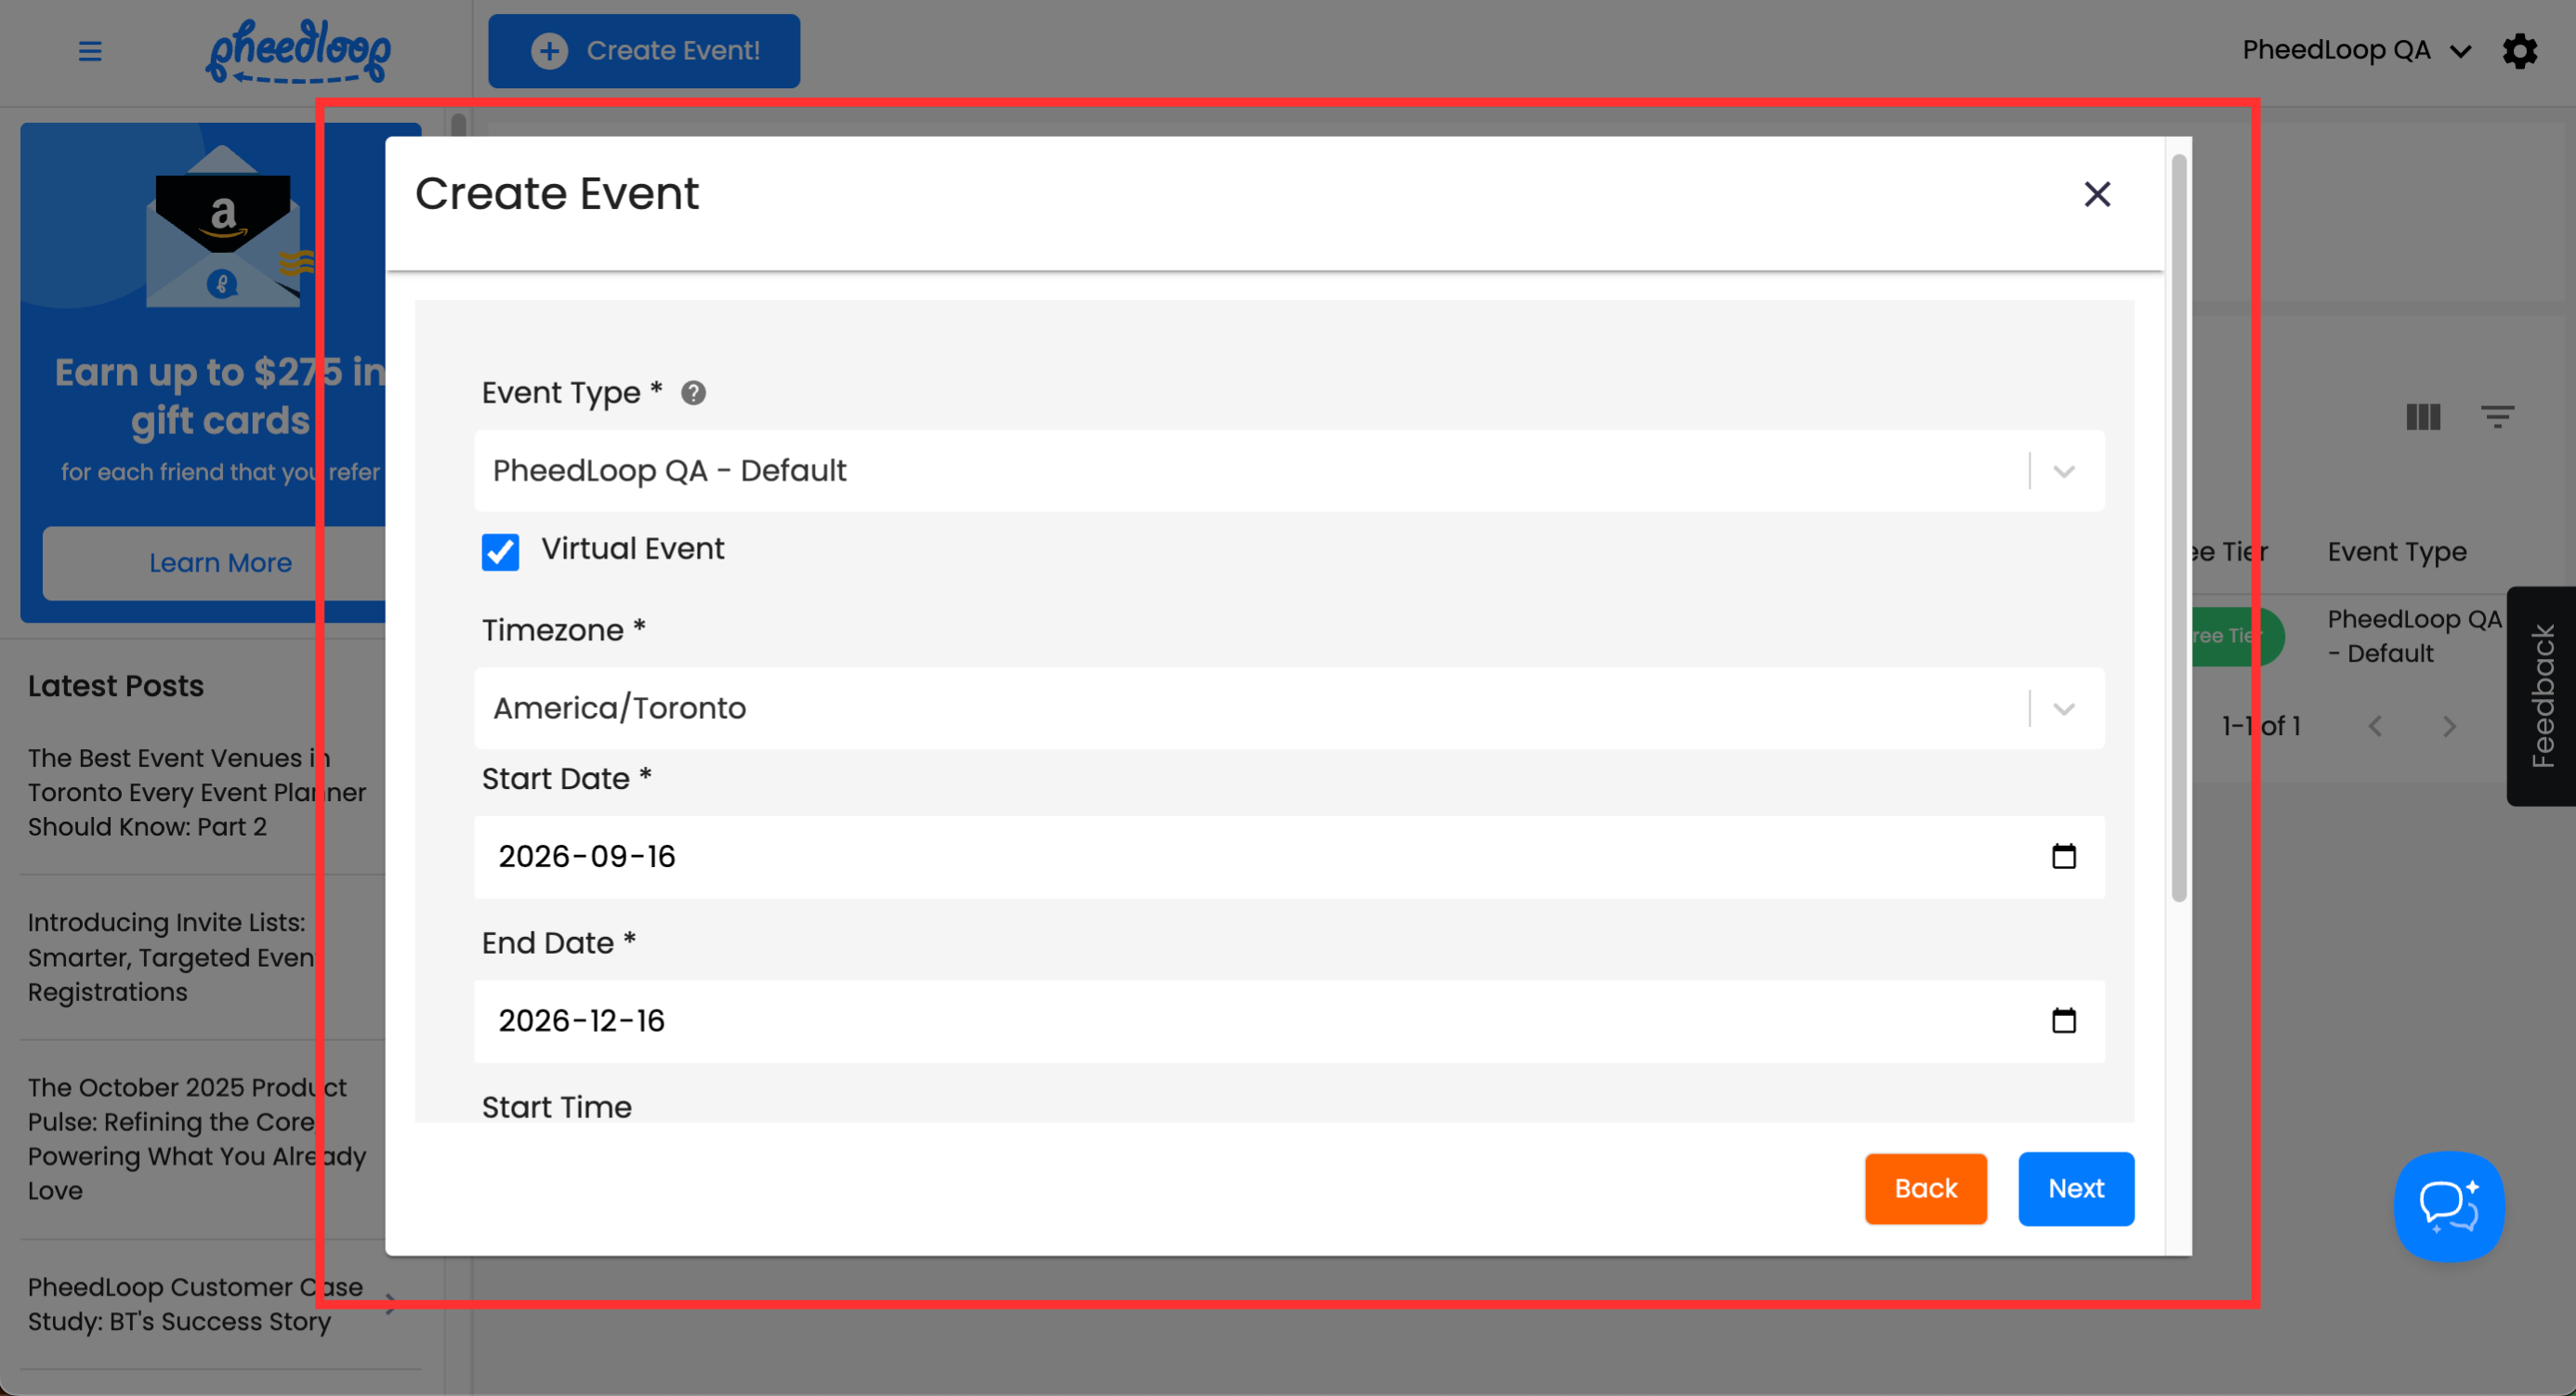
- This page displays the Event Details, here you can set up the general details for your event:
- Under the Event Type field, select the Event Type to associate with this event
- Toggle on the Virtual Event checkbox if your event will be virtual
- Under the Timezone field, select the timezone the event will take place in
- Under the Start Date field, select the date for the event to start on
- Under the Event Date field, select the date for the event to end on
- Under the Start Time field, select the time for the event to start on
- Under the End Time field, select the time for the event to end on
- Under the Location field, enter the address where the event will take place on
Select Next


The next window will cover all the available data for you to copy from.
Please note, only the items listed below can be copied across events. If an item is not mentioned in this article, it cannot be copied over. For example, files cannot be copied across events.
Copy Registration Data
Toggle this checkbox on to copy all registration settings from the selected event under Registration > Settings.
If toggled on, additional checkboxes will appear:

| Checkbox | Description |
|---|---|
| Copy Registration Tickets | Copies all tickets from the selected event (found under Registration > Tickets). |
| Copy Registration Categories | Copies all registration categories from the selected event (found under Registration > Categories). |
| Copy Registration Promotions | Copies all promotion codes from the selected event (found under Registration > Promotions). |
Copy Speakers Data
Toggle this checkbox on to copy all speaker settings from the selected event under Speakers > Settings.
If toggled on, additional checkboxes will appear:

| Checkbox | Description |
|---|---|
| Copy Speakers | Copies all speakers from the selected event (found under Speakers > Speakers). |
| Copy Speaker Portal | Copies all speaker portal settings from the selected event (found under Speakers > Portal). |
Copy Sponsors Data
Toggle this checkbox on to copy all sponsor settings from the selected event under Sponsors > Settings.
If toggled on, additional checkboxes will appear:

| Checkbox | Description |
|---|---|
| Copy Sponsors | Copies all sponsors from the selected event (found under Sponsors > Sponsors). Contacts and representatives are also synced. |
| Copy Sponsor Portal | Copies all sponsor portal settings from the selected event (found under Sponsors > Portal). |
| Copy Sponsor Application Portal | Copies all sponsor application portal settings from the selected event (found under Sponsors > Application Portal). |
Copy Exhibitors Data
Toggle this checkbox on to copy all exhibitor settings from the selected event under Exhibitors > Settings.
If toggled on, additional checkboxes will appear:

| Checkbox | Description |
|---|---|
| Copy Exhibitors | Copies all exhibitors from the selected event (found under Exhibitors > Exhibitors). Contacts and managers are also synced. |
| Copy Exhibitor Portal | Copies all exhibitor portal settings from the selected event (found under Exhibitors > Portal). |
| Copy Exhibitor Application Portal | Copies all exhibitor application portal settings from the selected event (found under Exhibitors > Exhibitor Application Portal). |
| Copy Exhibitor Products | Copies all exhibitor products from the selected event (found under Exhibitors > Products). |
Copy Proposal Data
Toggle this checkbox on to copy all proposal settings from the selected event.
If toggled on, additional checkboxes will appear:

| Checkbox | Description |
|---|---|
| Copy Proposal Calls | Copies all proposal calls from the selected event (found under Proposal > Calls). |
| Copy Proposal Reviewers | Copies all proposal reviewers from the selected event (found under Proposal > Reviewers). |
Other event data
This section will display options for importing data beyond the core data outlined above.
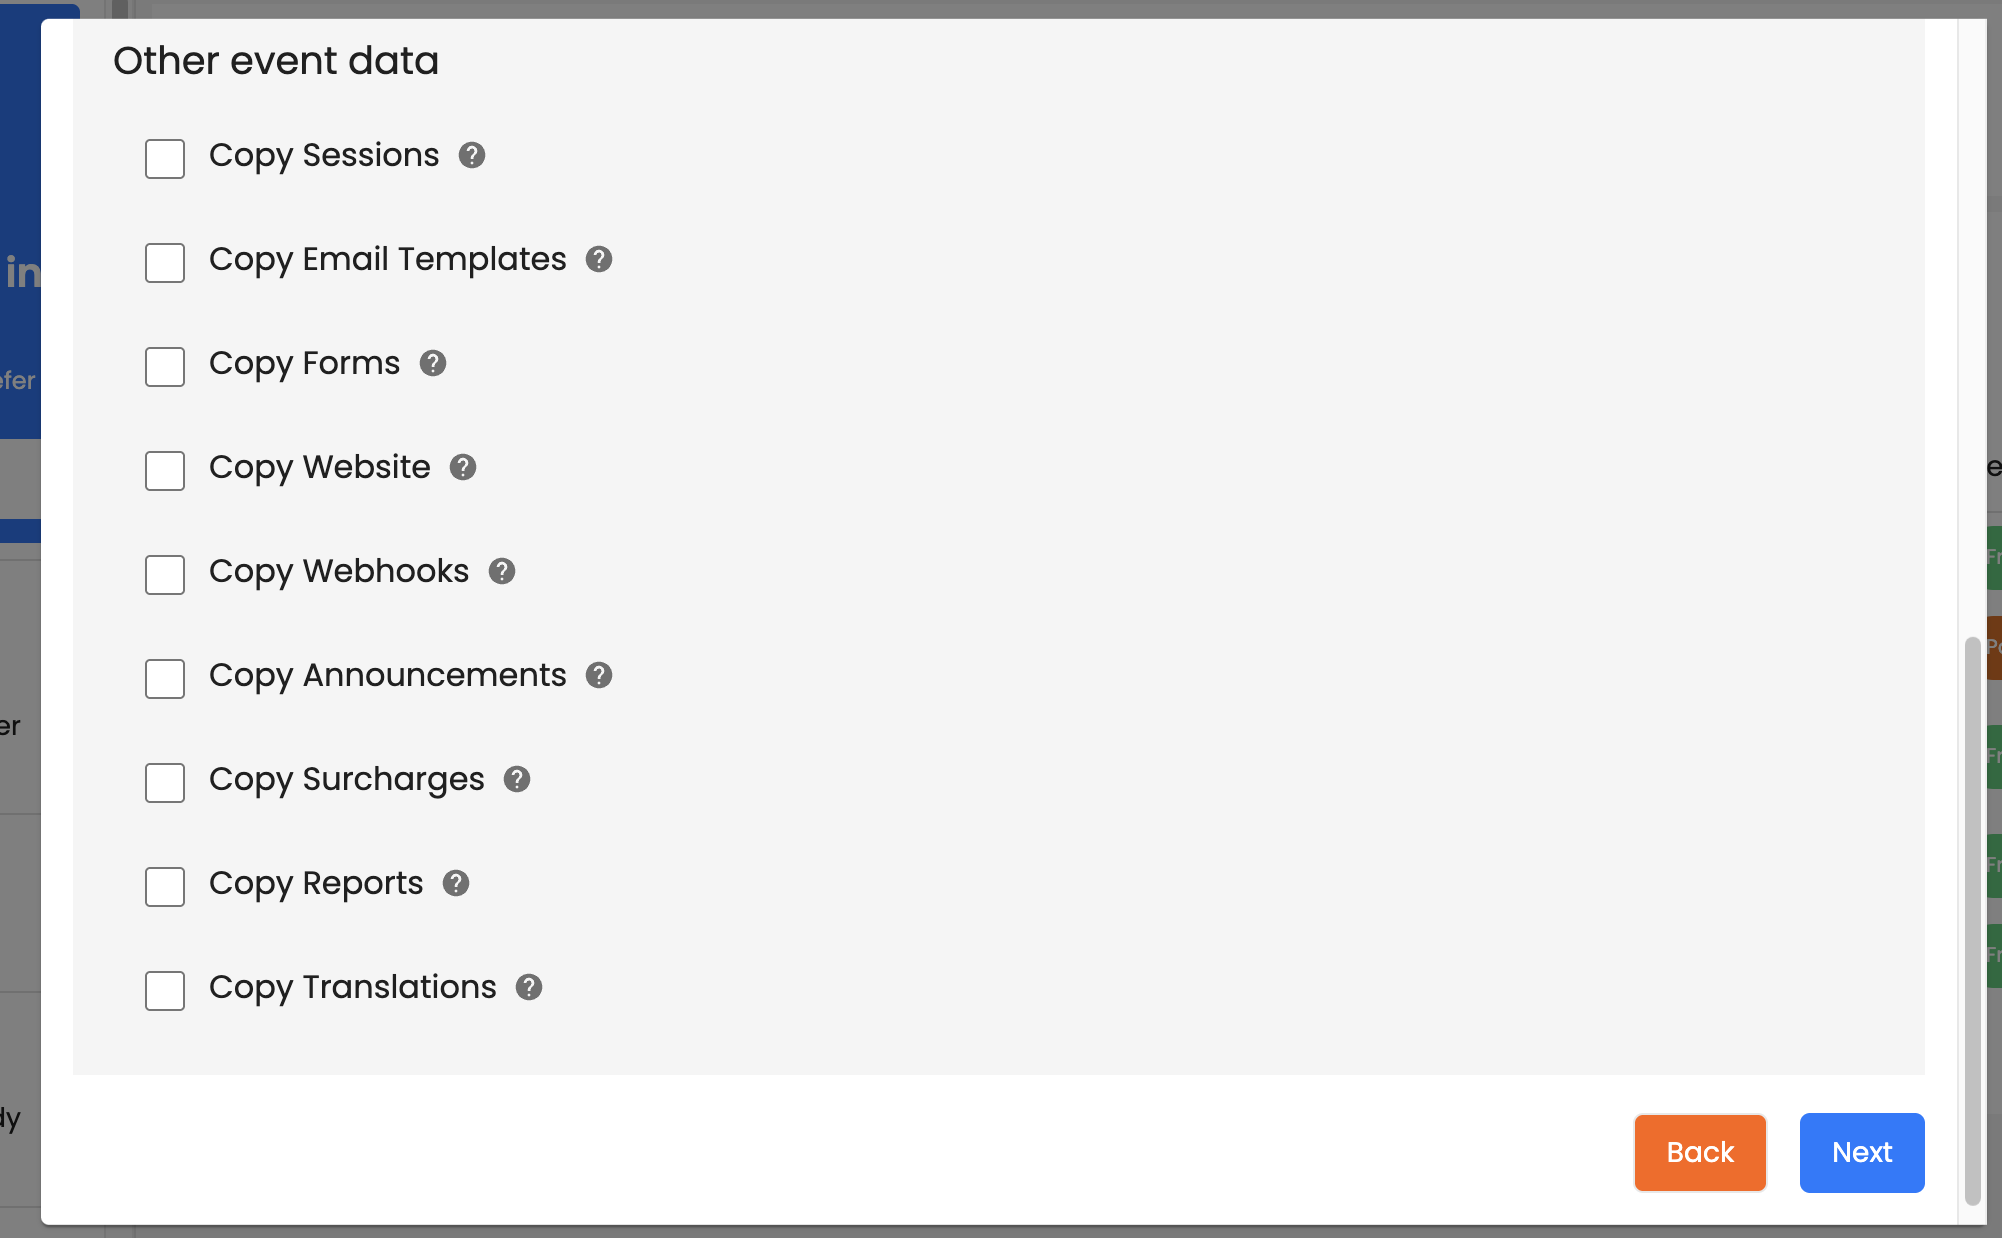
| Checkbox | Description |
|---|---|
| Copy Sessions | Toggle this on to copy all sessions from the selected event. Refer to the How to Add, Import and Edit Sessions article for more details. |
| Copy Email Templates | Toggle this on to copy all email templates from the selected event. Useful when reusing the same templates. See the Understanding and Customizing Email Templates article for more information. |
| Copy Forms | Toggle this on to copy all forms from the selected event. For more details, review the Creating and Sending a Custom Form to Attendees article. |
| Copy Website | Toggle this on to copy the event website from the selected event. Learn more in the Getting started with the Event Website article. |
| Copy Webhooks | Toggle this on to copy webhook settings from the selected event. |
| Copy Announcements | Toggle this on to copy announcements from the selected event. |
| Copy Surcharges | Toggle this on to copy surcharge settings from the selected event. |
| Copy Reports | Toggle this on to copy custom reports created in the selected event. |
| Copy Translations | Toggle this on to copy translations from the selected event. |
Once you have selected all the data you wish to copy from, select Next to create your event. You will now have a new event with all the selected information imported from your chosen event.
Importing Data From an Already Existing Event
You can also copy data from another event, even after your event has been created. This is especially useful if you need to pull information from multiple events rather than relying on just one. For more information, please refer to our Importing Data From an Already Existing Event article.